Kali Linux NetHunter on Android: why and how to install
Hello my inquisitive friend! Surely you were visited by thoughts on how to hack everything around, without attracting unnecessary attention of medical orderlies and others, to be like heroes of films hacking systems just from a mobile device, or how to pump your mobility with minimal loss of functionality? I have good news for you.

Kali Linux NetHunter is an Offensive Security project. The one that develops the Kali Linux distribution. This is a set of programs and utilities from Kali with the ability to run on Android. It will allow you to take a different look at your favorite device on the “green robot” and always be, if not fully armed, then with a set of master keys familiar to you.
NetHunter is not a full firmware for devices, but is a software add-on. It is supported by many devices: almost all of the Nexus line, some other devices from Sony, OnePlus, ZTE, Samsung. Full list here .
It is installed on the standard firmware of supported devices and on some custom firmware (CyanogenMod and LineageOS). In this case, the core is better to use the standard.
But before you start brimming the neighbor's wi-fi, let's talk in more detail about the installation. Users who have never been involved in flashing devices may experience difficulties.
NetHunter is installed on a rooted device through custom recovery. Therefore, we need to get root and install recovery (for example, TWRP or CM). Before starting the installation, you should make a backup , since in the process of unlocking the bootloader, all personal data will be deleted.
Obtaining root rights on the device is a non-trivial task. The process is very different depending on the device. How exactly this is done for your gadget is worth reading on the thematic forums w3bsit3-dns.com and xda-developers.com. There are cases when unlocking the bootloader and getting root is impossible or extremely difficult. Therefore, when choosing a device, immediately pay attention to the possibility of these actions.
Consider the installation process on the Nexus 10.
We need: high-quality cable, usb ports directly from the motherboard (to minimize the possibility of getting a “brick” from the device), access to the developer's menu and the device itself with a computer. The developer's menu usually opens with a few tapes to the build number in the device information menu. There we turn on USB debugging. A pop-up window will appear with permission to debug - we agree.

USB debugging permission
To unlock, I used a special program Nexus Root Toolkit, where everything happens with a few clicks.
1. Run the program. If everything is installed correctly, then our device will appear in the log window. It is worth paying attention to its code name - “manta”. It will be useful to us. The code name of other devices can be found on the Internet.
Nexus Root Toolkit
2. Click the “Unlock Bootloader - Unlock” button, this will delete all data on the device.
The program log will inform us of a successful unlock and reboot the device.
3. The next step is to get root and immediately install custom recovery (I installed TWRP 3.0.2). Check the “Custom Recovery” box and click on the “Root” button. The program will give us a link to the latest version of TWRP, go, download and specify the path in the program to the image file “twrp * .img”.
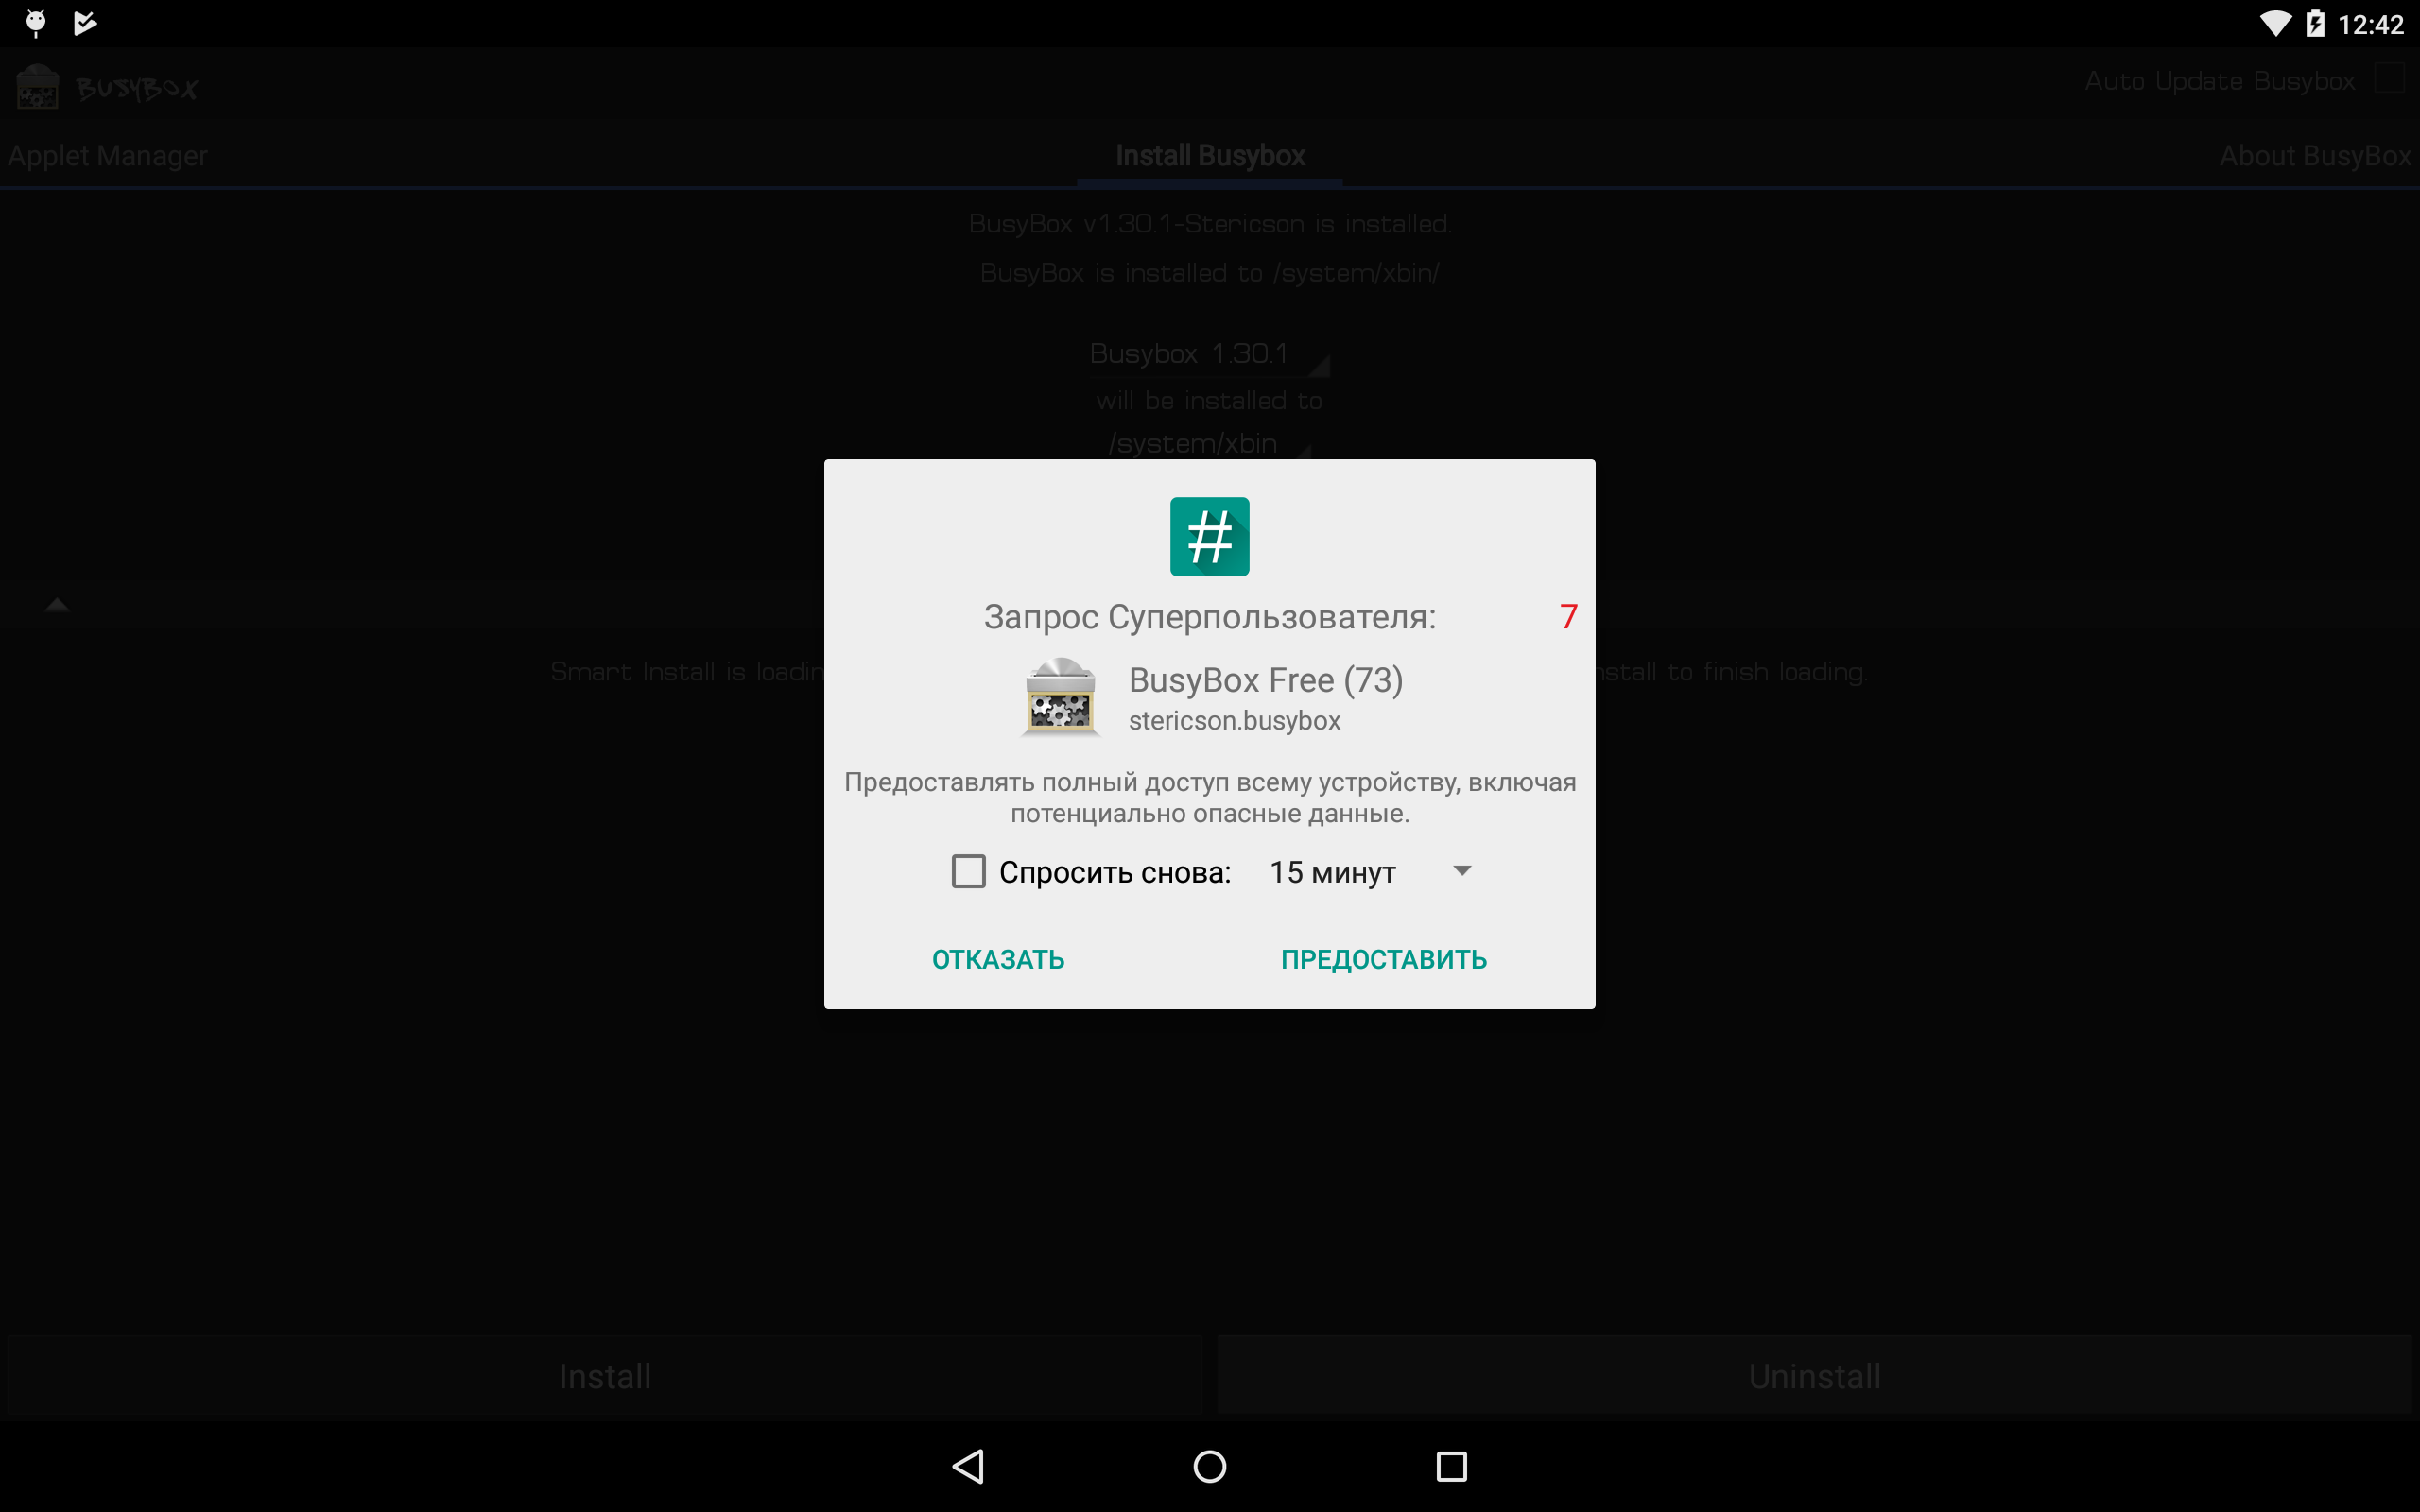
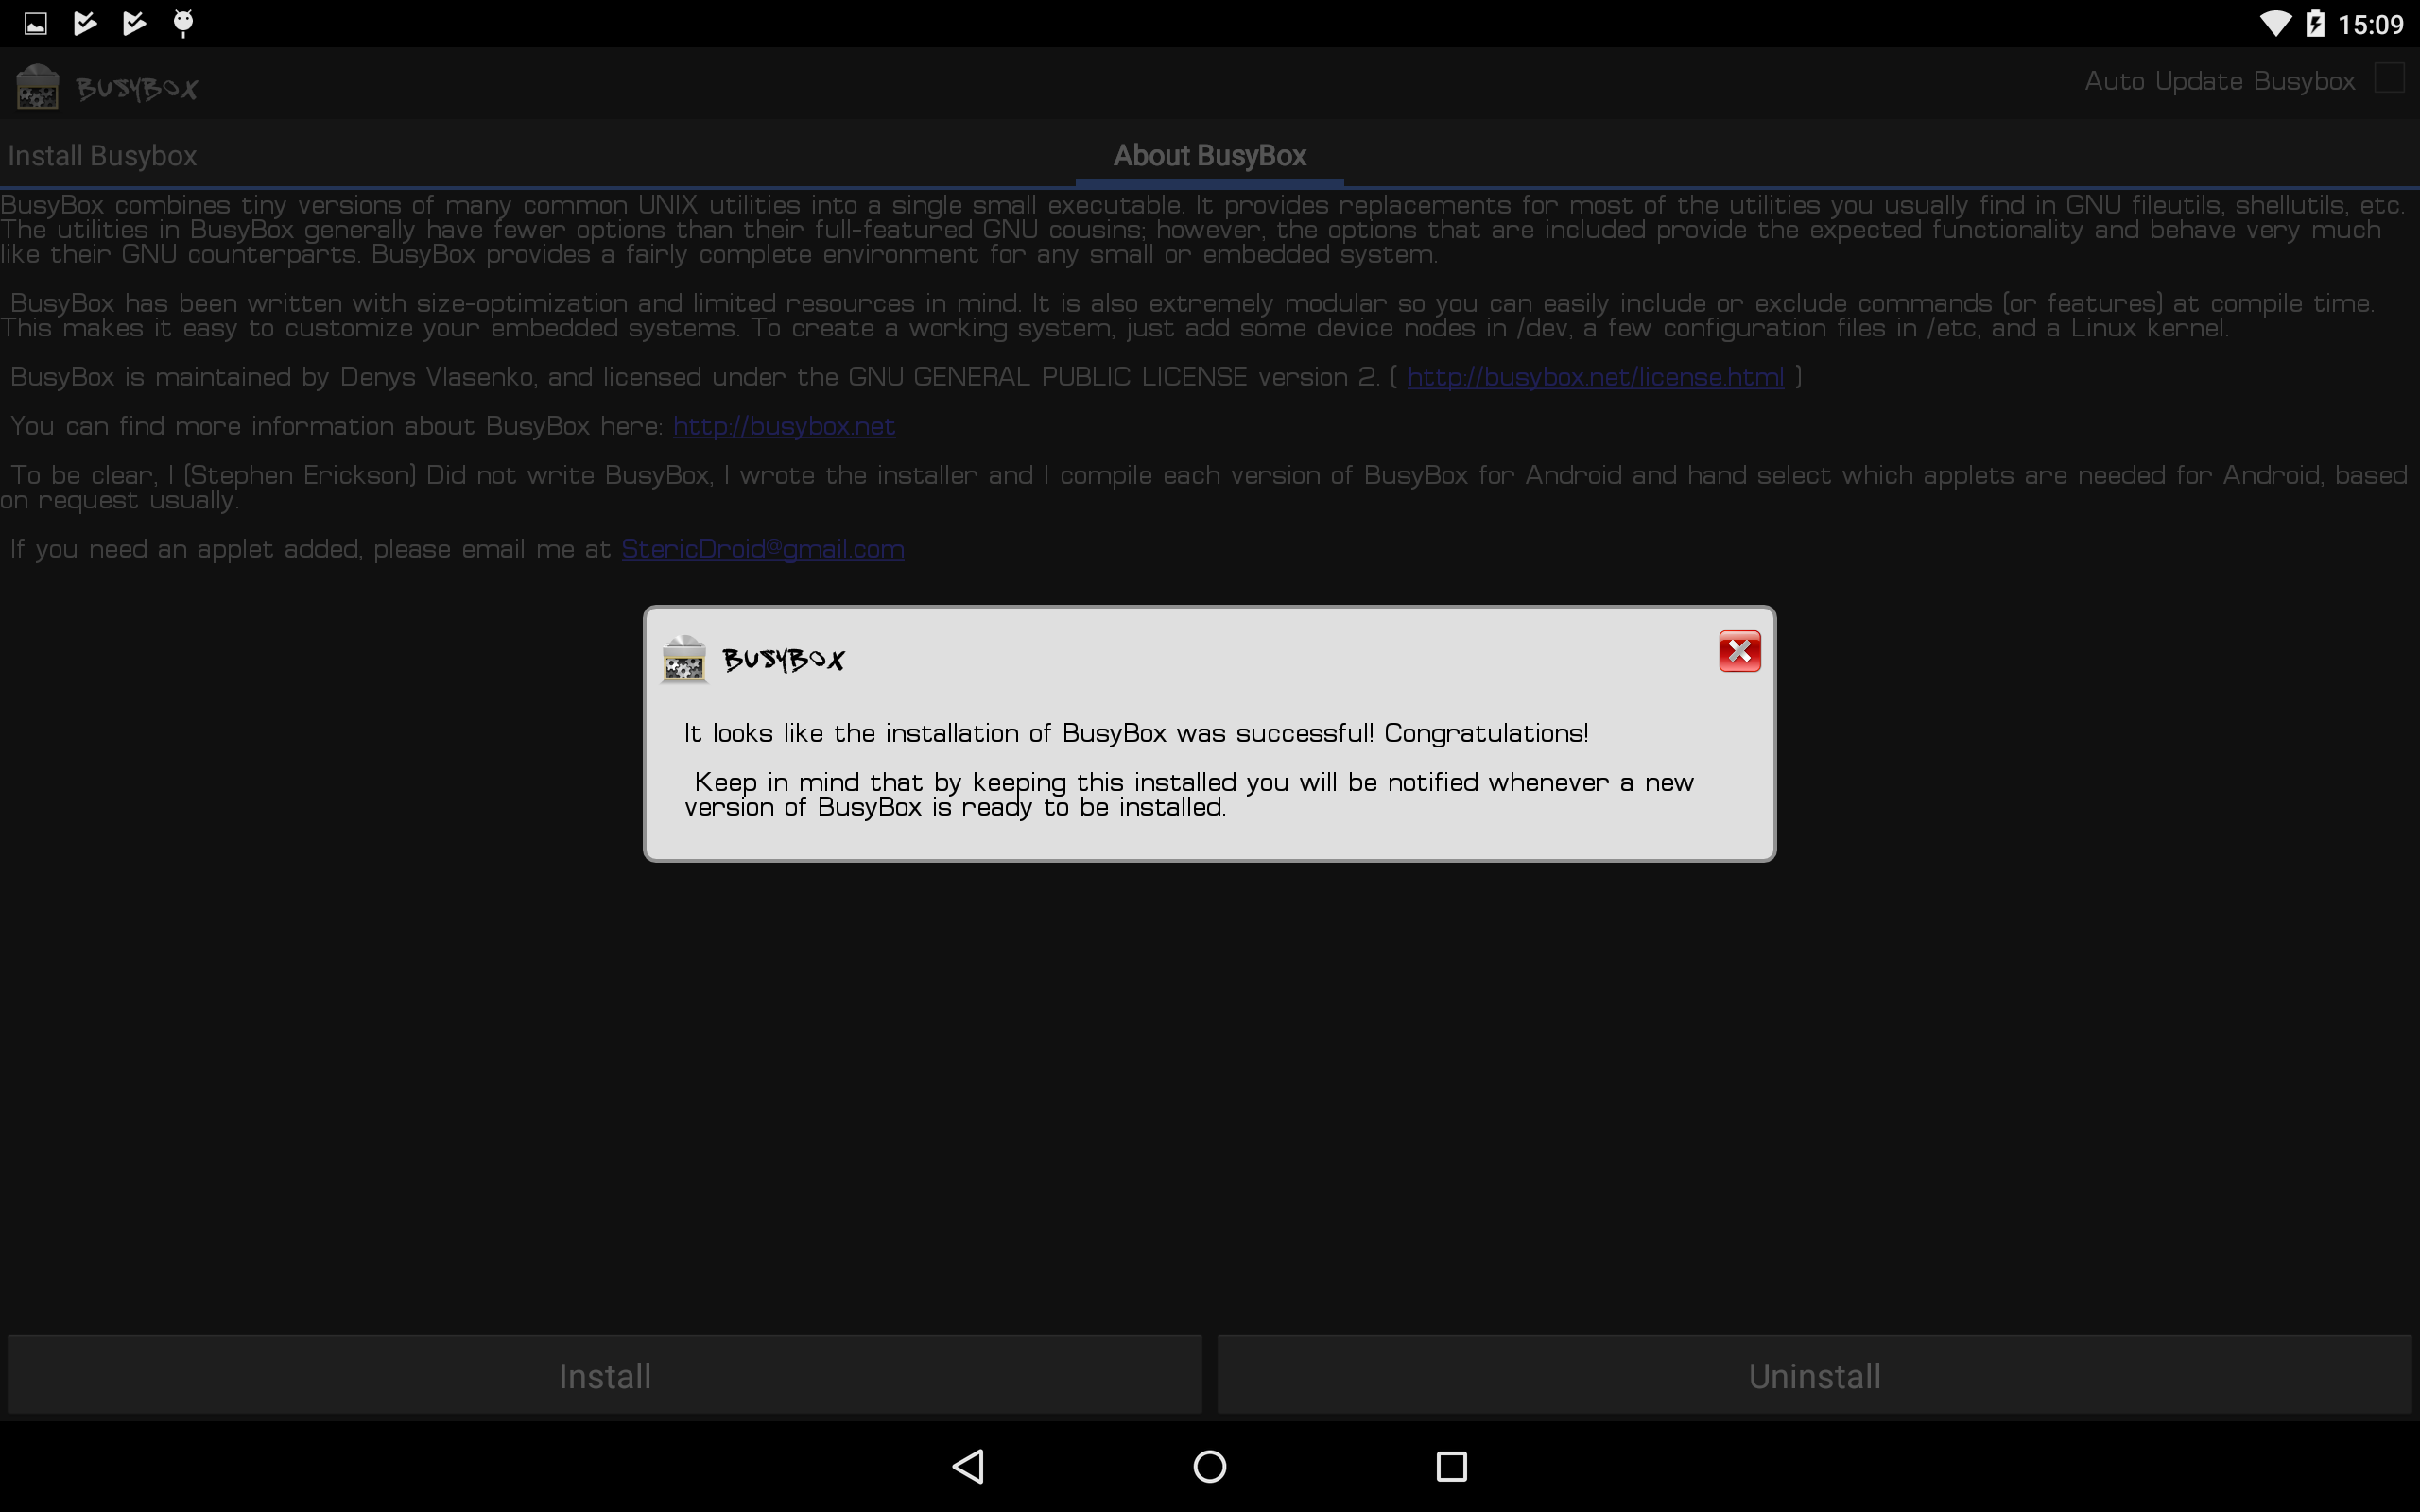
Together with root Supersu and BusyBox are installed. If not installed, you can download them from the Play Market. Next, manually install the BusyBox package through the appropriate application. BusyBox asks for root rights - we definitely agree!
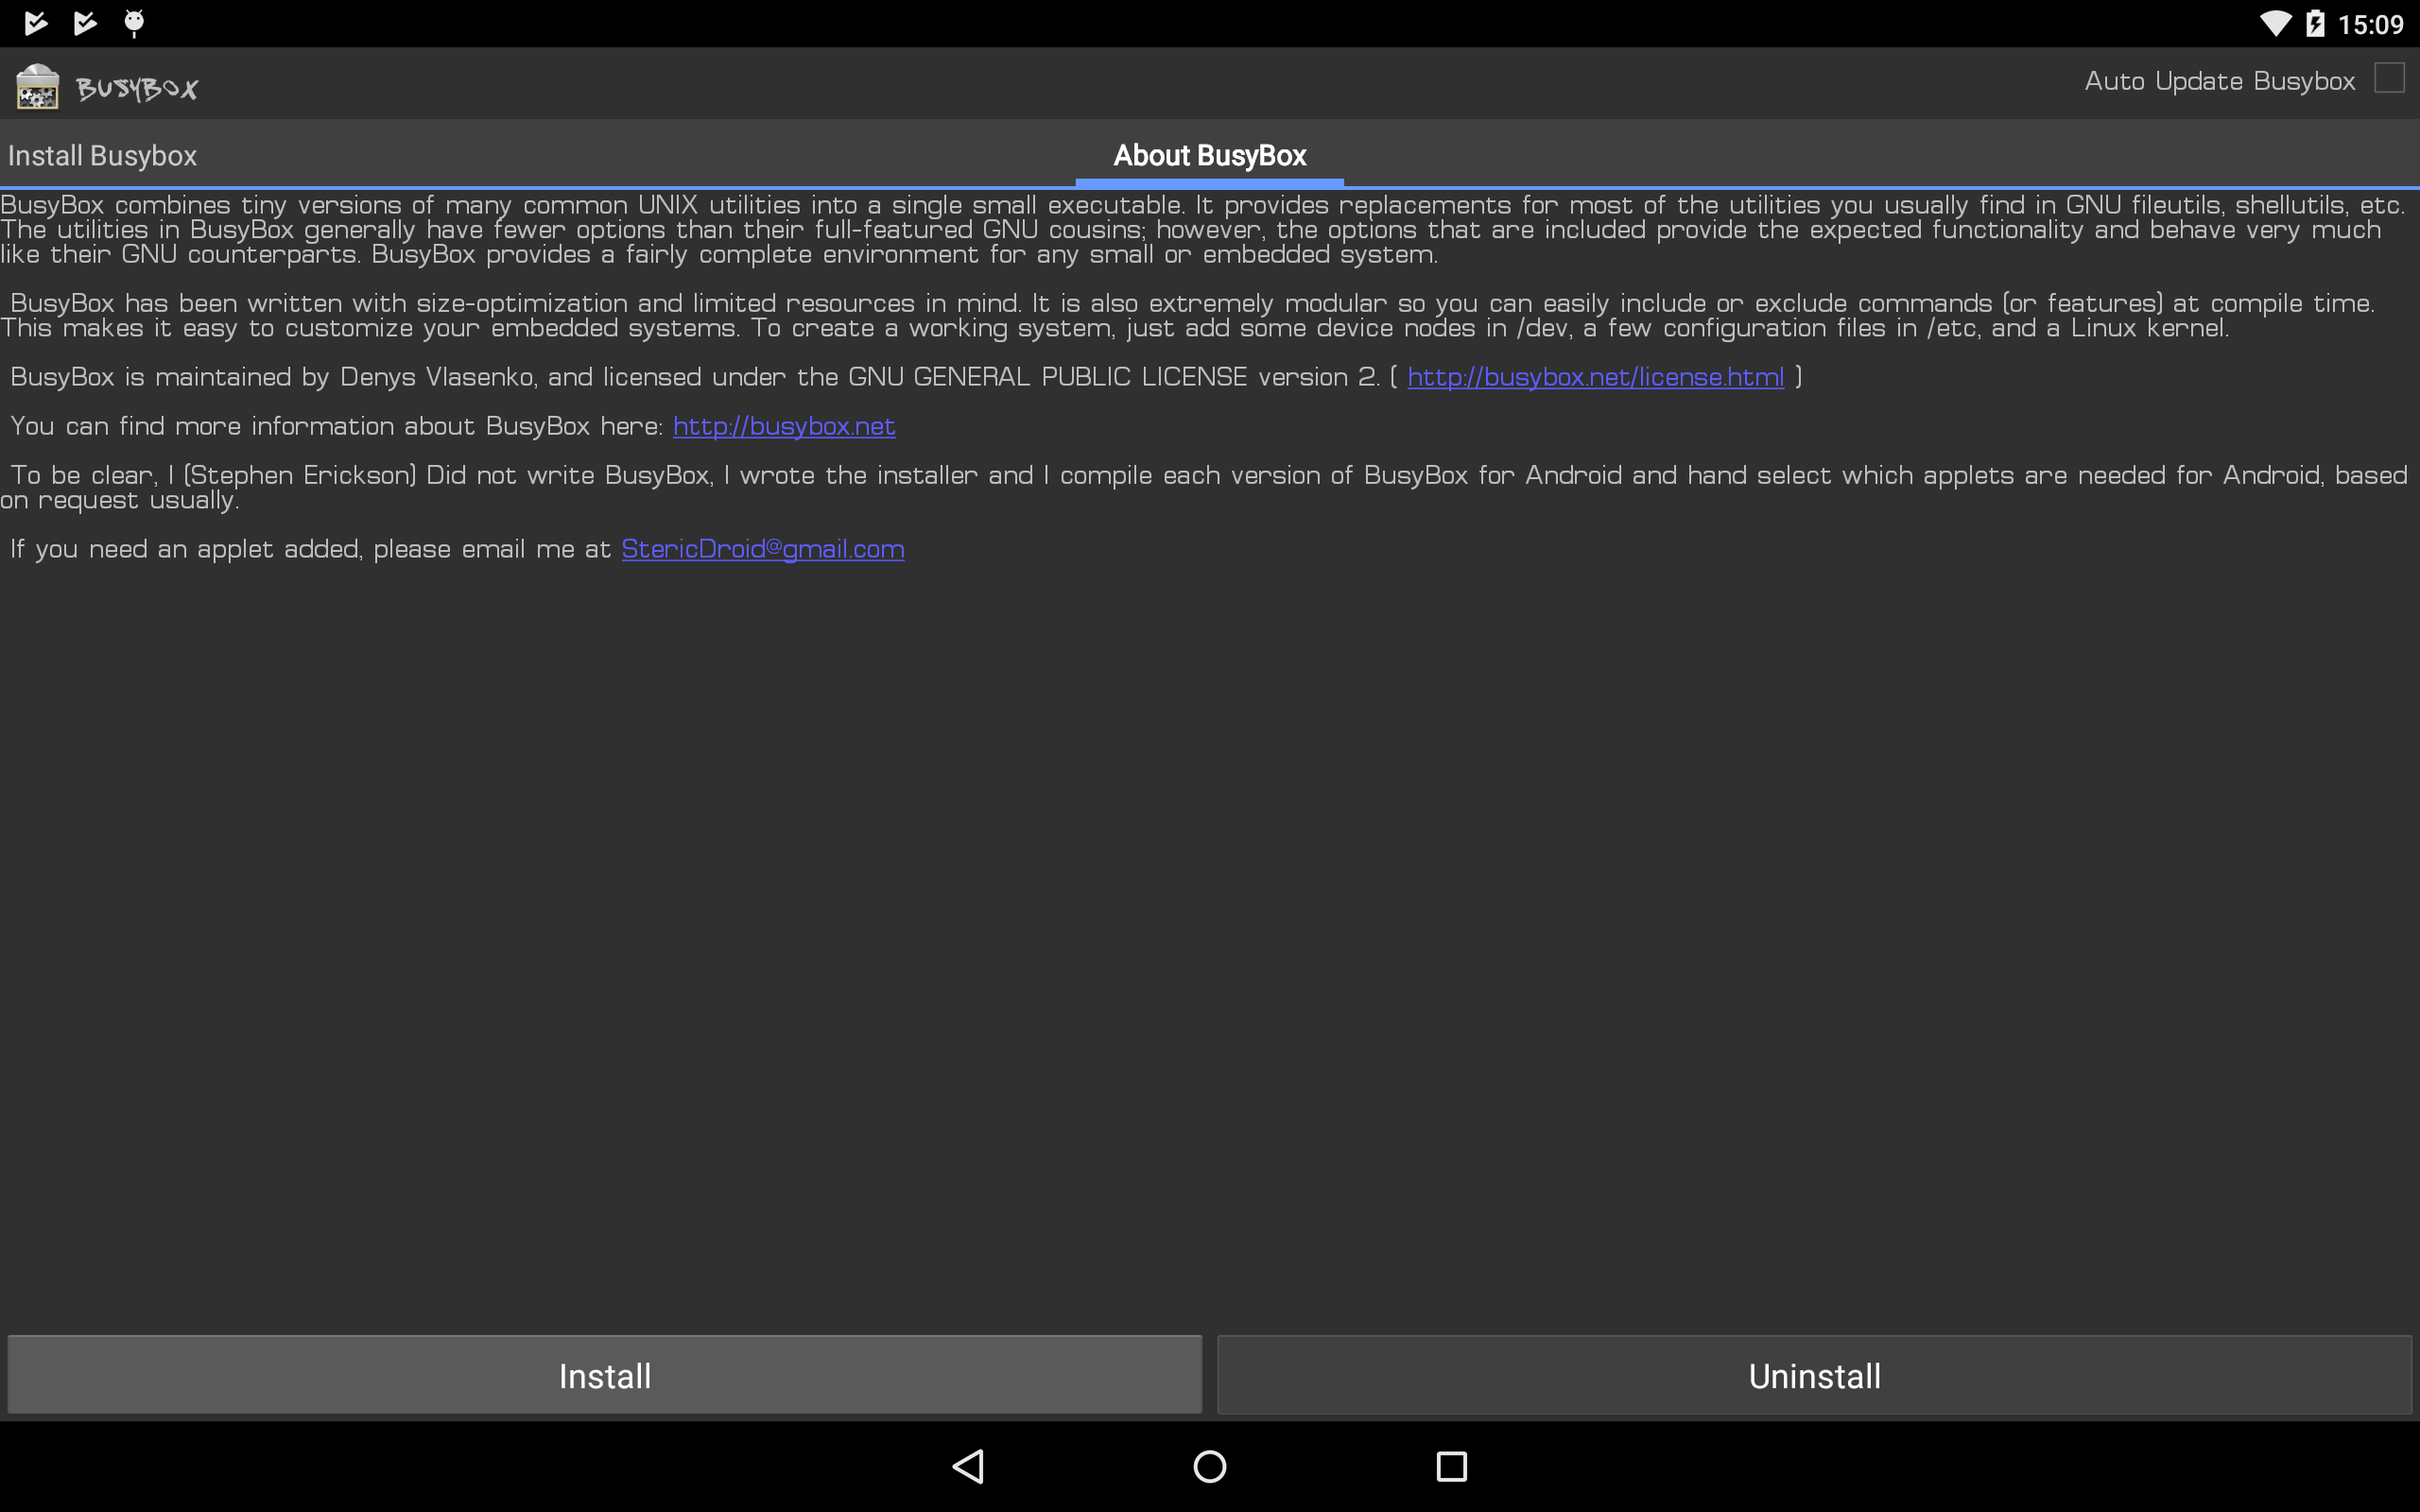
Install BusyBox *
NetHunter consists of kernel components (kernel-nethunter) and the software add-in (nethunter-generic) itself. In the release version, all components are collected in one zip archive. There are assemblies where these components are divided into two archives: kernel-nethunter-manta-lollipop - *. Zip and nethunter-generic-arm64-kalifs-full-rolling - *. Zip. To install Nethunter OS, you must first install the kernel through recovery and then software add-ons, or install everything at once using the archive, which includes all the components.
If you are lucky, then the finished release archive for your device is already compiled and is located on the Offensive Security website page. But, if you are unlucky, you will have to collect the installation archive yourself. For this, the developers made a utility from fresh components. You need to download the “nethunter-installer” directory from the GitLab repository. Following the instructions, initialize the device storage with the command:
After that, using a Python script, we collect the installation archive.
Consider several build options using this script:
The resulting zip archive (in my case nethunter-manta-lollipop-kalifs-full * .zip) is saved to the root of the device and loaded via recovery. For each device, recovery downloads are different.
Nexus 10: “Volume +” + “Volume -” + lock button. Clamp them for a few seconds, bootloader is loaded, use the volume keys to select “Recovery mode” and confirm with the lock button.
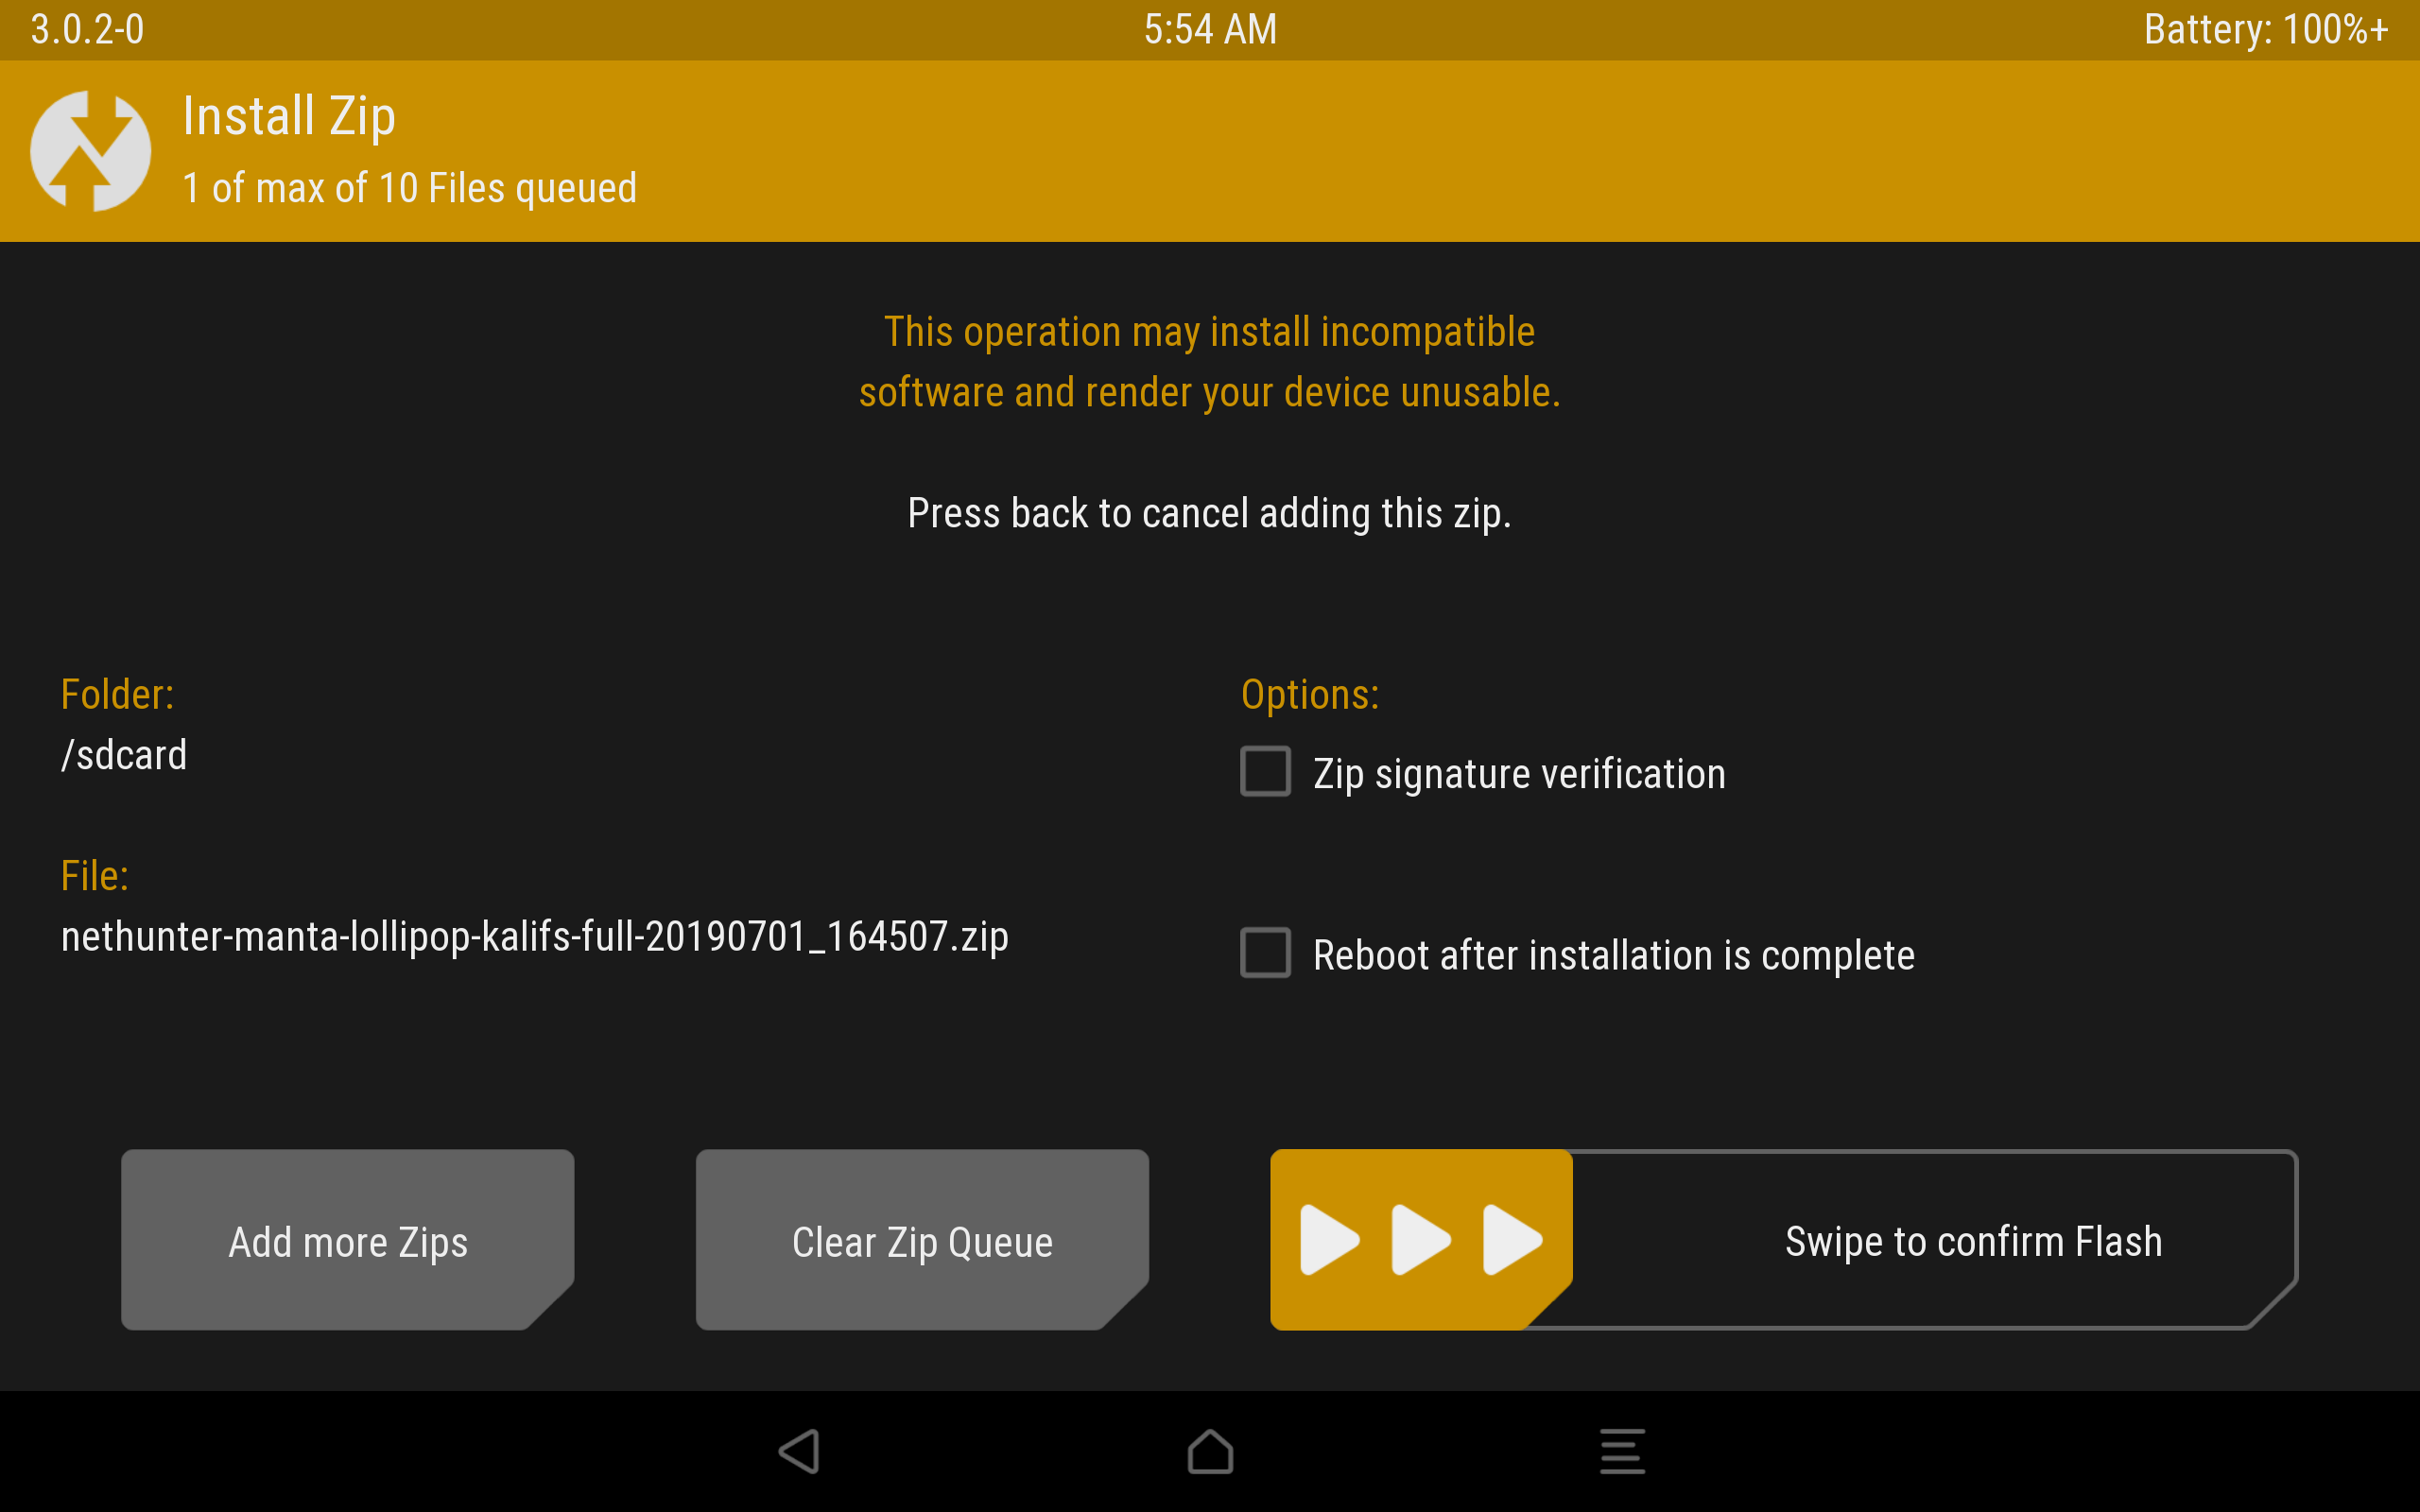
In recovery TWRP, select “Install“, select our installer zip file and drag the slider to the right. Installation has gone, after completion we reboot the device.


The installation process through TWRP.
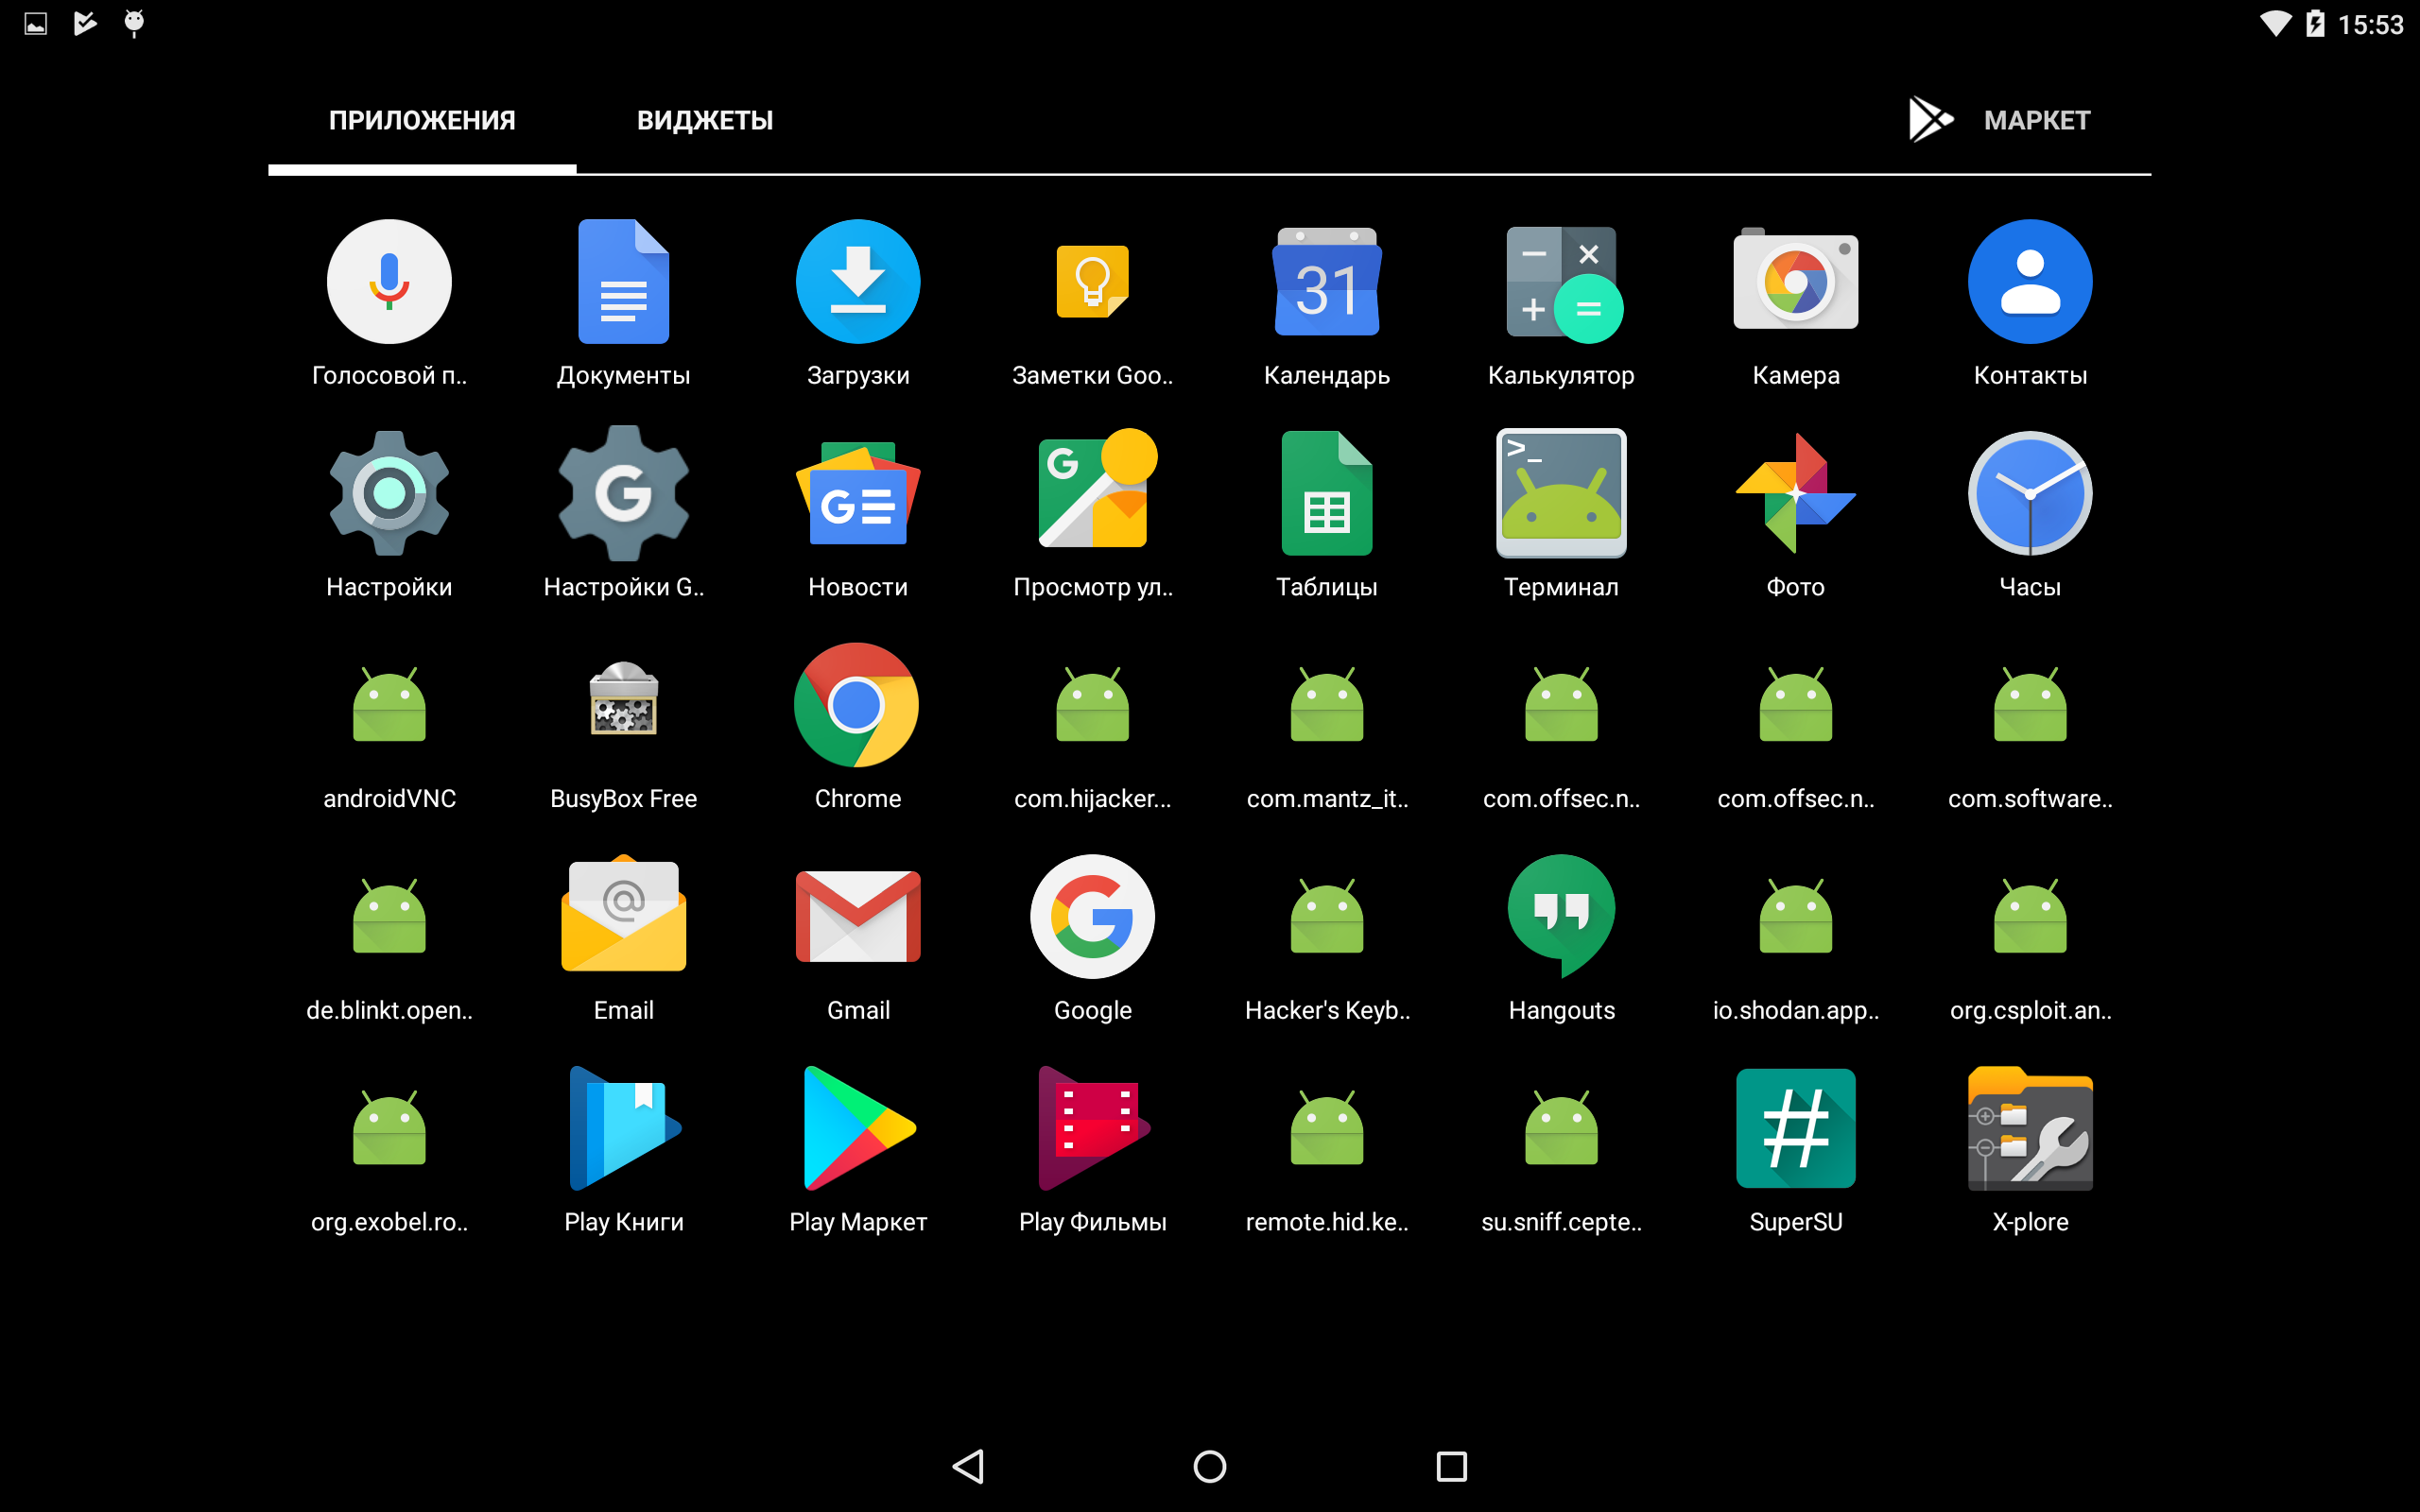
Android will boot and application optimization will begin. As a result, the wallpaper changed, several new programs appeared in the menu, which, unfortunately, were not installed correctly.
Incorrectly installed programs.
This can be easily fixed: we unpack the zip archive and install the applications manually via apk files, which are in the * unpacked zip archive * / data / app. Before this, you should enable the ability to install applications from unknown sources. Now install nethunter.apk first, and then all other applications. We reboot the device and see that the icons began to display normally. I advise you to additionally configure HackerKeyboard, as it is more adapted for working with the terminal.
We launch the terminal, select the Kali terminal. And install the updates:
Fix Microsoft repository issues:
Note that the Kali root home directory is located on
Root section: / data / local / nhsystem / kali-armhf / root.
Kali meta-packages can be additionally installed through the NetHunter application in the Kali Chroot Manager - Add Metapackages section.
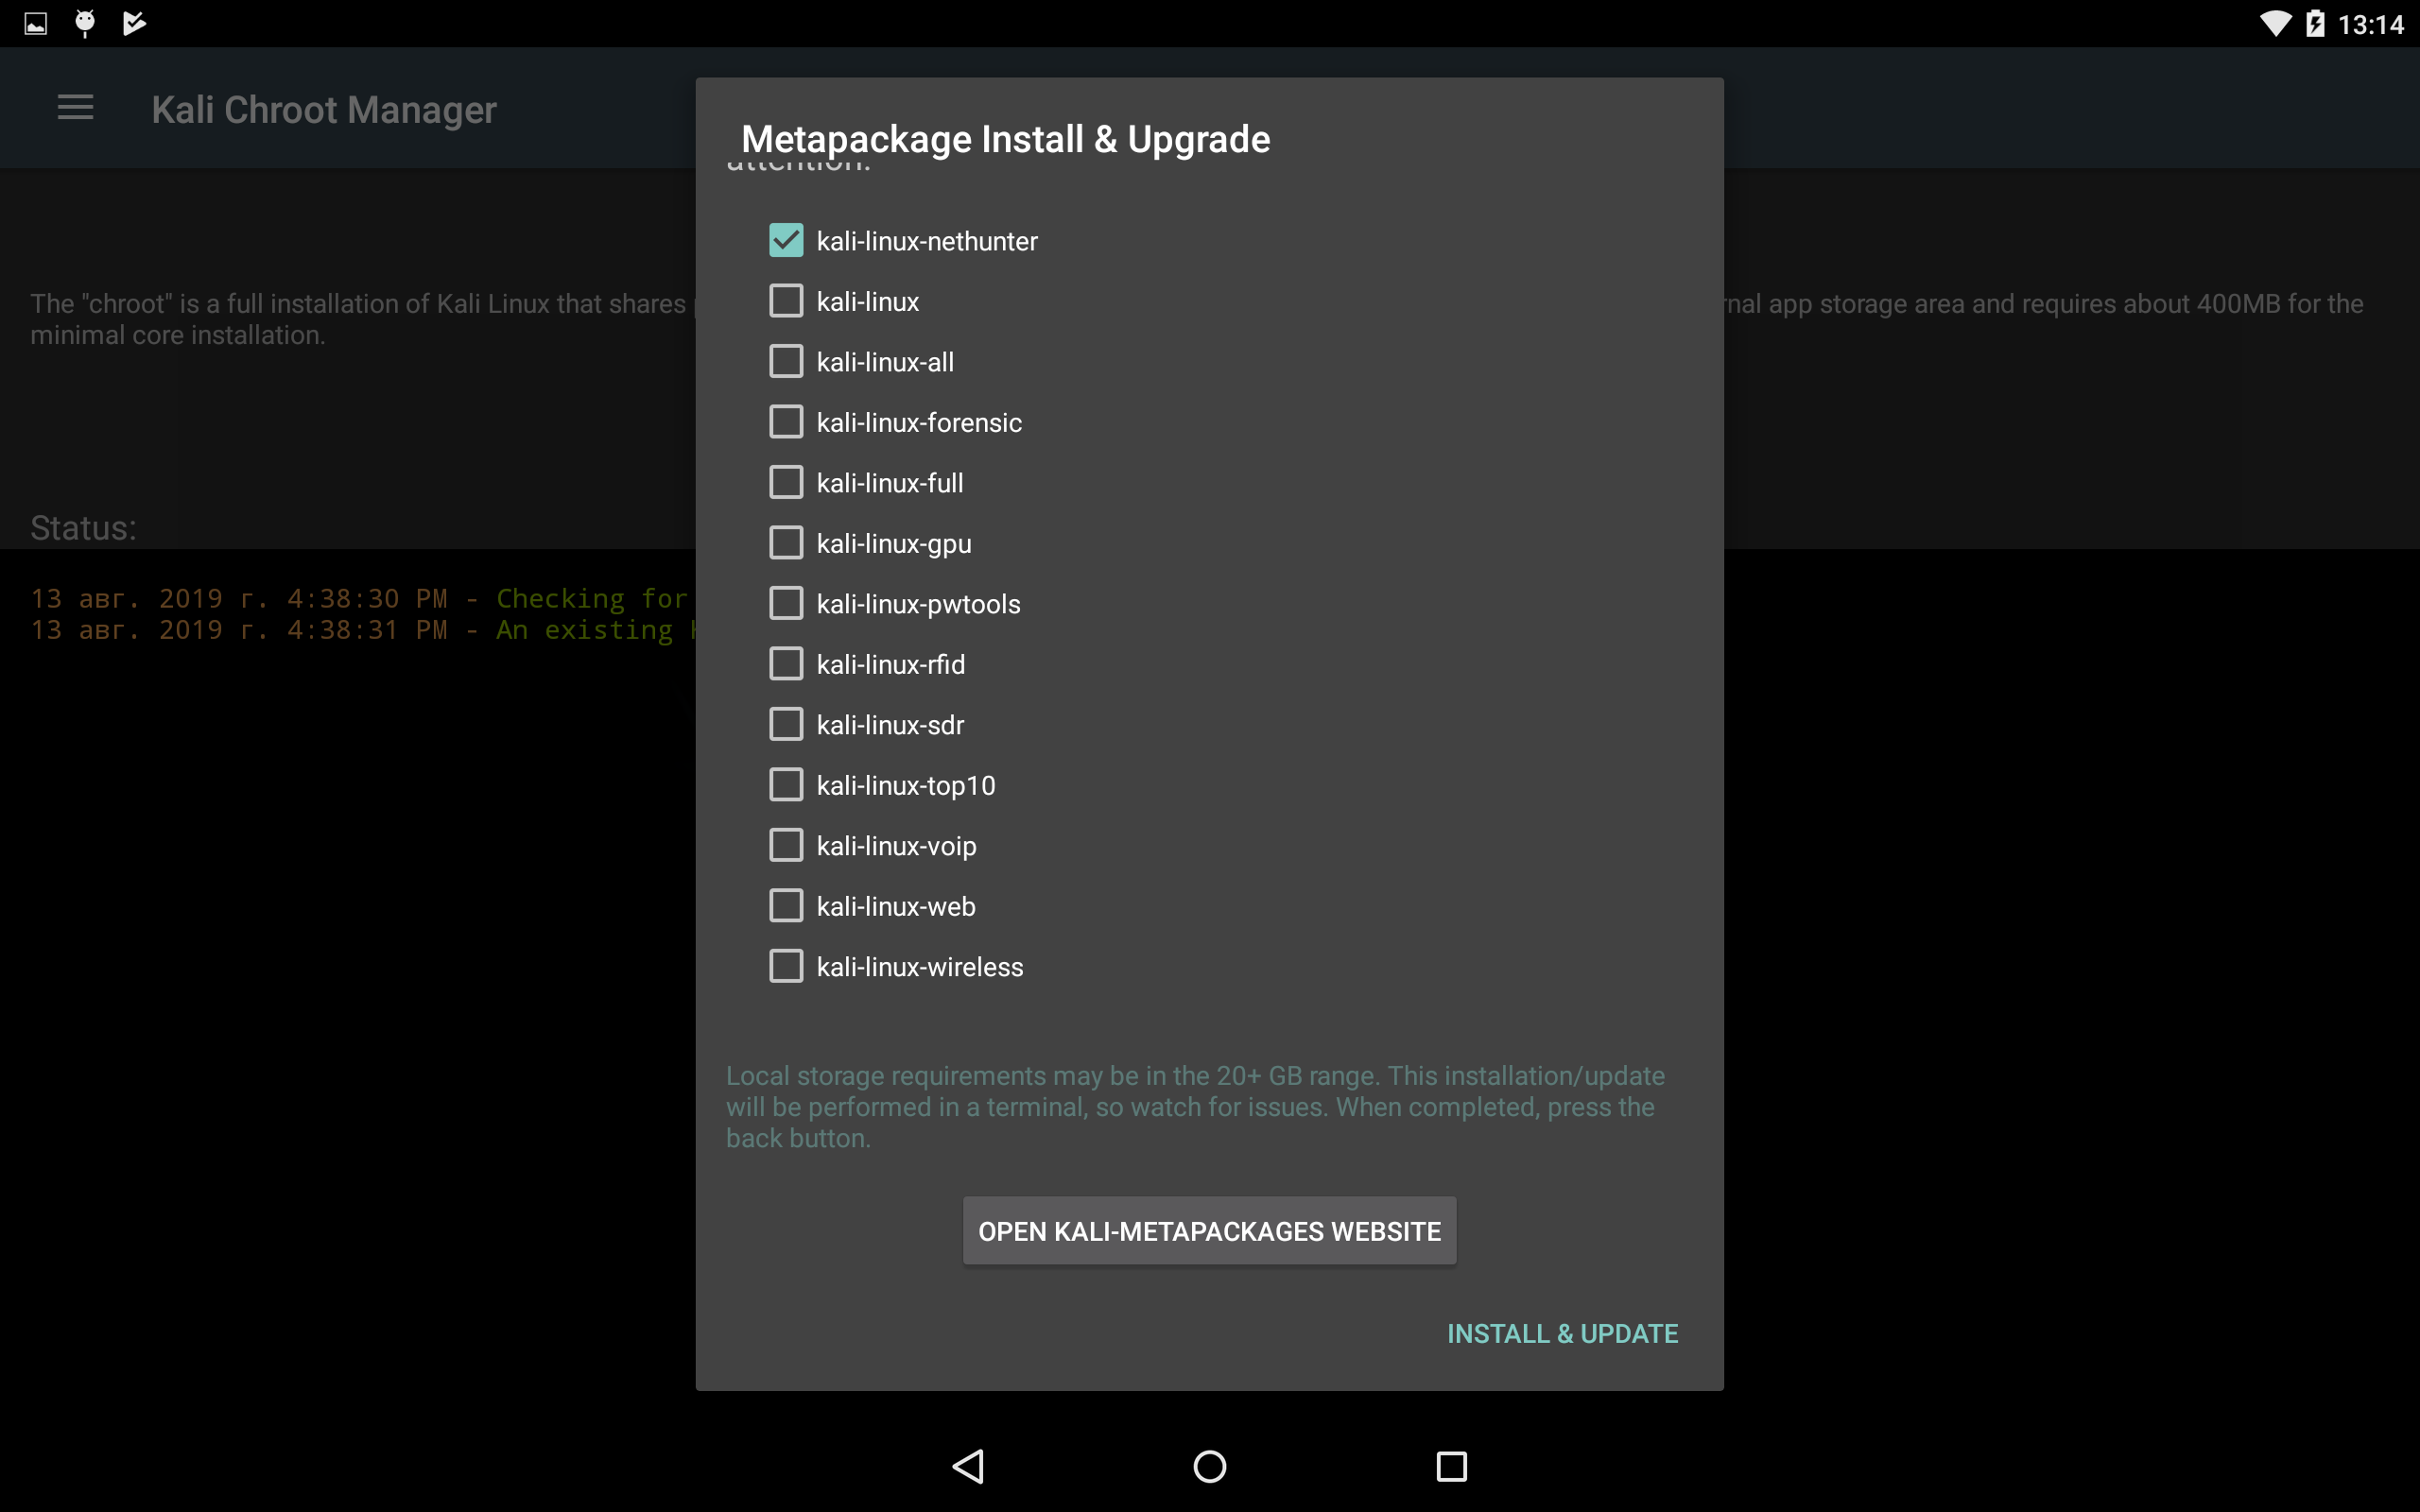
At the bottom there will be a link to the site, which describes which packages are included in each item.
This completes the installation of Nethunter OS, and in the next article we will consider the practical use of our cool-hacker device.

Z.Y. And here is the promised package link
Kali Linux NetHunter is an Offensive Security project. The one that develops the Kali Linux distribution. This is a set of programs and utilities from Kali with the ability to run on Android. It will allow you to take a different look at your favorite device on the “green robot” and always be, if not fully armed, then with a set of master keys familiar to you.
NetHunter is not a full firmware for devices, but is a software add-on. It is supported by many devices: almost all of the Nexus line, some other devices from Sony, OnePlus, ZTE, Samsung. Full list here .
It is installed on the standard firmware of supported devices and on some custom firmware (CyanogenMod and LineageOS). In this case, the core is better to use the standard.
But before you start brimming the neighbor's wi-fi, let's talk in more detail about the installation. Users who have never been involved in flashing devices may experience difficulties.
Installation Preparatory Phase
NetHunter is installed on a rooted device through custom recovery. Therefore, we need to get root and install recovery (for example, TWRP or CM). Before starting the installation, you should make a backup , since in the process of unlocking the bootloader, all personal data will be deleted.
Obtaining root rights on the device is a non-trivial task. The process is very different depending on the device. How exactly this is done for your gadget is worth reading on the thematic forums w3bsit3-dns.com and xda-developers.com. There are cases when unlocking the bootloader and getting root is impossible or extremely difficult. Therefore, when choosing a device, immediately pay attention to the possibility of these actions.
Consider the installation process on the Nexus 10.
We need: high-quality cable, usb ports directly from the motherboard (to minimize the possibility of getting a “brick” from the device), access to the developer's menu and the device itself with a computer. The developer's menu usually opens with a few tapes to the build number in the device information menu. There we turn on USB debugging. A pop-up window will appear with permission to debug - we agree.
USB debugging permission
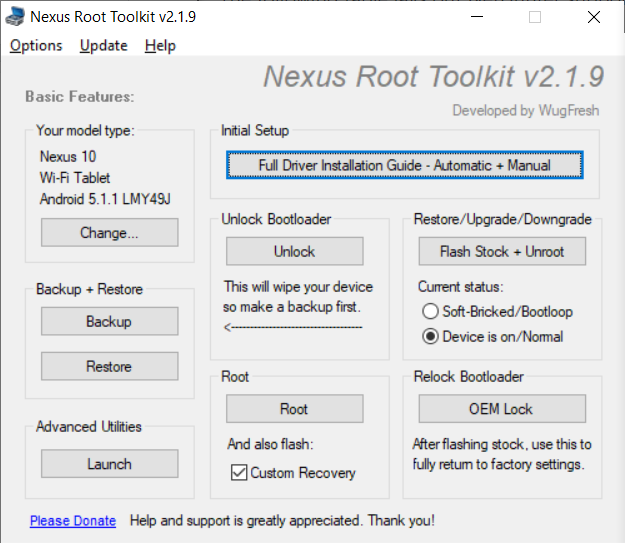
To unlock, I used a special program Nexus Root Toolkit, where everything happens with a few clicks.
1. Run the program. If everything is installed correctly, then our device will appear in the log window. It is worth paying attention to its code name - “manta”. It will be useful to us. The code name of other devices can be found on the Internet.
Nexus Root Toolkit
2. Click the “Unlock Bootloader - Unlock” button, this will delete all data on the device.
The program log will inform us of a successful unlock and reboot the device.
Nexus Root Toolkit v2.1.9
Nexus Root Toolkit v2.1.9 Masterlists: - LatestToolkitFiles.ini 3135 - AndroidDeviceListFull.ini 3135 - AndroidDeviceListFlash.ini 3135 MANTARAY-MANTA: Android 5.1.1 - Build: LMY49J Live log initiated [2019-07-01]: Checking ADB/FASTBOOT Connectivity adb devices R32CA07P1YK device fastboot devices + ADB Device Connected Rebooting your device into bootloader mode... adb reboot bootloader Checking Fastboot Connectivity fastboot devices Retrying.. Checking Fastboot Connectivity fastboot devices Checking Fastboot Connectivity fastboot devices R32CA07P1YK fastboot + Fastboot Device Connected + Confirmed: Bootloader Unlocked. Bootloader Already Unlocked. Rebooting your device.
3. The next step is to get root and immediately install custom recovery (I installed TWRP 3.0.2). Check the “Custom Recovery” box and click on the “Root” button. The program will give us a link to the latest version of TWRP, go, download and specify the path in the program to the image file “twrp * .img”.
Nexus Root Toolkit v2.1.9
Nexus Root Toolkit v2.1.9 Masterlists: - LatestToolkitFiles.ini 3135 - AndroidDeviceListFull.ini 3135 - AndroidDeviceListFlash.ini 3135 MANTARAY-MANTA: Android 5.1.1 - Build: LMY49J Live log initiated [2019-07-01]: Checking ADB/FASTBOOT Connectivity adb devices R32CA07P1YK device fastboot devices + ADB Device Connected Rebooting your device into bootloader mode... adb reboot bootloader Checking Fastboot Connectivity fastboot devices Retrying.. Checking Fastboot Connectivity fastboot devices Checking Fastboot Connectivity fastboot devices R32CA07P1YK fastboot + Fastboot Device Connected + Confirmed: Bootloader Unlocked. Bootloader Already Unlocked. Rebooting your device. Hashchecking... Hash Verified! Importing 'twrp-3.0.2-0-manta.img' into installer... Checking ADB/FASTBOOT Connectivity adb devices R32CA07P1YK device fastboot devices + ADB Device Connected Rebooting your device into bootloader mode... adb reboot bootloader Checking Fastboot Connectivity fastboot devices R32CA07P1YK fastboot + Fastboot Device Connected + Confirmed: Bootloader Unlocked. Flashing Custom Recovery to RECOVERY partition... fastboot flash recovery "C:\***\Recovery_Custom\TWRP\twrp-3.0.2-0-manta.img" Temporarily Booting TWRP... fastboot boot "C:\***\Recovery_Custom\TWRP\twrp-3.0.2-0-manta.img" Checking ADB Recovery Connectivity adb devices R32CA07P1YK recovery + ADB Recovery Device Connected Pushing root files to your device: Pushing "SR1-SuperSU-v2.78-SR1-20160915123031.zip" to your device: adb push "C:\***\Root_Files\SR1-SuperSU-v2.78-SR1-20160915123031.zip" "/sdcard/!ReadyToFlash/Root_Files/SR1-SuperSU-v2.78-SR1-20160915123031.zip" 100% /sdcard/!ReadyToFlash/Root_Files/SR1-SuperSU-v2.78-SR1-20160915123031.zip Hash verifying file transfer: 627c4b98e7bf83293e81d3758accf753 = Local Hash 627c4b98e7bf83293e81d3758accf753 = Device hash + Verified! Pushing "busybox-signed.zip" to your device: adb push "C:\***\Root_Files\busybox-signed.zip" "/sdcard/!ReadyToFlash/Root_Files/busybox-signed.zip" 100% /sdcard/!ReadyToFlash/Root_Files/busybox-signed.zip Hash verifying file transfer: 0ece645c3ca95a10f9a4344300ce0f8f = Local Hash 0ece645c3ca95a10f9a4344300ce0f8f = Device hash + Verified! Pushing "quick-reboot-signed.zip" to your device: adb push "C:\***\Root_Files\quick-reboot-signed.zip" "/sdcard/!ReadyToFlash/Root_Files/quick-reboot-signed.zip" 100% /sdcard/!ReadyToFlash/Root_Files/quick-reboot-signed.zip Hash verifying file transfer: 64384a4285d14f0727ea989c17c8909b = Local Hash 64384a4285d14f0727ea989c17c8909b = Device hash + Verified! Pushing "perm-recovery-signed.zip" to your device: adb push "C:\***\Root_Files\perm-recovery-signed.zip" "/sdcard/!ReadyToFlash/Root_Files/perm-recovery-signed.zip" 100% /sdcard/!ReadyToFlash/Root_Files/perm-recovery-signed.zip Hash verifying file transfer: f63500d8c095c0e749cd78851ba409f8 = Local Hash f63500d8c095c0e749cd78851ba409f8 = Device hash + Verified! Pushing "openrecoveryscript" to your device: adb push "C:\***\Root_Files\openrecoveryscript" "/cache/recovery/openrecoveryscript" 100% /cache/recovery/openrecoveryscript Hash verifying file transfer: 458caf528d2dfc4e040acb6f4b37b5f5 = Local Hash 458caf528d2dfc4e040acb6f4b37b5f5 = Device hash + Verified! Rebooting your device into bootloader mode... adb reboot bootloader Checking Fastboot Connectivity fastboot devices R32CA07P1YK fastboot + Fastboot Device Connected Temporarily Booting TWRP... fastboot boot "C:\***\Recovery_Custom\TWRP\twrp-3.0.2-0-manta.img" Rooting... Waiting for your device... Device Detected Automated Rooting Procedure Complete!
Together with root Supersu and BusyBox are installed. If not installed, you can download them from the Play Market. Next, manually install the BusyBox package through the appropriate application. BusyBox asks for root rights - we definitely agree!
Install BusyBox *
Install Kali Linux NetHunter
NetHunter consists of kernel components (kernel-nethunter) and the software add-in (nethunter-generic) itself. In the release version, all components are collected in one zip archive. There are assemblies where these components are divided into two archives: kernel-nethunter-manta-lollipop - *. Zip and nethunter-generic-arm64-kalifs-full-rolling - *. Zip. To install Nethunter OS, you must first install the kernel through recovery and then software add-ons, or install everything at once using the archive, which includes all the components.
If you are lucky, then the finished release archive for your device is already compiled and is located on the Offensive Security website page. But, if you are unlucky, you will have to collect the installation archive yourself. For this, the developers made a utility from fresh components. You need to download the “nethunter-installer” directory from the GitLab repository. Following the instructions, initialize the device storage with the command:
./bootstrap.sh
After that, using a Python script, we collect the installation archive.
Consider several build options using this script:
- Complete assembly with the kernel and chroot for the Google Nexus 10 (manta) device on Android 5.1.1 Lollipop.
python build.py -d manta -l --rootfs full
I used this build option to install Nethunter OS. I did not find information whether the components of the latest release version or just the latest versions of the components (possibly unstable) are used to build, but I had problems. For example, some NetHunter OS applications were not installed, but their icons (in the form of a green robot) were in the application menu.
- Complete build with kernel and chroot, but with release.
python build.py -d manta -l --rootfs full --release 2019.2
- Build to update the kernel and applications.
python build.py -d manta -l
- Build to update the kernel.
python build.py -d manta -l -k
- Assembly for updating applications without a kernel.
python build.py -d manta -l -nk
The resulting zip archive (in my case nethunter-manta-lollipop-kalifs-full * .zip) is saved to the root of the device and loaded via recovery. For each device, recovery downloads are different.
Nexus 10: “Volume +” + “Volume -” + lock button. Clamp them for a few seconds, bootloader is loaded, use the volume keys to select “Recovery mode” and confirm with the lock button.
In recovery TWRP, select “Install“, select our installer zip file and drag the slider to the right. Installation has gone, after completion we reboot the device.
The installation process through TWRP.
Android will boot and application optimization will begin. As a result, the wallpaper changed, several new programs appeared in the menu, which, unfortunately, were not installed correctly.
Incorrectly installed programs.
This can be easily fixed: we unpack the zip archive and install the applications manually via apk files, which are in the * unpacked zip archive * / data / app. Before this, you should enable the ability to install applications from unknown sources. Now install nethunter.apk first, and then all other applications. We reboot the device and see that the icons began to display normally. I advise you to additionally configure HackerKeyboard, as it is more adapted for working with the terminal.
We launch the terminal, select the Kali terminal. And install the updates:
apt update apt upgrade
Fix Microsoft repository issues:
wget https://packages.microsoft.com/keys/microsoft.asc | sudo apt-key add -
Note that the Kali root home directory is located on
Root section: / data / local / nhsystem / kali-armhf / root.
Install meta packages
Kali meta-packages can be additionally installed through the NetHunter application in the Kali Chroot Manager - Add Metapackages section.
At the bottom there will be a link to the site, which describes which packages are included in each item.
This completes the installation of Nethunter OS, and in the next article we will consider the practical use of our cool-hacker device.
Z.Y. And here is the promised package link
All Articles