For those who do not know, most recently, Ricardo began a new course, which is dedicated to reversing and exploiting. This is a continuation of the previous original author's course, which ended in chapter 67 . I learned about the course right away, as Ricardo signed me up for his CrackLatinos newsletter. After the news appeared, I immediately ran to look for a daddy with an English translation and was very happy when I found him there. A man under the nickname Fare9 tried over the English translation, for which he was honored and praised. I also want to say hi and say thanks to Ilfak Gilfanov for his wonderful tool that is used in every country. Before him, I take off my hat and bow deeply.
We will begin a new course, which will be devoted to exploiting and reversing in WINDOWS using free tools and which can be obtained free of charge from the Internet. (IDA FREE, RADARE, WINDBG, X64DBG, GHIDRA, etc.)
We will not use any paid tool. The idea of the course is not to create competition between different tools, but to learn how to use them. In my case, we will learn to use RADARE and GHIDRA, which are tools that I do not use on a daily basis, and therefore I will try to use them as I can, provided that I am not an expert in these two tools at all. Therefore, if someone sees any mistake or the best way to use them, it would be nice if you let me know about it so that I correct my mistakes and learn something new.
This course begins with the installation of tools, then a small theory of vulnerabilities, and then very simple examples of exploitation that increase in complexity as you learn. In this course there will be no introduction to assembly instructions. All this is in the previous course REVERSING CON IDA PRO, as well as in other previous courses and on many Internet sites. Here we will go directly to the operation and reversing. All those who doubt the assembly instructions can refer to the previous courses to clarify these doubts.
To create my working environment, the first thing you need to do is install the tools.
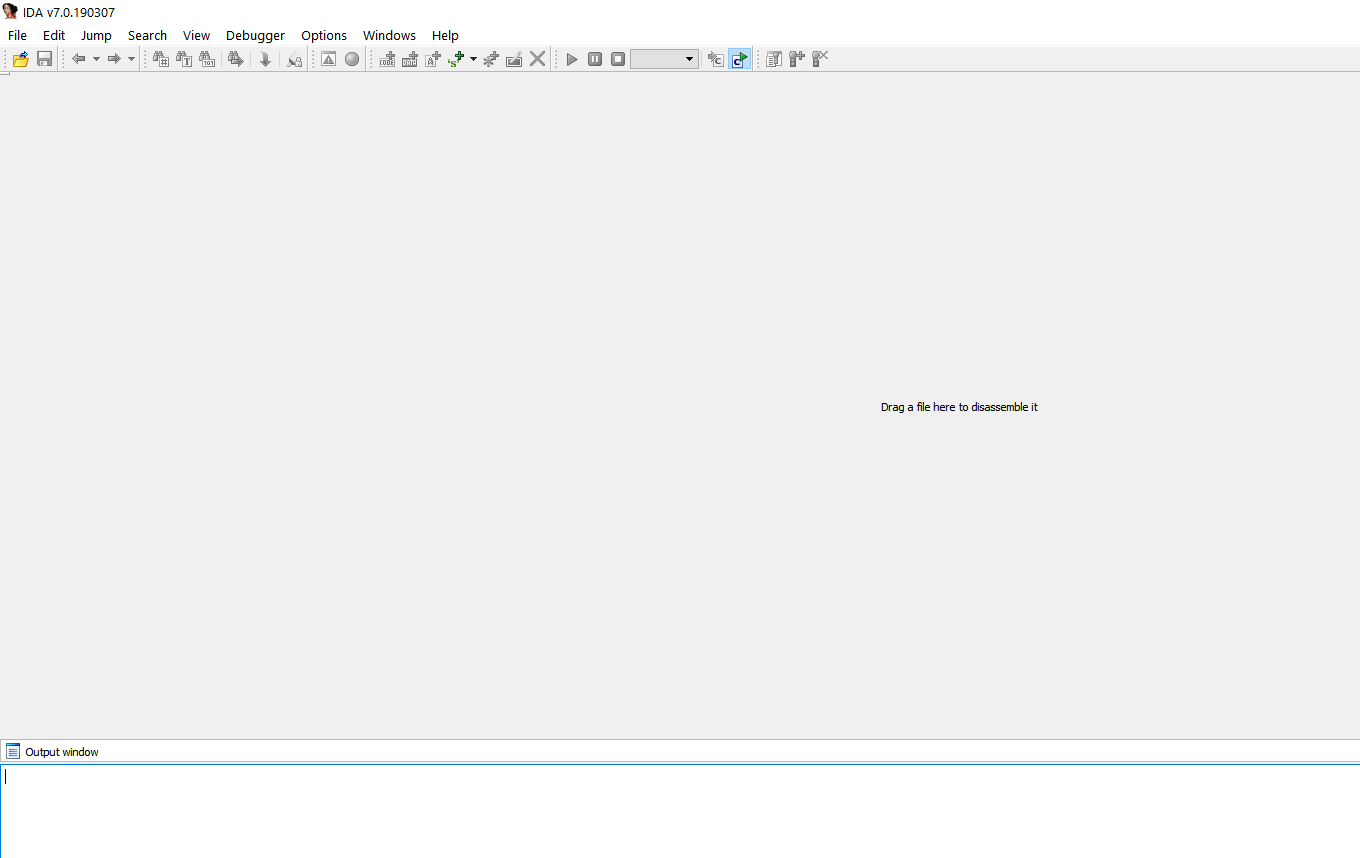
INSTALL IDA FREE
To download IDA FREE, you can follow this link:
https://www.hex-rays.com/products/ida/support/download_freeware.shtml

From here you need to download the IDAFREE70_WINDOWS file, and the installation itself is very simple. Just follow the instructions of the installer and the IDA FREE icon will quickly appear on your computer.
RADARE INSTALLATION
The next step is to install RADARE2.
You just need to go to the project page:
https://github.com/radareorg/radare2/releases
Here we need to find the latest release.
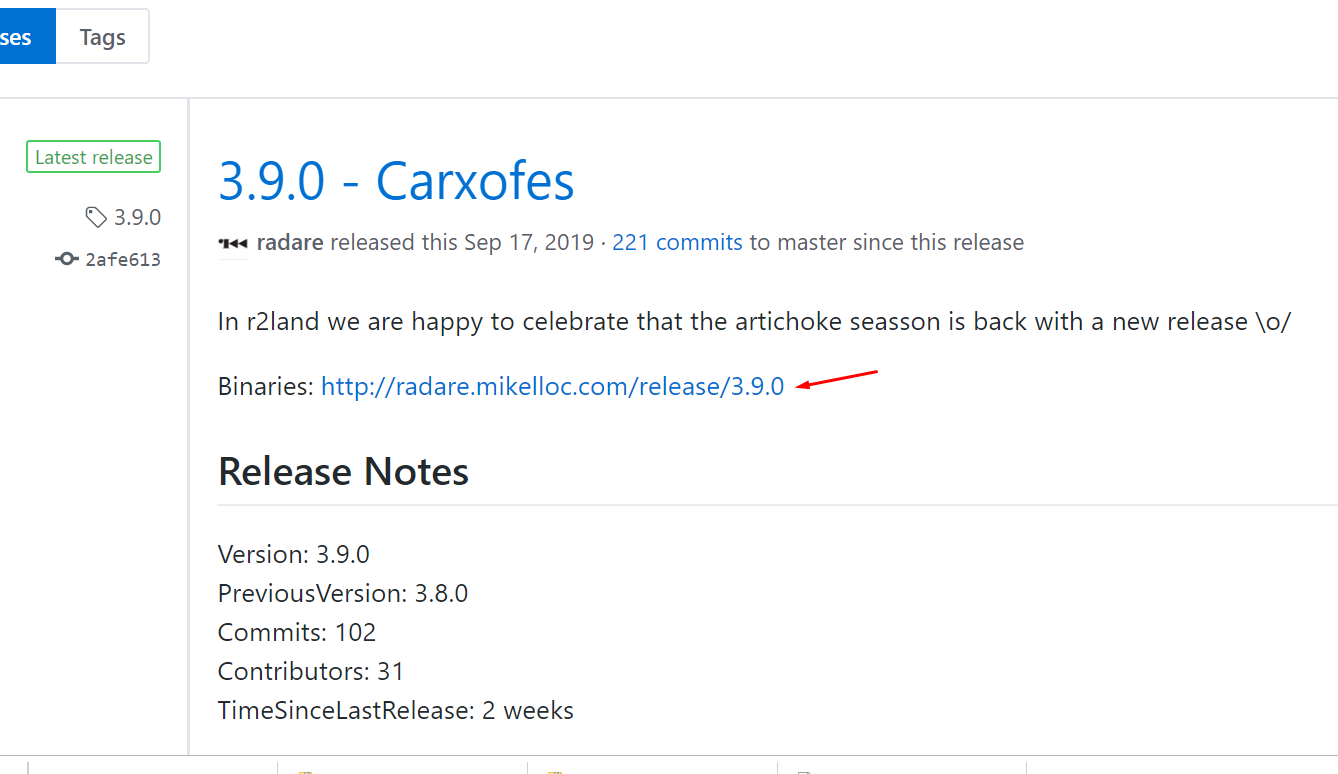
This is currently version 3.9.0. In the future, a new version will be available here. Regardless of which version is currently on the site, we need to download the installer for the latest version for WINDOWS.

Installation is also very simple. Just add the path to the environment variables on which it was set.

Here, add the following lines to the PATH environment variable:
C:\Users\<nombre_de_usuario>\AppData\Local\Programs\radare2
C:\Users\<nombre_de_usuario>\AppData\Local\Programs\radare2\bin

The idea is that on the command line (CMD) we can enter RADARE2 and run it.

INSTALLING GHIDRA
Installing GHIDRA is also very simple. You just need to go to the project page.
https://ghidra-sre.org/

Here you need to download the ZIP archive. In my case, it was called GHIDRA_9.1-BETA_DEV_20190923.ZIP, and I unpack it, for example, on the desktop. I am creating a VMWARE virtual machine without an Internet connection, which I will use only for GHIDRA. I don’t trust the NSA (what a paranoid thing, approx. Yashi), so it’s better to work like that.
After unpacking, you should install JAVA. You can download it through the ORACLE page or from other sites. In my case, I need to download this installer and after the installation is complete, add the path to the JAVA BIN location, to the environment variables.
Version 11 on the GHIDRA page says that it is the most suitable.
Those who have already played around with GHIDRA also say that version OPENJDK 11 is best for it.
https://adoptopenjdk.net/releases.html?variant=openjdk11&jvmVariant=hotspot


After loading the installer, you have the opportunity to add the path to the JAVA.EXE binary file through the PATH environment variable.

After completing the JAVA installation, you can start GHIDRA.

Just run this BAT nickname and GHIDRA will start loading.

Good. Almost everything is ready for us.
INSTALL X64DBG
New snapshots for this debugger come out almost daily.
https://sourceforge.net/projects/x64dbg/files/snapshots/
Of course we need to download the latest build at the moment.

In my case, this is a snapshot called SNAPSHOT_2019-10-14_00-57.ZIP
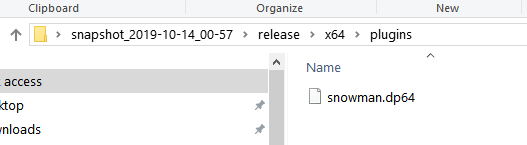
As soon as we unpacked the archive, go to the RELEASE folder.

When launched as an administrator, a launcher will appear for us, so that we can choose the 32-bit or 64-bit version of the debugger, depending on what we need.


We can download the SNOWMAN plugin for decompilation, since IDA FREE does not come with the decompilation plugin and add it to the plugins folder.

https://github.com/x64dbg/snowman/releases/tag/plugin-v1
The 32-bit version of the plug-in must be copied to the plug-ins folder for the 32-bit version of the debugger and the same for the 64-bit version of the plug-in.

INSTALL WINDBG
If you use WINDOWS 10, then install the WINDBG debugger through the MICROSOFT store. Just search for the WINDBG keyword and install it from there.

WINDBG PREVIEW, which is the newest version, will be automatically installed from the store. If you use WINDOWS 7, you will have to install an earlier version of WINDBG.
https://drive.google.com/open?id=1UEPBecOoir-nhyRK-RHOAhRq05ZtlW1y
There are several different versions, very old and not very.

These are the latest version of debuggers for WINDOWS 7 that I have. If they do not suit you, then there are some previous versions in the OLD VERSIONS folder.
The next step is to configure the characters for WINDBG, create a folder called SYMBOLS on the C: \ drive, and then go to the environment variables and add the _NT_SYMBOL_PATH variable.

This variable must be assigned the following value:
SRV*c:\symbols*http://msdl.microsoft.com/download/symbols
After that, we will install WINDBG PREVIEW.

You can then install some kind of hex editor, such as HxD, which is free.
https://mh-nexus.de/en/hxd/

INSTALL PYTHON
We will install the latest PYTHON 3 to be able to create exploits for each exercise.
https://www.python.org/downloads/

This is the latest version that exists at the moment when I write this line. I’ll upload it.
PYTHON-3.8.0-AMD64.EXE
To add the path to the executable file PYTHON.EXE to the PATH environment variable in the installer you need to put a check box and it will do it automatically for you.
Usually the path looks like this:
C:\Users\XXXXX\AppData\Local\Programs\Python\Python38
The PYTHON38 folder will be named differently depending on the version.
We need this to run PYTHON from the command line.

INSTALLING PYCHARM COMMUNITY
https://www.jetbrains.com/pycharm/download/

In my case, PYCHARM-COMMUNITY-2019.2.3.EXE is the latest version. For you, it may be different.

After installation, we need to create a project.

In the RUN → DEBUG menu, you can see the interpreter that will process our commands.

Also in SETTINGS find PROJECT INTERPRETER and make sure that PYTHON 3.8 or the one you use in your case is detected.

Then I create the PEPE.TXT file, rename it to PEPE.PY and drag it into the editor:

I write a small piece of code, and start it with the RUN button, and the interpreter should print the following value to me - 2248.


PYCHARM should automatically complete the text. Also, if we select with the mouse, for example, the word OS, then when we press the CTRL key, the corresponding os library should open.

This concludes the first part. It is dedicated to installing the tools that we are going to use. The second part will be devoted to buffer overflows, a small theory, and we will do the first simple exercises that we will take together, the others I will leave for you. Also do not forget about the homework that I will leave for you. Practice is much more important than theory; without it, nowhere.
See you in the second part.
RICARDO NARVAHA (WWW.RICARDONARVAJA.INFO)
10/18/2019
You can pick up a beautiful PDF here yasha.su/IDAFREE1.PDF