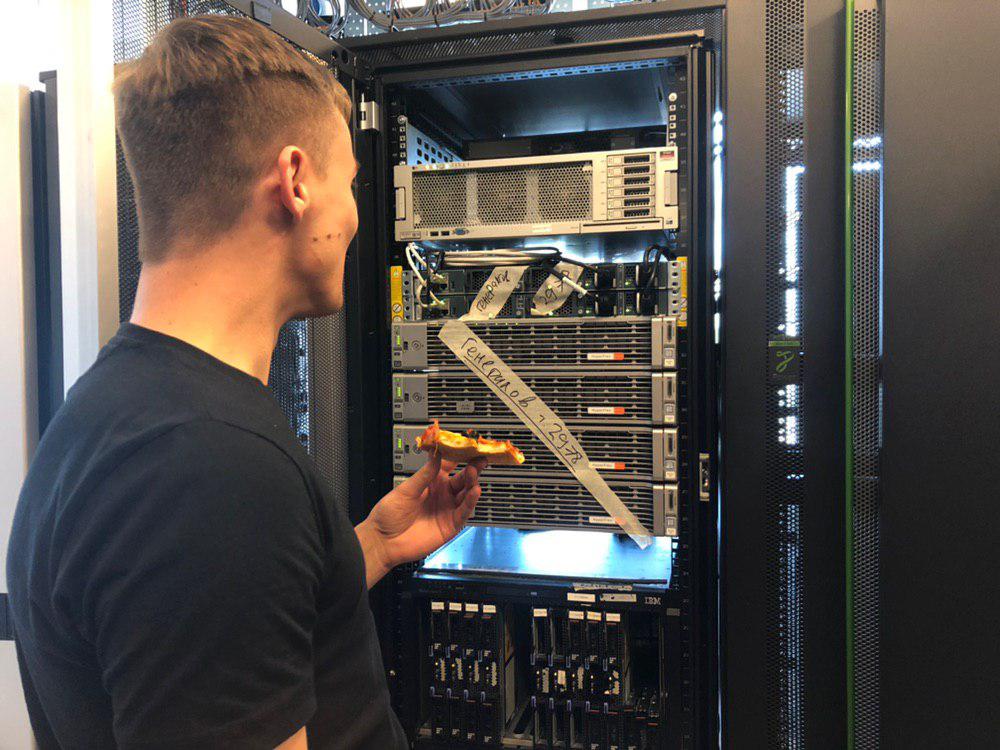
- Yes, this data center can be deployed and configured while you order pizza!
I threw these words at the meeting, and the reckoning came immediately. A colleague suggested ordering pizza. The loser pays: if I manage to collect the data center, then she, if I do not have time, then I.
Heck!
All in all, meet the stress test: Cisco’s hyper-converged solution with a simple anti-pizza setting.
What it is
Hyperconverged solution from Cisco came to our test. Here is the last post with the test itself and hardware details.
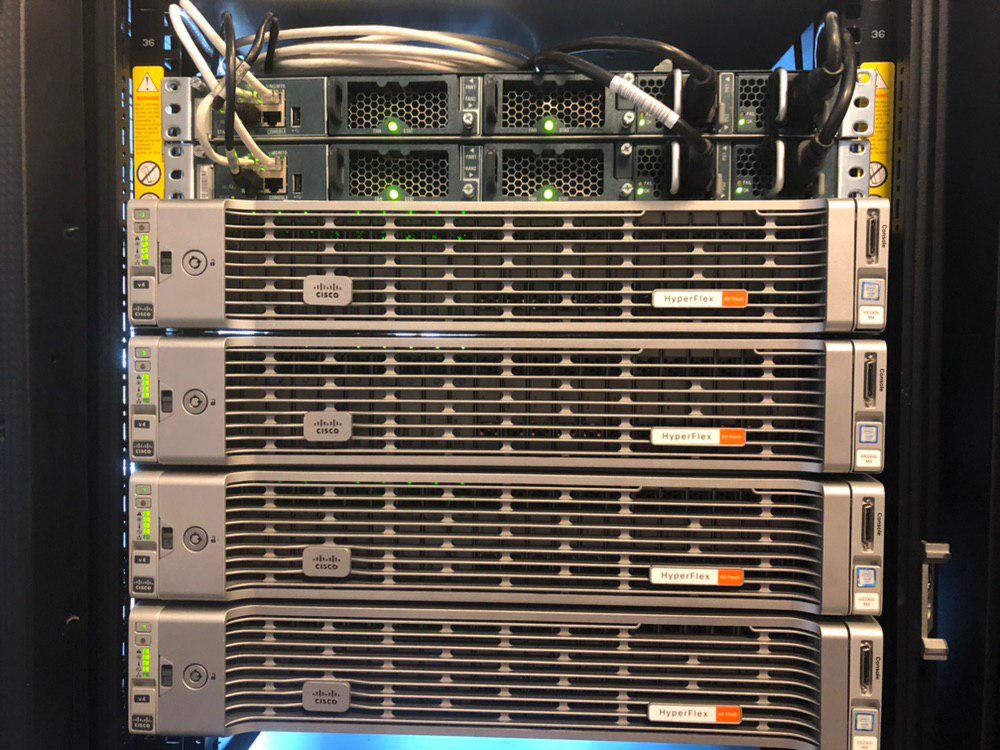
What do we have:
- Four Cisco UCS HXAF240 M4 Storage Nodes.
- Two Cisco UCS Fabric Interconnect 6248UP.
- Existing vCenter to add a cluster there.
- Switch with ports operating at a speed of 10 Gb / s (in production, please use two switches for fault tolerance).
Let's get started.
12:28
I mounted and connected the glands in advance. We connect the servers to FI, we connect the FI pair to the 10G switch.
Around this time, my colleague Marina installed the application and figured out the order.

12:35
The countdown of the order went. The SLA vendor has one hour for delivery, and that should be enough for me. Went to initialize the cluster FI.
The cluster can be initialized from the web console if you have DHCP in the network, or connect to the FI COM port and enter all the data. I prefer the old reliable way through the console (standard speed - 9,600).
To initialize the first FI, we enter the IP management and cluster IP, the password for the admin account and the DNS settings, if desired.
The second FI sees that he already has a neighbor, and offers to add himself to the cluster.Enter the configuration method. (console/gui) ? console
Enter the setup mode; setup newly or restore from backup. (setup/restore) ? setup
You have chosen to setup a new Fabric interconnect. Continue? (y/n): y
Enforce strong password? (y/n) [y]: n
Enter the password for "admin":
Confirm the password for "admin":
Is this Fabric interconnect part of a cluster(select 'no' for standalone)? (yes/no) [n]: yes
Enter the switch fabric (A/B) []: A
Enter the system name: HX
Physical Switch Mgmt0 IP address : XXX.XXX.XXX.XXX
Physical Switch Mgmt0 IPv4 netmask : XXX.XXX.XXX.XXX
IPv4 address of the default gateway : XXX.XXX.XXX.XXX
Cluster IPv4 address : XXX.XXX.XXX.XXX
Configure the DNS Server IP address? (yes/no) [n]:
Configure the default domain name? (yes/no) [n]:
Join centralized management environment (UCS Central)? (yes/no) [n]:
Following configurations will be applied:
Switch Fabric=A
System Name=HX
Enforced Strong Password=no
Physical Switch Mgmt0 IP Address= XXX.XXX.XXX.XXX
Physical Switch Mgmt0 IP Netmask= XXX.XXX.XXX.XXX
Default Gateway= XXX.XXX.XXX.XXX
Ipv6 value=0
Cluster Enabled=yes
Cluster IP Address= XXX.XXX.XXX.XXX
NOTE: Cluster IP will be configured only after both Fabric Interconnects are initialized
Apply and save the configuration (select 'no' if you want to re-enter)? (yes/no): yes
Applying configuration. Please wait.
Configuration file - Ok
Cisco UCS 6200 Series Fabric Interconnect
Colleagues from Dodo provided photos of the pizza baking process (this is a different pizza, not the one that arrived, but the same one):Enter the configuration method. (console/gui) ? console
Installer has detected the presence of a peer Fabric interconnect. This Fabric interconnect will be added to the cluster. Continue (y/n) ? y
Enter the admin password of the peer Fabric interconnect:
Connecting to peer Fabric interconnect... done
Retrieving config from peer Fabric interconnect... done
Peer Fabric interconnect Mgmt0 IPv4 Address: XXX.XXX.XXX.XXX
Peer Fabric interconnect Mgmt0 IPv4 Netmask: XXX.XXX.XXX.XXX
Cluster IPv4 address : XXX.XXX.XXX.XXX
Peer FI is IPv4 Cluster enabled. Please Provide Local Fabric Interconnect Mgmt0 IPv4 Address
Physical Switch Mgmt0 IP address : XXX.XXX.XXX.XXX
Apply and save the configuration (select 'no' if you want to re-enter)? (yes/no): yes
Applying configuration. Please wait.
Configuration file - Ok
Cisco UCS 6200 Series Fabric Interconnect


12:41. Configure FI Cluster
Most of the settings will be made by the HyperFlex installer, but we need to specify the port roles for FI (the AI has not yet been implemented in the installer, and it cannot yet guess what and where we connected it). In our case, we need to specify the ports where the servers are connected (Server Port), and specify the uplinks to the upstream switch (Uplink Port).

After raising the server ports, UCSM (Cisco UCS Manager - controls FI and servers, turns on FI) will find our servers behind them and begin to initialize them. It will take some time.
At that time:


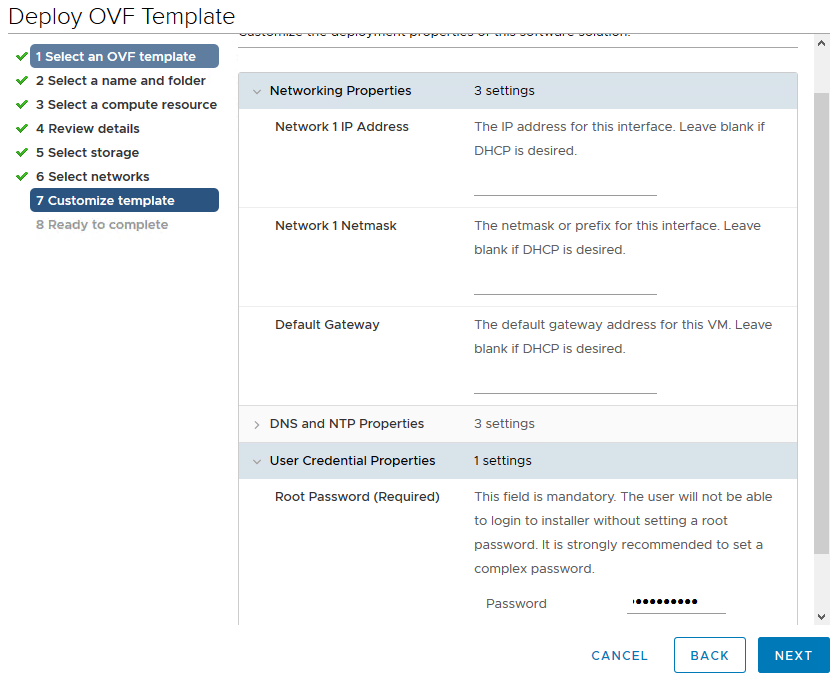
12:45. HyperFlex Installer Casting
The HyperFlex installer comes as a template. There is nothing interesting here: we are pouring the OVA-template, simultaneously entering the IP and password data for access to the installer. I am lazy, so I gave everything up to DHCP and entered the password a couple of times. A VM is needed only when creating a cluster and operations such as adding nodes to a cluster, creating a Metro cluster, or updating it. Therefore, it can be turned off and not waste resources.


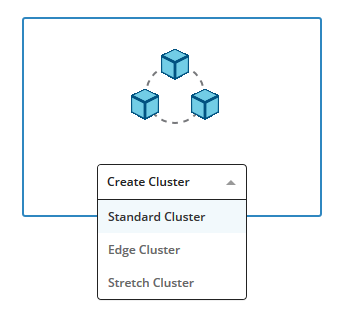
13:05. Configure HyperFlex Cluster
UCSM found our servers, determined the configuration and is ready to proceed.
We look at the installer address and connect to its WEB interface, select the item for creating a standard cluster.
Enter the IP and credentials from UCSM and vCenter.
Select the servers to add to the cluster.
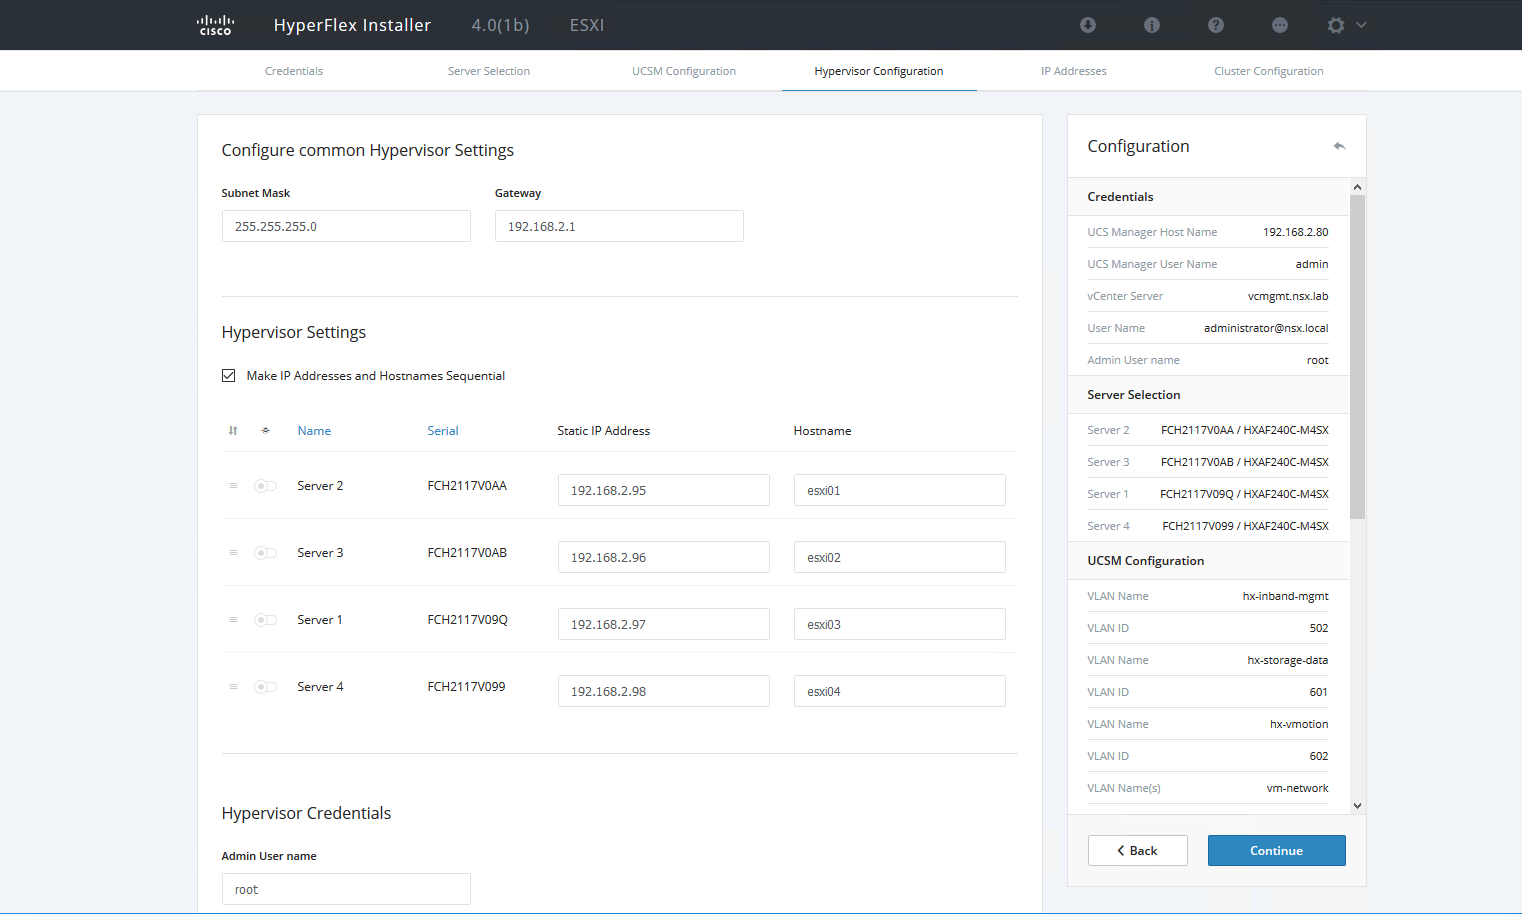
Next, we need to specify the VLAN and addressing for the management network, vMotion, a network for synchronizing data between nodes and a network for hosting virtual machines.
We select the servers that we want to add to the cluster, specify the addressing for hypervisors and a new root password.
Click Next a couple of times and go drink tea.
This is the longest stage because the installer creates profiles for servers in UCSM, connects to the hypervisor and makes all the settings, spills the service VM on each host, adds servers to vCenter.
In this case, the installer reports on the current step and the errors that have occurred. If the password or VLAN is entered incorrectly, it will be offered to correct the data and start from the last successful stage.
Pizza has arrived!
Damn pizza delivered much faster than I would like. This is the first time I regret bringing her earlier.

1:55 p.m. Creating Datastores
The installer has completed its work, and the cluster is actually ready. For full-fledged work, we do not have enough datastores. We go to the HyperFlex management controller webcam and select the Datastores section.
By default, servers are created with standard switches (vSwitch) and one VLAN for VM networks. But you can create a distributed switch (all service networks remain on the standard) and additionally cut new VLANs, there will be no problems. In addition, UCS has the ability to integrate with Cisco ACI, which will also not be superfluous for Cisco SDN owners.

Everything. The total data center setup time is one and a half hours. Pizza delivery - just under 40 minutes with an SLA of one hour. Well, at least it was comparable. Bottom line: 1 hour 30 minutes, I managed to deploy a cluster and eat.
References
- Solution tests
- My mail is StGeneralov@croc.ru.