Writing in Java for Nintendo DS
Introduction
It all started with the fact that I accidentally found a list of homebrew programs (programs developed by the efforts of users for devices not designed to run user software) for Nintendo DS and I saw one very interesting line in it, namely: “Pstros NDS - MIDP implementation run on the CLDC java machine compiled for NDS. "
Being a big fan of Java and Nintendo DS, I decided to figure out what kind of beast this is and, if possible, try to write my application for this JVM. Those who are interested in asking for a cat.
Pstros nds
After downloading the treasured archive from the site, I began to research it. After reading the readme, it turned out that Pstros NDS is a KVM port (Java virtual machine developed by Sun Microsystems) for the Nintendo DS. As follows from articles on the Internet ( article 1 , article 2 ), this Java-machine is designed for small devices with a limited amount of RAM, and belongs to a subset of Java platforms - J2ME.
J2ME Architecture
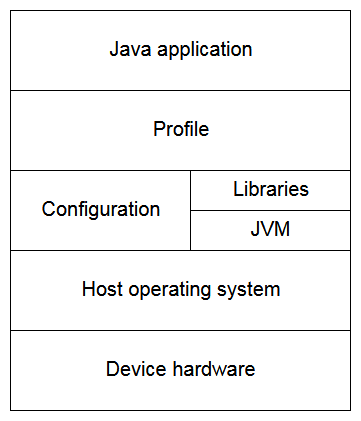
J2ME has a modular architecture in which configurations and profiles are the core elements.
A configuration is a specification that describes the available tools for development for a specific family of mobile devices (a set of Java language features, virtual machine features and capabilities, minimum supported libraries).
The profile extends and complements the configuration functions for a specific mobile device. It makes it possible to work with a graphic display, communication functions, specific peripherals (in our case it is a touchscreen).
The J2ME architecture diagram is presented below:
Launch homebrew
You can’t just run Nintendo uncertified software on the console. To solve this problem, special flash cartridges were created (in fact, most likely they were created to launch pirated copies of games, and homebrew was a by-product, but the story is not about that).
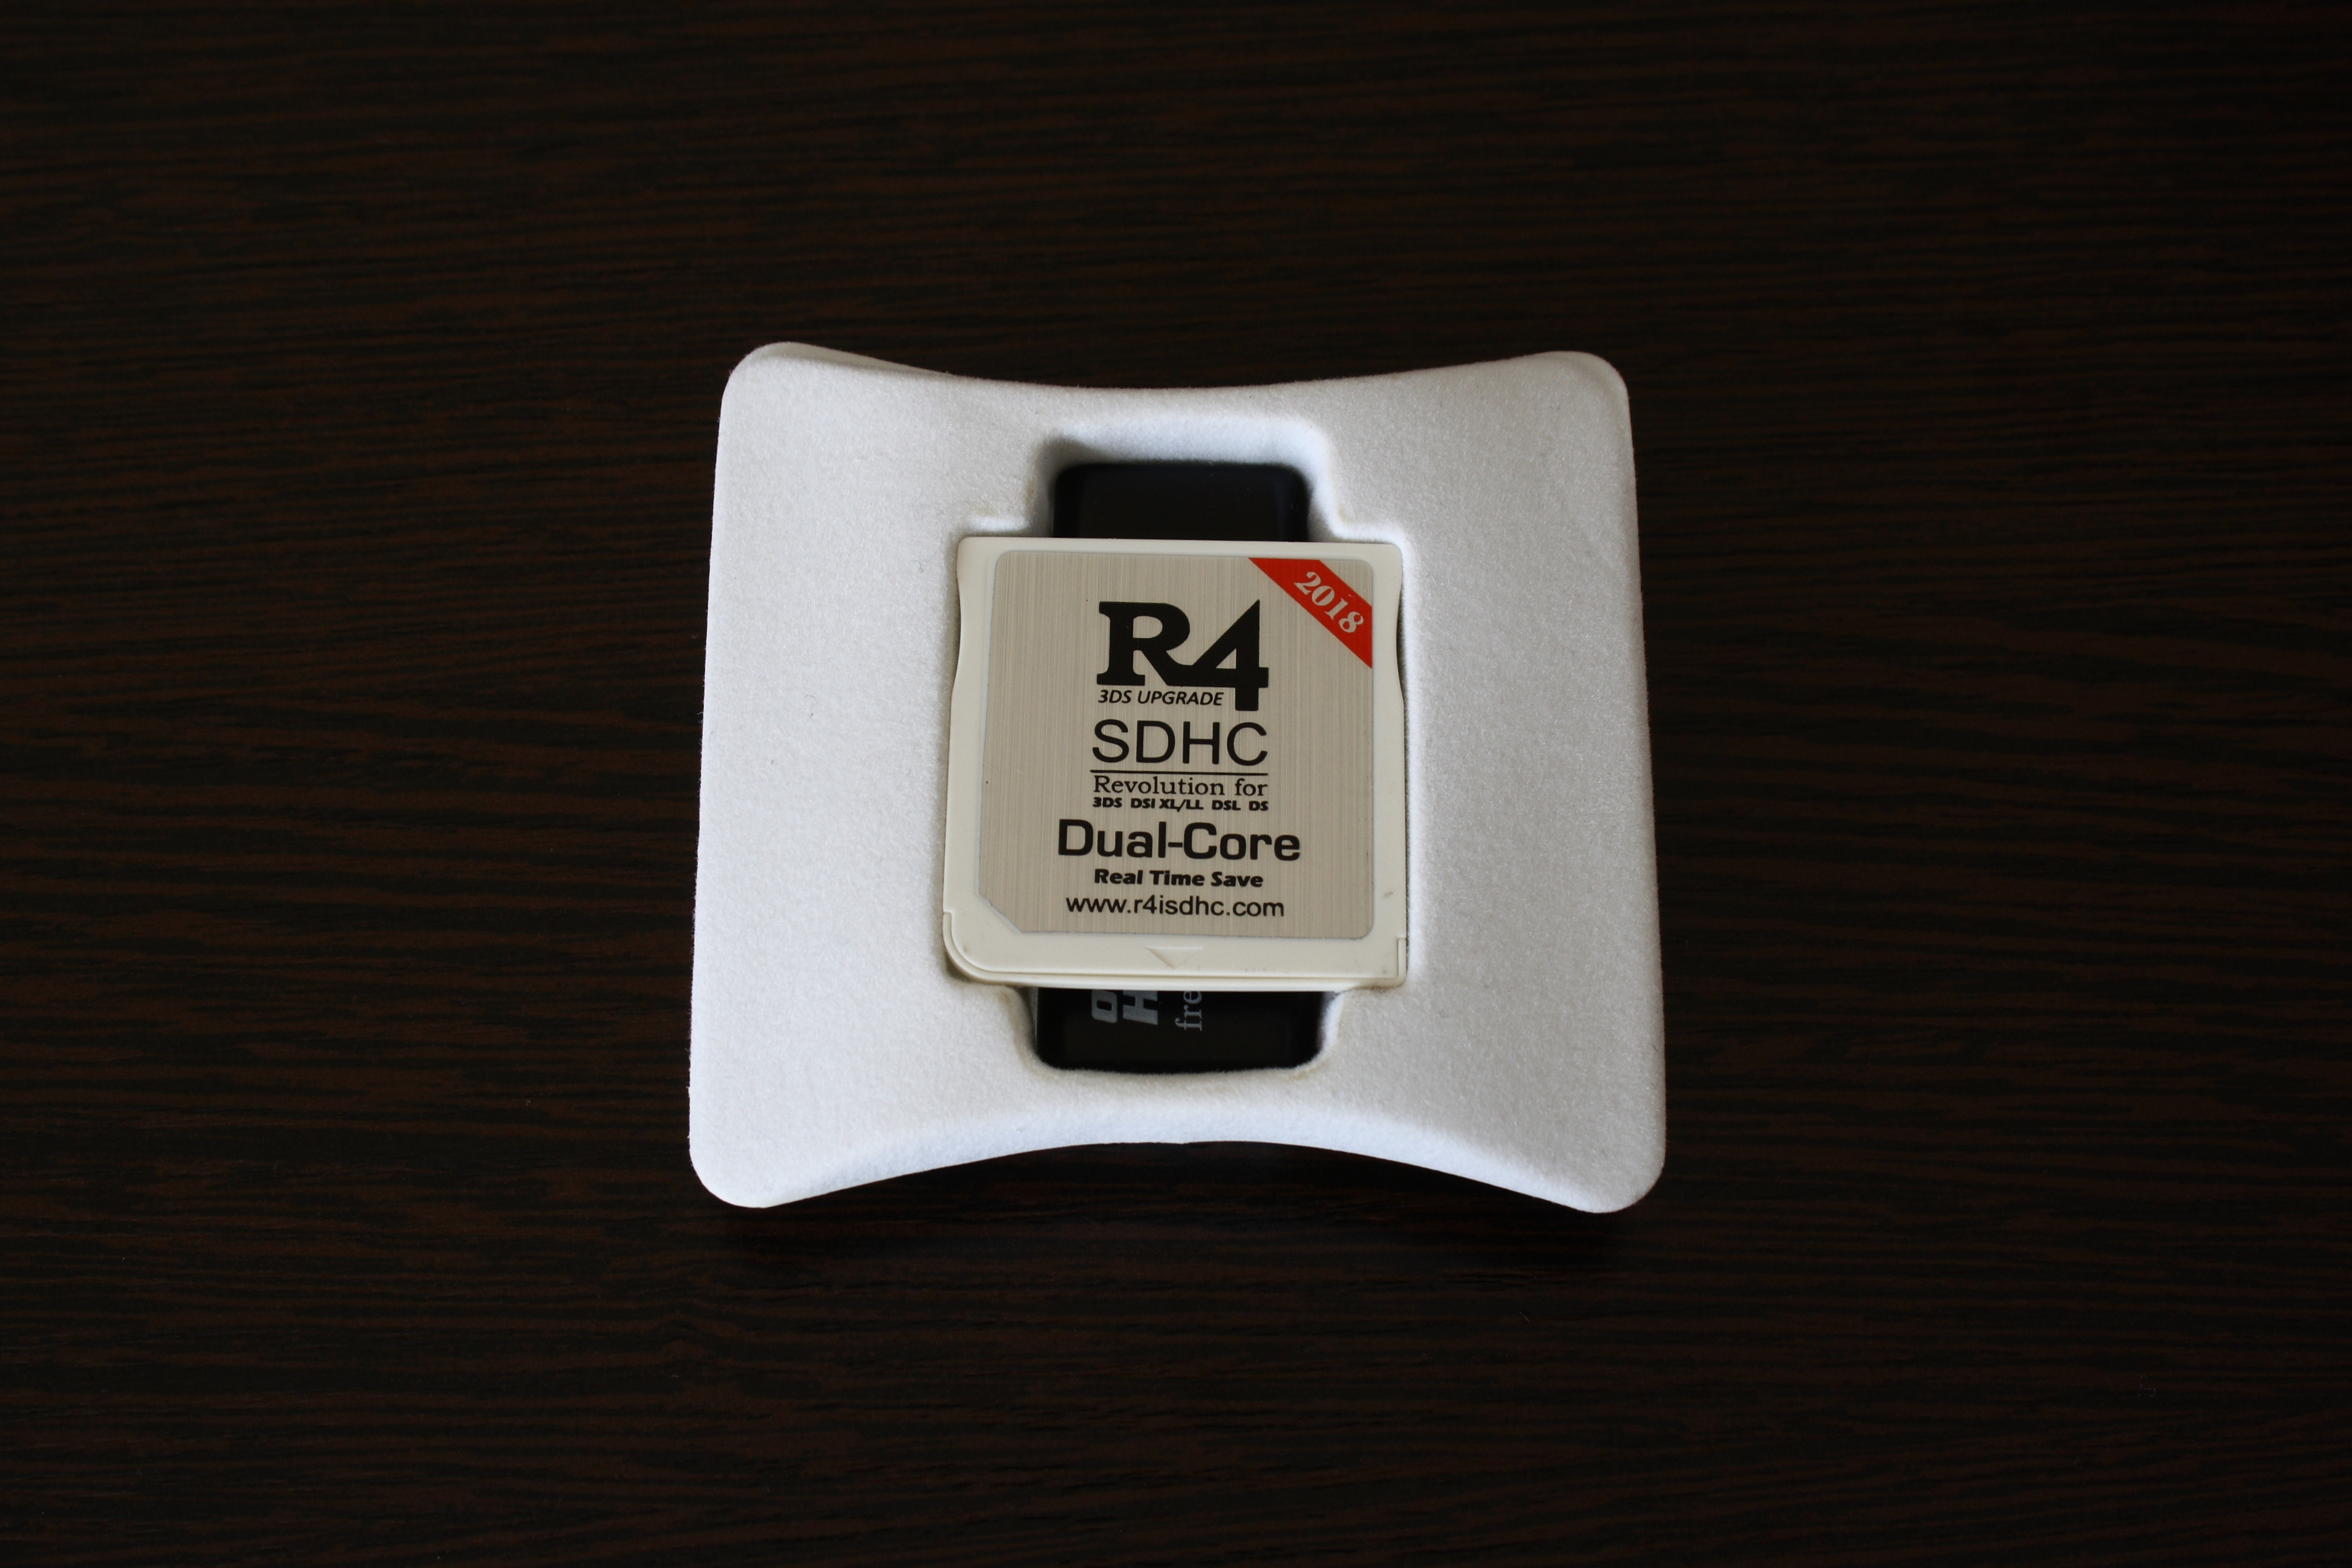
There are many options for flash cartridges on AliExpress at affordable prices. For myself, I ordered the R4i Dual Core. Using it is extremely simple: just unzip the special archive into the microSD root, upload a file there with a Java machine in jvm format, insert a flash cartridge into the console and you can use it.
The first launch of KVM
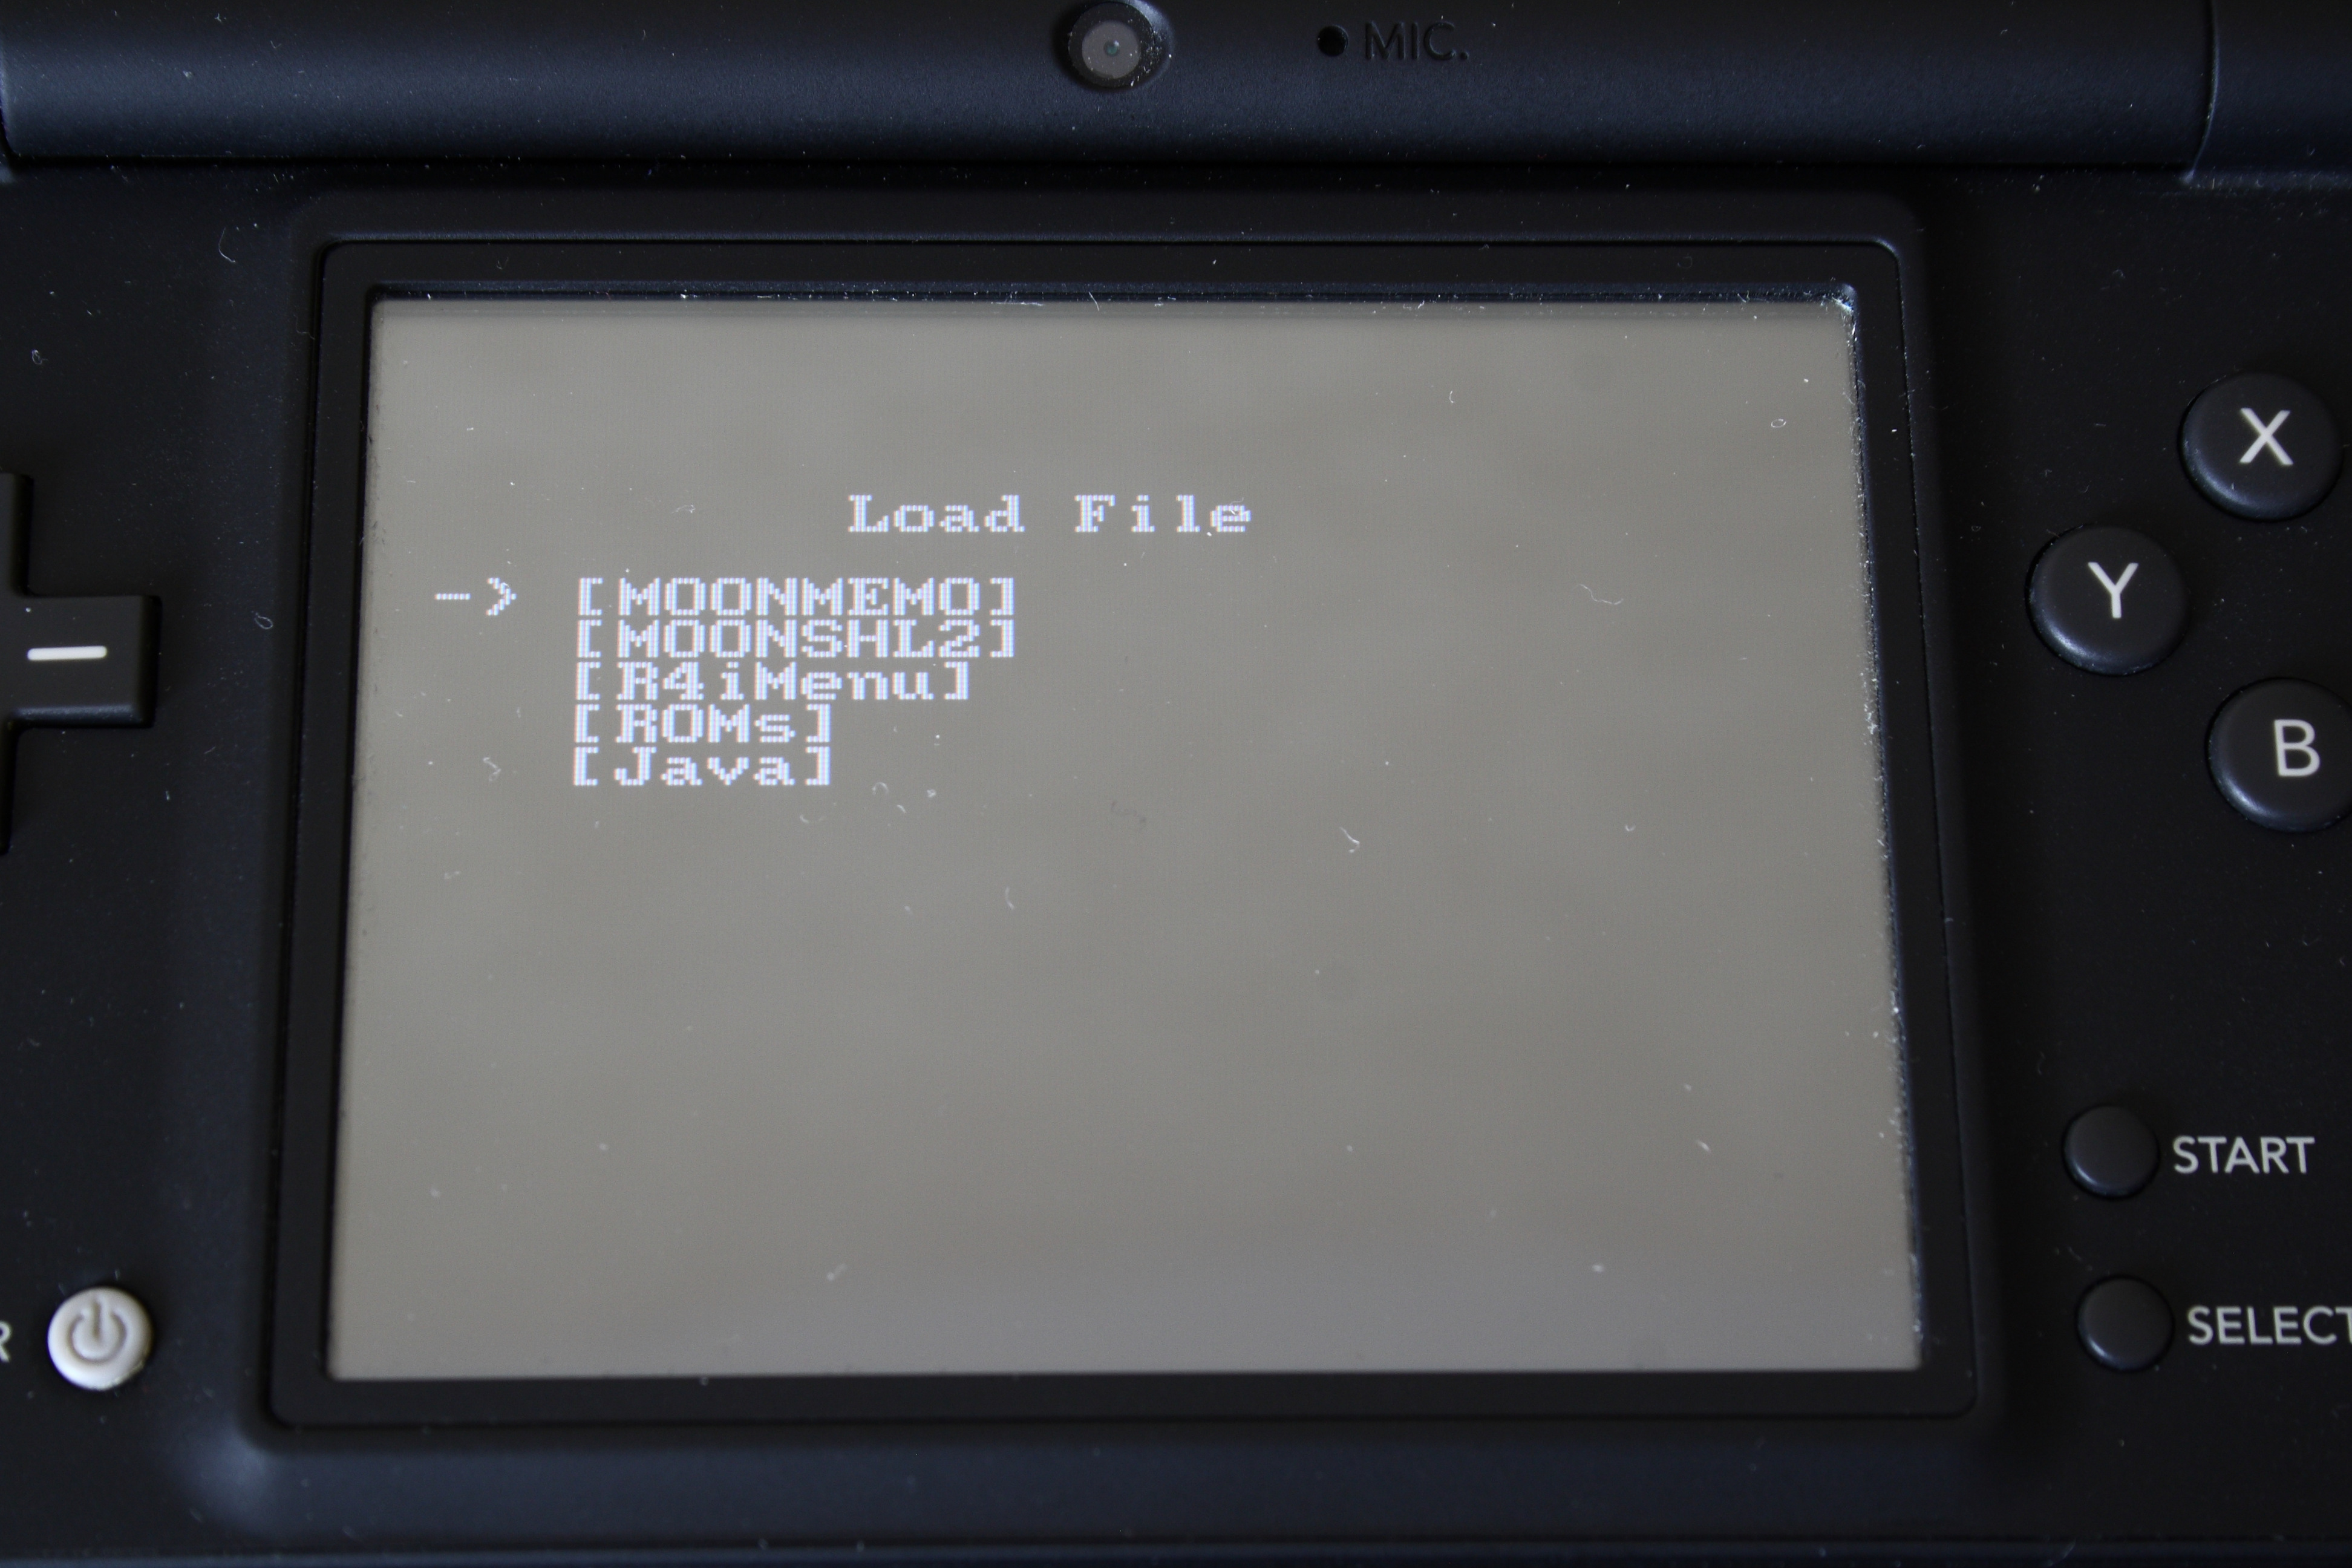
The Pstros NDS archive has several examples of java programs. To run these programs, you need to put them anywhere on the microSD flash cartridge. After starting kvm.nds, you will be able to select files on the file system:
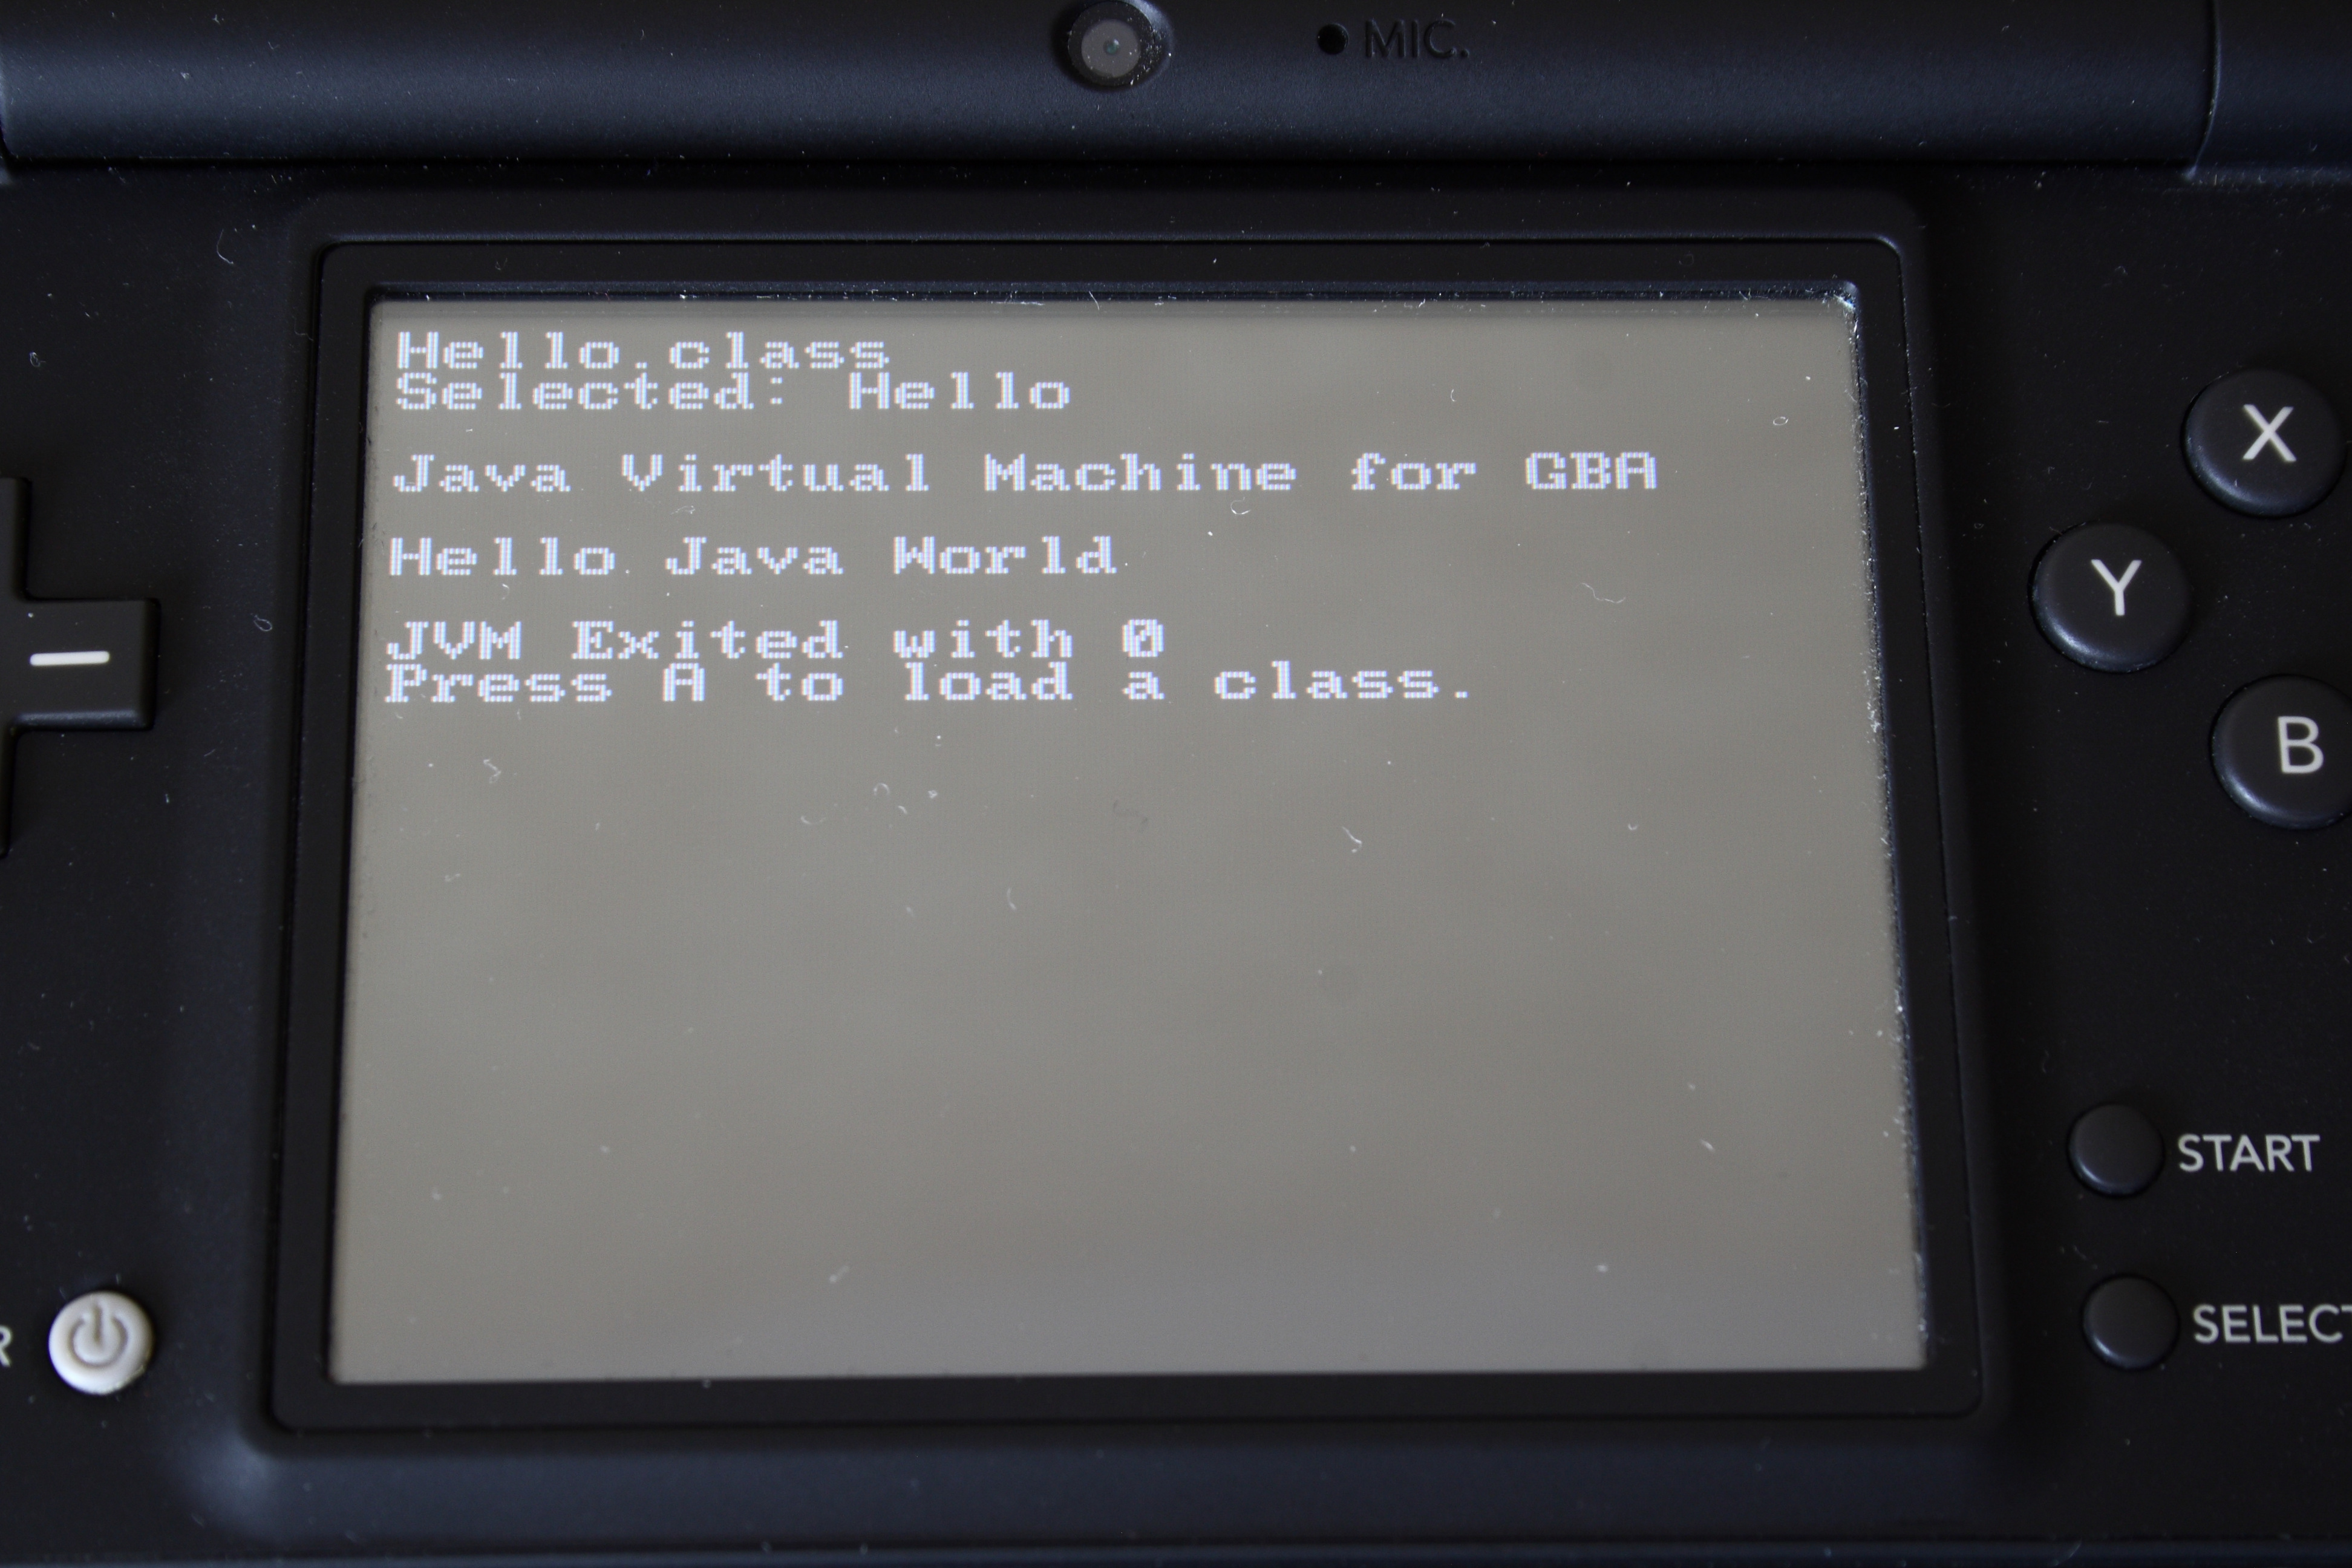
Having selected the file Hello.class we will see the following:
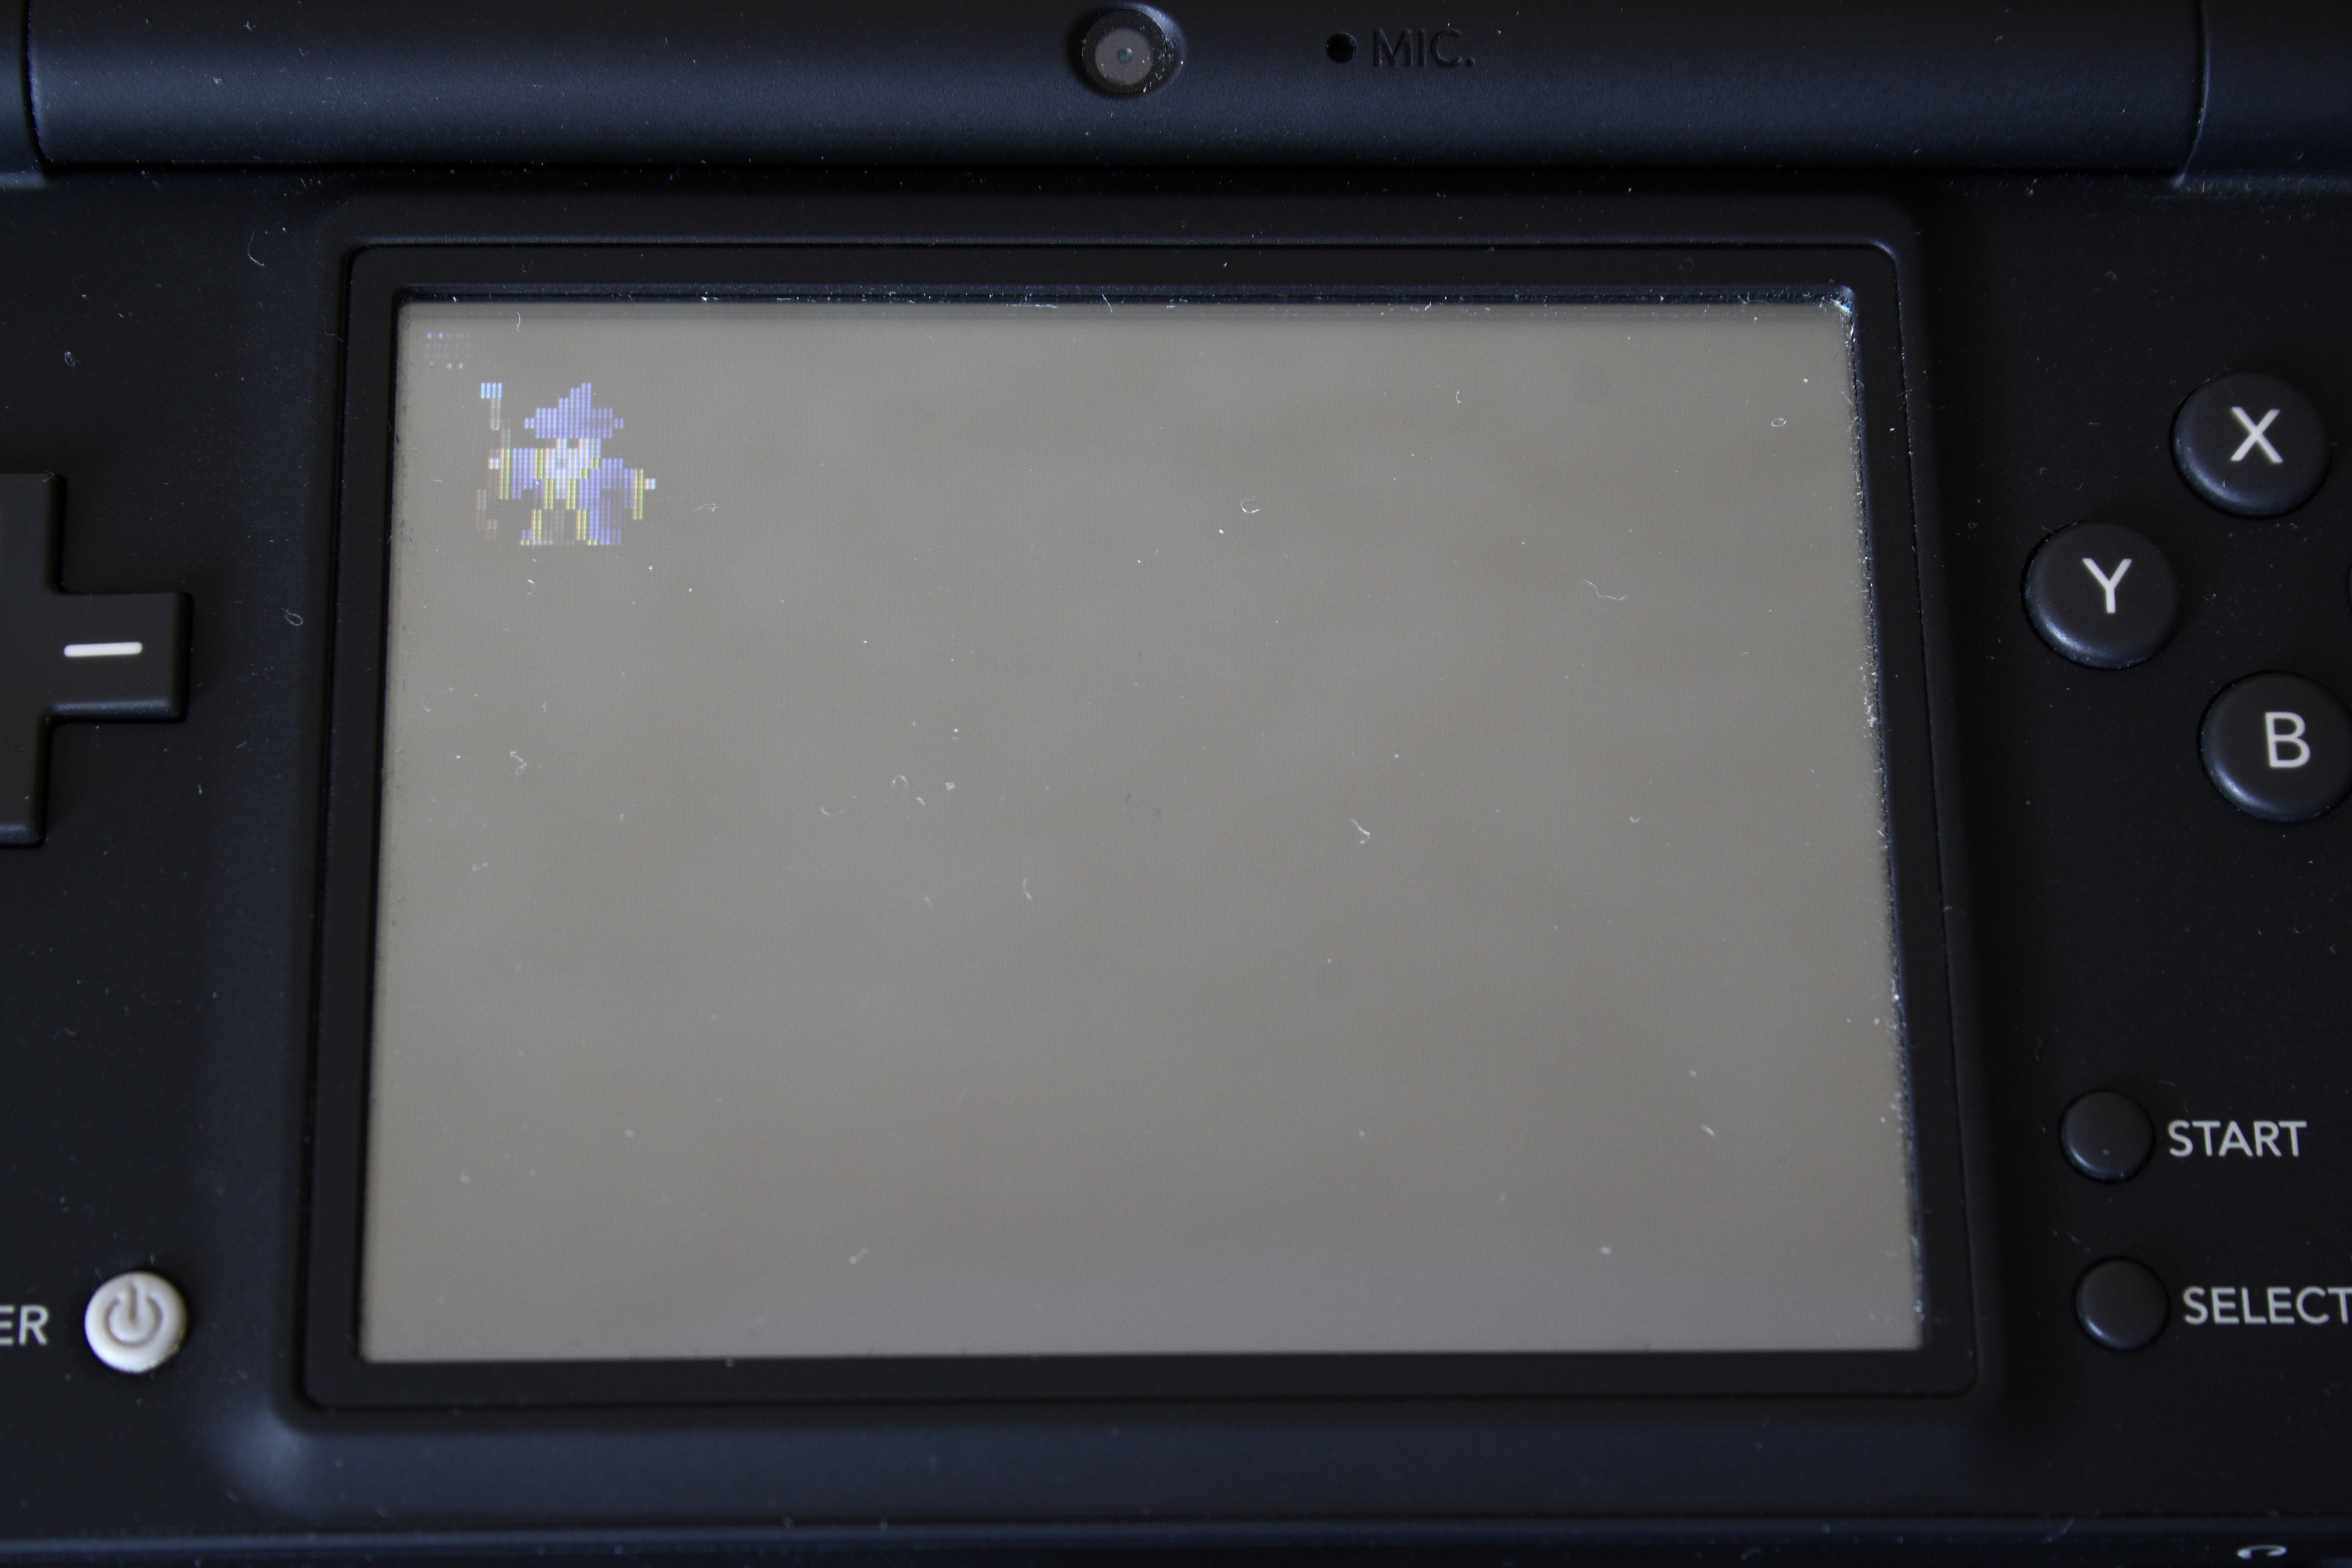
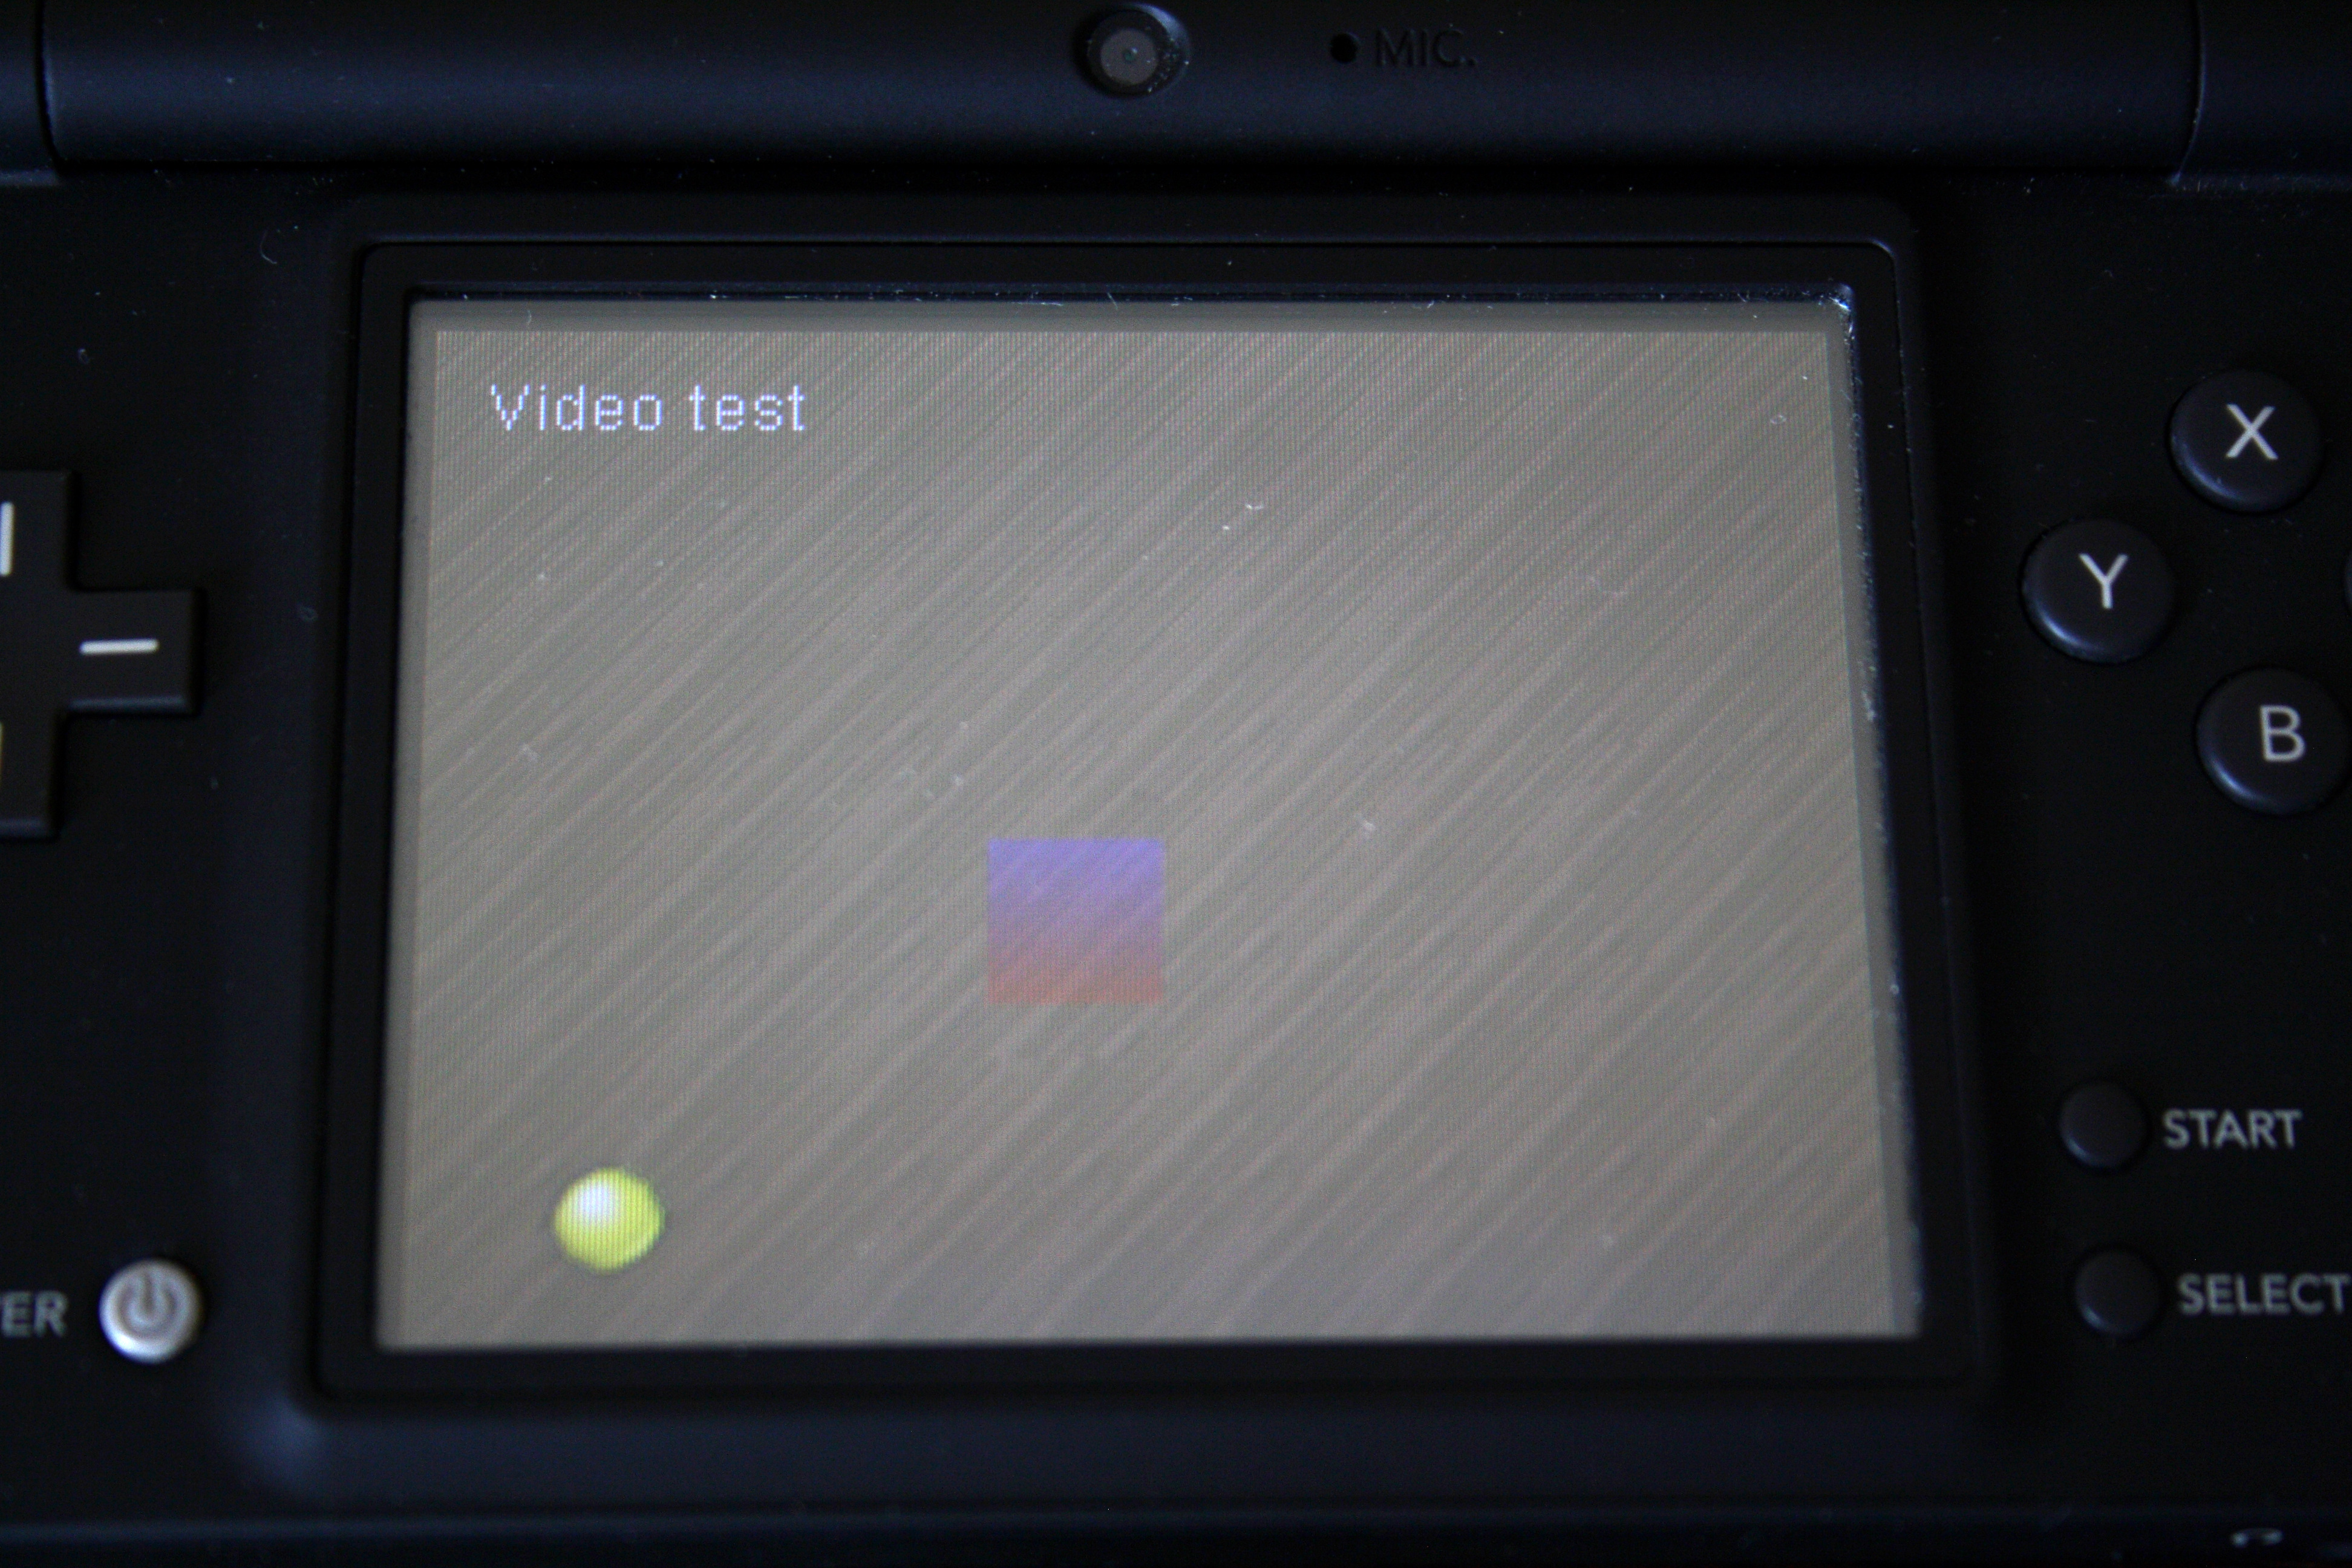
A few more sample applications:
Emulator
Connecting a Nintendo DS directly to a computer is, as far as I know, impossible. Constantly stick microSD from the computer to the device and back to see the result, too long. Therefore, for test launches of the application we will use the popular DeSmuME emulator.
There are some features in running homebrew applications for DeSmuME. As far as I understood the question, this stems from the problem of working with the file system on a flash cartridge.
For the interaction of homebrew applications with the file system, the libfat library was written. However, there are a huge number of flash cartridges for Nintendo DS, and they all use specific file read / write commands. The libfat library cannot recognize these commands and sends an error message to the homebrew application. To avoid this, a technology called DLDI (Dynamically-Linked Device Interface) was invented. It acts as a layer between the homebrew application and the flash cartridge, converting specific read / write commands into commands that are understandable to libfat libraries.
When trying to start DeSmuME kvm.nds, we get the following error:
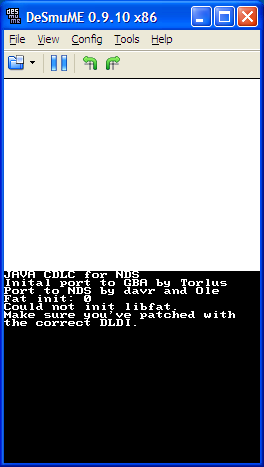
The FAQ for the emulator indicates that the DLDI-patch will be applied automatically, but for the correct access to the files, you must specify the MPCF Flash Card Device in the GBA slot, as shown in the figure below:

After that, the JVM starts normally.
Setting up the development environment
Studying the archive with jvm, I noticed the _rebuild.bat file. Its contents are presented below:
Content _rebuild.bat
SET WTKDIR=c:/wtk22 SET CP=%WTKDIR%/lib/cldcapi10.jar;%WTKDIR%/lib/midpapi20.jar;./classes.zip del .\output\*.* /Q "c:/program files/java/jdk1.5.0_06/bin/javac.exe" -source 1.3 -target 1.1 -bootclasspath %CP% ./src/*.java %WTKDIR%/bin/preverify -classpath %CP% ./src del .\src\*.class /Q copy output\*.* .\
From this it becomes clear how to build applications for jvm and what kind of environment we need. On the oracle website, the archive contains the versions of wtk and jdk we need. Install them according to the paths specified in the bat file (or edit the paths in the bat file) and you can start development.
Application development
By the nature of my work, I worked a lot with the library to create the Swing GUI. I like this library, so as an example, I decided to write its own implementation. I decided to develop on the principle of "black box", ie Knowing how it should look outside, do not look at how it is arranged inside. Firstly, because the library I planned will have significantly less functionality (since I am developing it for entertainment purposes) and, probably, many of the solutions used in Swing will simply not be needed for me. Secondly, coming up with your own implementation is much more interesting.
As you can see from the build script, you will have to develop it under java 1.1.
As for the requirements, the first thing I wanted for the library user was to support the typical Swing code for invoking the dialog form:
MyDialogForm myDialogForm = new MyDialogForm(this, true); myDialogForm.setVisible(true); if (myDialogForm.getAnsewer()) { // TODO - do something here }
Those. in this case, the dialog form is displayed and until it is closed, execution will not go beyond setVisible (true). At the same time, for other components that are on the called form, processing of their user actions should continue.
The first version of the library operation scheme is presented in the figure below:
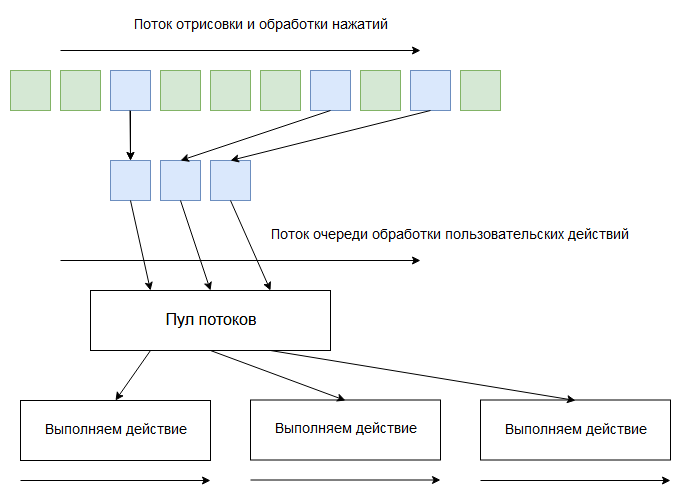
As can be seen from the diagram, each user action is performed in a separate thread. With this implementation, the requirement for working with dialog forms is met, however, there is a problem with the fact that the user in his handlers can simultaneously work with the same data from two threads (for example, by quickly pressing two buttons). This creates additional inconvenience associated with the need to protect access to such data for the user.
We make the assumption that all forms are interactive, i.e. when showing one form it is impossible to work with other forms. In this case, this is an adequate assumption, since the Nintendo DS screens are not large, and displaying several forms at once is simply inconvenient.
In this case, the library operation scheme takes the following form:
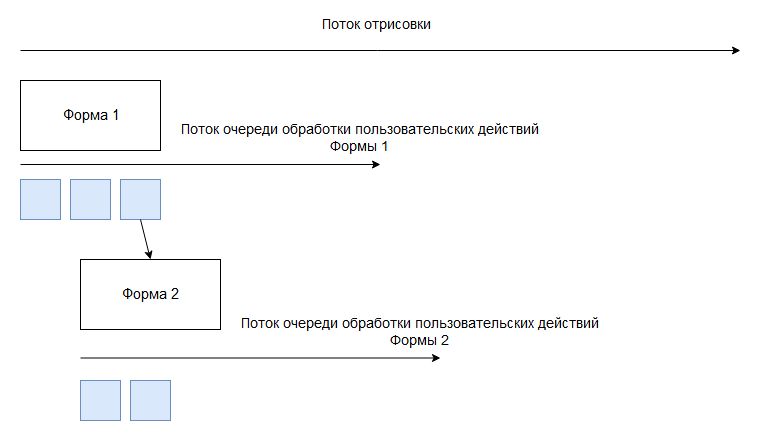
Those. Each form creates its own flow of processing user actions of the application. If a new form is called as a result of processing an action, then the thread that called it waits for the form to close, and at this time a new stream for processing user actions is created.
An example code for working with the library is presented below:
Work example
JNDSComponentsForm jNDSComponentsForm = new JNDSComponentsForm(); jNDSComponentsForm.setTitle("Main form"); final JNDSLabel jndsLabel = new JNDSLabel("Simple label", 20, 30); jNDSComponentsForm.addComponent(jndsLabel); JNDSTextField jndsTextField = new JNDSTextField("Hello world", 20, 58, 150); jNDSComponentsForm.addComponent(jndsTextField); JNDSButton jndsButtonDialogForm = new JNDSButton("Show dialog form", 20, 90); JNDSAction jndsActionImplDialogForm = new JNDSAction() { public void action() { final JNDSDialogForm jndsDialogForm = new JNDSDialogForm(); jndsDialogForm.setTitle("Dialog form"); JNDSButton jndsButtonClose = new JNDSButton("Close", 10, 130); jndsButtonClose.setClickAction(new JNDSAction() { public void action() { jndsDialogForm.setVisible(false); } }); jndsDialogForm.addComponent(jndsButtonClose); JNDSLabel jndsLabelDialogForm = new JNDSLabel("This is Dialog Form!", 70, 80); jndsDialogForm.addComponent(jndsLabelDialogForm); jndsDialogForm.setVisible(true); } }; jndsButtonDialogForm.setClickAction(jndsActionImplDialogForm); jNDSComponentsForm.addComponent(jndsButtonDialogForm); jNDSComponentsForm.setVisible(true); JNDSWindowsManager.instance().run();
As in Swing, the layout of forms and user action handlers are first described, and then control is transferred to the library, which initializes the context and renders and processes clicks on the touchscreen.
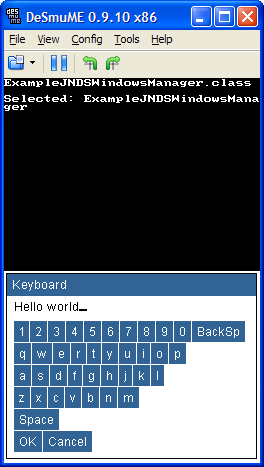
Another issue that I have encountered is the keyboard. Unfortunately, I did not find a way to call the ready-made on-screen keyboard of the operating system. Therefore, I had to do my own, greatly simplified implementation of it. The result of her work is presented below:
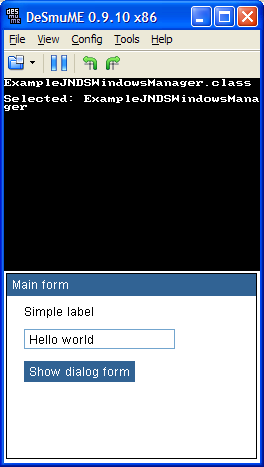
As components at the moment I implemented only Label, TextField and Button. For example, I think enough; the appearance of the form described above is shown in the figure:
The full source code can be found here .
Launch on a real device
We copy the * .class files obtained as a result of compilation to a flash cartridge, run kvm.nds and select ExampleJNDSWindowsManager.class in it.
The result of the application is presented in the following video:
Conclusion
In conclusion, I would like to thank the creators of Nintendo DS, the developers of the JVM port for Nintendo DS, the creators of flash cartridges for the opportunity to develop for their favorite hardware, as well as my wife for help in shooting videos and editing this article.
Thank you all for your attention!
All Articles