Pixel Lo-fi in Unity
The visual style of my under development game LAUNDRY GAME (yes, this is an unscrupulous advertisement) is based on large clear pixels in 3D. I love low resolution 3D. I was asked a lot of questions about how I did this, so I decided to write a tutorial.
Note: this is only my decision! There are methods using shaders, blitting graphics and other tricks, but for my small solo project such a solution turned out to be quite enough.
Addition 1: smart guy Pete Brisburn sent a script here in case you don’t like the “quad in the sky” trick (steps 4-6)!
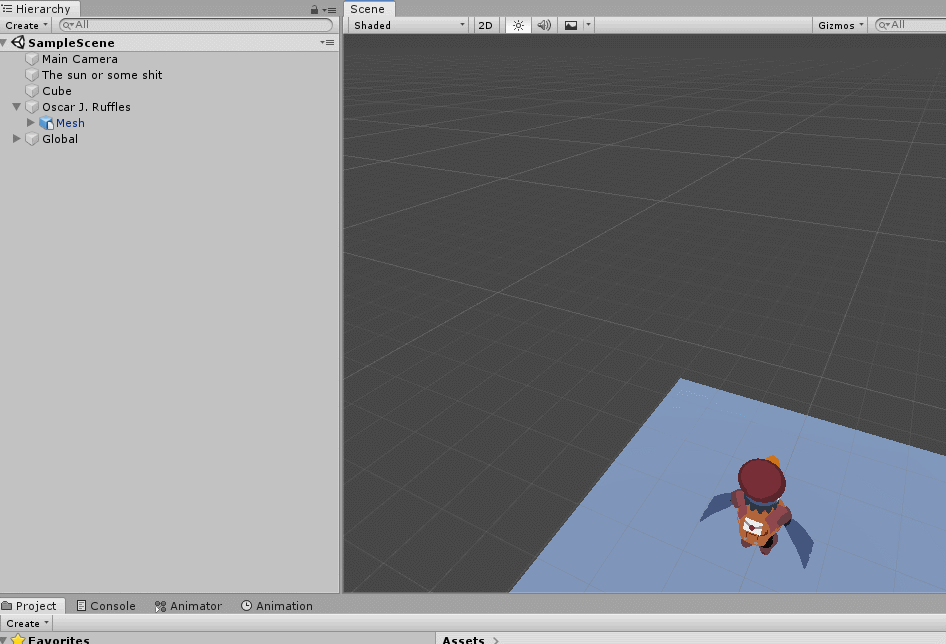
Stage 1: preparing the source scene
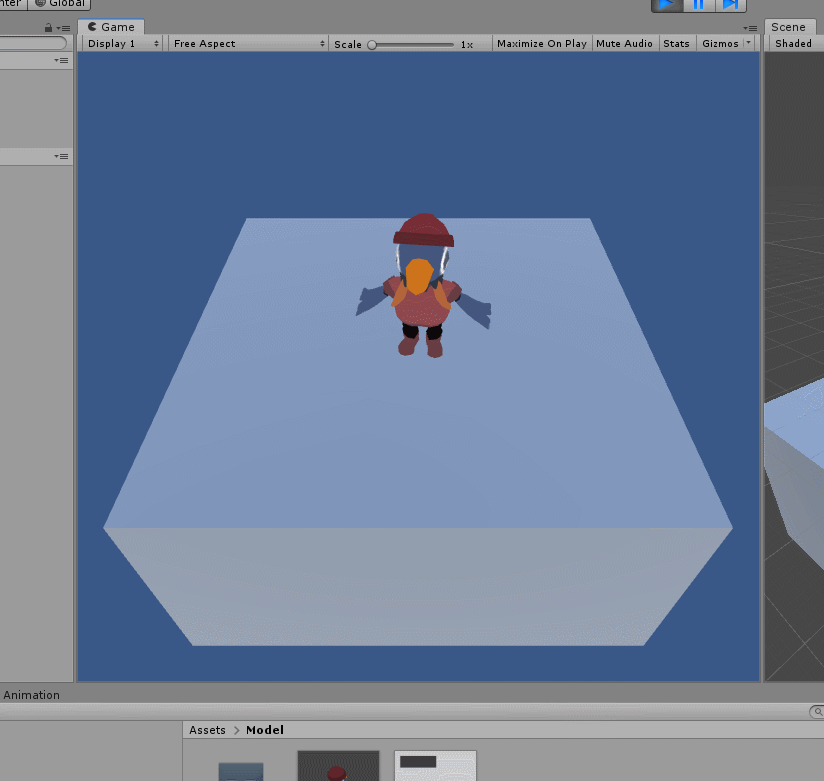
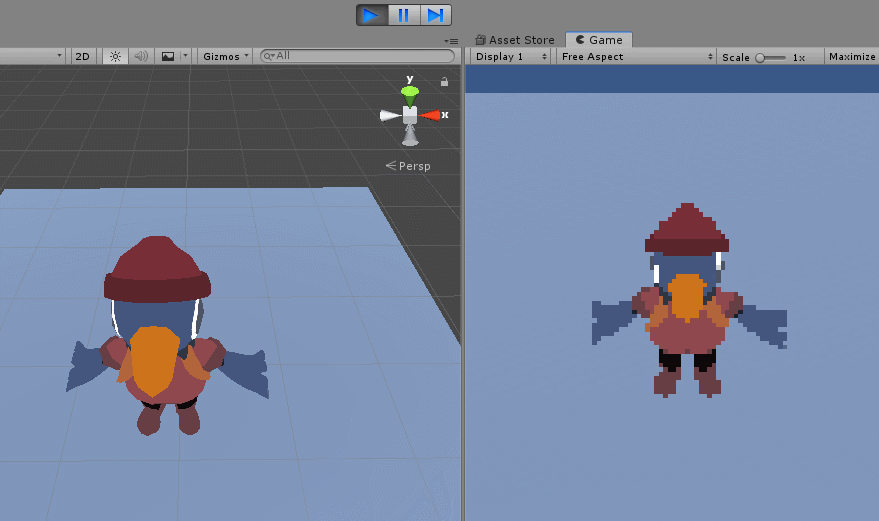
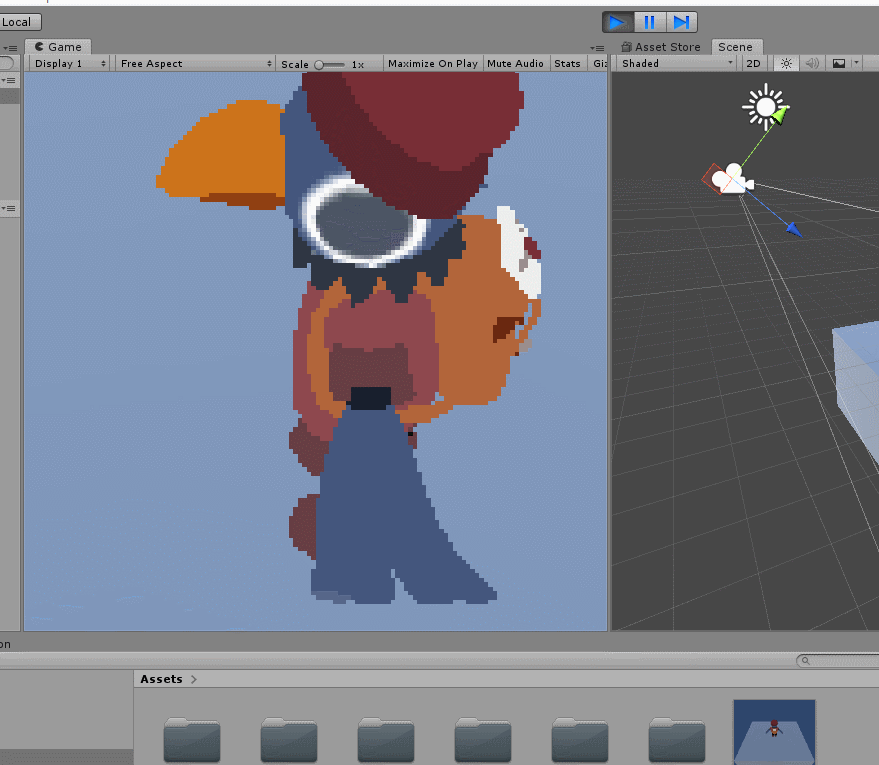
First you need to prepare the scene! I created this little cube with my bird friend Oscar J. Ruffles . He runs around the cube and constantly screams. (These are just the character controller and animator connected together.)
But take a look at these disgusting smoothing lines! Fu, let's get rid of them.
Stage 2: remove the MSAA cameras
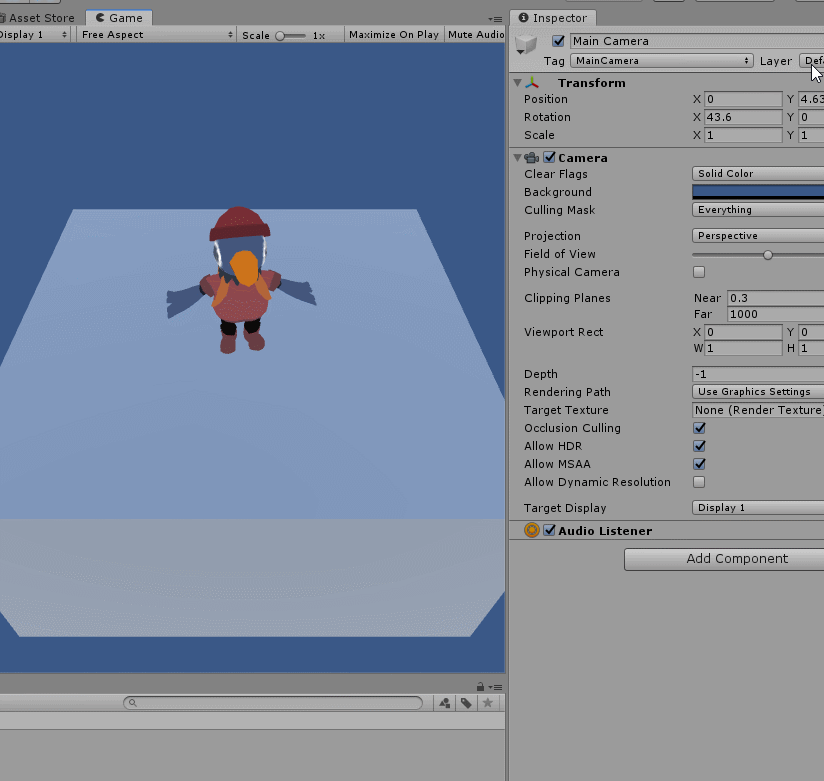
Highlight Main Camera and uncheck the Allow MSAA box. As you can see, pixels are much sharper. But there is no upscaling yet! That is, all pixels will be small. It needs to be fixed.
Stage 3: rendering the camera in the render texture
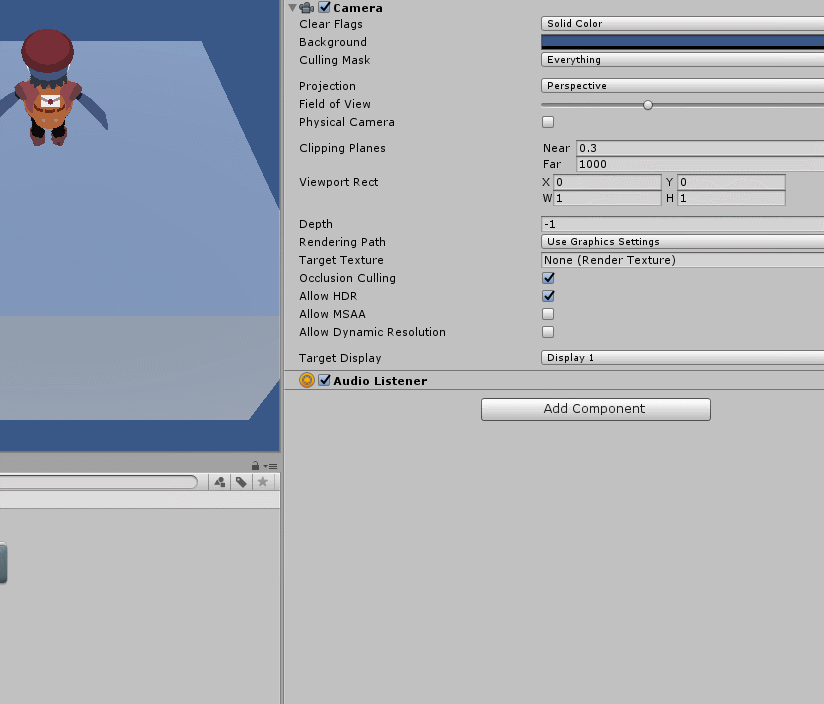
I zoom in (to get huge sharp pixels) using RenderTexture and rendering the Main Camera into this texture. This will allow us to use this RenderTexture like any regular texture!

Here are the options that I will use for my RenderTexture . Size is the size at which we zoom. The smaller the number, the larger the pixels. I usually use numbers between 300 and 600 for both values (excellent Celeste , for example, performs a zoom from 320x200).
Filter Mode is a way to perform up / downscaling. The “Point” mode does not add anti-aliasing, that is, it preserves the sharpness of pixels that we need so much.
But what happened?
Now we render Camera not on the screen, but in RenderTexture, so nothing is rendered on the screen!
To fix this, we need to set up another camera , but this time a little different.
Stage 4: Create a Zoom Camera + Quad
Let's start by creating a new camera in the scene (let's call it QuadCamera ) and attach a 3D quad to it as a child.
Stage 5: place it somewhere in the void

Then we need to take the QuadCamera and shove it somewhere. No matter where, the main thing is that it should never be visible from the Main Camera . I usually lift it high into the sky or lower it deep down.
Step 6: Attach the Render Texture to the Quad and Place It in Front of the Camera
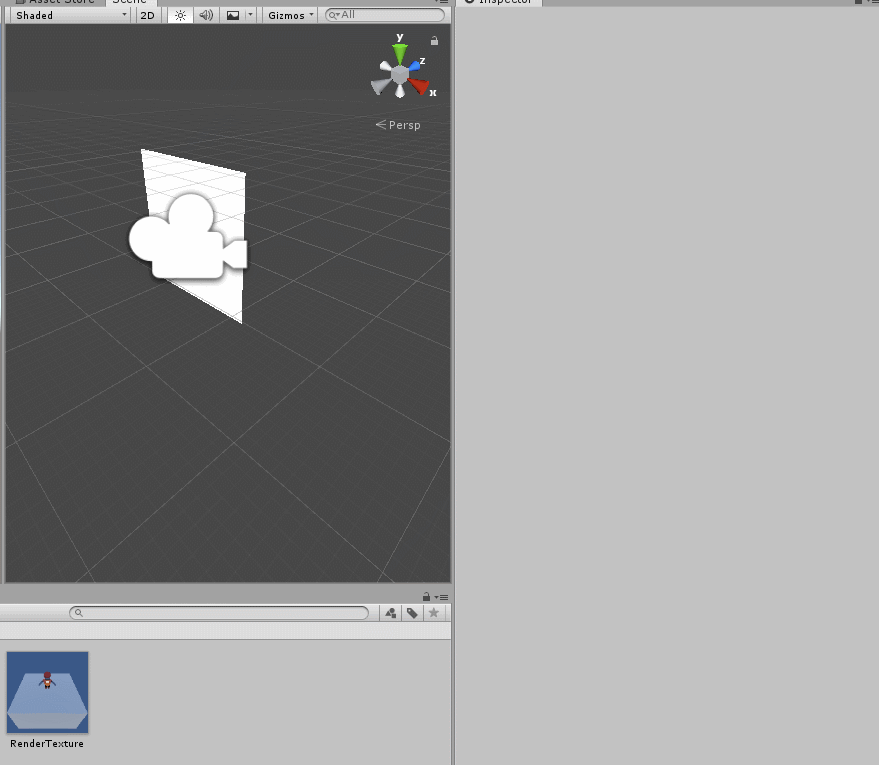
Then we take quad. I set Sprites-Default for it (a standard Unity material that is not affected by lighting) so that it will not be affected by any random lighting in the scene. Then drag the RenderTexture onto the quad. Now quad shows our scene! Then we move the quad so that it is in front of the QuadCamera (the camera that now renders the target screen).
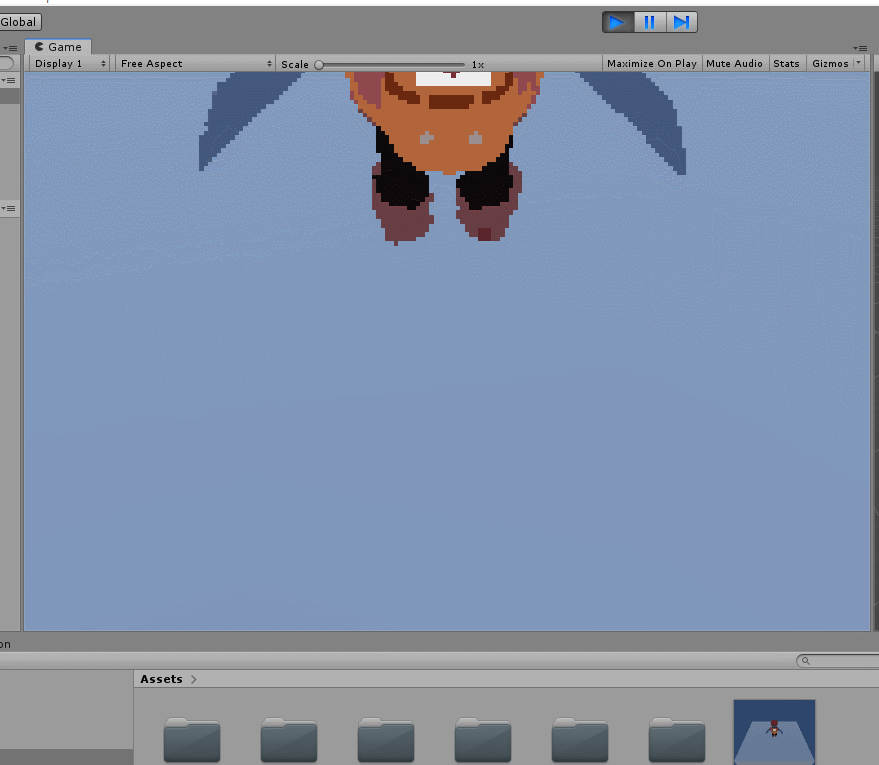
As you can see, now the scale of rendering has been increased! Oscar can constantly click its pixel beak! But at the same time, we got much closer to his head.
Stage 7: adjust the cameras
At the last stage, we’ll go back to my Main Camera and set it up so that we see about the same thing as before. Here you can increase the size of the render texture so that the pixels become slightly smaller, or reduce it, so that only 7 pixels fit on the screen. It is time for experimentation, find what suits you personally.
Bonus: make textures not blurry
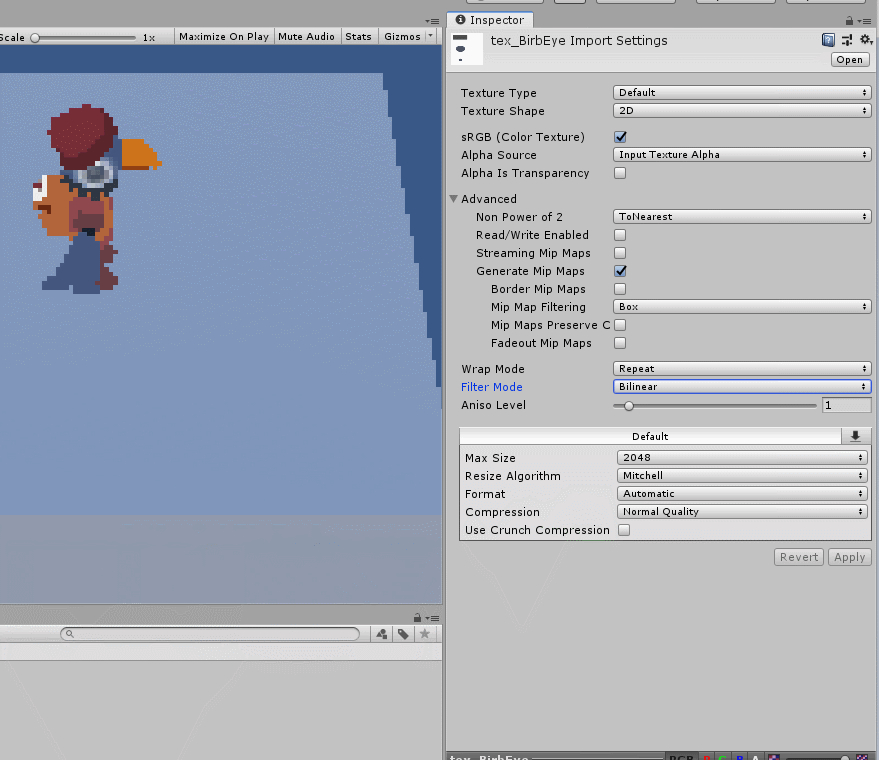
As we have seen, the texture of the model (Oscar's big eye) has been blurred all this time. This happened because when importing textures into Unity, the standard parameters are selected for generating mip-textures and smooth scaling. But we do not need this. Therefore, when importing textures, you must disable Generate Mip Maps and select Point mode for Filter Mode .
All Articles