種子の写真:

アクションを読んで経験したくない人のために- テストプロジェクトへのリンク 。 他の皆のために、始めましょう!
テスト用に、新しいシングルビューアプリケーションプロジェクトを作成します。 メインビューコントローラに新しいビューを追加します。
ネタバレ見出し 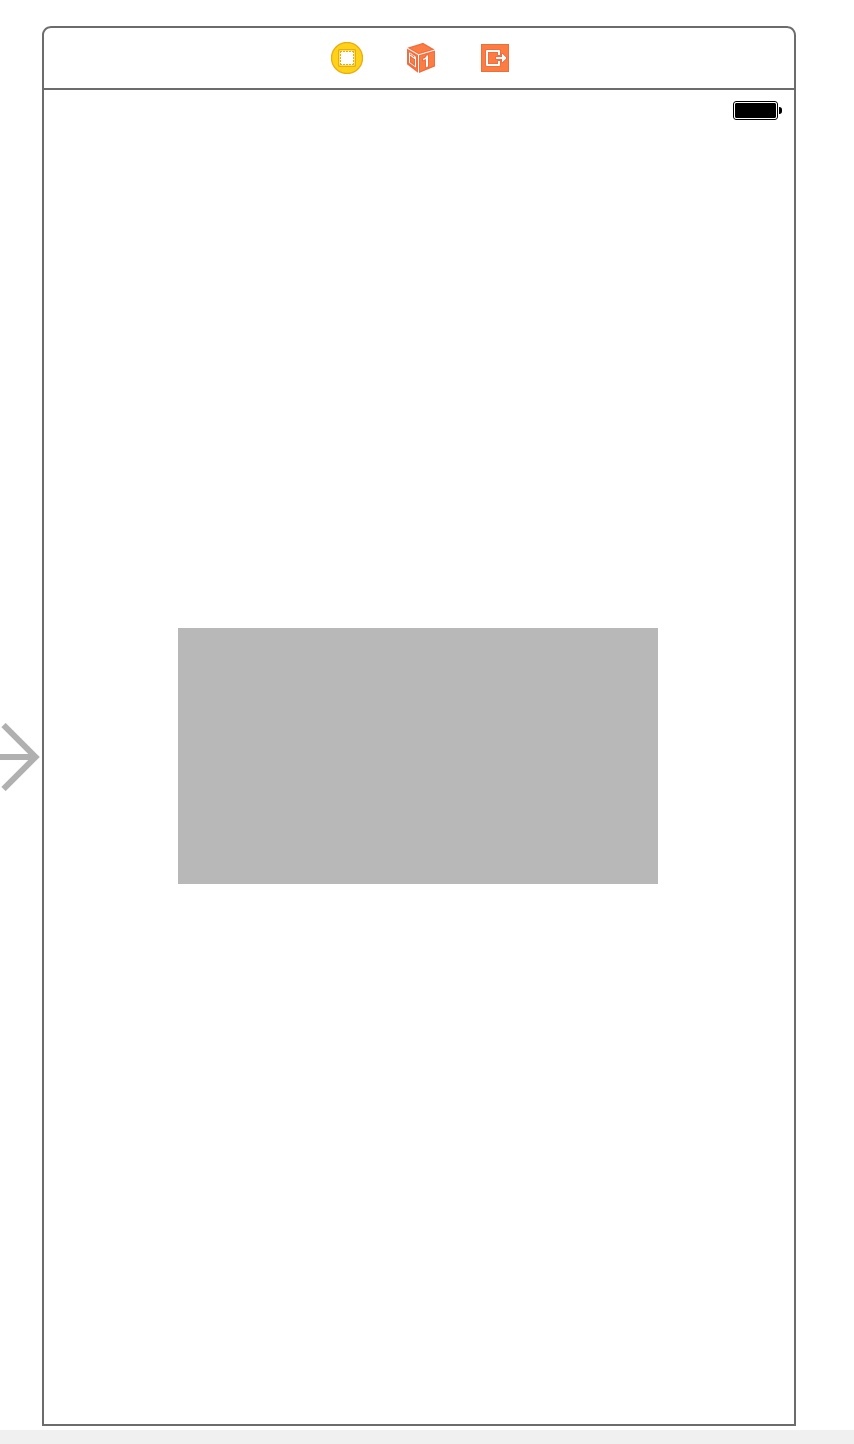
ViewControllerクラスに「panel」という名前の参照アウトレットを作成します。 ViewControllerのviewDidLoadで、次の行を追加します。
_panel.layer.cornerRadius = 5;
長方形の角を丸めます。 起動-アプリケーションは次のようになります。

Interface Builderでこれで終わりです。 実際に私たちがここにいるものから始まります-アニメーション!
Core Animationへの短い余談。 iOSの基本レンダリングクラスはCALayerです。これは、移動や変形など、アニメーションやレンダリングの基本機能を提供します。 一般に、これはCore Graphicsを介した低レベルのレンダリングとUIViewの形式での高レベルのレンダリングの間の何かです。 この場合、CALayerの後継であるCAShapeLayerに興味があります。CAShapeLayerは、CGPathのサポートを追加するとともに、これに関連するメソッド(ストロークの塗りつぶしや操作(地獄?)
だから。 UIViewクラスを拡張するカテゴリ、 UIView + AnimatedLinesを作成します。 開始するには、CAShapeLayerを使用してVIewのアニメーションストロークを追加する簡単なメソッドを追加します。
-(void)animateLinesWithColor:(CGColorRef)lineColor andLineWidth:(CGFloat)lineWidth animationDuration:(CGFloat)duration { }
CAShapeLayerを作成します。
CAShapeLayer* animateLayer = [CAShapeLayer layer]; animateLayer.lineCap = kCALineCapRound;// animateLayer.lineJoin = kCALineJoinBevel;// animateLayer.fillColor = [[UIColor clearColor] CGColor];// animateLayer.lineWidth = lineWidth; animateLayer.strokeEnd = 0.0;
ストロークを描画するUIBezierPathを作成します。
UIBezierPath* path = [UIBezierPath new]; [path setLineWidth:1.0]; [path setLineCapStyle:kCGLineCapRound]; [path setLineJoinStyle:kCGLineJoinRound];
次に、単純なジオメトリ-ビューの境界に沿って線を引きます(多くのコード、無意味で容赦ない):
CGRect bounds = self.layer.bounds;// CGFloat radius = self.layer.cornerRadius;// CGPoint zeroPoint = bounds.origin; // BOOL isRounded = radius>0; if(isRounded) { zeroPoint.x = bounds.origin.x+radius; // - , , . } [path moveToPoint:zeroPoint];// // 4 . CGPoint nextPoint = CGPointMake(bounds.size.width, 0); if(isRounded) { nextPoint.x-=radius; } [path addLineToPoint:nextPoint]; if(isRounded) { [path addArcWithCenter:CGPointMake(nextPoint.x, nextPoint.y+radius) radius:radius startAngle:-M_PI_2 endAngle:0 clockwise:YES];// - . } // nextPoint = CGPointMake(bounds.size.width, bounds.size.height); if(isRounded) { nextPoint.y-=radius; } [path addLineToPoint:nextPoint]; if (isRounded) { [path addArcWithCenter:CGPointMake(nextPoint.x-radius, nextPoint.y) radius:radius startAngle:0 endAngle:M_PI_2 clockwise:YES]; } // nextPoint = CGPointMake(0, bounds.size.height); if(isRounded) { nextPoint.x +=radius; } [path addLineToPoint:nextPoint]; if (isRounded) { [path addArcWithCenter:CGPointMake(nextPoint.x, nextPoint.y-radius) radius:radius startAngle:M_PI_2 endAngle:M_PI clockwise:YES]; } // nextPoint = CGPointMake(0, 0); if(isRounded) { nextPoint.y +=radius; } [path addLineToPoint:nextPoint]; if (isRounded) { [path addArcWithCenter:CGPointMake(nextPoint.x+radius, nextPoint.y) radius:radius startAngle:M_PI endAngle:-M_PI_2 clockwise:YES]; }
線の描画が完了しました。 CAShapeLayerにパスを追加:
animateLayer.path = path.CGPath; animateLayer.strokeColor = lineColor;
そして、ビュー上のレイヤー自体:
[self.layer addSublayer:animateLayer];
これで、作業の静的な結果を確認できます。これのために、ViewControllerに追加します。
_panel.layer.cornerRadius = 5; [_panel animateLinesWithColor:[UIColor redColor].CGColor andLineWidth:2 animationDuration:5];
そして、実行することができます:

まあ、本当にまあまあ、あなたは言う? そして、layer.borderWidth = 2にするだけで同じ結果が得られるので、あなたは正しいでしょう。
ここで少し余談が必要です。
パス(UIPath、CGPath)にセグメント、円、およびその他のプリミティブを描画すると、それらにはすべて開始点と終了点があります。 CAShapeLayerのStrokeEndは、この線を描画する場所を意味します。
StrokeStartは、線の描画を開始する場所を示します。 値は0.0から1.0の間でなければなりません
例:

それでは、この情報で何ができるでしょうか? 必要なのは、コードを数行追加するだけです。 CAShapeLayerを作成する場所に、次の行を追加します。
animateLayer.strokeEnd = 0.0;
次に、レイヤーを追加した後、strokeEndプロパティのアニメーションを作成します。
CABasicAnimation *pathAnimation = [CABasicAnimation animationWithKeyPath:@"strokeEnd"]; pathAnimation.duration = duration; pathAnimation.timingFunction = [CAMediaTimingFunction functionWithName:kCAMediaTimingFunctionLinear]; pathAnimation.fromValue = [NSNumber numberWithFloat:0.0f]; pathAnimation.toValue = [NSNumber numberWithFloat:1.0f]; pathAnimation.autoreverses = NO; [animateLayer addAnimation:pathAnimation forKey:@"strokeEndAnimation"]; animateLayer.strokeEnd = 1.0;
(CABasicAnimationの仕組みについては、Appleの公式Webサイトで確認できます)
3.起動!

ご覧のとおり、この行はUIViewを美しく回ります。 それでは、KDPVのように見せましょう。
これにはどのような情報が必要ですか:境界に向かって線が移動し始めるポイント。 線を振る必要があるので、開始点から境界線が始まる点にセクションを分割することでこれを行います。
[path addCurveToPoint:controlPoint1:controlPoint2:];
アニメーションを数回実行できるようにしましょう。
ベジェ曲線の制御点を含む新しいクラスを追加します。
@interface LinesCurvePoints : NSObject @property(nonatomic,assign)CGPoint controlPoint1; @property(nonatomic,assign)CGPoint controlPoint2; +(instancetype)curvePoints:(CGPoint)point1 point2:(CGPoint)point2; @end @implementation LinesCurvePoints +(instancetype)curvePoints:(CGPoint)point1 point2:(CGPoint)point2 { LinesCurvePoints* point = [LinesCurvePoints new]; point.controlPoint1 = point1; point.controlPoint1 = point2; return point; } @end
メソッドに新しいフィールドを追加します。
-(void)animateLinesWithColor:(CGColorRef)lineColor andLineWidth:(CGFloat)lineWidth startPoint:(CGPoint)startFromPoint rollToStroke:(CGFloat)rollToStroke curveControlPoints:(NSArray<LinesCurvePoints*>*)curvePoints animationDuration:(CGFloat)duration
メソッドで、zeroPointを決定した後、次のコードを追加します。
[path moveToPoint:startFromPoint]; long c = curvePoints.count; for (long i =1; i<=c; i++) { float nX = startFromPoint.x + (zeroPoint.x - startFromPoint.x)/(c)*i; float nY = startFromPoint.y +(zeroPoint.y - startFromPoint.y)/(c)*i; LinesCurvePoints* point = curvePoints[i-1]; [path addCurveToPoint:CGPointMake(nX, nY) controlPoint1:CGPointMake(nX+point.controlPoint1.x,nY+point.controlPoint1.y) controlPoint2:CGPointMake(nX+ point.controlPoint2.y,nY+ point.controlPoint2.y)]; }
彼は、開始点から境界線の開始までのセクションを等しいセクションに分割し、curveControlPointsで指定したコントロールポイントを持つ曲線を使用してそれらを描画します。 追加する必要がある2番目の部分はstrokeStartの動きです。
pathAnimation = [CABasicAnimation animationWithKeyPath:@"strokeStart"]; pathAnimation.duration = duration*1.2; pathAnimation.timingFunction = [CAMediaTimingFunction functionWithName:kCAMediaTimingFunctionEaseIn]; pathAnimation.fromValue = [NSNumber numberWithFloat:0.0f]; pathAnimation.toValue = [NSNumber numberWithFloat:rollToStroke]; pathAnimation.autoreverses = NO; [animateLayer addAnimation:pathAnimation forKey:@"strokeStartAnimation"]; animateLayer.strokeStart = rollToStroke;
アニメーションの後にstrokeEndを追加します。 残念ながら、strokeStartの値は経験的に選択する必要があります;ベジェ曲線で描画すると、セクションの正しい長さを計算できませんでした。
最終的なメソッドコードは次のようになります。
-(void)animateLinesWithColor:(CGColorRef)lineColor andLineWidth:(CGFloat)lineWidth startPoint:(CGPoint)startFromPoint rollToStroke:(CGFloat)rollToStroke curveControlPoints:(NSArray<LinesCurvePoints*>*)curvePoints animationDuration:(CGFloat)duration { CAShapeLayer* animateLayer = [CAShapeLayer layer]; animateLayer.lineCap = kCALineCapRound; animateLayer.lineJoin = kCALineJoinBevel; animateLayer.fillColor = [[UIColor clearColor] CGColor]; animateLayer.lineWidth = lineWidth; animateLayer.strokeEnd = 0.0; UIBezierPath* path = [UIBezierPath new]; [path setLineWidth:1.0]; [path setLineCapStyle:kCGLineCapRound]; [path setLineJoinStyle:kCGLineJoinRound]; CGRect bounds = self.layer.bounds; CGFloat radius = self.layer.cornerRadius; CGPoint zeroPoint = bounds.origin; BOOL isRounded = radius>0; if(isRounded) { zeroPoint.x = bounds.origin.x+radius; } [path moveToPoint:startFromPoint]; long c = curvePoints.count; for (long i =1; i<=c; i++) { float nX = startFromPoint.x + (zeroPoint.x - startFromPoint.x)/(c)*i; float nY = startFromPoint.y +(zeroPoint.y - startFromPoint.y)/(c)*i; LinesCurvePoints* point = curvePoints[i-1]; [path addCurveToPoint:CGPointMake(nX, nY) controlPoint1:CGPointMake(nX+point.controlPoint1.x,nY+point.controlPoint1.y) controlPoint2:CGPointMake(nX+ point.controlPoint2.y,nY+ point.controlPoint2.y)]; } [path moveToPoint:zeroPoint]; CGPoint nextPoint = CGPointMake(bounds.size.width, 0); if(isRounded) { nextPoint.x-=radius; } [path addLineToPoint:nextPoint]; if(isRounded) { [path addArcWithCenter:CGPointMake(nextPoint.x, nextPoint.y+radius) radius:radius startAngle:-M_PI_2 endAngle:0 clockwise:YES]; } nextPoint = CGPointMake(bounds.size.width, bounds.size.height); if(isRounded) { nextPoint.y-=radius; } [path addLineToPoint:nextPoint]; if (isRounded) { [path addArcWithCenter:CGPointMake(nextPoint.x-radius, nextPoint.y) radius:radius startAngle:0 endAngle:M_PI_2 clockwise:YES]; } nextPoint = CGPointMake(0, bounds.size.height); if(isRounded) { nextPoint.x +=radius; } [path addLineToPoint:nextPoint]; if (isRounded) { [path addArcWithCenter:CGPointMake(nextPoint.x, nextPoint.y-radius) radius:radius startAngle:M_PI_2 endAngle:M_PI clockwise:YES]; } nextPoint = CGPointMake(0, 0); if(isRounded) { nextPoint.y +=radius; } [path addLineToPoint:nextPoint]; if (isRounded) { [path addArcWithCenter:CGPointMake(nextPoint.x+radius, nextPoint.y) radius:radius startAngle:M_PI endAngle:-M_PI_2 clockwise:YES]; } animateLayer.path = path.CGPath; animateLayer.strokeColor = lineColor; [self.layer addSublayer:animateLayer]; CABasicAnimation *pathAnimation = [CABasicAnimation animationWithKeyPath:@"strokeEnd"]; pathAnimation.duration = duration; pathAnimation.timingFunction = [CAMediaTimingFunction functionWithName:kCAMediaTimingFunctionLinear]; pathAnimation.fromValue = [NSNumber numberWithFloat:0.0f]; pathAnimation.toValue = [NSNumber numberWithFloat:1.0f]; pathAnimation.autoreverses = NO; [animateLayer addAnimation:pathAnimation forKey:@"strokeEndAnimation"]; animateLayer.strokeEnd = 1.0; pathAnimation = [CABasicAnimation animationWithKeyPath:@"strokeStart"]; pathAnimation.duration = duration*1.2; pathAnimation.timingFunction = [CAMediaTimingFunction functionWithName:kCAMediaTimingFunctionEaseIn]; pathAnimation.fromValue = [NSNumber numberWithFloat:0.0f]; pathAnimation.toValue = [NSNumber numberWithFloat:rollToStroke]; pathAnimation.autoreverses = NO; [animateLayer addAnimation:pathAnimation forKey:@"strokeStartAnimation"]; animateLayer.strokeStart = rollToStroke; }
ViewControllerのメソッド呼び出し:
[_panel animateLinesWithColor:[UIColor redColor].CGColor andLineWidth:2 startPoint:CGPointMake(100, -200) rollToStroke:0.25 curveControlPoints:@[ [LinesCurvePoints curvePoints:CGPointMake(-50, -2) point2:CGPointMake(60, 5)], [LinesCurvePoints curvePoints:CGPointMake(-60, 10) point2:CGPointMake(100, 5)] ] animationDuration:2 ];
rollToStroke値は、_panelサイズが240 x 128ピクセルの場合に適しています。

このアニメーションの別の使用例:

私のお気に入りのこのアニメーションに基づいた多くのゲームがあります:
一般に、このような簡単な方法で、アプリケーションで非常に興味深いアニメーションを作成できます。 誰か助けてくれたら嬉しいです。