There are installation documentation on the wiki of the reportport itself, following which I acted. A docker was installed on Win10 + step by step following the instructions, but something "did not take off." The process was repeated several times and, nevertheless, in the end everything turned out. In general, tormented for a long time, also the docker himself got his nerves sore (well, for Unix it was written). As a result, although after all the actions it worked, I decided to kill this business and do everything on a virtual machine.
That was the preface, now to the point.
I used virtualBox for many years and everything, in principle, was fine, but recently I got acquainted with the built-in in Windows Hyper-V and decided to try to do everything with it. Unlike the virtual box, I really liked the ability to “not see” the virtual machine at all - that is, it’s spinning somewhere in the background, well, let it spin itself, without blinding an eye on a taskbar + don’t need to download images, install something, because Hyper-V already has images with a pre-installed system (the choice is small, I hope it will expand, but we have enough).
Now step by step (the whole process with good internet takes 15 minutes):
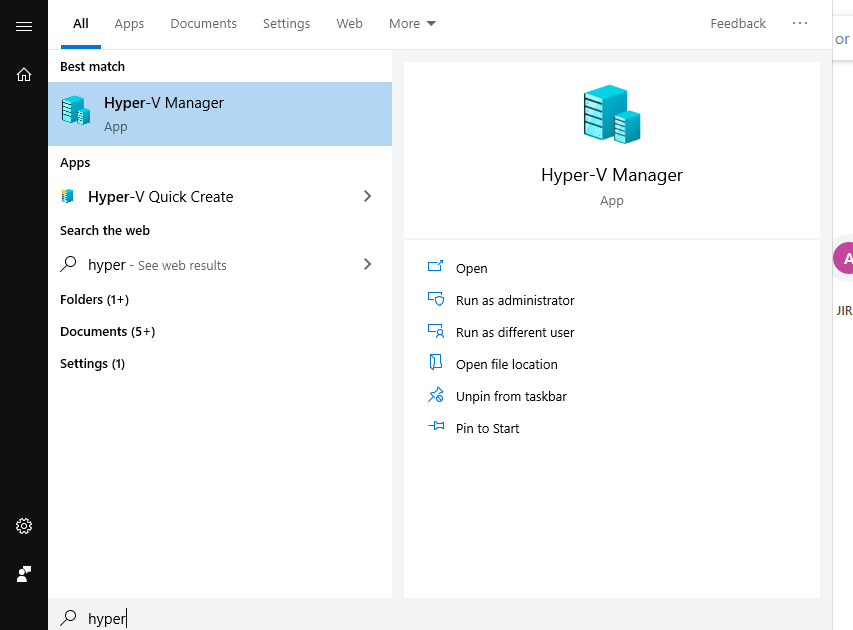
1. Open the Hyper-V manager:
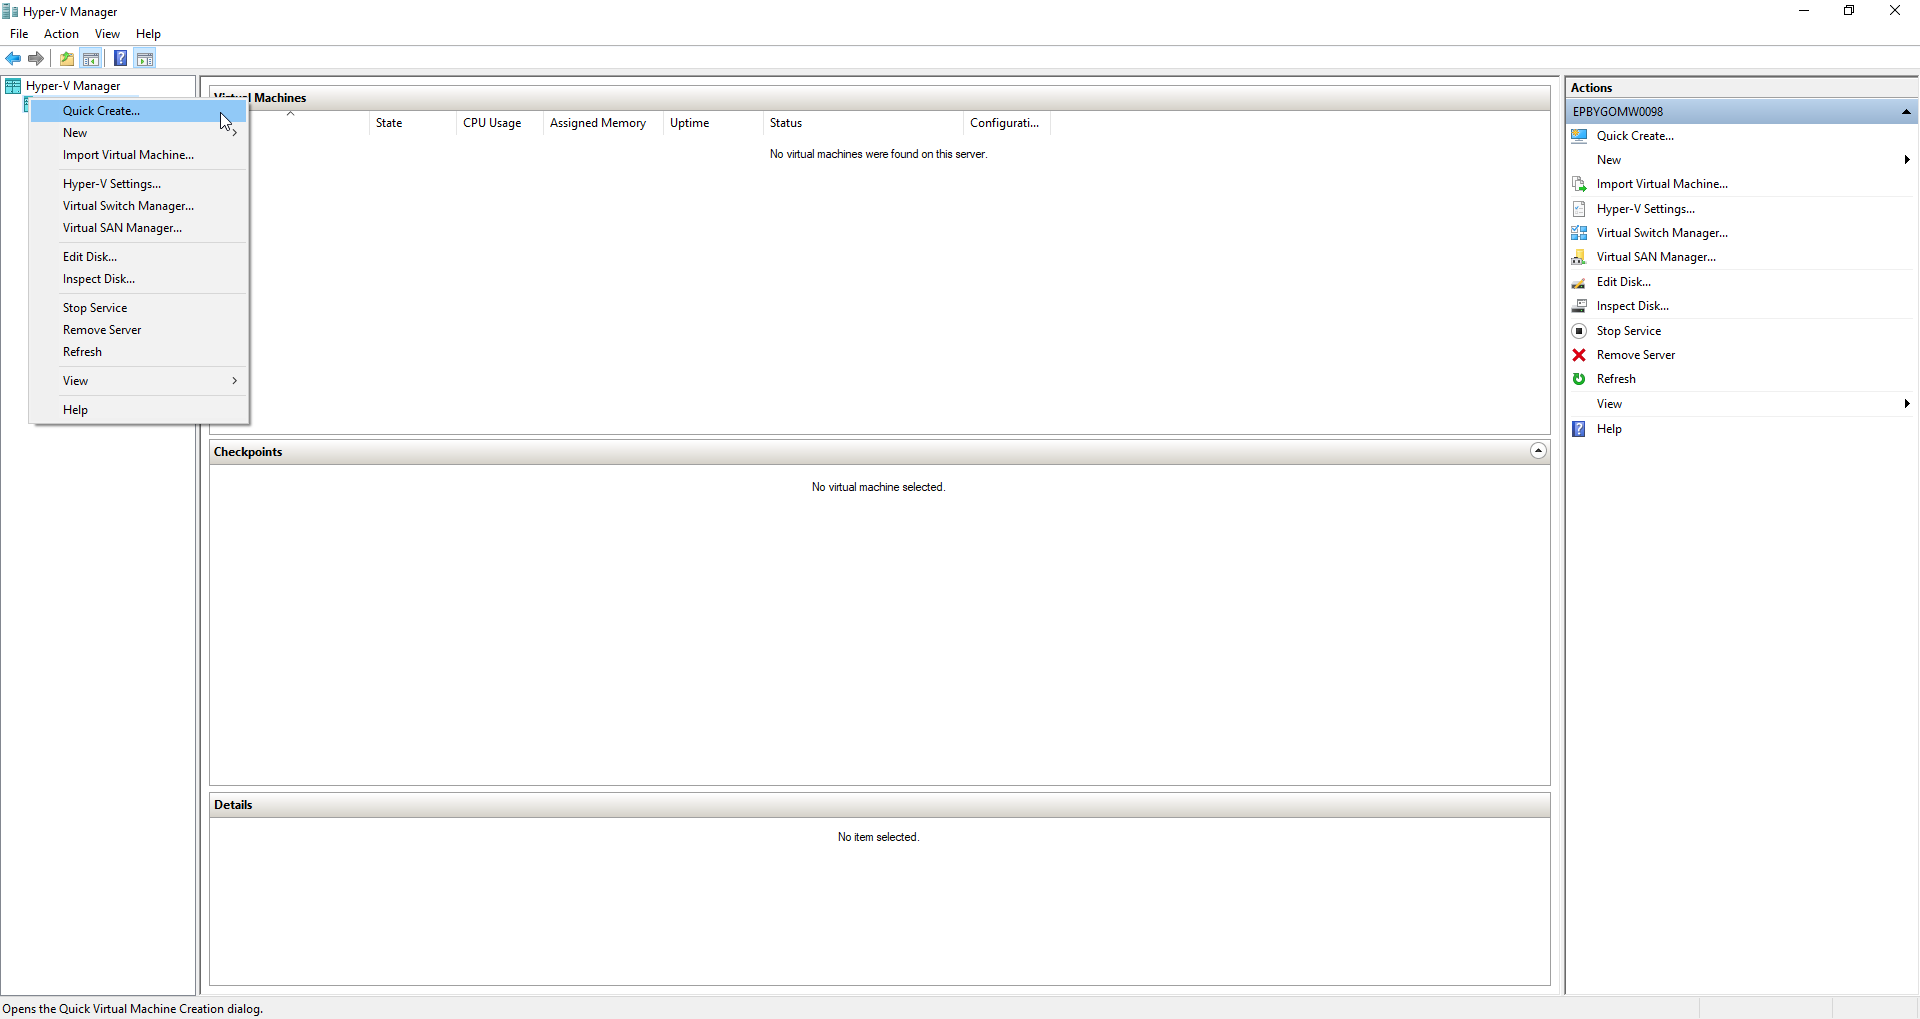
2. Right-click on the name of your computer and select '' Quick create "
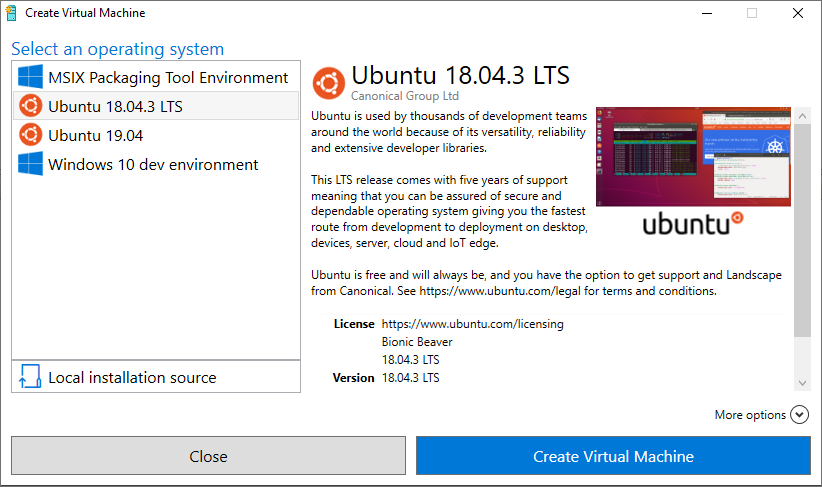
3. In the window that opens, select Ubuntu 18 ... and click "Create virtual machine"
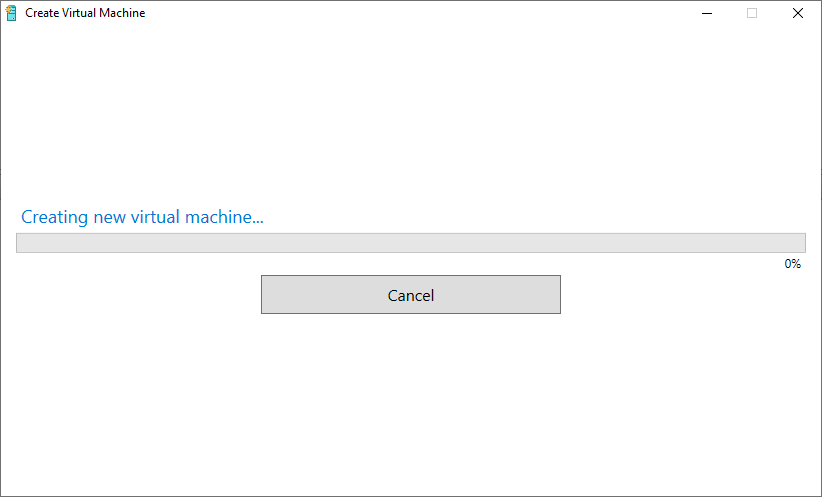
4. We go to make tea and wait until the image is downloaded and unpacked
5. When the process of downloading and unpacking is completed - we will see such a window.
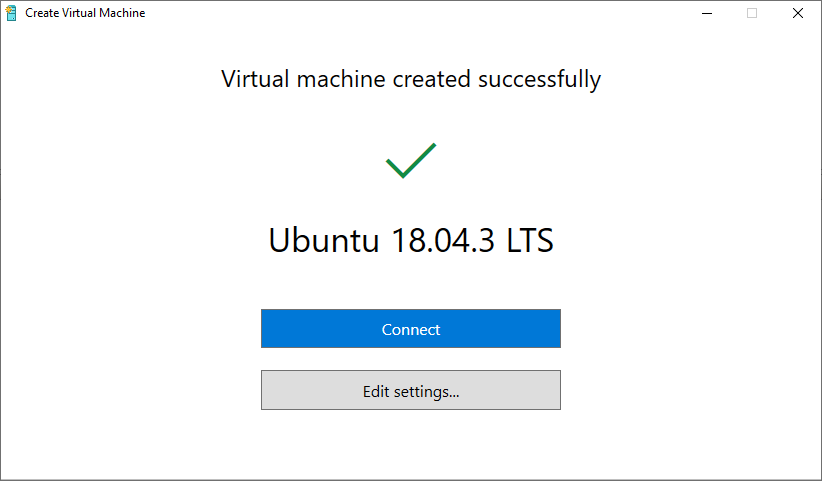
We are not in a hurry to launch the virtual machine, but let's go to the settings by clicking on the “Edit settings ...” button
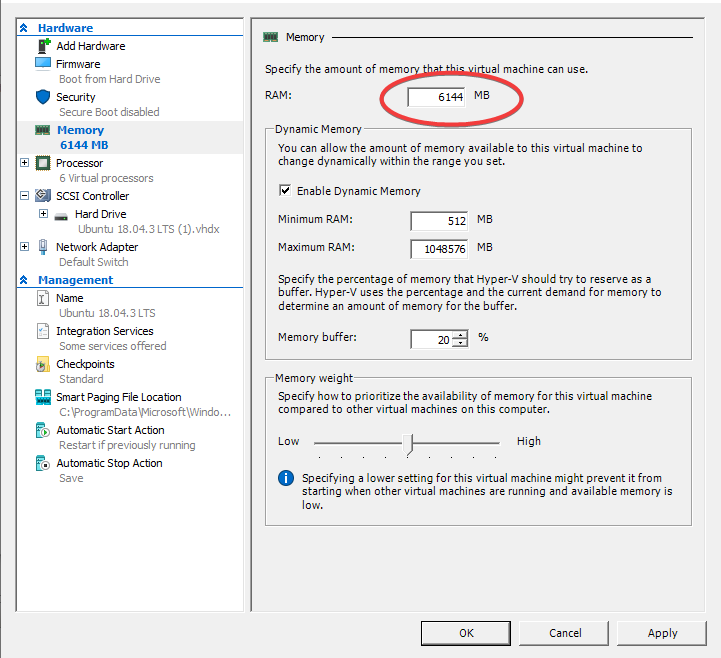
6. Since the reportport is a very voracious thing - we’ll give the virtual machine more memory (I gave 6 GB)
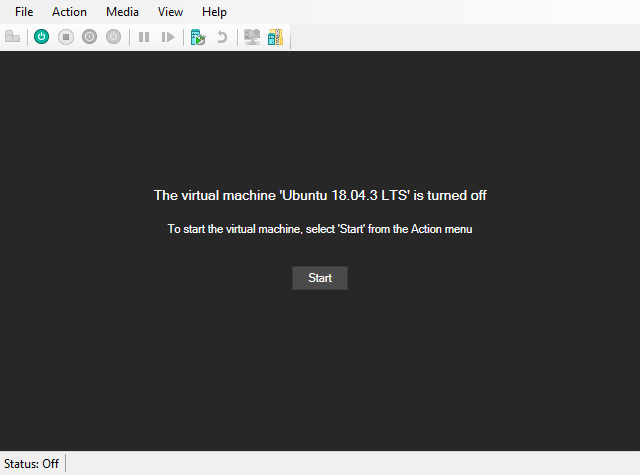
7. Save the settings and click on the blue “Connect” button. The virtual machine has not started yet, we just connected to it (aka remote desktop). Here we already press "Start":
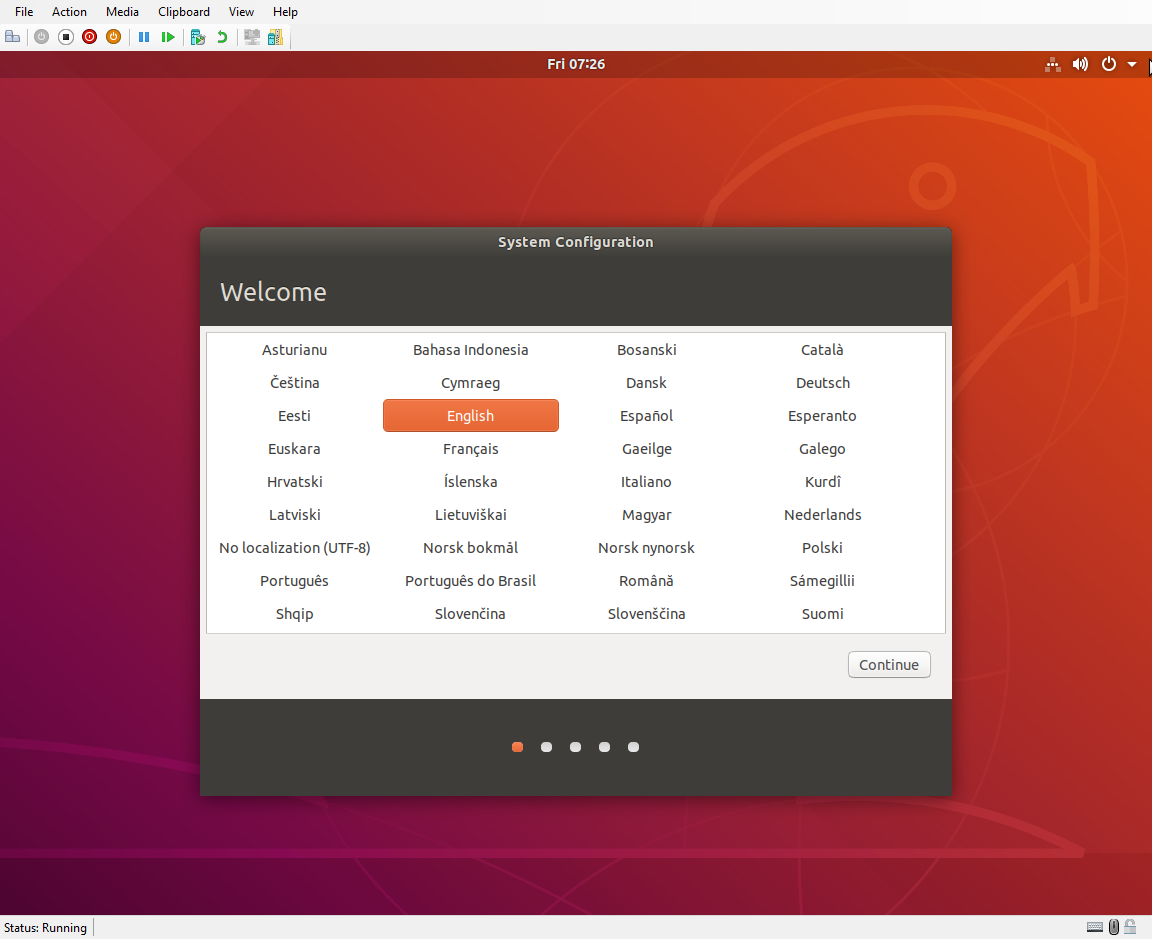
8. When our Ubuntu booted because the system was not installed in the usual way, we need to enter data such as the system language, time zone, username and password.
9. That's it, our Ubuntu up and running.
Now open the terminal and rush:
1. An optional step if we want to connect via SSH (putty ...) to our virtual machine without opening it with a remout.
run in the terminal:
sudo su
apt update
apt install openssh-server
2. Set the kurl (needed a bit later) and the docker.
If you missed the first item - continue to work in the terminal. If you installed SSH, then you can continue by connecting to the virtual machine through Putty (or an analog).
2.a Curl:
apt install curl
2.b Docker & docker-compose
apt install docker.io
apt install docker-compose
3. Install the reportport
3.a Download docker-compose.yml:
curl https://raw.githubusercontent.com/reportportal/reportportal/master/docker-compose.yml -o docker-compose.yml
3.b Optional. By default, the reportport “listens” to port 8080. I needed this port for another service (selenoid-ui), I decided to “give” the reportport a different port.
To do this, edit docker-compose.yml:
nano docker-compose.yml
We are looking for a section:
gateway: image: traefik:1.6.6 ports: - "8080:8080" # HTTP exposed # - "8081:8081" # HTTP Administration exposed command: - --consulcatalog.endpoint=registry:8500 - --defaultEntryPoints=http - --entryPoints=Name:http Address::8080 - --web - --web.address=:8081 restart: always
We edit it as follows:
gateway: image: traefik:1.6.6 ports: - "<NEW_PORT>:8080" expose: - "8080" # - "8081:8081" # HTTP Administration exposed command: - --consulcatalog.endpoint=registry:8500 - --defaultEntryPoints=http - --entryPoints=Name:http Address::8080 - --web - --web.address=:8081 restart: always
where <NEW_PORT> is the port number that you want to give the reportport. I entered "8888"
3s Install the reportport:
docker-compose -p reportportal up -d --force-recreate
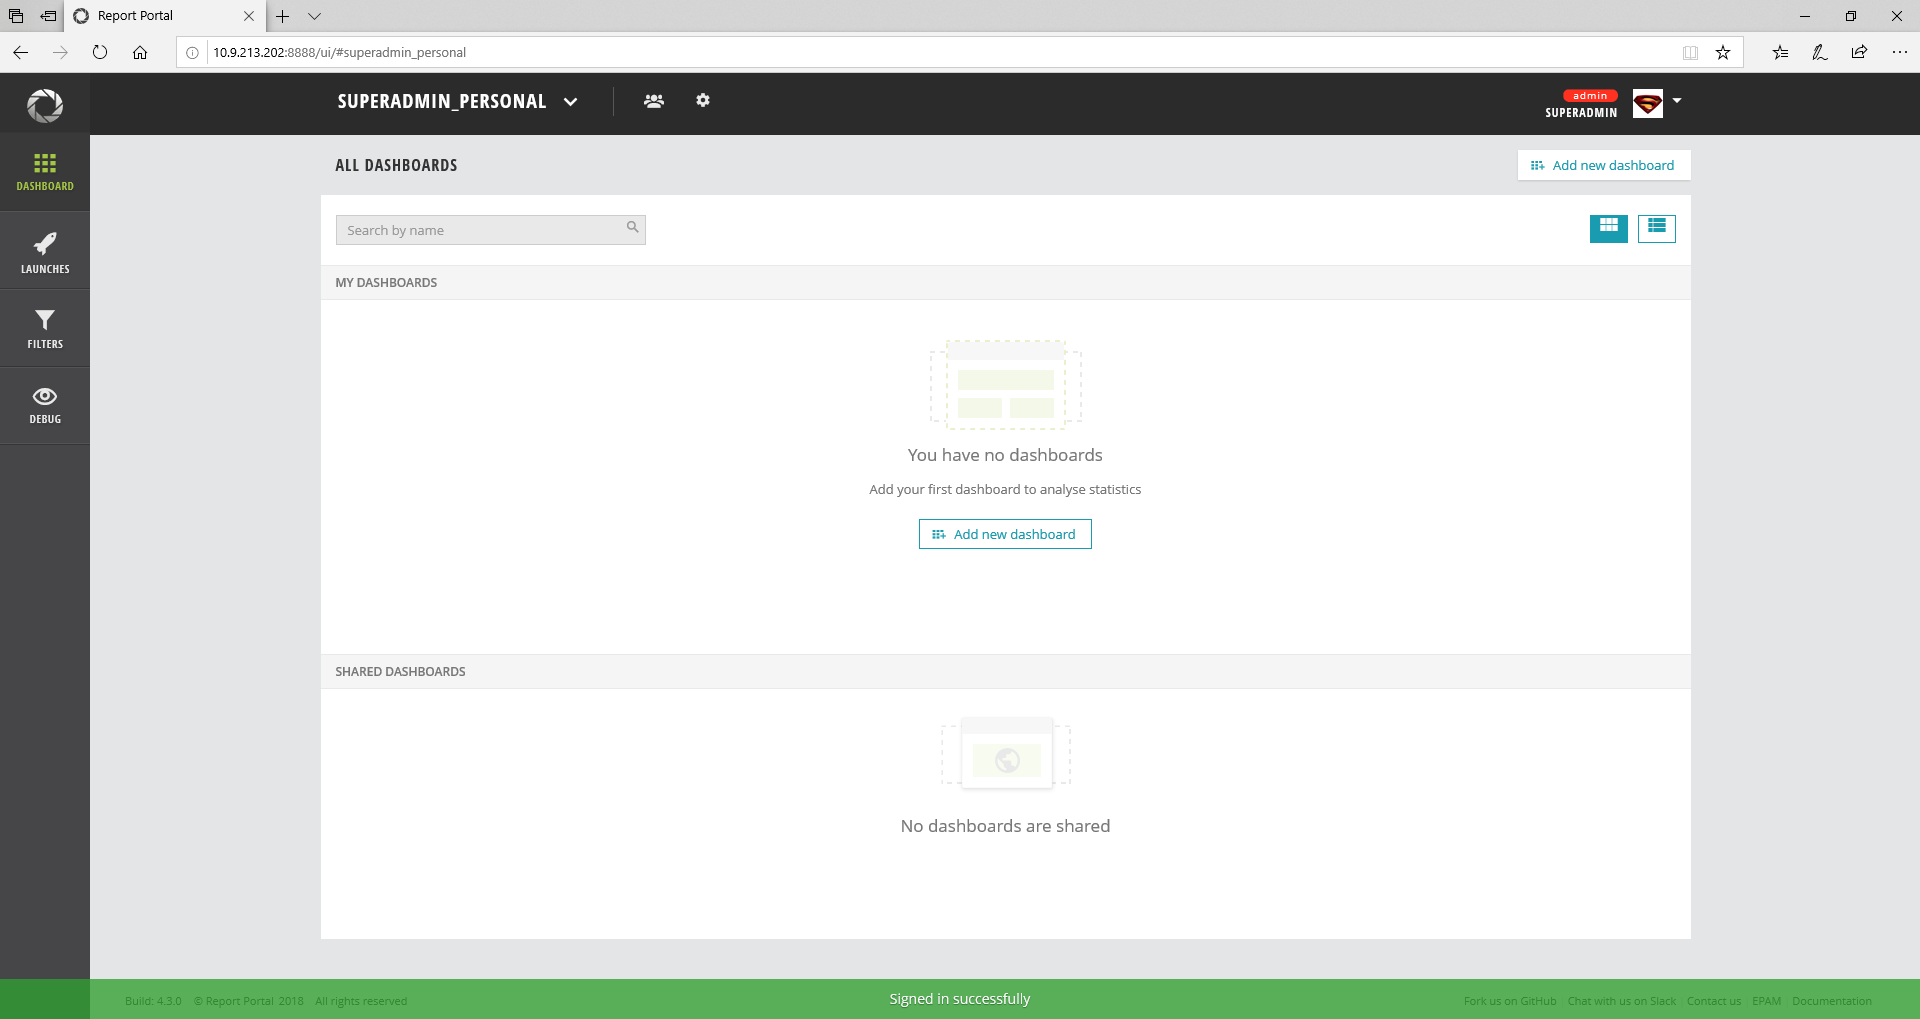
Images will be downloaded, docker containers will be created and launched by themselves. After the whole process in the console is over - wait a minute - let everything start as it should and in your browser on your real machine you can open a report on the IP of the virtual machine and the port you selected (or standard 8080).
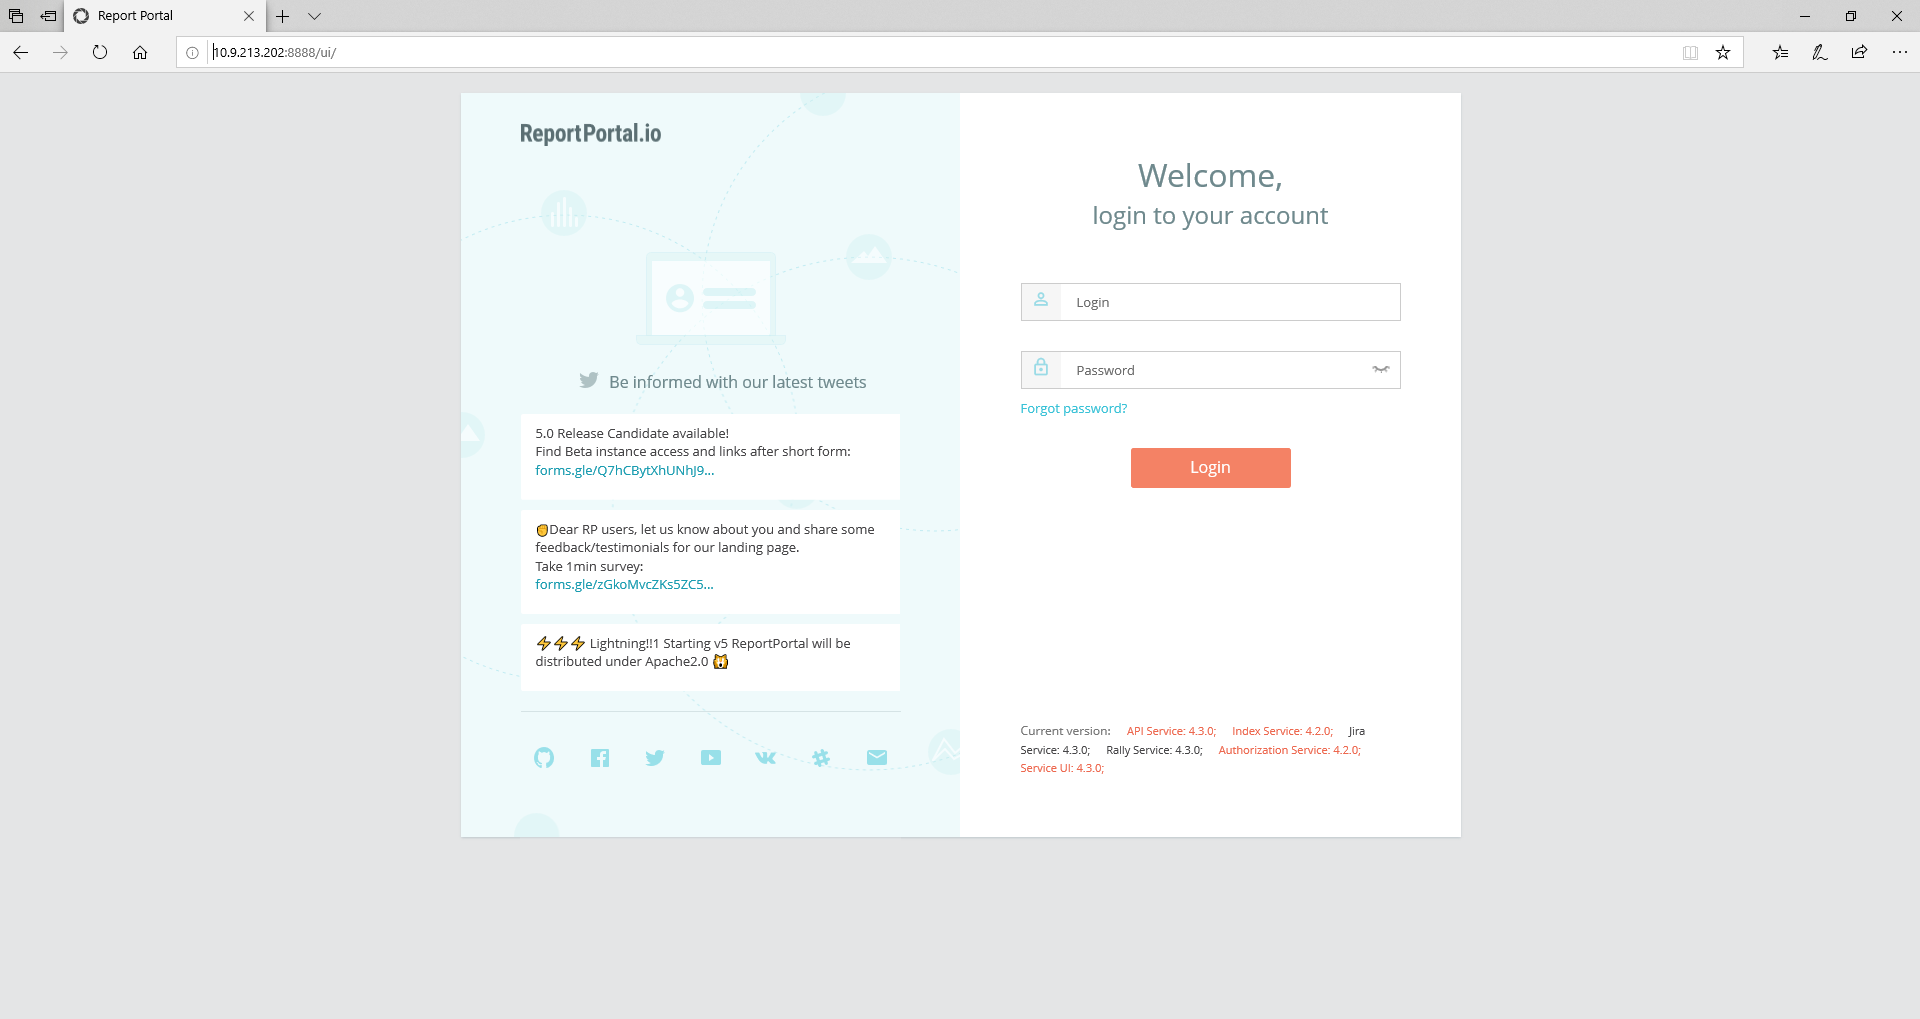
Log in to the built-in admin: `superadmin \ erebus`
In conclusion: Now we can just close the window with the virtual machine (it will remain in the background and will not be an eyesore). To open it again, we return to the Hyper-V manager and double-click on the virtual list in the list.