In the first part , 5 ways to use the Raspberry Pi were discussed. The topic turned out to be quite interesting, and today I will consider several more options on how to use this microcomputer with benefit.
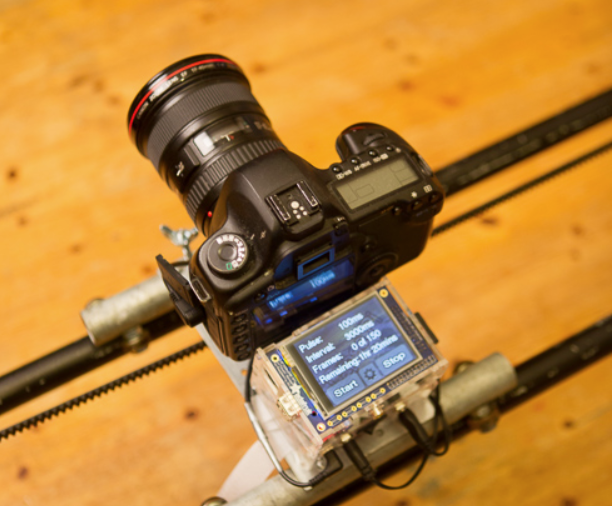
Photo from learn.adafruit.com
As in the previous part, I will consider those methods that do not require programming.
For those who are interested, continued under the cut.
1. Surveillance Camera
Source: www.raspberrypi-spy.co.uk/2017/04/raspberry-pi-zero-w-cctv-camera-with-motioneyeos
The Raspberry Pi can be used with almost all CCTV cameras.
With Raspberry Pi can work:
- USB Webcams (e.g. Logitech C910)
- IP cameras (Axis, etc.) with a PoE injector (48V power is supplied to such cameras via a network cable, which allows them to be carried outside the building)
- cameras connecting directly to the RPi connector (as in the photo above).
There are a lot of options for setting up software. You can use the Motion package, which has quite flexible settings. You can write directly from the console through ffmpeg, you can finally write your handler using Python and OpenCV. You can broadcast a video stream, use a motion detector, send photos by e-mail, etc.
Those interested can see the following tutorials:
- www.bouvet.no/bouvet-deler/utbrudd/building-a-motion-activated-security-camera-with-the-raspberry-pi-zero
- hackernoon.com/spy-your-pet-with-a-raspberry-pi-camera-server-e71bb74f79ea
- medium.com/@gonzalovazquez/raspberry-pi-and-motioneye-setting-up-your-own-video-surveilance-95444e0faad
Important : in the previous part it was already mentioned, but it is better to repeat. For any resource-intensive tasks (which includes video processing) on the Raspberry Pi, a high-quality branded 2.5A power supply is required and a passive heatsink on the CPU is desirable (you can get it cheap in China for $ 1-2, by typing raspberry pi heatsink in the search). Otherwise, the device may freeze, file copy errors, etc. may appear.
2. Audio recording
With a USB microphone, the Raspberry Pi can be used as a
A few tutorials to repeat:
- iltabiai.github.io/2018/03/17/rpi-stream.html
- blog.mutsuda.com/raspberry-pi-into-an-audio-spying-device-7a56e7a9090e
- www.heidislab.com/tutorials/audio-streaming-with-raspberry-pi-zero-w-and-adafruits-i2s-mic
By the way, with a microphone, the Raspberry Pi can be used with Amazon Alexa and use the device for voice commands.
3. Prof. the photo
Do not confuse n3 and n1. The first paragraph dealt with surveillance cameras, but the Raspberry Pi can also control professional cameras Canon, Nikon, Sony, etc. It is enough to connect the camera to the Raspberry Pi via USB.
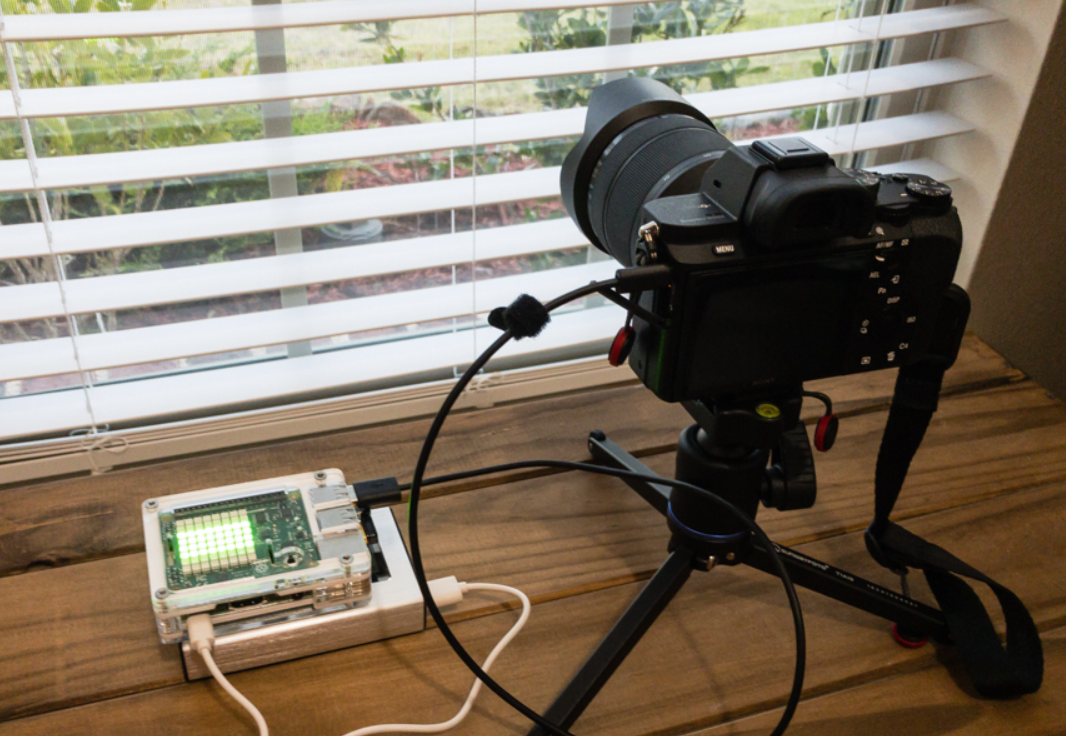
Photo from www.movingelectrons.net/blog/2017/08/09/Camera-Time-lapse-Controller-with-Python-and-Raspberry-Pi.html
The gphoto2 and libgphoto2 libraries have both the ability to work from the command line and interfaces for Python and C ++, which allows you to use the Raspberry Pi to control the “mirror”, for example, for time-lapse photography. The list of supported cameras is quite large, and covers almost all models, from modern to the old 10 years ago. Libgphoto2 has a fairly developed API , and can not only control the shutter, but also change settings, upload files, etc.
Repeat Tutorials:
- pimylifeup.com/raspberry-pi-dslr-camera-control
- medium.com/@cgulabrani/controlling-your-dslr-through-raspberry-pi-ad4896f5e225
By the way, you can write images either on the camera’s memory card or directly on the Raspberry Pi, which allows, for example, to automatically upload them to the “cloud”. There are also libraries for controlling not only SLR, but also astronomical (e.g. ZWO ASI) cameras, including even auto-guiding .
4. Weather station
Raspberry Pi "knows how" not only to run Linux-programs, but also has a fairly developed peripherals - serial, I2C, SPI, GPIO. This makes the device almost ideal for collecting and sending data from various sensors - from temperature and humidity sensors to a dosimeter based on a Geiger counter.
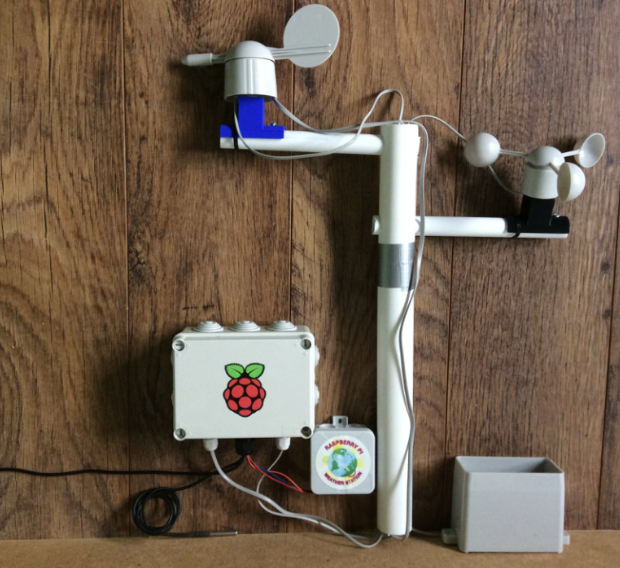
Photo from www.raspberrypi.org/blog/build-your-own-weather-station
By the way,
Tutorials to learn:
- www.raspberrypi.org/blog/build-your-own-weather-station
- www.instructables.com/id/Build-a-Raspberry-Pi-SUPER-Weather-Station
- www.cooking-hacks.com/documentation/tutorials/geiger-counter-radiation-sensor-board-arduino-raspberry-pi-tutorial
5. Game console
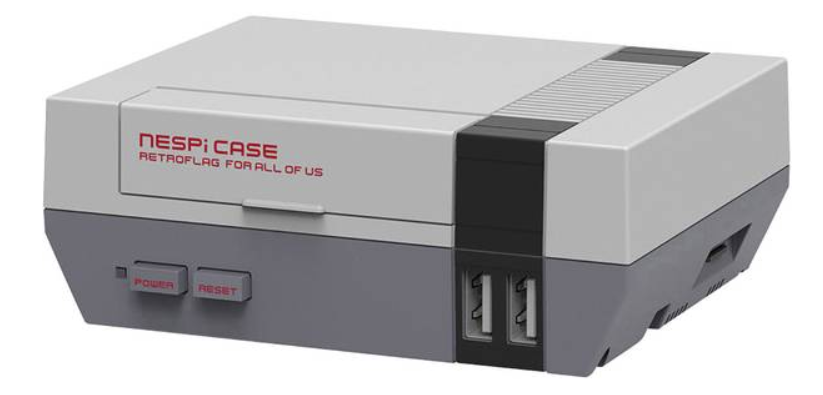
Using the RetroPie project, you can turn the Raspberry Pi into a “retro” emulator for different game consoles, from Atari to Gameboy or ZX Spectrum. You can also buy various cases, joysticks, etc.
I am far from games, so I can’t say more, anyone can try it on their own. A couple of tutorials to learn:
- www.pcworld.com/article/3190347/how-to-build-a-raspberry-pi-retrogaming-emulation-console.html
- thewirecutter.com/reviews/raspberry-pi-game-console
Conclusion
I hope there are enough new ideas here for what to do on the weekend.
As usual, all successful experiments.
The third part is available here .