We manage smart sockets and hundreds of other IoT devices with the help of DIY devices, websites, bots and instant messengers

Hi, Geektimes! Making, for example, a smart socket for switching devices with 220V power supply is the biggest problem in the development of home automation, smart home and similar systems.
This problem has two aspects - the complexity of self-production and ensuring the reliability and safety of such outlets. Therefore, only experienced craftsmen can make their own hands.
Most often, the incentive to make a smart socket on its own is the lack of a sane API for most production models.
In one article on Geektimes about smart sockets, I saw this comment:
“ If there is no open API, how do you differ from hundreds of other suppliers? I dream of an outlet that I can manage using a normal https request. From any OS and from any device . ”
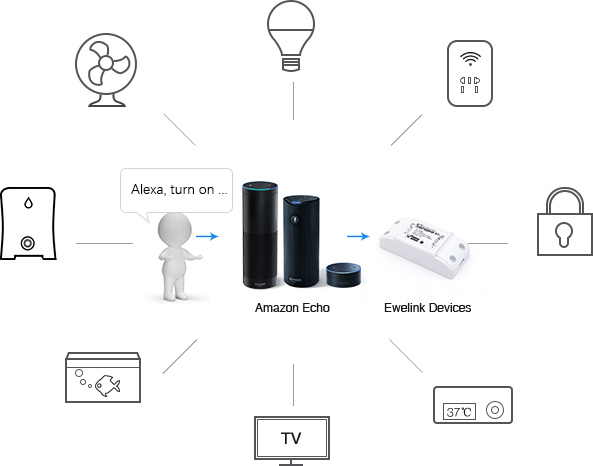
This is the way to control almost any smart socket and many IoT devices I want to share. The method outlined below is relevant both for simple Wi-Fi sockets HS100 from TP Link from any electronics store, as well as for many other devices: Philips smart LED lamps, smart home hubs, Nest thermostats, fitness bracelets, watering systems and even cars .
On the website of any large online electronics store like AliExpress or eBay, you can find hundreds of interesting IoT devices for your smart home when searching for “smart home”. Most of them have an attractive price, they look cool, they have security certificates, but they don’t have an open API - what’s really important to geeks.
In fact, this is not the case. Most API devices, of course, exist and in most cases it is open, but not for everyone. Most often, Amazon has access to it, because there are a huge number of devices that are compatible with voice-activated control.
Assistant Alexa Echo. Read more here .
In turn, Amazon's backend for managing Alexa is also open — AWS for supporting IoT devices and all kinds of Alexa Skills, Lambda, and so on. The problem is that with all this it is quite difficult to understand.
Now I will tell you how to manage using JSON requests everything that Alexa Echo can manage. Just by writing a command like "turn on the living room" you can control almost any smart outlet you want from — from the site, Arduino device, bot or messenger.
As a simple example, many already use the popular Sonof switch for $ 5. Usually craftsmen reprogram it and use custom firmware for their server.
In fact, they can control text or voice from a free application, as well as use the API to send commands using simple json requests from your site, Arduino, bot, etc., and you don’t need to solder or flash anything - everything works " from the box".
The Alexa ecosystem is constantly evolving, and there are more and more new commands to manage. Detailed instructions for setting up devices from Sonof to work with Alexa are here .
So, what is needed in order to manage hundreds of IoT devices and systems (supporting Alexa Echo) from your websites, DIY devices, bots, etc.?
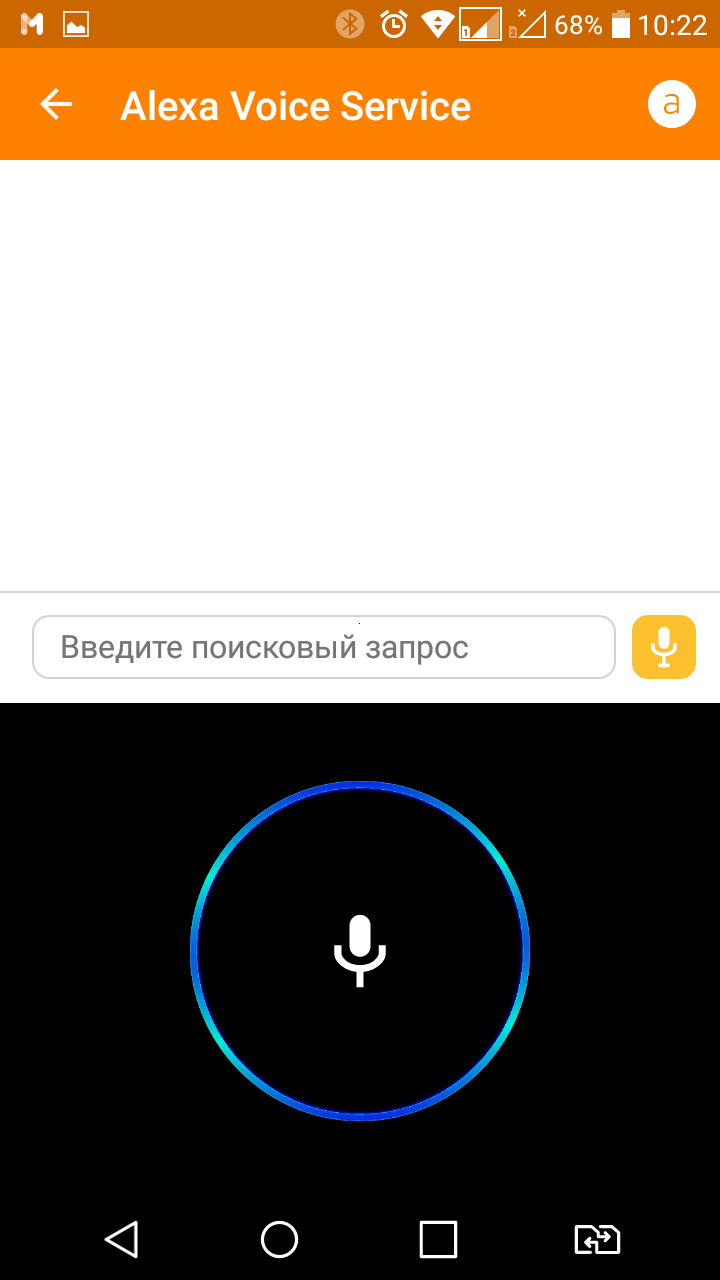
First you need to download the application and register (login and password selected during registration will be required during authorization for the API).
You will also need a login and password for your account on Amazon. You can enter them when you first turn on Alexa mode in the application (the “a” icon) or register and create a new account on Amazon.
Now we are creating a chat with someone, which we will send from the API commands for managing devices.
We need a chat ID. We get it with the getSessions command. Command execution example:
{ "new": 0, "top": { "delivery": 1514009104111, "code": 0, "orig": "3996189326", "lifetime": -1, "mid": "1514009104111-b6cbe7fcccd49f9824", "time": 1514009104111, "event": 3, "type": 16, "content": "weather in london" }, "created": 1513996519209, "missed": 0, "count": 40, "parties": [ "3996189326", "3929915709" ], "id": "<b>1513996519209-ab612ee9434113c8d1</b>", "time": 1514009104111, "dialogid": "1513996519209-4b0cbad7b6e43ed36e", "updated": 1513999445871, "properties": { "keyGeoEnable": true, "push": false, "nodisturb": true },
Find the desired chat (here it is displayed as “id”: “1513996519209-ab612ee9434113c8d1”) and copy its ID - 1513996519209-ab612ee9434113c8d1. Now we can give the command
to control with the following parameters:
method sendMessage
sessionid 1513996519209-ab612ee9434113c8d1
type 16
content weather in London
If done correctly, your smartphone will report the current weather in London. Read more about the API commands here .
Now you need to bind the device to the account Alexa. Detailed instructions are in this article on Geektimes. After binding, you can change the phrase in the content.
For example, if the device is attached to the Living Room group, then the json request will look like this:
method sendMessage
sessionid 1513996519209-ab612ee9434113c8d1
type 16
content turn on the living room
The appropriate device attached to the living room will be turned on - a smart socket, a smart switch and so on.
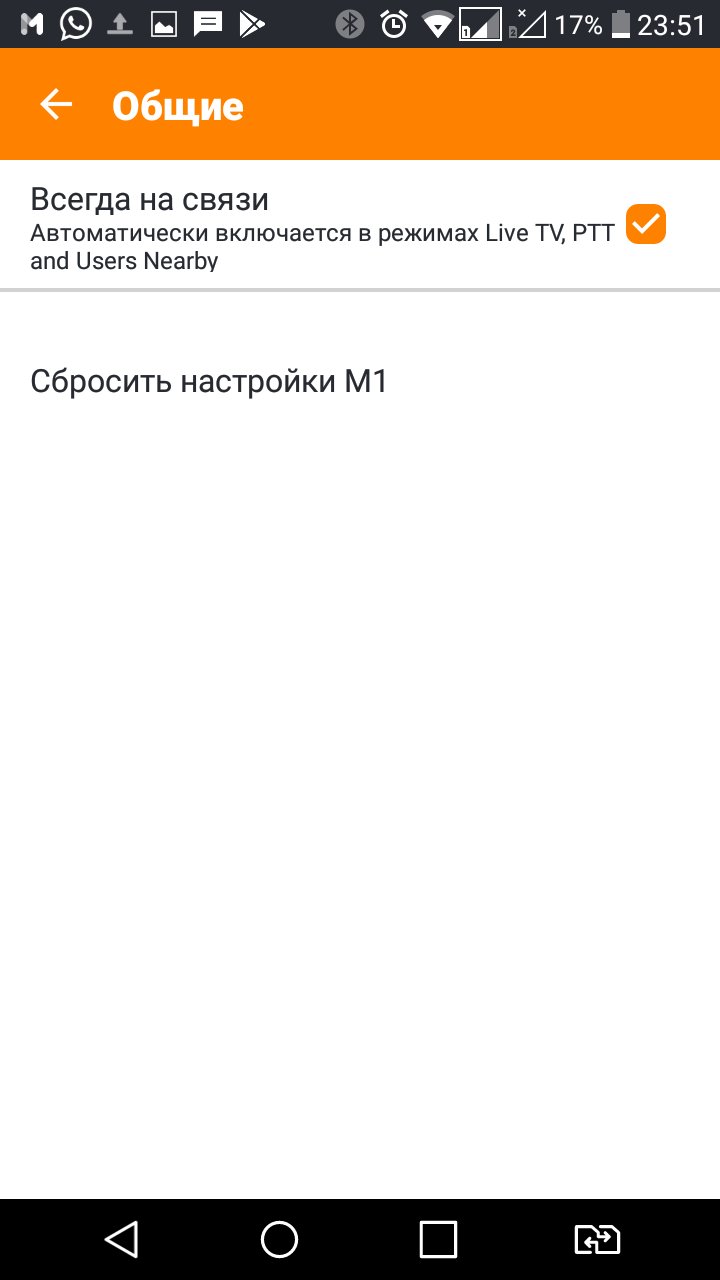
Important! In the application settings there should be a tick Always On:
Now you can not only manage systems from the site, bot, devices like Arduino and other methods, but also make purchases on Amazon - in general, use all that the intelligent column Alexa Echo can do.
Thanks for attention! I hope it will come in handy.
All Articles