AndroidはGoogleのモバイルオペレーティングシステムです。
このシステムは非常に有望であり、動的に開発されています。 基本的な開発スキルは不要ではありません。
多くのスクリーンショットに注意してください!
1.開始
まず、 公式Webサイトにアクセスして、Android 2.2の最新バージョンの機能を理解する必要があります。 このサイトには、 開発者向けの特別なセクションがあります。 ここでは、 必要なすべてのツールをダウンロードし、 インストール手順、 最初のアプリケーションの作成手順、ライブラリのパッケージとクラスに関するヘルプを見つけることができます。
2. SDKをインストールする
JDKバージョン5または6をコンピューターにインストールする必要がありますAndroid開発の場合は、Androidエミュレーターを備えたAndroid SDKをダウンロードしてインストールする必要があります。 次に、 Eclipseバージョン3.4または3.5をインストールする必要があります。 最後に、Eclipse用のADTプラグインをインストールする必要があります。
3. RSSクライアントの作成
基礎として、 AndroidでRssリーダーを作成するという記事を取り上げました。 しかし、記事にはエラーがあり、動作中のアプリケーションを取得してもすぐには機能しません。 私のリクエストで、著者は完全なワーキングドラフトを投稿しました。 しかし、通信が進行中に、私自身がエラーを修正し、プログラムのバージョンを書きました。
3.1。 プロジェクト作成
Eclipseを実行し、[ファイル]-> [新規]-> [プロジェクト]を選択します。 [新しいプロジェクト]ダイアログが起動し、AndroidフォルダーとAndroidプロジェクトを選択して、[次へ]をクリックします。

[新しいAndroidプロジェクト]ウィンドウが開きます。 Project name:uRSSフィールドに入力し、Build TargetテーブルでAndroid 2.2行を選択します。 次に、[プロパティ]セクションでプロジェクトのプロパティを入力する必要があります。
アプリケーション名:uRSS。
パッケージ名:rembo.network.urss。
RSSアクティビティ
最小SDKバージョン:8。
[次へ]をクリックし、次のウィンドウで何も変更せずに[完了]をクリックします。


すべてのプロジェクトが作成されました。
3.2。 コード記述
Eclipseは多くのプロジェクトフォルダーとファイルを作成します(それらは混乱しやすいです)。
主なファイルは次のとおりです。
src / rembo.network.rss / RSSactivity.java-メインウィンドウのロジックを設定するRSSactivityクラスを持つファイル(ここではイベントハンドラーを記述します)。
res / layout / main.xml-メインウィンドウのXML記述(ここではコントロールを作成します);
AndroidManifest.xml-アプリケーションプロパティ記述ファイル(ここでは、XML記述をコードに接続し、ネットワークで動作するためのアクセス許可を設定します)。
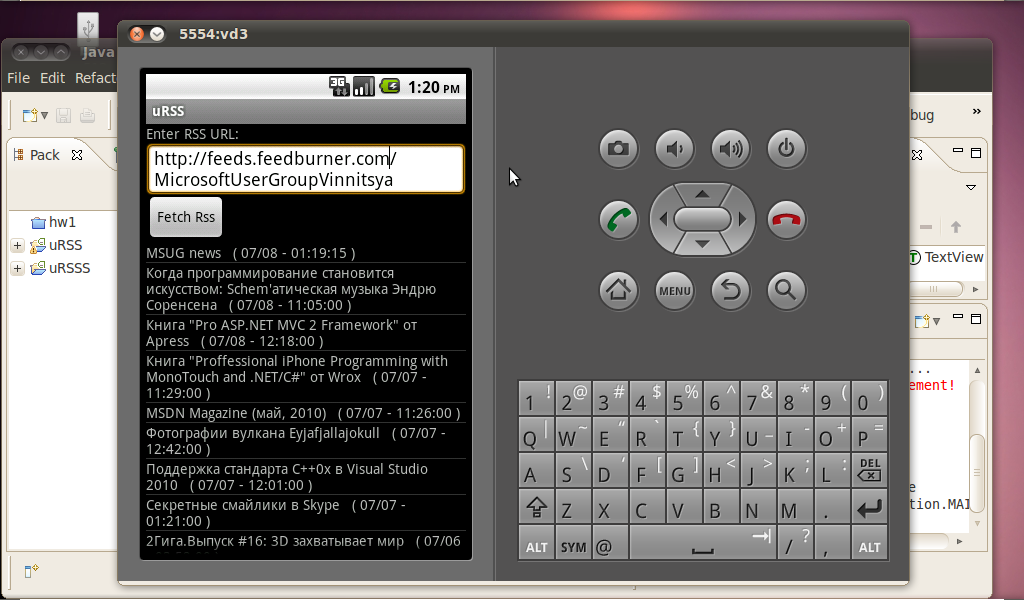
最初に、res / layout / main.xmlファイルでメインウィンドウの内容を設定しましょう。 メインウィンドウは、LinearLayoutコンテナに基づいて構築されます。 TextView、EditTextテキスト入力フィールド、ボタン、およびListViewが含まれます。 各要素にはandroid:idがあることに注意してください。 これは、インターフェイス要素にコードから接続するための識別子です。
<? xml version ="1.0" encoding ="utf-8" ? >
< LinearLayout xmlns:android ="http://schemas.android.com/apk/res/android"
android:orientation ="vertical"
android:layout_width ="fill_parent"
android:layout_height ="fill_parent"
>
< TextView
android:id ="@+id/label"
android:layout_width ="fill_parent"
android:layout_height ="wrap_content"
android:text ="Enter RSS URL:"
/>
< EditText
android:id ="@+id/rssURL"
android:layout_width ="fill_parent"
android:layout_height ="wrap_content"
android:background ="@android:drawable/editbox_background"
android:text ="http://feeds.feedburner.com/MicrosoftUserGroupVinnitsya"
/>
< Button
android:id ="@+id/fetchRss"
android:layout_width ="wrap_content"
android:layout_height ="wrap_content"
android:layout_marginRight ="10dip"
android:text ="Fetch Rss" />
< ListView
android:id ="@+id/rssListView"
android:layout_width ="fill_parent"
android:layout_height ="wrap_content" />
</ LinearLayout >
* This source code was highlighted with Source Code Highlighter .
リストアイテムには、コンテンツを指定する必要があります。 これを行うには、ファイルres / layout / list_item.xmlを作成します。
<? xml version ="1.0" encoding ="utf-8" ? >
< TextView
xmlns:android ="http://schemas.android.com/apk/res/android"
android:layout_width ="fill_parent"
android:layout_height ="fill_parent"
android:padding ="10dp"
android:textSize ="13sp"
android:autoLink ="all" >
</ TextView >
* This source code was highlighted with Source Code Highlighter .
リスト項目をクリックすると、ニュースが新しいウィンドウで開きます。 このウィンドウ用にファイルres / layout / rss_item_displayer.xmlを作成します。
<? xml version ="1.0" encoding ="utf-8" ? >
< LinearLayout
xmlns:android ="http://schemas.android.com/apk/res/android"
android:layout_width ="fill_parent"
android:layout_height ="fill_parent"
android:orientation ="vertical"
>
< TextView
android:id ="@+id/titleTextView"
android:text ="Title:"
android:layout_width ="fill_parent"
android:layout_height ="wrap_content"
android:padding ="10dp"
android:textSize ="13sp"
android:autoLink ="all"
/>
< TextView
android:id ="@+id/contentTextView"
android:text ="Content:"
android:layout_width ="fill_parent"
android:layout_height ="wrap_content"
android:textSize ="13sp"
android:autoLink ="all"
/>
</ LinearLayout >
* This source code was highlighted with Source Code Highlighter .
したがって、インターフェースが作成されます。 次に、コードを記述する必要があります。 src / rembo.network.rss / RssItem.javaファイルに新しいRssItemクラスを作成します。 このクラスは、インターネットからRSSコンテンツを受信します。
package rembo.network.urss;
import java.util.*;
import java.text.*;
import java.net.*;
import java.io.*;
import javax.xml.parsers.*;
import org.w3c.dom.*;
public class RssItem {
private String title;
private String description;
private Date pubDate;
private String link;
public RssItem( String title, String description, Date pubDate, String link) {
this .title = title;
this .description = description;
this .pubDate = pubDate;
this .link = link;
}
public String getTitle()
{
return this .title;
}
public String getLink()
{
return this .link;
}
public String getDescription()
{
return this .description;
}
public Date getPubDate()
{
return this .pubDate;
}
@Override
public String toString() {
SimpleDateFormat sdf = new SimpleDateFormat( "MM/dd - hh:mm:ss" );
String result = getTitle() + " ( " + sdf.format( this .getPubDate()) + " )" ;
return result;
}
public static ArrayList <RssItem> getRssItems( String feedUrl) {
ArrayList <RssItem> rssItems = new ArrayList <RssItem>();
RssItem rssItemT = new RssItem( "MSUG news" , "Best IT news." ,
new Date(), "http://msug.vn.ua/" );
rssItems.add(rssItemT);
try {
//open an URL connection make GET to the server and
//take xml RSS data
URL url = new URL(feedUrl);
HttpURLConnection conn = (HttpURLConnection) url.openConnection();
if (conn.getResponseCode() == HttpURLConnection.HTTP_OK) {
InputStream is = conn.getInputStream();
//DocumentBuilderFactory, DocumentBuilder are used for
//xml parsing
DocumentBuilderFactory dbf = DocumentBuilderFactory
.newInstance();
DocumentBuilder db = dbf.newDocumentBuilder();
//using db (Document Builder) parse xml data and assign
//it to Element
Document document = db.parse( is );
Element element = document.getDocumentElement();
//take rss nodes to NodeList
NodeList nodeList = element.getElementsByTagName( "item" );
if (nodeList.getLength() > 0) {
for ( int i = 0; i < nodeList.getLength(); i++) {
//take each entry (corresponds to <item></item> tags in
//xml data
Element entry = (Element) nodeList.item(i);
Element _titleE = (Element) entry.getElementsByTagName(
"title" ).item(0);
Element _descriptionE = (Element) entry
.getElementsByTagName( "description" ).item(0);
Element _pubDateE = (Element) entry
.getElementsByTagName( "pubDate" ).item(0);
Element _linkE = (Element) entry.getElementsByTagName(
"link" ).item(0);
String _title = _titleE.getFirstChild().getNodeValue();
String _description = _descriptionE.getFirstChild().getNodeValue();
Date _pubDate = new Date(_pubDateE.getFirstChild().getNodeValue());
String _link = _linkE.getFirstChild().getNodeValue();
//create RssItemObject and add it to the ArrayList
RssItem rssItem = new RssItem(_title, _description,
_pubDate, _link);
rssItems.add(rssItem);
}
}
}
} catch (Exception e) {
e.printStackTrace();
}
return rssItems;
}
}
* This source code was highlighted with Source Code Highlighter .
次に、src / rembo.network.rss / RssItemDisplayer.javaファイルにRssItemDisplayerクラスを作成します。 彼は、ニュースの全文を表示するウィンドウのロジックを担当しています。 TextViewコードでコントロールのidが取得する方法に注意してくださいtitleTv =(TextView)findViewById(R.id.titleTextView);
package rembo.network.urss;
import android.app.Activity;
import android.os.Bundle;
import android.widget.*;
import java.util.*;
import java.text.*;
import java.net.*;
import java.io.*;
import javax.xml.parsers.*;
import org.w3c.dom.*;
import android.view.*;
public class RssItemDisplayer extends Activity {
@Override
public void onCreate(Bundle savedInstanceState) {
super.onCreate(savedInstanceState);
setContentView(R.layout.rss_item_displayer);
RssItem selectedRssItem = RSSactivity.selectedRssItem;
//Bundle extras = getIntent().getExtras();
TextView titleTv = (TextView)findViewById(R.id.titleTextView);
TextView contentTv = (TextView)findViewById(R.id.contentTextView);
String title = "" ;
SimpleDateFormat sdf = new SimpleDateFormat( "MM/dd - hh:mm:ss" );
title = "\n" + selectedRssItem.getTitle() + " ( "
+ sdf.format(selectedRssItem.getPubDate()) + " )\n\n" ;
String content = "" ;
content += selectedRssItem.getDescription() + "\n"
+ selectedRssItem.getLink();
titleTv.setText(title);
contentTv.setText(content);
}
}
* This source code was highlighted with Source Code Highlighter .
src / rembo.network.rss / RSSactivity.java.javaファイルにRSSactivityクラスコードを記述します。 彼はメインウィンドウのロジックを担当しています。 ボタンとリストアイテムをクリックするためのイベントハンドラーの作成方法に注意してくださいfetchRss.setOnClickListener(新しいView.OnClickListener()...
package rembo.network.urss;
import android.app.Activity;
import android.os.Bundle;
import android.widget.*;
import java.util.*;
import java.text.*;
import java.net.*;
import java.io.*;
import javax.xml.parsers.*;
import org.w3c.dom.*;
import android.view.*;
import android.view.View;
import android.widget.*;
import android.content.*;
public class RSSactivity extends Activity {
public static RssItem selectedRssItem = null ;
String feedUrl = "" ;
ListView rssListView = null ;
ArrayList <RssItem> rssItems = new ArrayList <RssItem>();
ArrayAdapter<RssItem> aa = null ;
/** Called when the activity is first created. */
@Override
public void onCreate(Bundle savedInstanceState) {
super.onCreate(savedInstanceState);
setContentView(R.layout.main);
// get textview from our layout.xml
final TextView rssURLTV = (TextView) findViewById(R.id.rssURL);
// get button from layout.xml
Button fetchRss = (Button) findViewById(R.id.fetchRss);
// define the action that will be executed when the button is clicked.
fetchRss.setOnClickListener( new View.OnClickListener() {
//@Override
public void onClick(View v) {
feedUrl = rssURLTV.getText().toString();
//TextView TVtitle=(TextView)findViewById(R.id.label);
//CharSequence cs="fetching";
//TVtitle.setText(cs);
aa.notifyDataSetChanged();
refressRssList();
//cs="Feed:";
//TVtitle.setText(cs);
}
});
// get the listview from layout.xml
rssListView = (ListView) findViewById(R.id.rssListView);
// here we specify what to execute when individual list items clicked
rssListView.setOnItemClickListener( new AdapterView.OnItemClickListener() {
//@Override
public void onItemClick(AdapterView<?> av, View view, int index,
long arg3) {
selectedRssItem = rssItems. get (index);
// we call the other activity that shows a single rss item in
// one page
Intent intent = new Intent(
"rembo.network.urss.displayRssItem" );
startActivity(intent);
}
});
//adapters are used to populate list. they take a collection,
//a view (in our example R.layout.list_item
aa = new ArrayAdapter<RssItem>( this , R.layout.list_item, rssItems);
//here we bind array adapter to the list
rssListView.setAdapter(aa);
feedUrl = rssURLTV.getText().toString();
refressRssList();
}
private void refressRssList() {
ArrayList <RssItem> newItems = RssItem.getRssItems(feedUrl);
rssItems.clear();
rssItems.addAll(newItems);
//TextView TVtitle=(TextView)findViewById(R.id.label);
//CharSequence cs="0";
//if(newItems.size()>0) cs="is 1";
//if(newItems.size()>5) cs="is 5";
///TVtitle.setText(cs);
aa.notifyDataSetChanged();
}
}
* This source code was highlighted with Source Code Highlighter .
最後の仕上げがあります。 AndroidManifest.xmlファイルのインターフェイスとコードを接続し、アプリケーションがインターネットにアクセスできるようにする必要があります。
<? xml version ="1.0" encoding ="utf-8" ? >
< manifest xmlns:android ="http://schemas.android.com/apk/res/android"
package ="rembo.network.urss"
android:versionCode ="1"
android:versionName ="1.0" >
< application android:icon ="@drawable/icon" android:label ="@string/app_name" >
< activity android:name =".RSSactivity"
android:label ="@string/app_name" >
< intent-filter >
< action android:name ="android.intent.action.MAIN" />
< category android:name ="android.intent.category.LAUNCHER" />
</ intent-filter >
</ activity >
< activity android:name =".RssItemDisplayer" android:label ="Display Rss Item" >
< intent-filter >
< action android:name ="rembo.network.urss.displayRssItem" />
< category android:name ="android.intent.category.DEFAULT" ></ category >
</ intent-filter >
</ activity >
</ application >
< uses-permission android:name ="android.permission.INTERNET" />
</ manifest >
* This source code was highlighted with Source Code Highlighter .
3.3。 打ち上げ
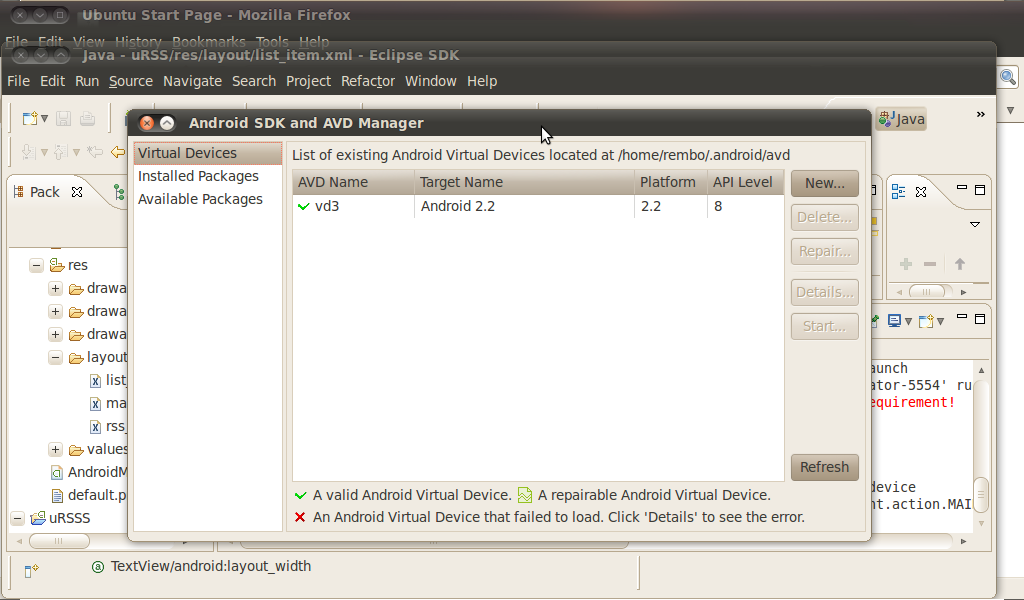
アプリケーションを起動します。 ただし、最初に仮想マシンを作成する必要があります。 これを行うには、Eclipseでメニューウィンドウ-> Android SDK and AVD Managerに移動します。
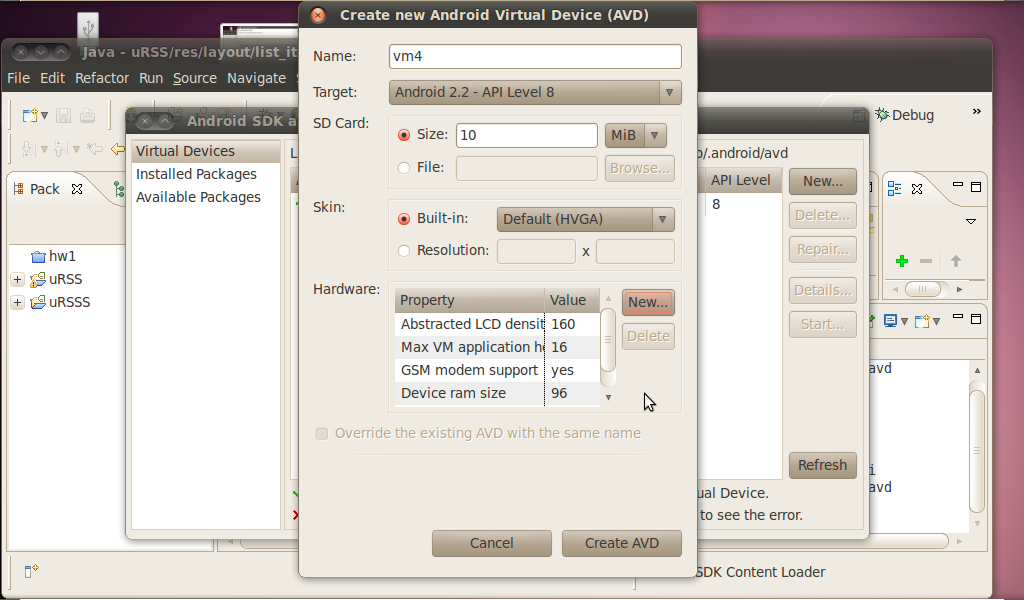
[新規]をクリックして、仮想マシンのプロパティを選択します。 [ハードウェア]セクションでは、GSMモデム、Touchscreeenのサポート、デバイスRAMサイズ、および最大VMアプリケーションヒープサイズを追加する必要があります(この構成では、デバイスはインターネットに正常に接続します)。 [AVDの作成]をクリックします(少し待つ必要があります)。
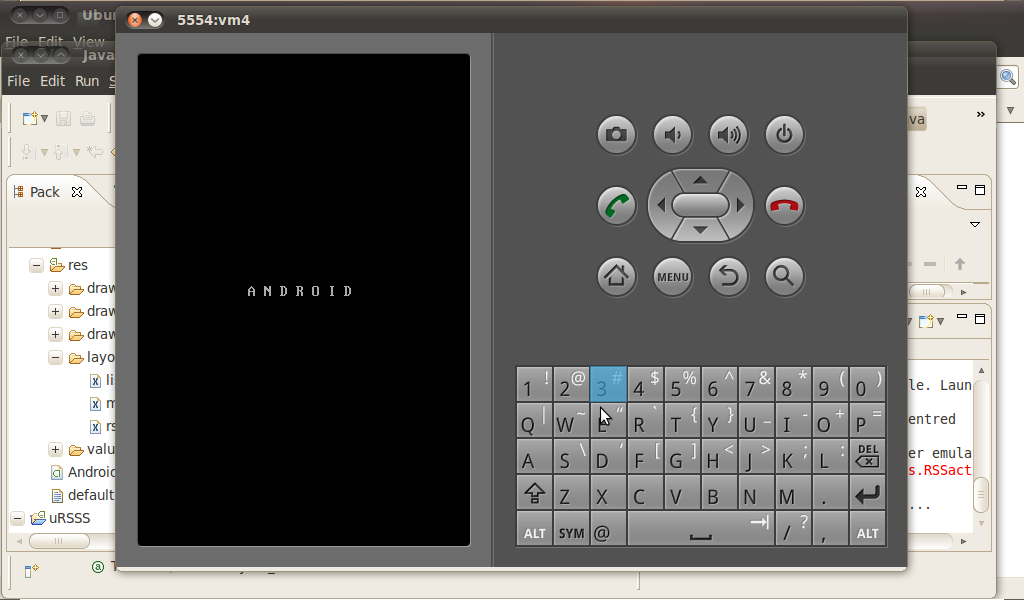
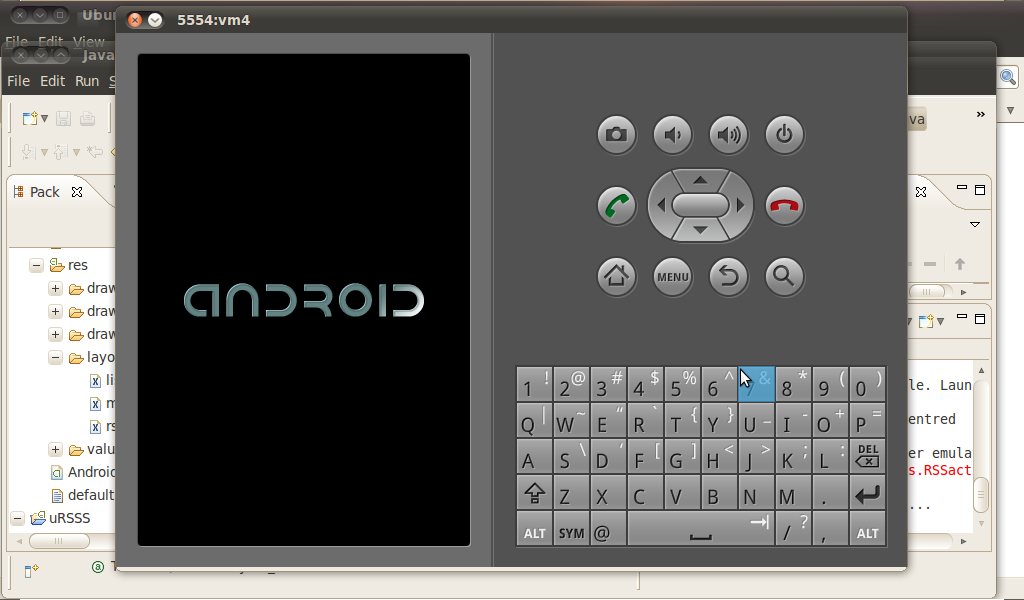
スタートボタンをクリックして、仮想マシンを起動します。 ここでは、我慢する必要があります。 マシンが起動するまで10〜20分待つ必要があります。 仮想デバイスがインターネットに接続されていることを確認してください。 そうでない場合は、再起動するか、新しいマシンを作成してください。
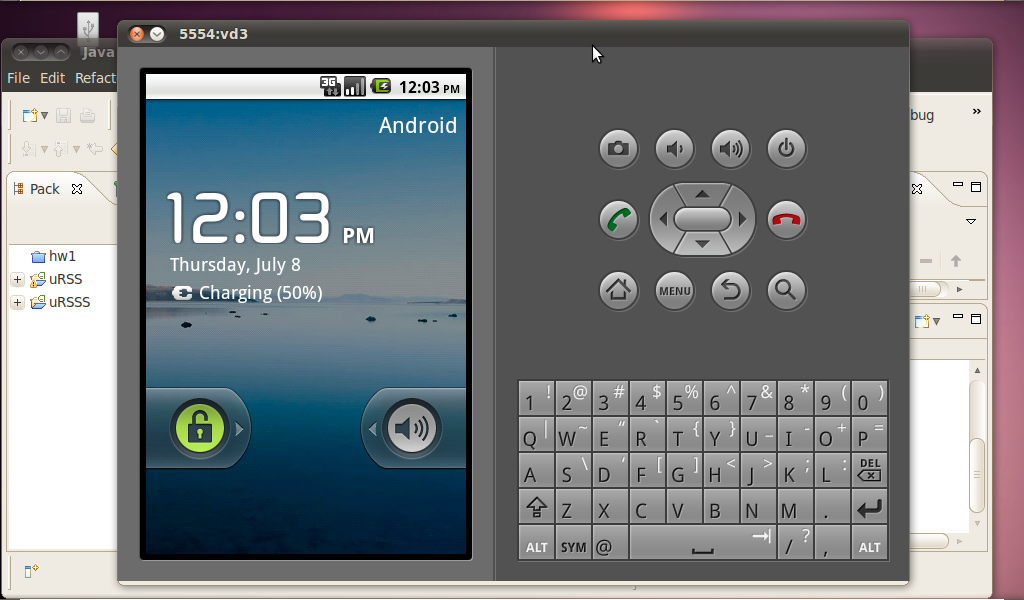
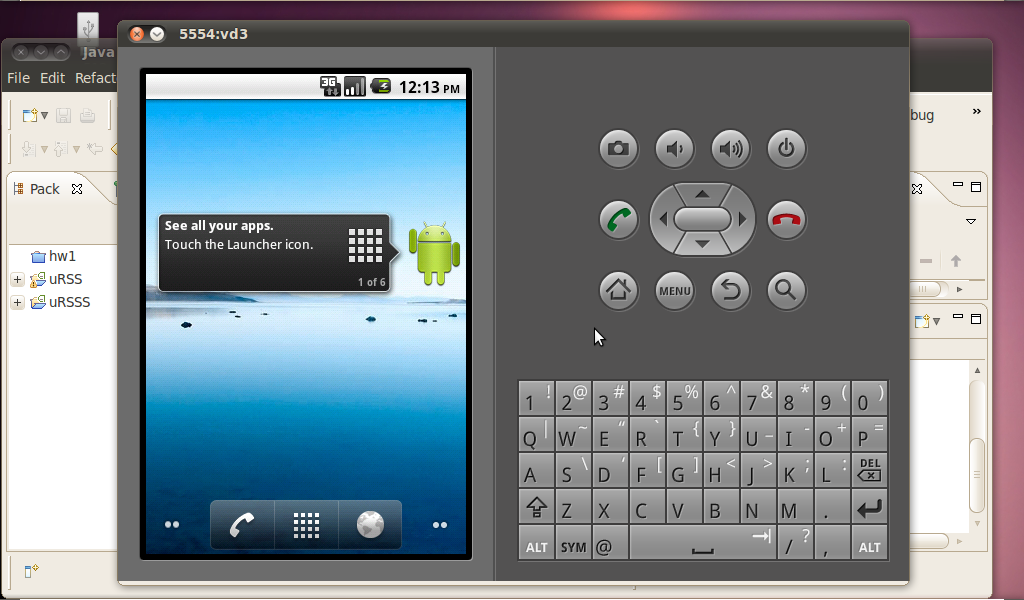
仮想マシンを起動した後、Eclipseに移動してアプリケーションを起動します([実行]をクリックします)。 繰り返しますが、アプリケーションが仮想マシンにインストールされて起動するまで5分間待つ必要があります。 アプリケーションが起動しない場合は、仮想マシンをオフにしてアプリケーションを起動してみてください(仮想マシンが再び起動するまでに時間がかかります)。