注:このチュートリアルは初心者向けではありません。 tableViewおよびxibファイルを使用したカスタムセルの作成について知っていることを前提としています。
また、視覚コンポーネントについては何も説明しません。
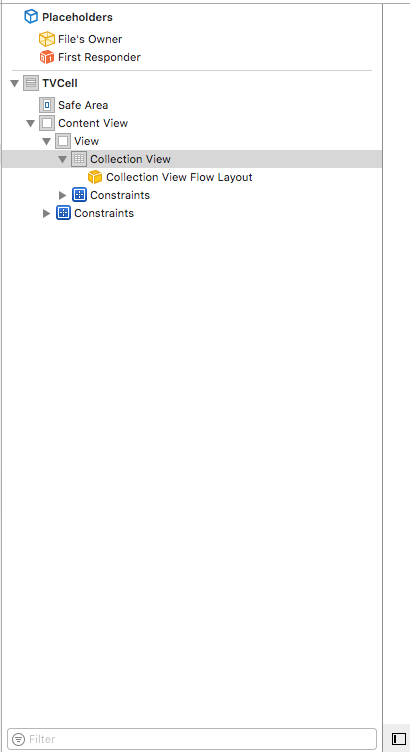
1)UICollectionViewをXib TableViewCellに追加します
- UICollectionViewをTableViewCell Xibにドラッグアンドドロップします。
- 制約を追加する
- CollectionViewCellsを新しく追加したUICollectionViewに追加できないことを確認してください:)
表示するコレクションビューセルを配置するには、別のファイルが必要であることがわかりました。 (UICollectionViewがxibファイルにある場合)
2)UICollectionViewCellおよびXibファイルをプロジェクトに追加します

コレクションビューセルのXibセルで何でもできます(ラベル、画像などを追加)。このチュートリアルでは、ここでは触れません。
セルにresuableIdentifierを指定してください。

3)TableViewCellクラスにUICollectionViewデータソースおよびデリゲートプロトコルがあることを確認します。
ステップ1:tableViewCells Xibファイルに戻ります。
ステップ2:collectionViewから「File's Owner」にドラッグし、dataSourceを選択して委任します。

ステップ3:collectionViewからTableViewCellクラスにドラッグし、IBOutletを作成します

手順4:TableViewCellクラスのUICollectionViewデータソースおよびデリゲートプロトコルが準拠していることを確認します。
class TableViewCell: UITableViewCell, UICollectionViewDelegate, UICollectionViewDataSource { @IBOutlet weak var collectionView: UICollectionView! override func awakeFromNib() { super.awakeFromNib() // Initialization code self.collectionView.dataSource = self self.collectionView.delegate = self self.collectionView.register(UINib.init(nibName: "CollectionViewCell", bundle: nil), forCellWithReuseIdentifier: "collectionViewID") } override func setSelected(_ selected: Bool, animated: Bool) { super.setSelected(selected, animated: animated) // Configure the view for the selected state } func collectionView(_ collectionView: UICollectionView, numberOfItemsInSection section: Int) -> Int { return 15 } func collectionView(_ collectionView: UICollectionView, cellForItemAt indexPath: IndexPath) -> UICollectionViewCell { let cell = collectionView.dequeueReusableCell(withReuseIdentifier: "collectionViewID", for: indexPath as IndexPath) as! CollectionViewCell return cell } }
コードの説明:
- UICollectionViewDelegateおよびUICollectionViewDataSourceをクラスの説明に追加します
- awakeFromXibでデータソースcollectionViewとデリゲート= selfを作成します
- 関数numberOfItemsInSectionを追加します
- 関数cellForItemAtを追加します
- カスタムセルとして、reuseIdentifierを使用してセルを作成します。
トラブルシューティング手順:
- 識別子が割り当てられ、正しいですか?
- collectionViewからXibファイルのFiles Ownerにドラッグしましたか?
質問がある場合は、コメントを書いてください。
これがあなたを助けた、または将来的に役立つ場合、など。
誰かが多くの時間を節約することを願っています。