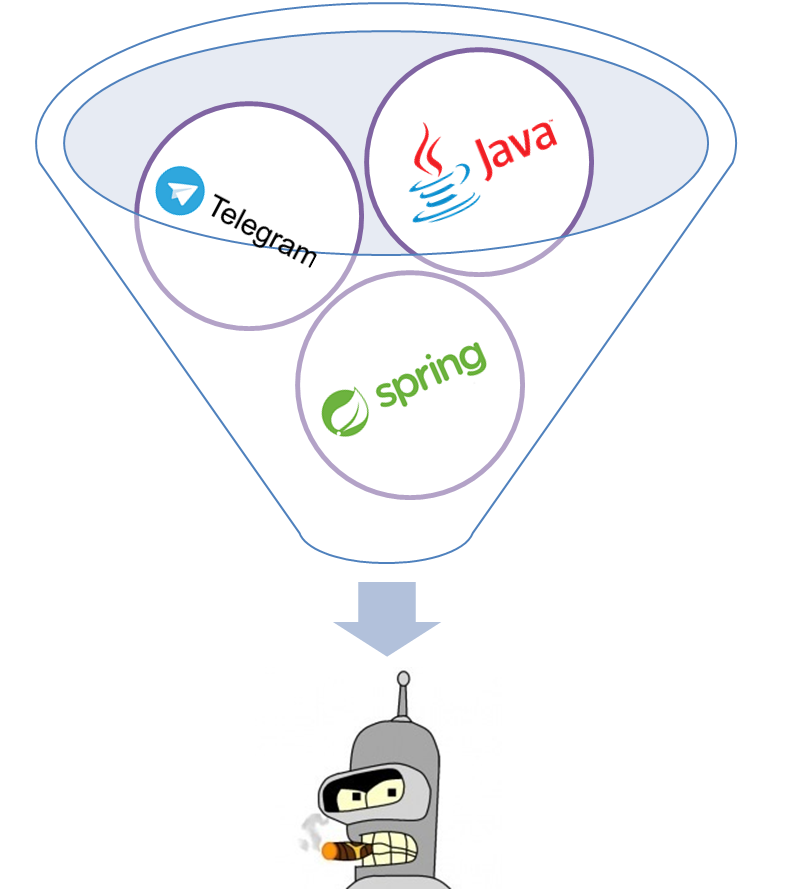
あなたは電報ボットですか? 開発の生産性は最高のものを望んでいますか? 新しいものをお探しですか? それから猫をお願いします。

アイデアは次のとおりです。SpringMVCアーキテクチャを非難し、電報APIに移植します。
次のようになります。
@BotController public class SimpleOkayController { @BotRequestMapping(value = "/ok") public SendMessage ok(Update update) { return new SendMessage() .setChatId(update.getMessage().getChatId()) .setText("okay bro, okay!"); } }
または
Beanの例
@BotController public class StartController { @Autowired private Filter shopMenu; @Autowired private PayTokenService payTokenService; @Autowired private ItemService itemService; @BotRequestMapping("/shop") public SendMessage generateInitMenu(Update update) { return new SendMessage() .setChatId(update.getMessage().getChatId().toString()) .setText(" !") .setReplyMarkup(shopMenu.getSubMenu(0L, 4L, 1L)); // <-- } @BotRequestMapping(value = "/buyItem", method = BotRequestMethod.EDIT) public List<BotApiMethod> bayItem(Update update) { .................... Item item = itemService.findById(id); // <-- return Arrays.asList(new EditMessageText() .setChatId(update.getMessage().getChatId()) .setMessageId(update.getMessage().getMessageId()) .setText(" , "), new SendInvoice() .setChatId(Integer.parseInt(update.getMessage().getChatId().toString())) .setDescription(item.getDescription()) .setTitle(item.getName()) .setProviderToken(payTokenService.getPayToken()) ........................ .setPrices(item.getPrice()) ); } }
これには次の利点があります。
- ユーザーからメッセージハンドラを選択するためのカスタムロジックを記述する必要はありません
- @BotControllerにさまざまなBeanを注入する機能
- 前の2つの段落の結果として、コード量の大幅な削減
- 潜在的に(まだ行っていませんが)カスタムハンドラーメソッドの引数は、本当に必要な引数として表現できます!
- springを使用して真剣なエンタープライズソリューションを作成する機能
これをプロジェクトでどのように実現できるかを見てみましょう。
注釈
@Target({ElementType.TYPE}) @Retention(RetentionPolicy.RUNTIME) @Component public @interface BotController { String[] value() default {}; } @Target({ElementType.METHOD}) @Retention(RetentionPolicy.RUNTIME) public @interface BotRequestMapping { String[] value() default {}; BotRequestMethod[] method() default {BotRequestMethod.MSG}; }
通常のHashMapの形式でハンドラーのコンテナーを作成します
コンテナ
public class BotApiMethodContainer { private static final Logger LOGGER = Logger.getLogger(BotApiMethodContainer.class); private Map<String, BotApiMethodController> controllerMap; public static BotApiMethodContainer getInstanse() { return Holder.INST; } public void addBotController(String path, BotApiMethodController controller) { if(controllerMap.containsKey(path)) throw new BotApiMethodContainerException("path " + path + " already add"); LOGGER.trace("add telegram bot controller for path: " + path); controllerMap.put(path, controller); } public BotApiMethodController getBotApiMethodController(String path) { return controllerMap.get(path); } private BotApiMethodContainer() { controllerMap = new HashMap<>(); } private static class Holder{ final static BotApiMethodContainer INST = new BotApiMethodContainer(); } }
ラッパーコントローラーをコンテナーに格納します(@BotControllerと@BotRequestMappingのペアの場合)
コントローラーラッパー
public abstract class BotApiMethodController { private static final Logger LOGGER = Logger.getLogger(BotApiMethodController.class); private Object bean; private Method method; private Process processUpdate; public BotApiMethodController(Object bean, Method method) { this.bean = bean; this.method = method; processUpdate = typeListReturnDetect() ? this::processList : this::processSingle; } public abstract boolean successUpdatePredicate(Update update); public List<BotApiMethod> process(Update update) { if(!successUpdatePredicate(update)) return null; try { return processUpdate.accept(update); } catch (IllegalAccessException | InvocationTargetException e) { LOGGER.error("bad invoke method", e); } return null; } boolean typeListReturnDetect() { return List.class.equals(method.getReturnType()); } private List<BotApiMethod> processSingle(Update update) throws InvocationTargetException, IllegalAccessException { BotApiMethod botApiMethod = (BotApiMethod) method.invoke(bean, update); return botApiMethod != null ? Collections.singletonList(botApiMethod) : new ArrayList<>(0); } private List<BotApiMethod> processList(Update update) throws InvocationTargetException, IllegalAccessException { List<BotApiMethod> botApiMethods = (List<BotApiMethod>) method.invoke(bean, update); return botApiMethods != null ? botApiMethods : new ArrayList<>(0); } private interface Process{ List<BotApiMethod> accept(Update update) throws InvocationTargetException, IllegalAccessException; } }
さて、このコードベースがあるとき、疑問が生じます:Springを使用してコンテナを自動的に埋める方法は?
これを行うために、特別なBean-BeanPostProcessorを実装します。 これにより、初期化中にBeanをキャッチできます。 コントローラーにはデフォルトでスコープがあります-シングルトンなので、コンテキストの開始で初期化されます!
TelegramUpdateHandlerBeanPostProcessor
@Component public class TelegramUpdateHandlerBeanPostProcessor implements BeanPostProcessor, Ordered { private static final Logger LOGGER = Logger.getLogger(TelegramUpdateHandlerBeanPostProcessor.class); private BotApiMethodContainer container = BotApiMethodContainer.getInstanse(); private Map<String, Class> botControllerMap = new HashMap<>(); @Override public Object postProcessBeforeInitialization(Object bean, String beanName) throws BeansException { Class<?> beanClass = bean.getClass(); if (beanClass.isAnnotationPresent(BotController.class)) botControllerMap.put(beanName, beanClass); return bean; } @Override public Object postProcessAfterInitialization(Object bean, String beanName) throws BeansException { if(!botControllerMap.containsKey(beanName)) return bean; Object original = botControllerMap.get(beanName); Arrays.stream(original.getClass().getMethods()) .filter(method -> method.isAnnotationPresent(BotRequestMapping.class)) .forEach((Method method) -> generateController(bean, method)); return bean; } private void generateController(Object bean, Method method) { BotController botController = bean.getClass().getAnnotation(BotController.class); BotRequestMapping botRequestMapping = method.getAnnotation(BotRequestMapping.class); String path = (botController.value().length != 0 ? botController.value()[0] : "") + (botRequestMapping.value().length != 0 ? botRequestMapping.value()[0] : ""); BotApiMethodController controller = null; switch (botRequestMapping.method()[0]){ case MSG: controller = createControllerUpdate2ApiMethod(bean, method); break; case EDIT: controller = createProcessListForController(bean, method); break; default: break; } if (controller != null) { container.addBotController(path, controller); } } private BotApiMethodController createControllerUpdate2ApiMethod(Object bean, Method method){ return new BotApiMethodController(bean, method) { @Override public boolean successUpdatePredicate(Update update) { return update!=null && update.hasMessage() && update.getMessage().hasText(); } }; } private BotApiMethodController createProcessListForController(Object bean, Method method){ return new BotApiMethodController(bean, method) { @Override public boolean successUpdatePredicate(Update update) { return update!=null && update.hasCallbackQuery() && update.getCallbackQuery().getData() != null; } }; } @Override public int getOrder() { return 100; } }
すべてのビンが書き込まれるコンテキストを初期化します-出来上がり! 次のように、メッセージのハンドラーを選択できます。
ハンドラーの選択
public class SelectHandle { private static BotApiMethodContainer container = BotApiMethodContainer.getInstanse(); public static BotApiMethodController getHandle(Update update) { String path; BotApiMethodController controller = null; if (update.hasMessage() && update.getMessage().hasText()) { path = update.getMessage().getText().split(" ")[0].trim(); controller = container.getControllerMap().get(path); if (controller == null) controller = container.getControllerMap().get(""); } else if (update.hasCallbackQuery()) { path = update.getCallbackQuery().getData().split("/")[1].trim(); controller = container.getControllerMap().get(path); } return controller != null ? controller : new FakeBotApiMethodController(); } }
追記
電報は非常に急速に発展しています。 ボットを使用すると、ストアを整理したり、さまざまなオンラインアイテムにコマンドを与えたり、ブログチャンネルを整理したりできます。 そして最も重要なことは、これらすべてを単一のアプリケーションで実現することです!
参照: