
Bit of theory
For a better understanding of the shader process, let’s take a look at a little theory. A vertex shader or vertex shader is a programmable stage of a shader that works with individual vertexes. Vertexes in turn store various attributes that are processed by this part of the shader to get converted attributes at the output.
Examples where vertex shaders are used

Deformation of objects - realistic waves, the effect of ripples from rain, deformation when a bullet hits, all this can be done with vertex shaders, and it will look more realistic than the same thing done through Bump Mapping in the fragment part of the shader. Since this is a change in geometry. Level 3.0 shaders on this subject have a technique called Dispacement Mapping, as they now have access to textures in the vertex part of the shader.

Animation of objects. Games look more lively and interesting when plants react to a character or trees sway in the wind. For this, vertex shaders are also used.

Cartoon lighting or stylized. In many games, from the point of view of style, it is not pbr lighting that looks much more interesting, but stylization. At the same time, it makes no sense to calculate anything in the fragment part.
Skinning. At the given moment in game engines this problem is solved, but nevertheless it is useful to understand vertex shaders in order to understand how it works.
Simple examples of working with vertexes
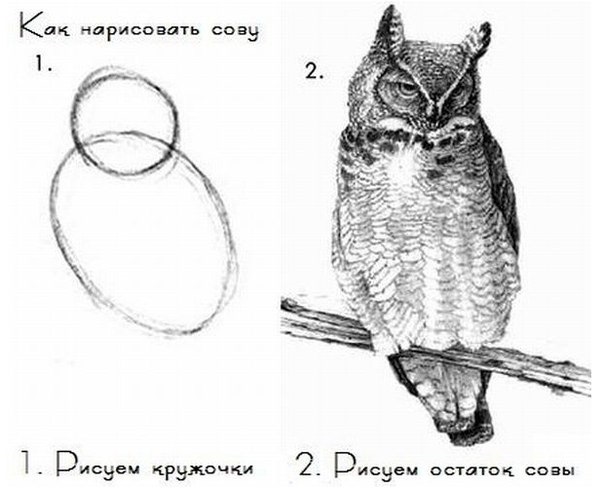
I don’t want it to happen, as in the old lessons on how to draw an owl, so let's go in stages. Create a standard surface shader. This can be done with the right mouse button in Project View or in the upper panel on the Assets tab. Create-> Shader-> Standard Surface Shader.
And we get such a standard blank.
Surface shader
Shader "Custom/SimpleVertexExtrusionShader"
{
Properties
{
_Color ("Color", Color) = (1,1,1,1)
_MainTex ("Albedo (RGB)", 2D) = "white" {}
_Glossiness ("Smoothness", Range(0,1)) = 0.5
_Metallic ("Metallic", Range(0,1)) = 0.0
}
SubShader
{
Tags { "RenderType"="Opaque" }
LOD 200
CGPROGRAM
// Physically based Standard lighting model, and enable shadows on all light types
#pragma surface surf Standard fullforwardshadows
// Use shader model 3.0 target, to get nicer looking lighting
#pragma target 3.0
sampler2D _MainTex;
struct Input
{
float2 uv_MainTex;
};
half _Glossiness;
half _Metallic;
fixed4 _Color;
// Add instancing support for this shader. You need to check 'Enable Instancing' on materials that use the shader.
// See https://docs.unity3d.com/Manual/GPUInstancing.html for more information about instancing.
// #pragma instancing_options assumeuniformscaling
UNITY_INSTANCING_BUFFER_START(Props)
// put more per-instance properties here
UNITY_INSTANCING_BUFFER_END(Props)
void surf (Input IN, inout SurfaceOutputStandard o)
{
// Albedo comes from a texture tinted by color
fixed4 c = tex2D (_MainTex, IN.uv_MainTex) * _Color;
o.Albedo = c.rgb;
// Metallic and smoothness come from slider variables
o.Metallic = _Metallic;
o.Smoothness = _Glossiness;
o.Alpha = ca;
}
ENDCG
}
FallBack "Diffuse"
}
How does it work in it and, in general, we will analyze it in detail in the article after the basic practice, plus we will partially understand it during the implementation of shaders. For now, let some of the things remain as given. In short, there is no magic (in terms of how parameters are picked up and so on) Just for certain keywords, the unit generates code for you so as not to write it from scratch. Therefore, this process is not obvious enough. You can read more about the surface shader and its properties in Unity here. docs.unity3d.com/Manual/SL-SurfaceShaders.html
We will remove everything superfluous from it so that it does not distract, since at the given moment it is not needed. And get such a short shader.
Simplified shader
Shader "Custom/SimpleVertexExtrusionShader"
{
Properties
{
_Color ("Color", Color) = (1,1,1,1)
}
SubShader
{
Tags { "RenderType"="Opaque" }
LOD 200
CGPROGRAM
#pragma surface surf Standard fullforwardshadows
#pragma target 3.0
struct Input
{
float4 color : COLOR;
};
fixed4 _Color;
void surf (Input IN, inout SurfaceOutputStandard o)
{
fixed4 c = _Color;
o.Albedo = c.rgb;
}
ENDCG
}
FallBack "Diffuse"
}
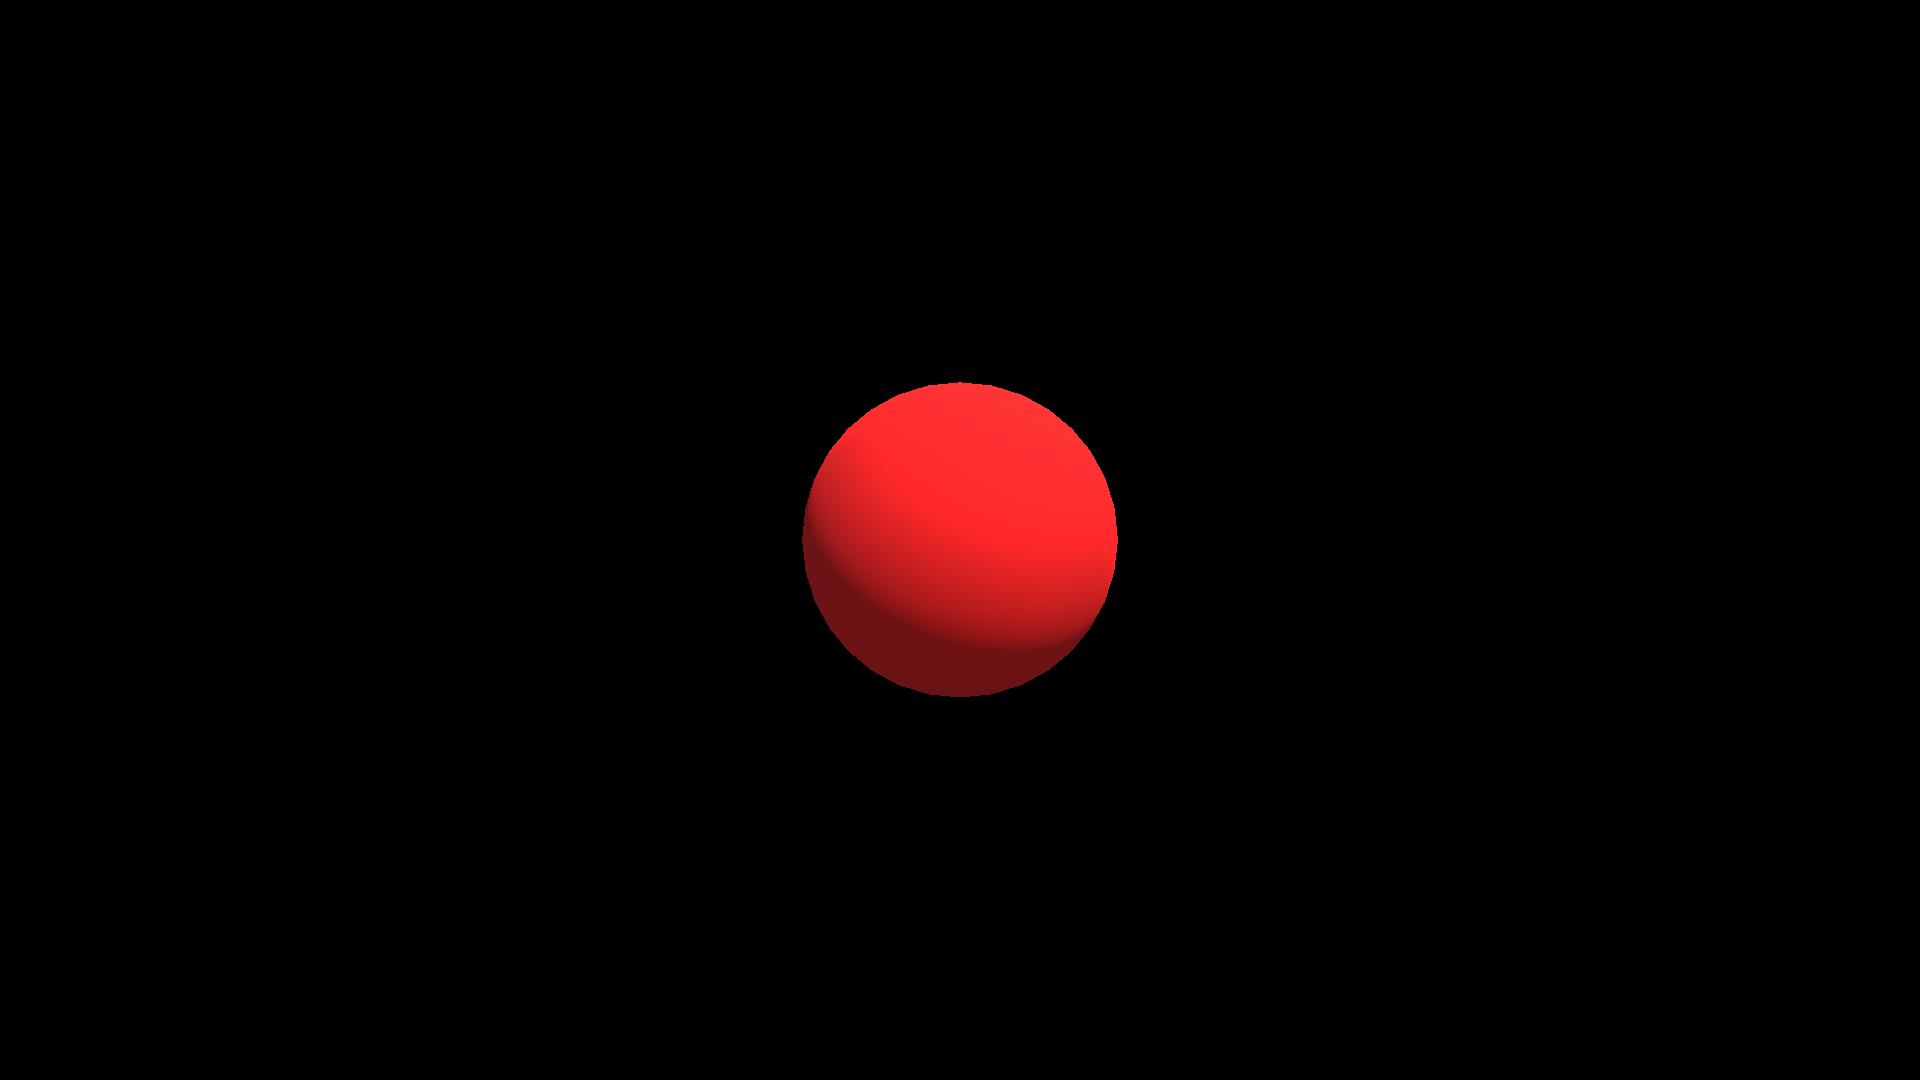
Just the color on the model with lighting. In this case, Unity is responsible for calculating the lighting.
First, add the simplest effect from the Unity examples. Extrusion is normal, and on its example we will analyze how it works.
To do this, add the vertex: vert modifier to the #pragma surface surf Standard fullforwardshadows line. If we pass inout appdata_full v as a parameter to a function, then in essence this function is a vertex modifier. At its core, it is part of the vertex shader, which is created by the code-generating unit, which provides preliminary processing of vertices. Also in the Properties block, add the _Amount field accepting values from 0 to 1. To use the _Amount field in the shader, we also need to define it there. In the function, we will simply shift to normal depending on _Amount , where 0 is the standard vertex position (zero shift), and 1 is the shift exactly to normal.
SimpleVertexExtrusionShader
Shader "Custom/SimpleVertexExtrusionShader"
{
Properties
{
_Color ("Color", Color) = (1,1,1,1)
_Amount ("Extrusion Amount", Range(0,1)) = 0.5
}
SubShader
{
Tags { "RenderType"="Opaque" }
LOD 200
CGPROGRAM
#pragma surface surf Standard fullforwardshadows vertex:vert
#pragma target 3.0
struct Input
{
float4 color : COLOR;
};
fixed4 _Color;
float _Amount;
void vert (inout appdata_full v)
{
v.vertex.xyz += v.normal * _Amount;
}
void surf (Input IN, inout SurfaceOutputStandard o)
{
fixed4 c = _Color;
o.Albedo = c.rgb;
}
ENDCG
}
FallBack "Diffuse"
}
You can notice an important feature of shaders. Although the shader is executed every frame, the result obtained during the shader operation is not stored in the mesh, but is used only for rendering. Therefore, it is impossible to relate to the functions of the shader, as well as the Update in scripts. They are applied every frame without changing the mesh data, but simply modifying the mesh for further rendering.
For example, one of the easiest ways to make an animation is to use time to change the amplitude. The unit has built-in variables, a full list of which can be found here docs.unity3d.com/Manual/SL-UnityShaderVariables.html In this case, we will write a new shader based on our past shader. Instead of _Amount, let 's make the float value _Amplitude and use the built-in Unity variable _SinTime . _SinTime is the sine of time, and therefore it takes values from -1 to 1. However, do not forget that all the built-in time variables in unit shaders are float4 vectors. For example, _SinTime is defined as (sin (t / 8), sin (t / 4), sin (t / 2), sin (t)) , where t is the time. Therefore, we take the z component so that the animation is faster. And we get:
SimpleVertexExtrusionWithTime
Shader "Custom/SimpleVertexExtrusionWithTime"
{
Properties
{
_Color ("Color", Color) = (1,1,1,1)
_Amplitude ("Extrusion Amplitude", float) = 1
}
SubShader
{
Tags { "RenderType"="Opaque" }
LOD 200
CGPROGRAM
#pragma surface surf Standard fullforwardshadows vertex:vert
#pragma target 3.0
struct Input
{
float4 color : COLOR;
};
fixed4 _Color;
float _Amplitude;
void vert (inout appdata_full v)
{
v.vertex.xyz += v.normal * _Amplitude * (1 - _SinTime.z);
}
void surf (Input IN, inout SurfaceOutputStandard o)
{
fixed4 c = _Color;
o.Albedo = c.rgb;
}
ENDCG
}
FallBack "Diffuse"
}
So these were simple examples. It's time to draw an owl!
Deformation of objects
I have already written a whole article on the subject of a single deformation effect with a detailed analysis of the mathematics of the process and the logic of thinking when developing a similar effect habr.com/en/post/435828 This will be our owl.
All shaders in the article are written in hlsl. This language actually has its own voluminous documentation, which many forget and wonder where half the wired functions come from, although they are defined in HLSL docs.microsoft.com/en-us/windows/win32/direct3dhlsl/dx-graphics-hlsl- intrinsic-functions
But in fact, surface shaders in a unit is a large and voluminous topic in itself. Plus, you don’t always want to mess with Unity lighting. Sometimes you need to cheat and write the fastest shader that has only the right set of predefined effects. In unit, you can write lower-level shaders.
Low level shaders

According to the good old tradition of working with shaders, hereinafter we will torment the Stanford rabbit.
In general, the so-called Unity ShaderLab is essentially a visualization of an inspector with fields in materials and some simplification of writing shaders.
Take the general structure of the Shaderlab shader:
General shader structure
Shader "MyShaderName"
{
Properties
{
//
}
SubShader // ( )
{
Pass
{
//
}
//
}
//
FallBack "VertexLit" // ,
}
Compilation directives such as
#pragma vertex vert
#pragma fragment frag
determine which shader functions to compile as vertex and fragment shaders, respectively.
Let's say we take one of the most common examples - a shader for displaying the color of normals:
SimpleNormalVisualization
Shader "Custom/SimpleNormalVisualization"
{
Properties
{
}
SubShader
{
Pass
{
CGPROGRAM
#pragma vertex vert
#pragma fragment frag
#include "UnityCG.cginc"
struct v2f {
float4 pos : SV_POSITION;
fixed3 color : COLOR0;
};
v2f vert (appdata_base v)
{
v2f o;
o.pos = UnityObjectToClipPos(v.vertex);
o.color = v.normal * 0.5 + 0.5;
return o;
}
fixed4 frag (v2f i) : SV_Target
{
return fixed4 (i.color, 1);
}
ENDCG
}
}
FallBack "VertexLit"
}
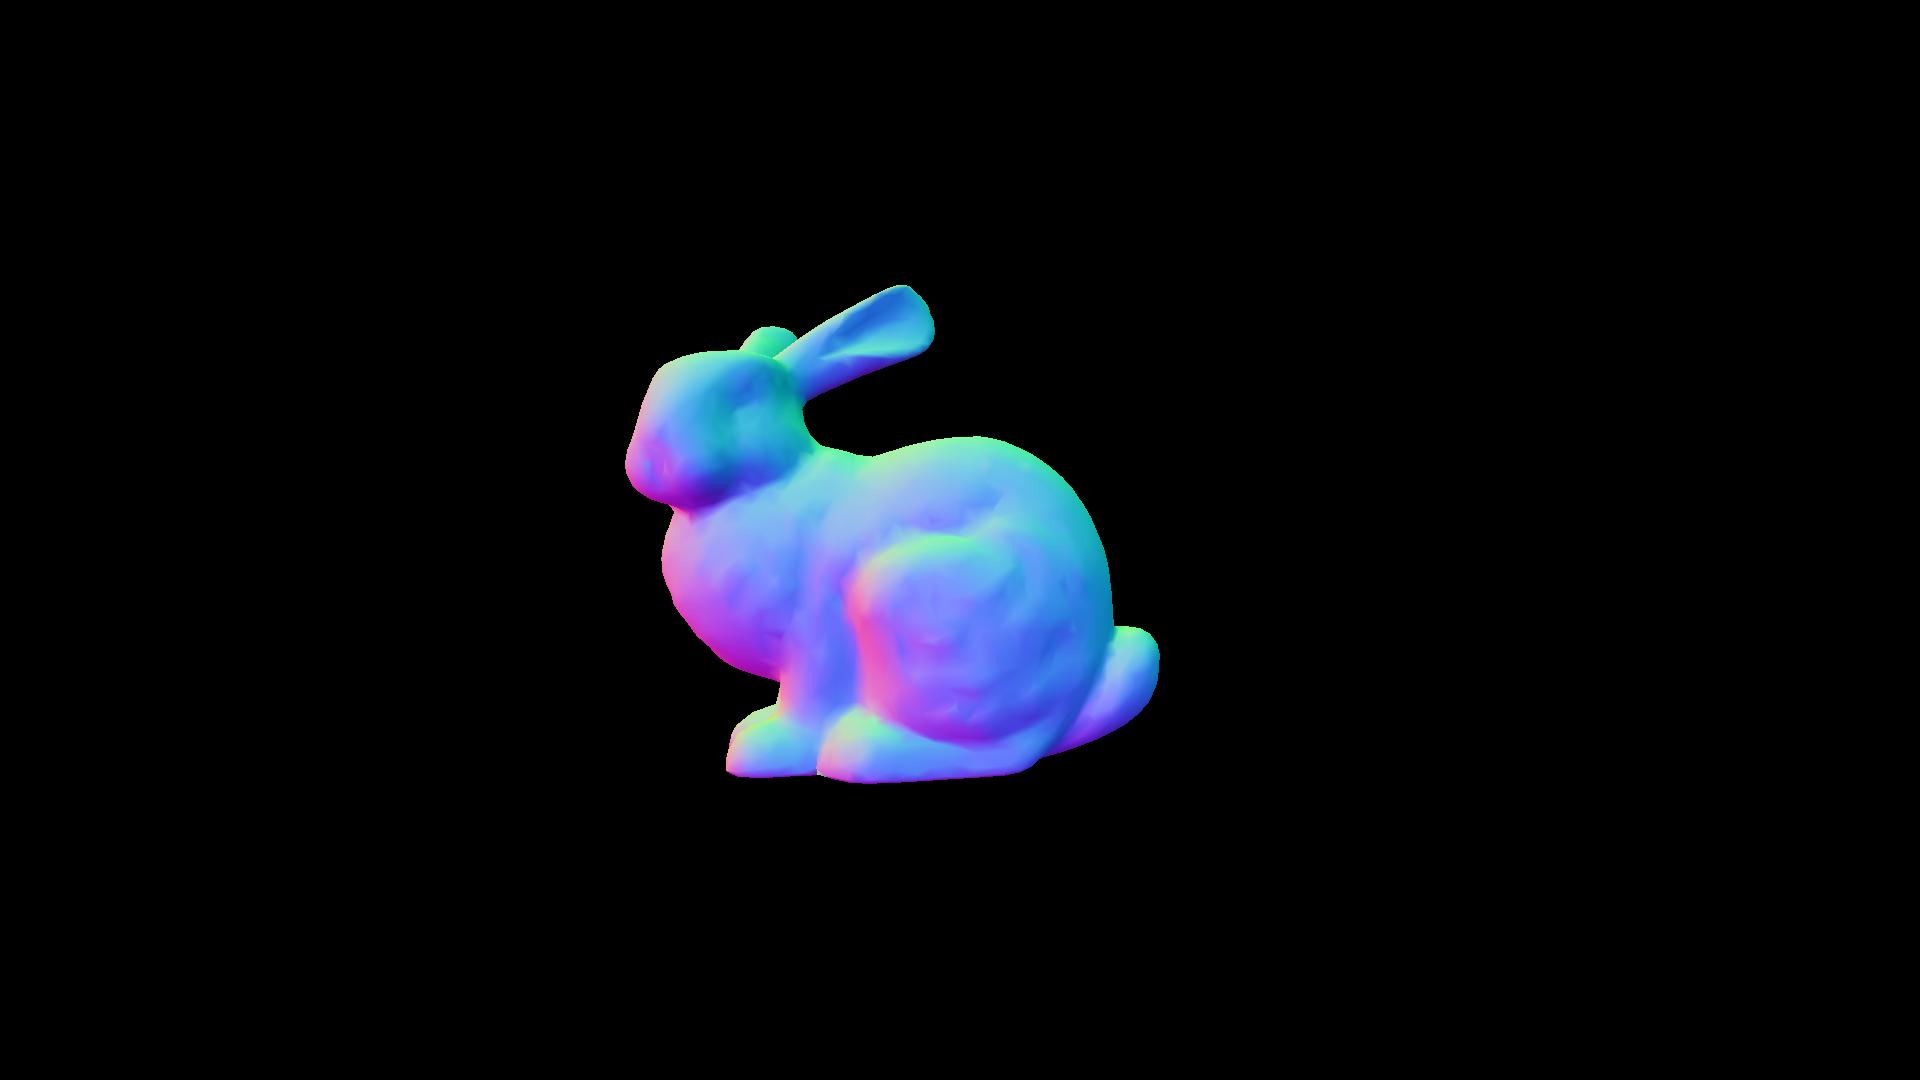
In this case, in the vertex part, we write the converted normal value to the vertex color, and in the pixel part we use this color as the color of the model.
The UnityObjectToClipPos function is a Unity auxiliary function (from the UnityCG.cginc file) that translates the object's vertices to the position associated with the camera. Without it, an object, when it enters the camera’s visibility (frustrum), will be drawn in the coordinates of the screen, regardless of the position of the transform. Since initially the positions of the vertices are presented in the coordinates of the object. Just values relative to his pivot.
This block.
struct v2f {
float4 pos : SV_POSITION;
fixed3 color : COLOR0;
};
This is the definition of the structure that will be processed in the vertex part and transferred to the fragment one. In this case, it defines that two parameters are taken from the mesh - the position of the vertex and the color of the vertex. You can read more about what data can be thrown in a unit at this link docs.unity3d.com/Manual/SL-VertexProgramInputs.html
Important clarification. The names of the mesh attributes do not matter. That is, let's say in the color attribute you can write a vector of deviation from the original position (in this way they sometimes make an effect when the character goes so that the grass "repels" from it). How this attribute will be processed is entirely dependent on your shader.
Conclusion
Thanks for attention! To write some complex effects is problematic without a fragmentary part, for this reason we will discuss similar in separate articles. I hope during this article it became a little clearer how the code for vertex shaders is written in general, and where you can find information for study, since shaders are a very deep topic.
In future articles, we will analyze the other types of shaders, individual effects, and I will try to describe my thinking logic when creating new or complex effects.
A repository has also been created where all the results of this series of articles github.com/Nox7atra/ShaderExamples will be added. I hope this information will be useful to beginners who are just starting their journey in studying this topic.
Some useful links (including sources):
www.khronos.org/opengl/wiki/Vertex_Shader
docs.microsoft.com/en-us/windows/win32/direct3dhlsl/dx-graphics-hlsl-reference
docs.unity3d.com/en/current/Manual/SL-Reference.html
docs.unity3d.com/Manual/GraphicsTutorials.html
www.malbred.com/3d-grafika-3d-redaktory/sovremennaya-terminologiya-3d-grafiki/vertex-shader-vershinnyy-sheyder.html
3dpapa.ru/accurate-displacement-workflow