
What is Espresso?
No, this is not a drink that you drink every day to cheer up. Espresso is an open source test framework developed by Google. It allows you to perform complex user interface tests on a real device or emulator. Will it take time to start writing complex tests for Android?
Maybe. But nothing prevents you from taking the first step and learning how to write simple test cases for Android using the Espresso framework right now.
Tell us more about automation?
Of course. Automation is a way to speed up tests and make them more efficient and scalable. Manual testing is very important, but having automated tests is a much better option in the future.
There are basically two types of test frameworks:
- Frameworks that do not need access to the source code and which are not integrated as part of the project. For example, WebDriver, Appium, QTP .
- Frameworks that need access to the source code. For example, Espresso, KIF (Keep It Functional) .
Espresso is a framework that needs access to the source code, so for automation we need access to the project code. Since we need a project to work, let's create it!
Main components of Espresso
There are three types of methods available in Espresso:
- ViewMatchers - allow you to find an object in the current hierarchy of views
- ViewAssertions - allow you to check the state of the object and confirm that the state meets the criteria
- ViewActions - these methods allow you to perform various actions with objects.
Let's dig deeper and see how it all works with a real example.
Create a simple automation application
The first thing we need to do is create an application that we will automate. Let's create a project in Android Studio. To do this, of course, you need Android Studio installed on your computer.
1. Open Android Studio and create a Bottom Navigation Activity.
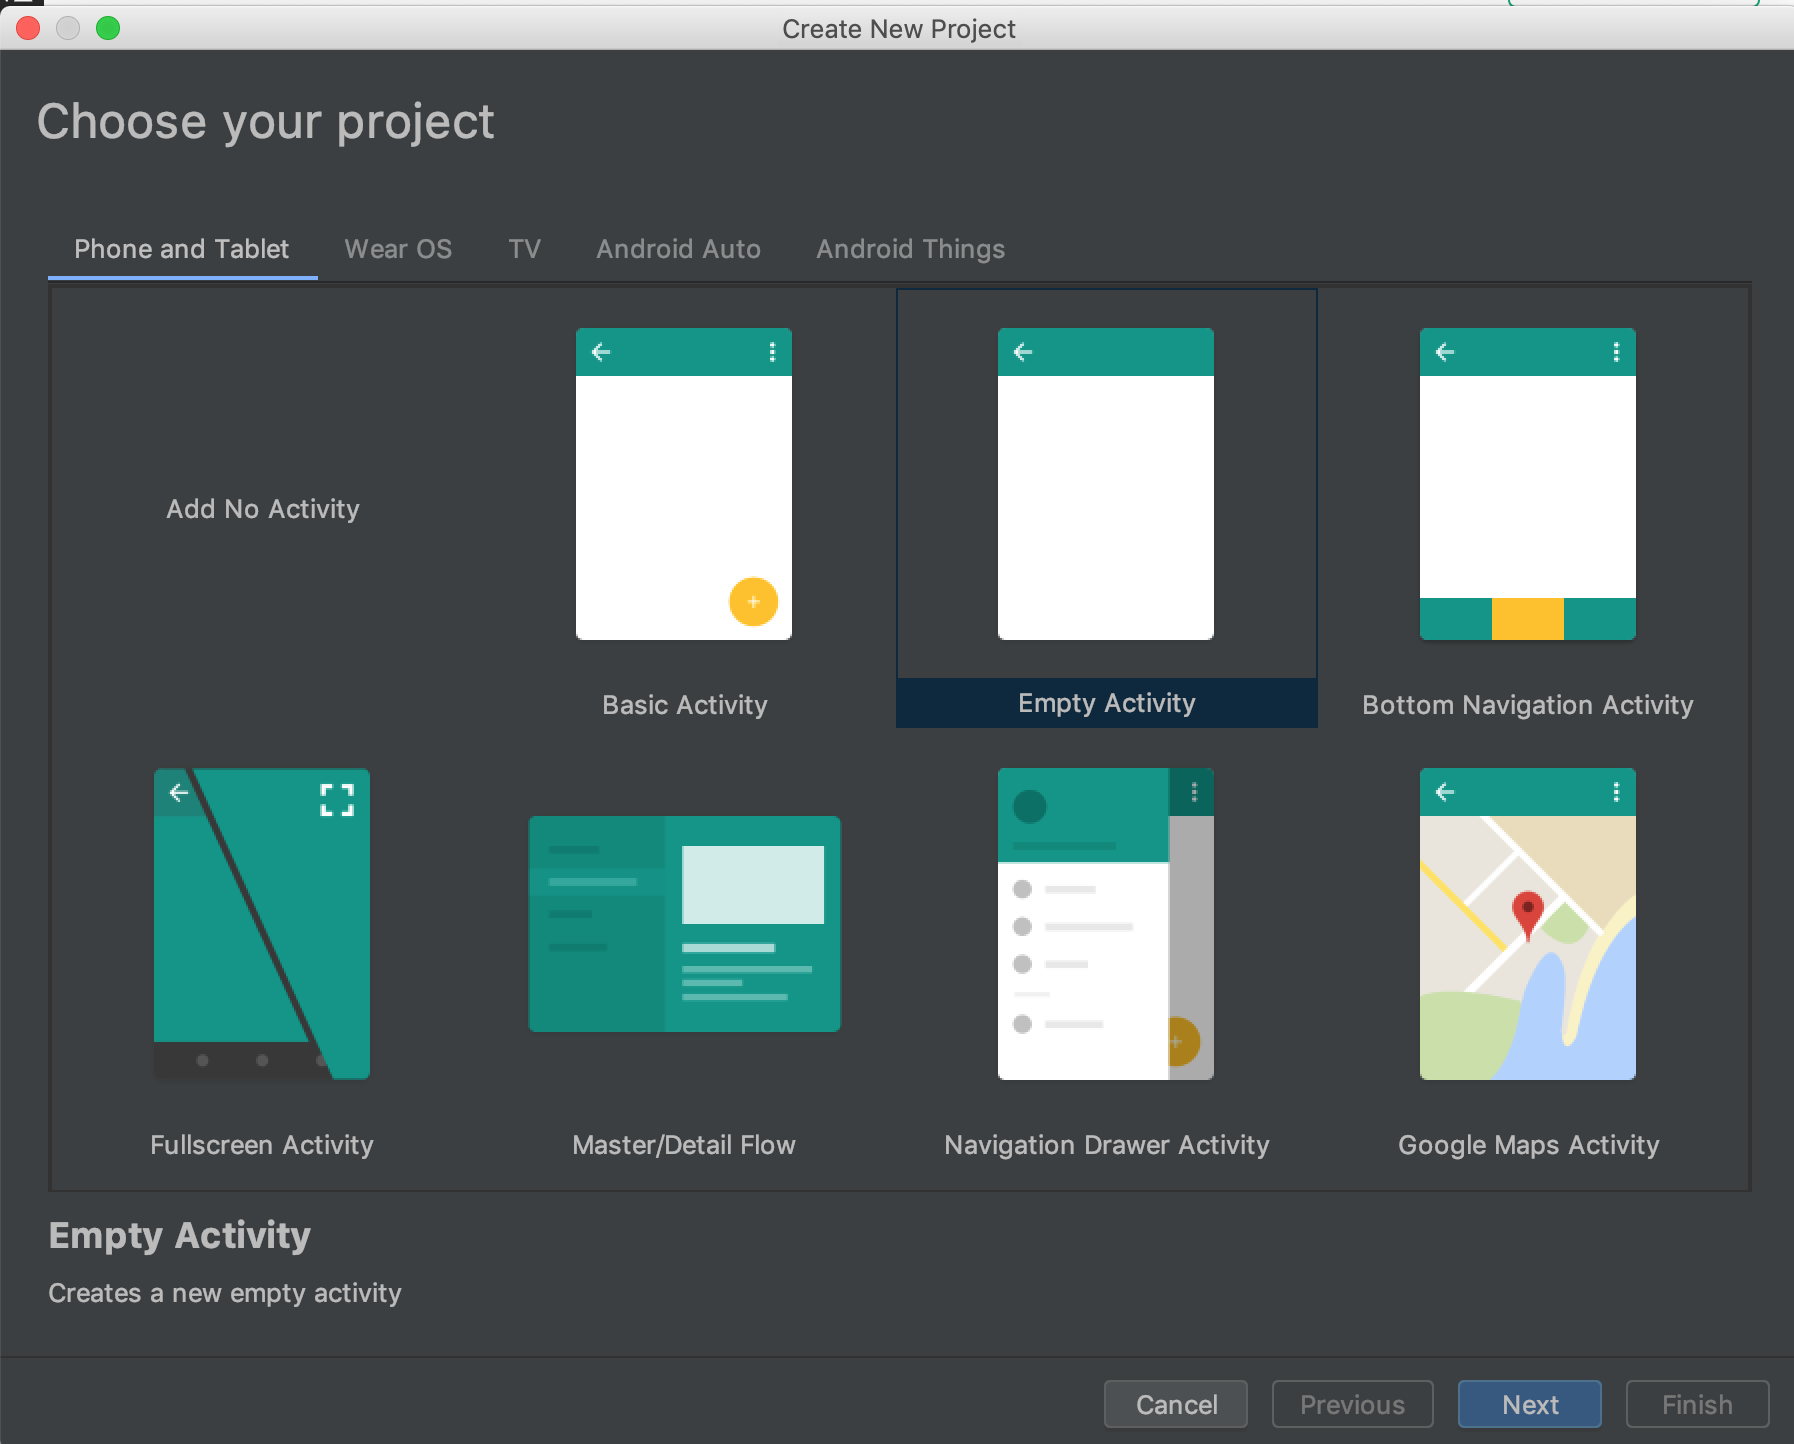
Android Studio. Create New Project Window
2. Name the project and select a programming language.

Android Studio. Project Name
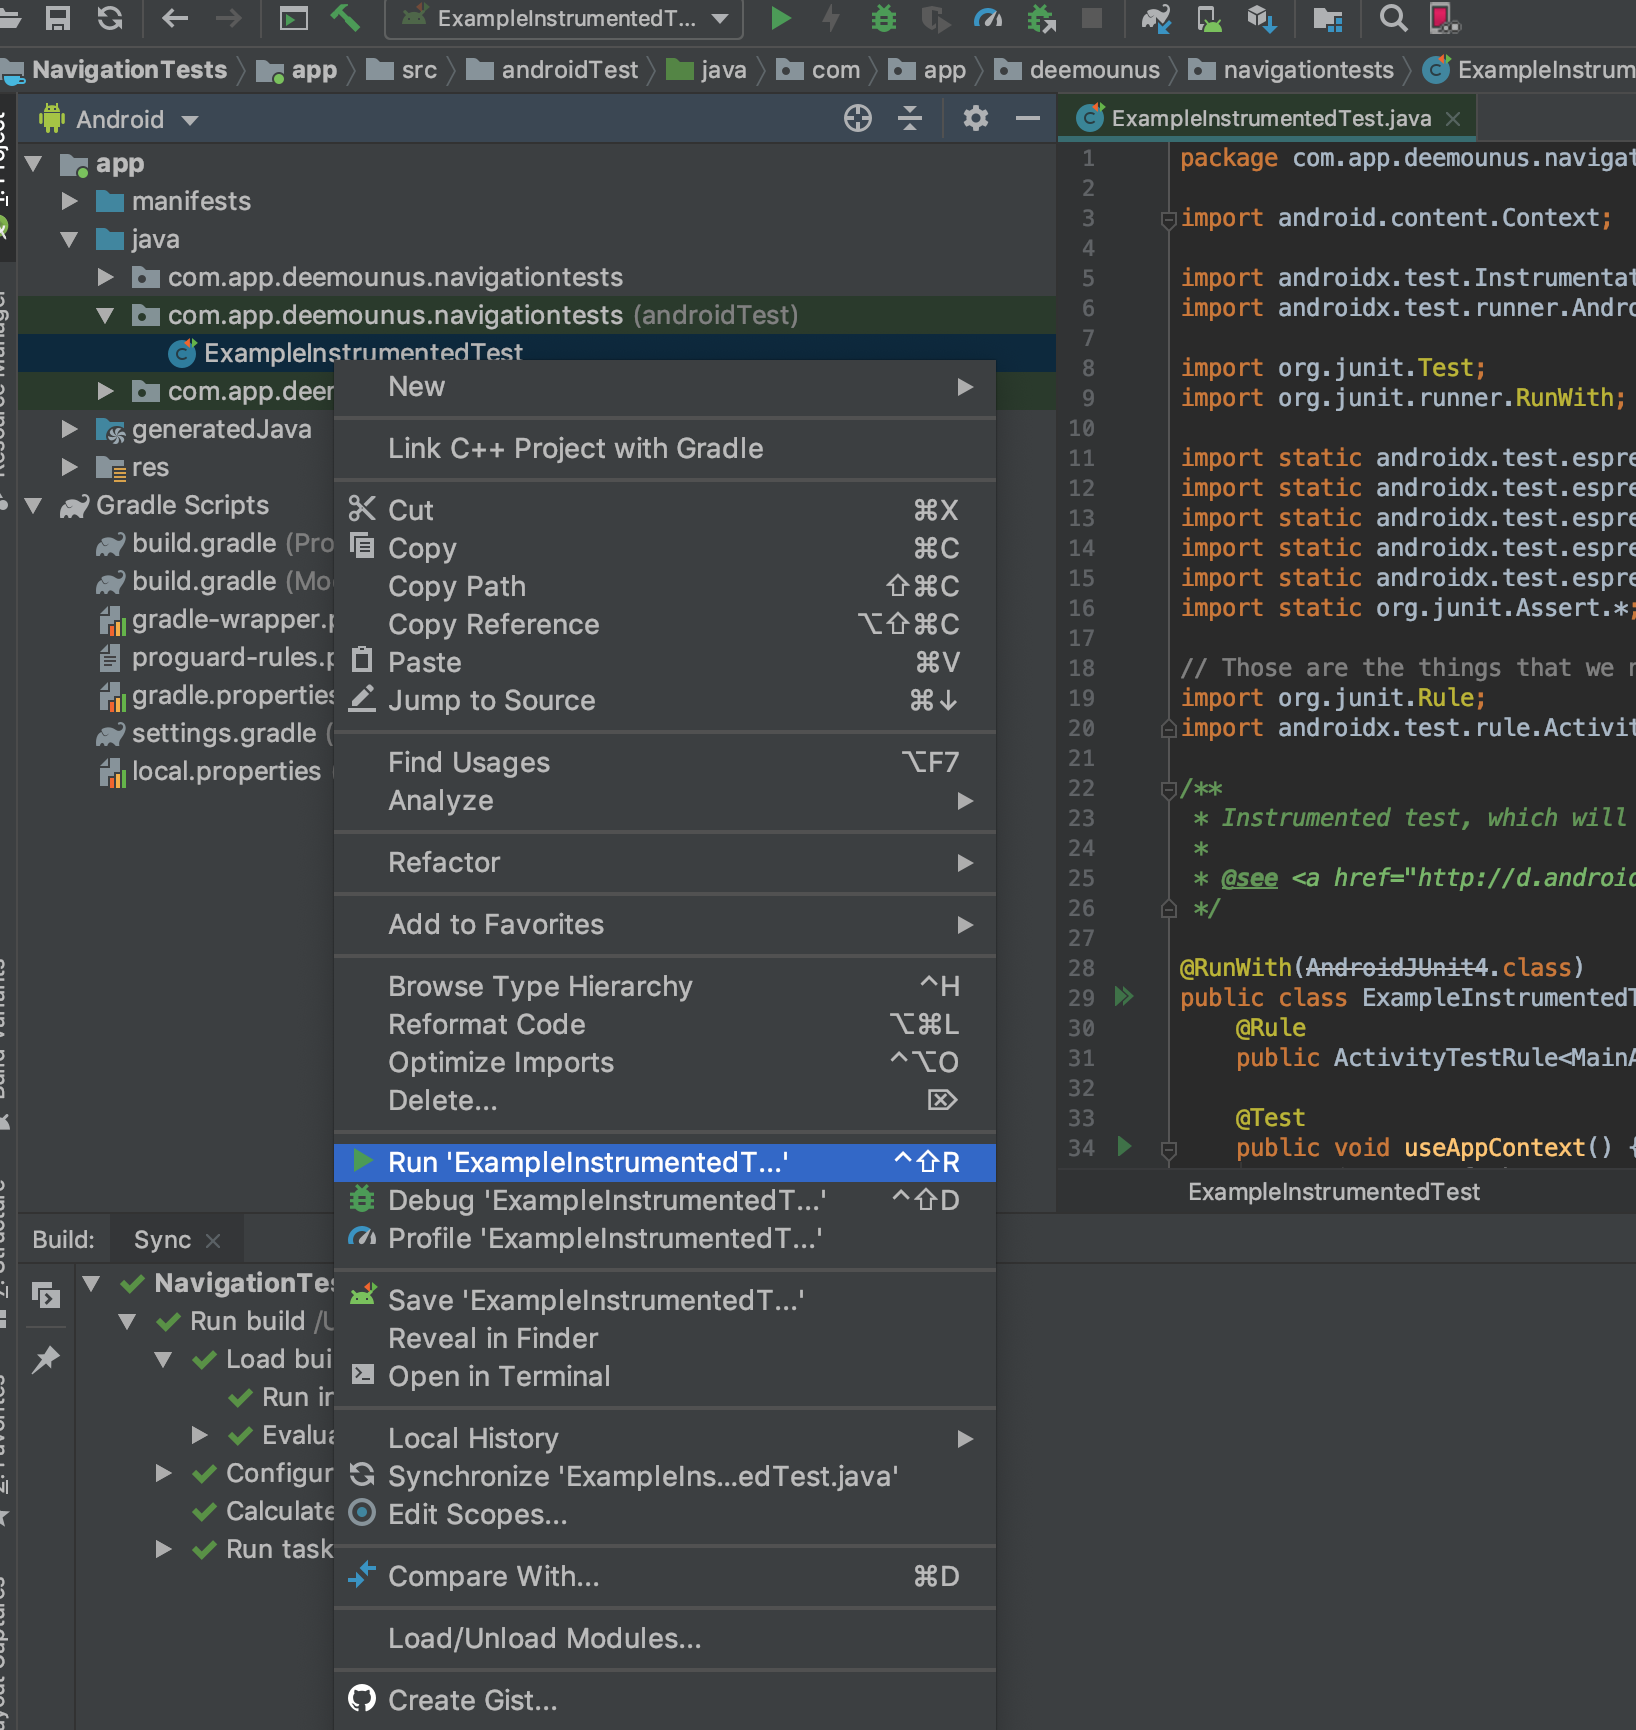
3. Go to androidTest folder
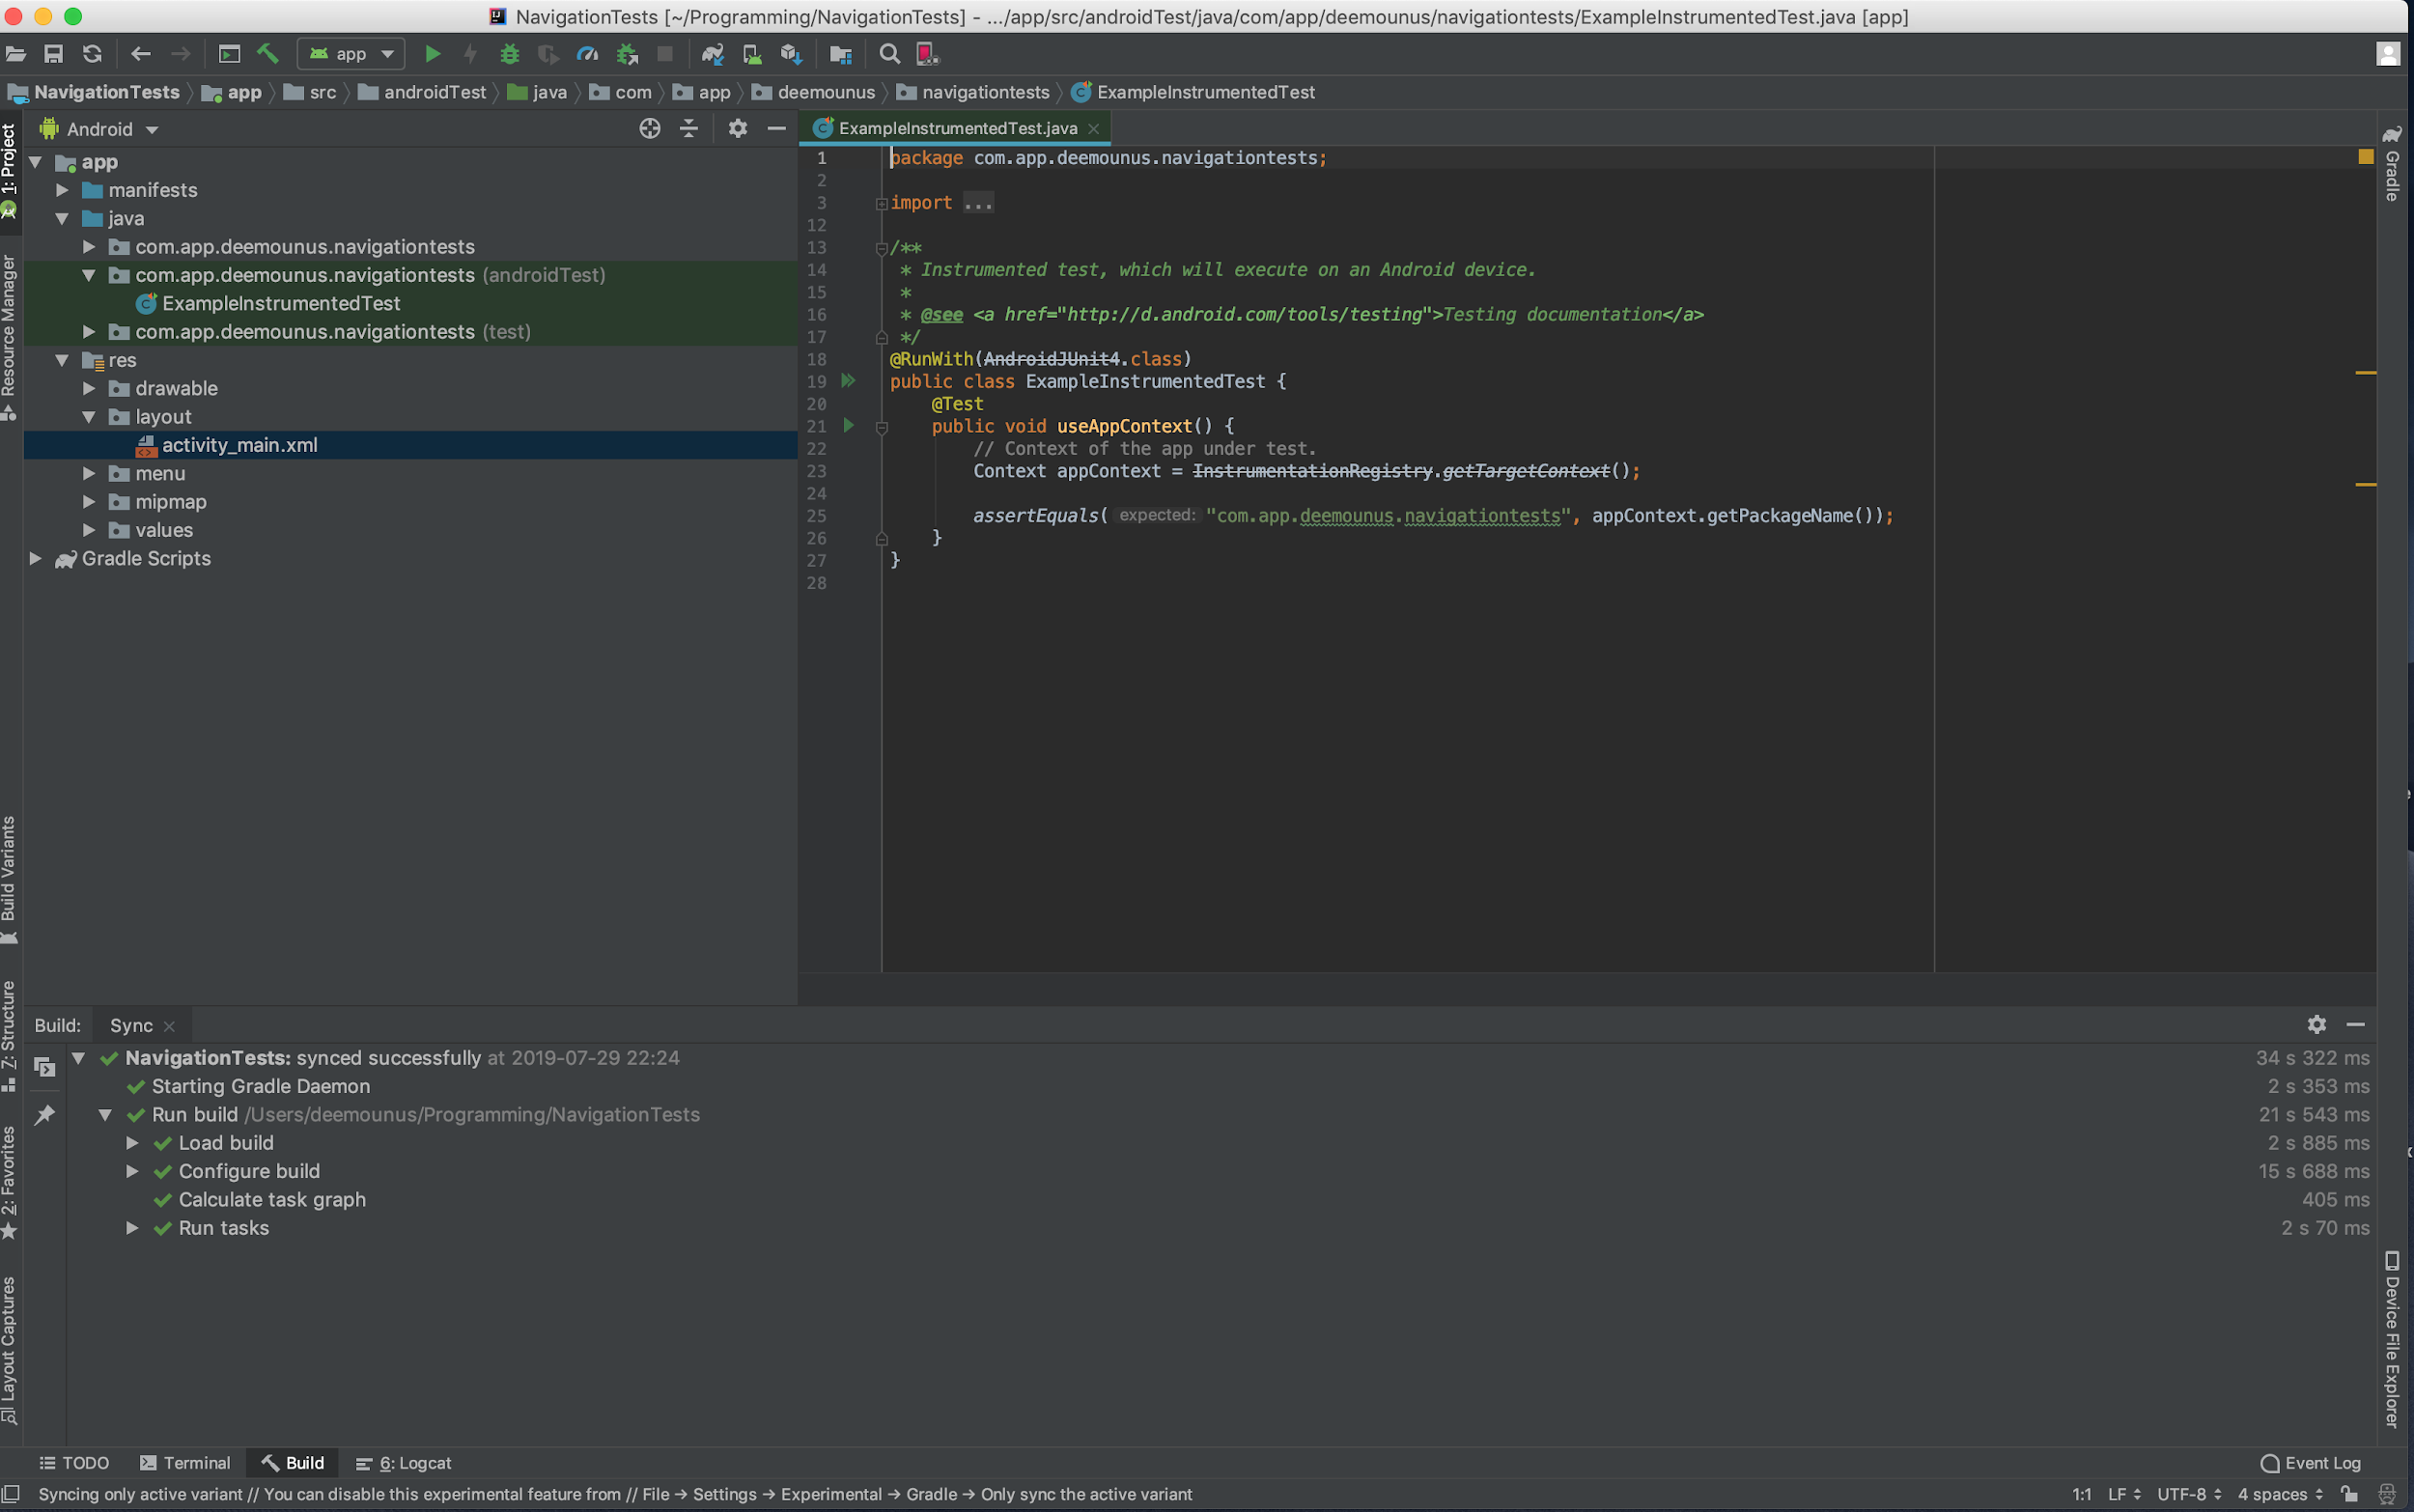
Android Studio. Instrumental test.
As you can see, only one test is written there, and this is not a UI test, but a JUnit test.
Now we need to add a simple user interface test. To do this, first create a rule to open MainActivity .
Let's add a JUnit Rule annotation import:
import org.junit.Rule;
The next thing to do is to add the line of code below, in addition to the RunWith annotation:
@Rule public ActivityTestRule<MainActivity> activityActivityTestRule = new ActivityTestRule<>(MainActivity.class);
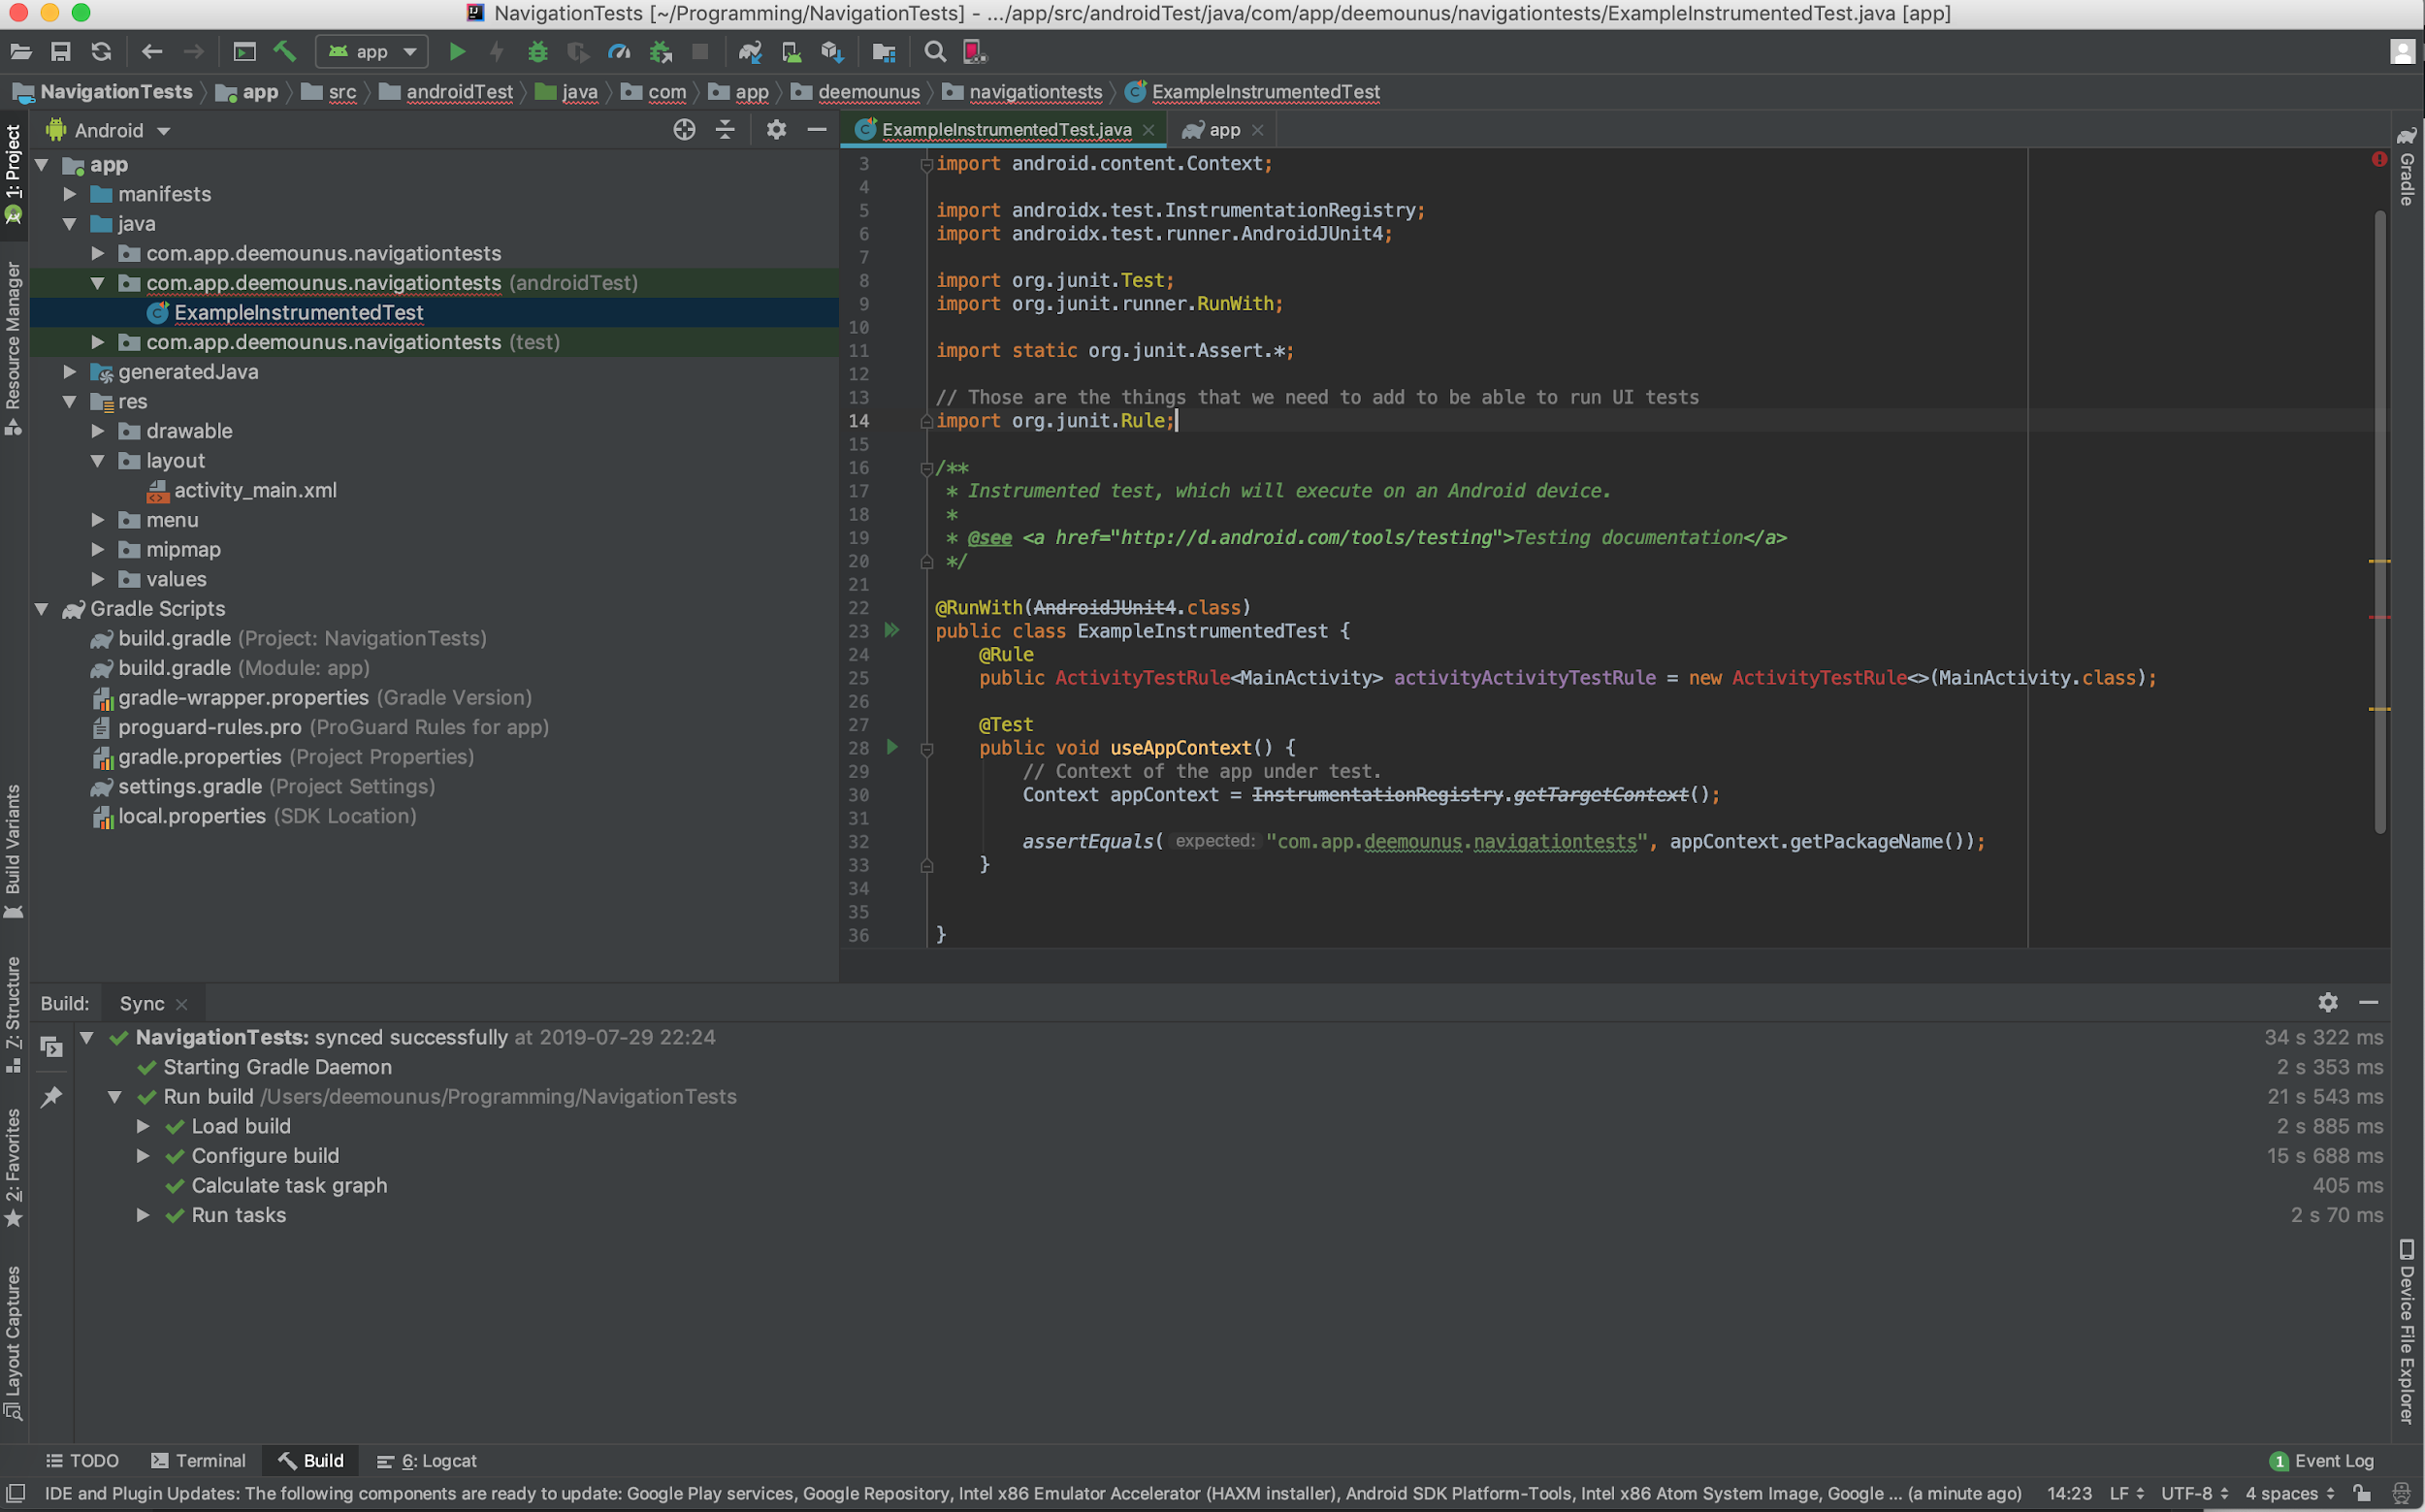
Now we see that the ActivityTestRule is highlighted in red. This means that we need to import the ActivityTestRule function. But first, we need to add a library that can do this. In a nutshell, for this task we need the help of Gradle - an assembly automation system created specifically for this purpose.
Let's go to the Gradle configuration file and add this library. Open a file called build.gradle (Module: app) and add the line below:
androidTestImplementation 'com.android.support.test:rules:1.0.2'
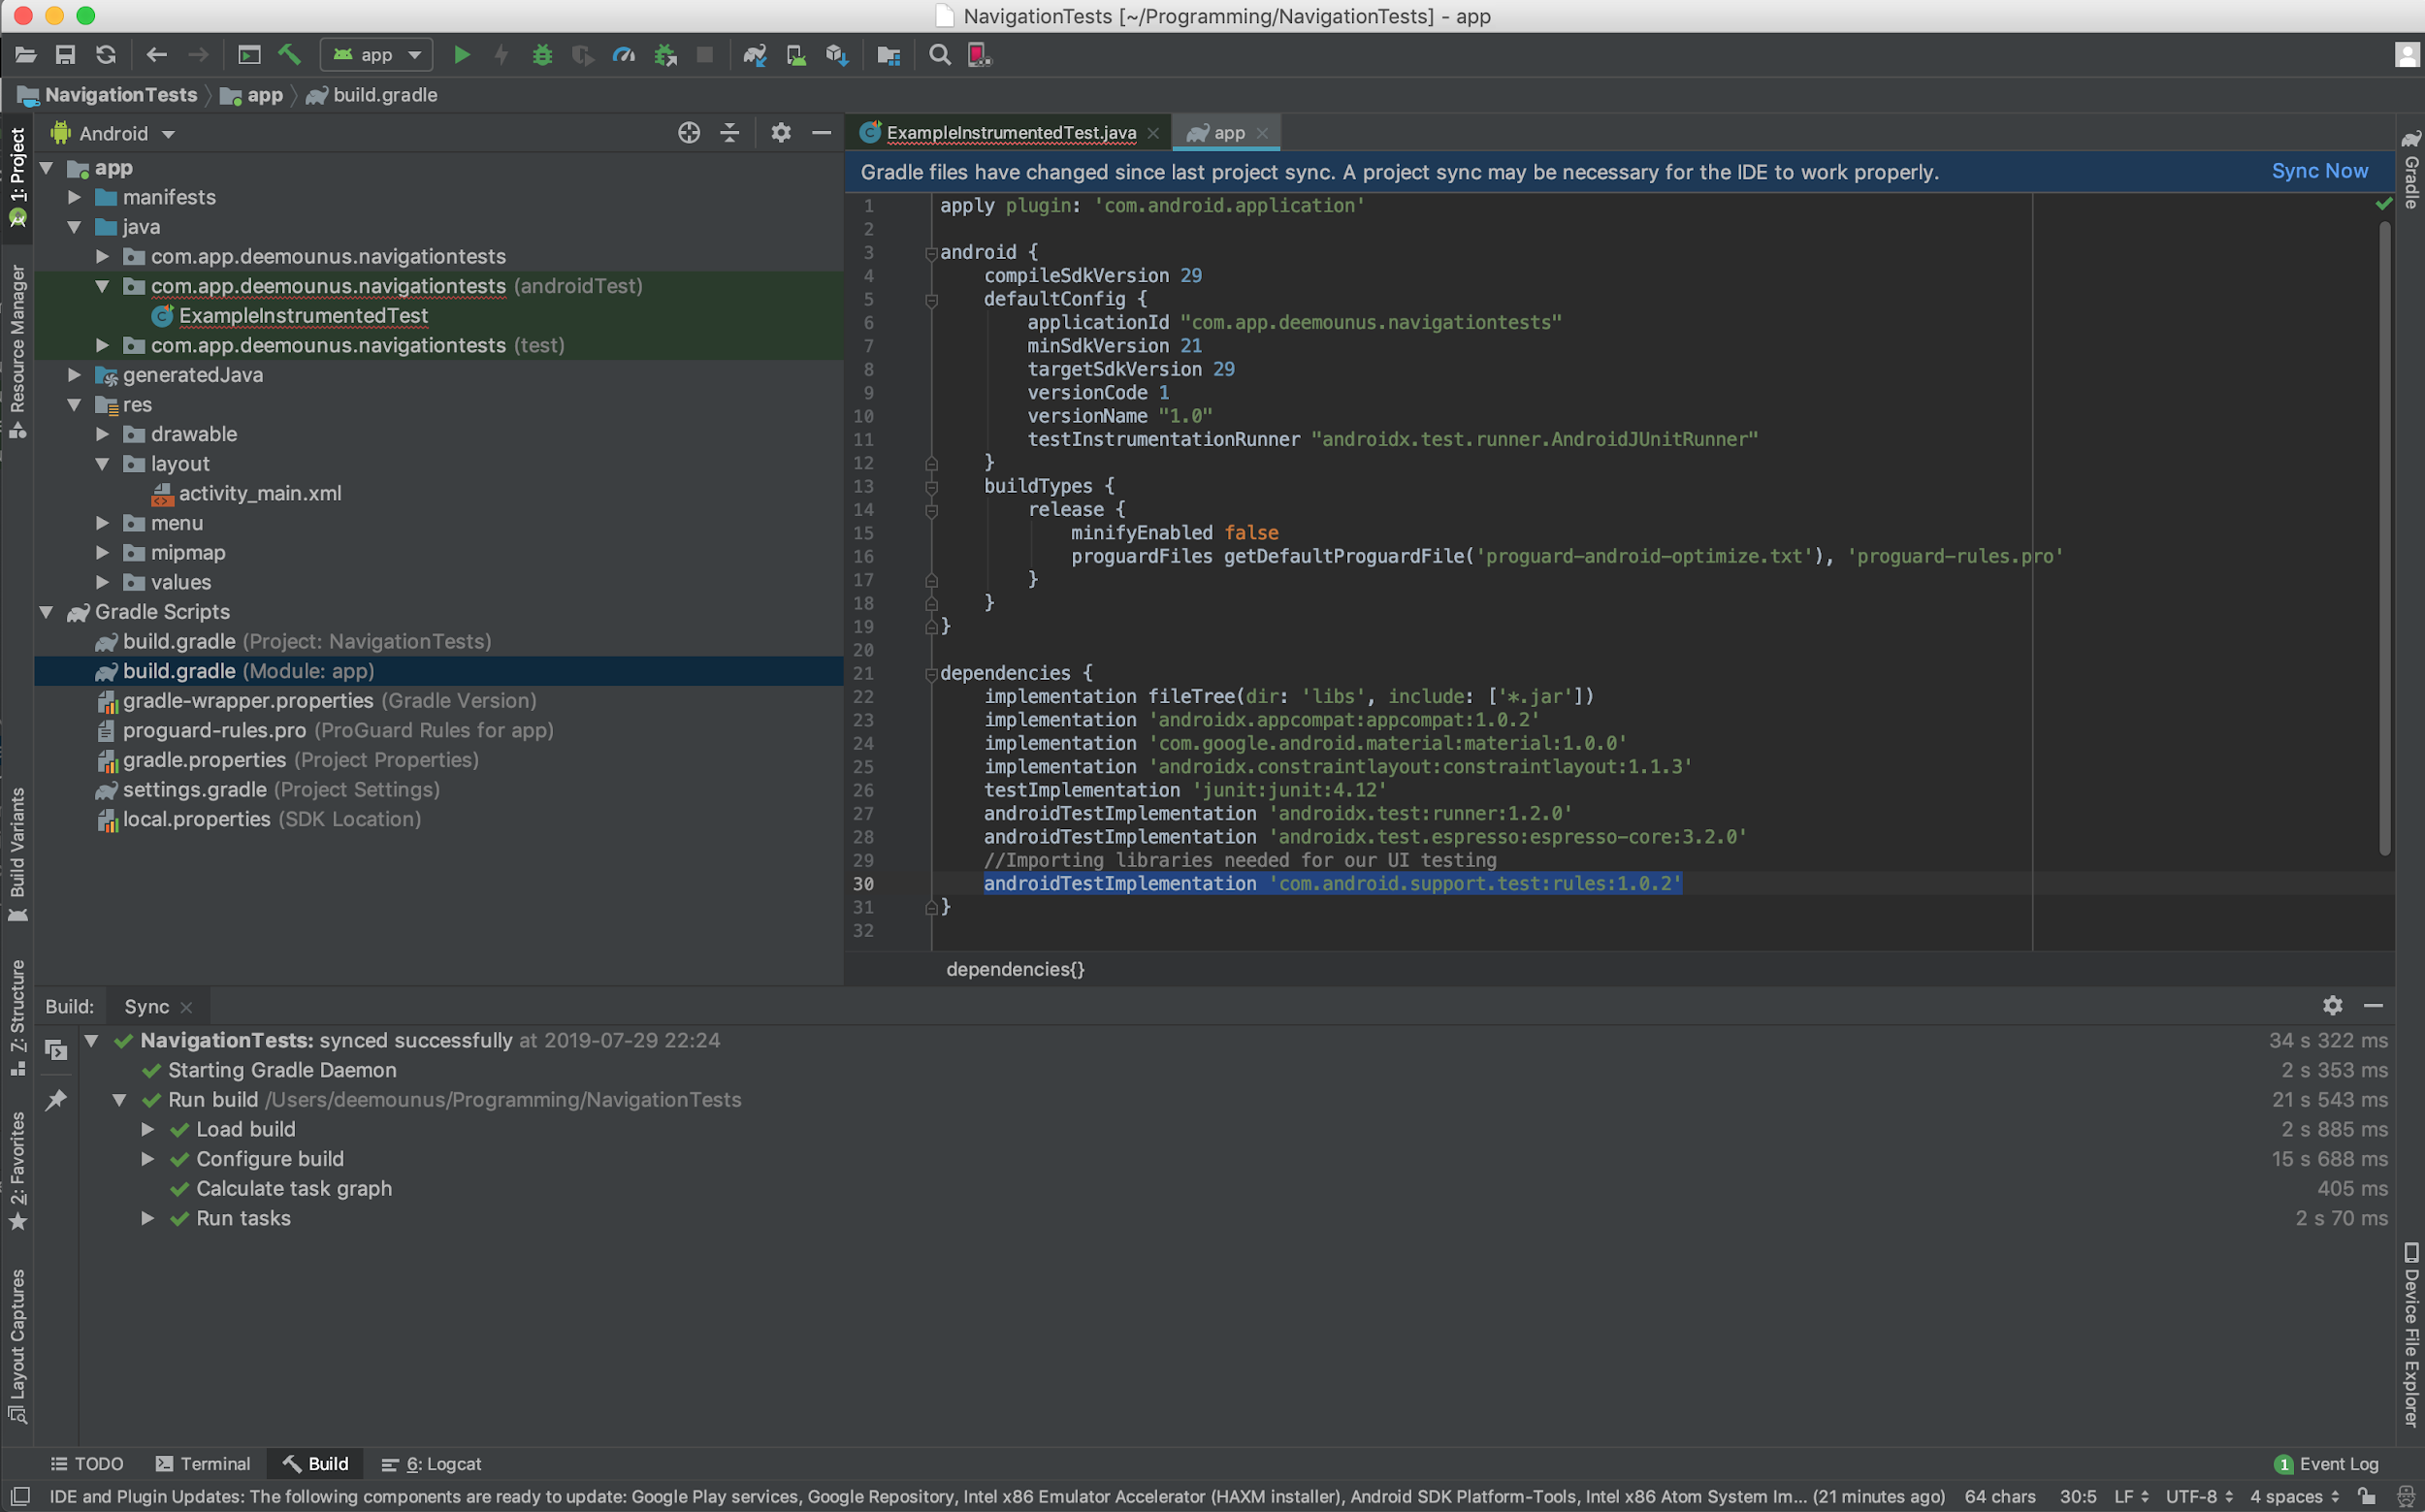
Android Studio. Add dependency.
After adding, you need to click the button to synchronize the project and then return to the file with the test implementation.
Now that the library is added, the next step is to import it into the file with the instrumental test:
import androidx.test.rule.ActivityTestRule;

Android Studio. Import ActivityTestRule.
Ok, now we are ready to add our first test. Enter this code in ExampleInstrumentedTest :
@Test public void clickButtonHome(){ onView(withId(R.id.navigation_home)).perform(click()).check(matches(isDisplayed())); }

Android Studio. Adding a test and importing additional items
For our test, we need to import additional elements before it starts working. Click “OK” , and we, in fact, are ready to launch our test!
Running Espresso Tests
Right-click on our test on the left and select “Run ExampleInstrumentedTest” .
Since this is a UI test , not a unit test, then we will see a window with a choice of the device on which we would like to run it. I already have a “Nexus 5X” as a device, so I just need to select it.

In your case, if you have never deployed an Android project, select your real Android device or click “Create New Virtual Device” and create a new emulated device to run the tests. This can be any device from the list on which you would like to run tests.
Click OK and get ready to see the magic!

Android Studio. Test results
As you can see, we have a set of two tests passed: the unit test, which was already there after the project was created, and our clickHomeButton test, which we just wrote.
Android Studio. The completed test.
As the name implies, we only clicked one button in the bottom navigation bar, which is called “navigation_home” in the MainActivity hierarchy.
Let's analyze what we did in this chain of methods:
public void clickButtonHome(){ onView(withId(R.id.navigation_home)).perform(click()).check(matches(isDisplayed())); }
- 1. Call " onView ". This method is a method of type ViewMatchers . We find an object in our Activity to do something.
- 2. Next, we call perform (click ()) . This method is a method of type ViewActions . We indicate the specific action to be performed in this case - to make one click (click). There are many more action methods available in Espresso, for example:
- 3. The last thing we need to do is to confirm that the action that we did really matches our criteria, and for this we execute the check (isDisplayed ()) method, which is a method of type ViewAssertions . In this case, we verify that this object (view) was indeed displayed on the screen after the click action was performed.
Android view hierarchy
Dear reader, I hope I was able to explain to you how to write basic UI tests for Android using Espresso.
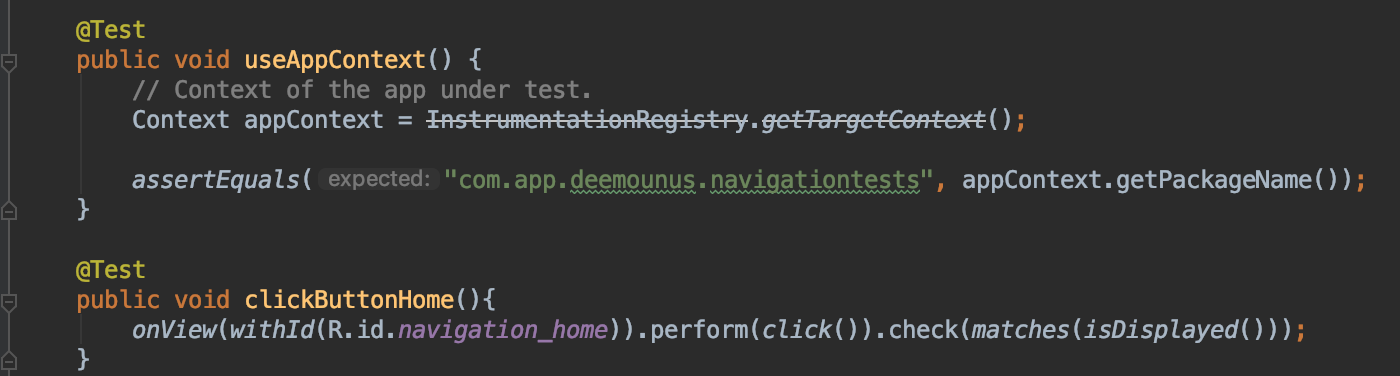
However, it is probably not so simple to understand what exactly happened here if you do not know where all these buttons are located and where they come from. In order to find out, we need to go to the “res” folder on the left side, open the “menu” folder and select “bottom_nav_menu.xml” .
Here is what we will see there:
Android Studio. Presentation hierarchy of the lower navigation menu.
As you can see, this is the line that assigns a name to the menu item:
android:id="@+id/navigation_home"
That is what we use in our code to run the tests. There are also navigation_dashboard and navigation_notifications menu buttons available below, so let's continue and use them in our tests.
More Espresso Tests
We need to return to the ExampleInstrumentedTest file and add a couple more test functions:
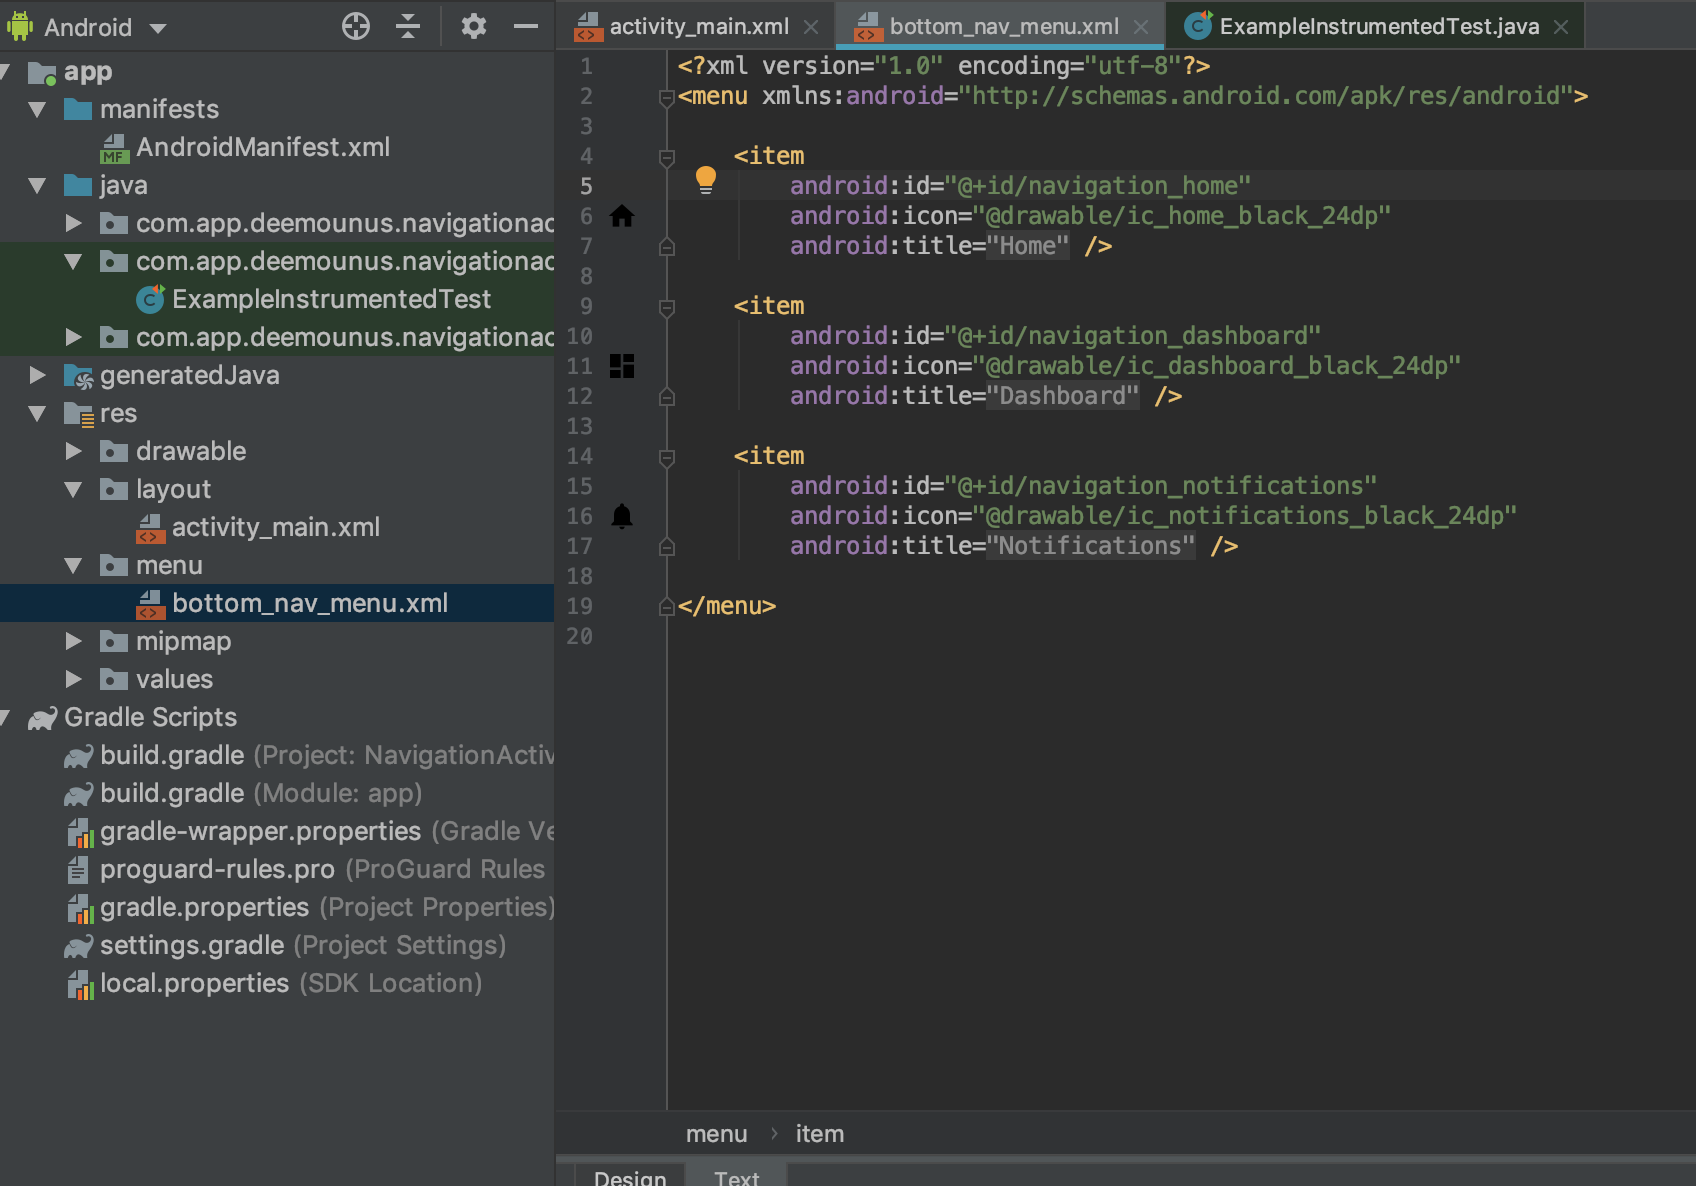
@Test public void clickButtonDashboard(){ onView(withId(R.id.navigation_dashboard)).perform(click()).check(matches(isDisplayed())); } @Test public void clickButtonNotification(){ onView(withId(R.id.navigation_notifications)).perform(click()).check(matches(isDisplayed())); }
The only thing we added was checking a few more menu items: “navigation_dashboard” and “navigation_notifications” .

Android Studio. Add two more tests.
Of course, these tests could be simplified even more, but in order to show how all this works, let us assume that they are perfectly suitable for our purposes.
Let's continue and run these tests again. Click the Run button.
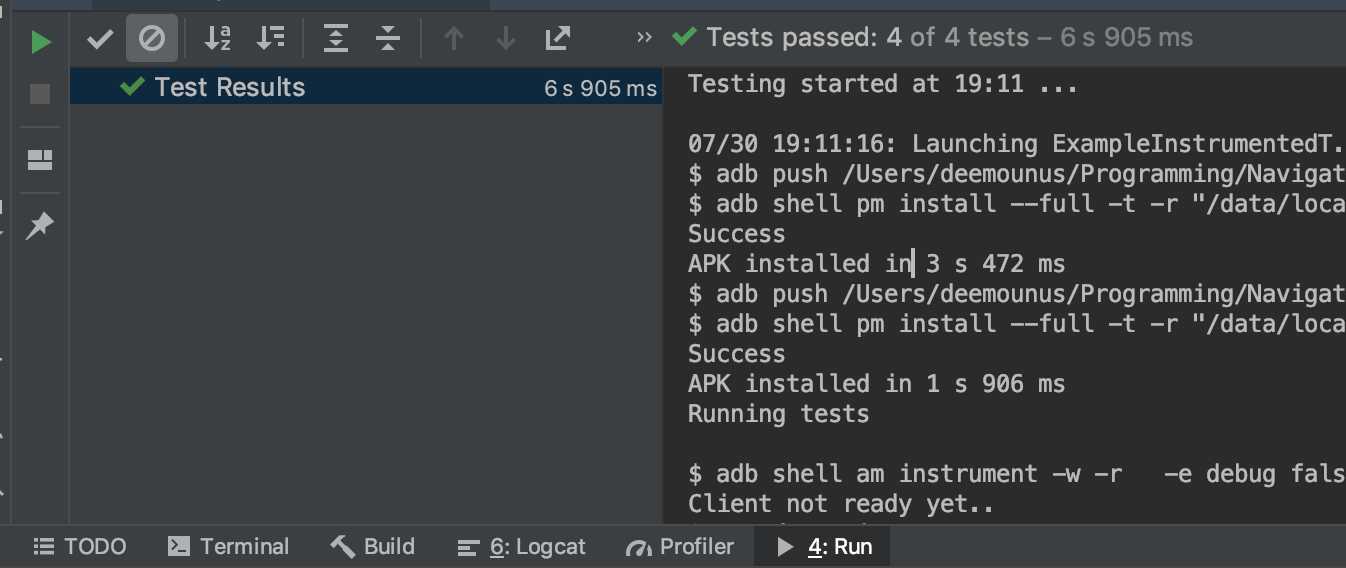
Android Studio. Test results.
All 4 tests passed. All views were found, clicked, and confirmed in the view hierarchy.
Conclusion
Espresso is a powerful solution for running UI tests. Now that you know how they are created, you are ready to write much more powerful and complex tests.
Have a nice test!