I had the task of displaying a BIM model in VR, or rather exporting from Revit. From the point of view of the final result, there were two options: Unity or A-Frame. For export, I wanted an open format, of which only IFC was. Therefore, I first looked at the xBIM project - they had an xBIM WeXplorer web viewer project with their own wexBIM format. But there we used our own render via WebGL, and export to wexBIM did not work in the current version of XbimXplorer and I did not find a description of the format.
Then I had the idea of using export in Tree.js, at one time we experimented a lot with it, and A-Frame is just a wrapper over Tree.js. I found that Jeremy Tammik and colleagues have already implemented a similar one - export from Revit to Tree.js through its json format, on github there are two repositories for export from Revit - CustomExporterAdnMeshJson and RvtVa3c.
github.com/va3c/RvtVa3c
github.com/jeremytammik/CustomExporterAdnMeshJson
thebuildingcoder.typepad.com/blog/2013/07/adn-mesh-data-custom-exporter-to-json.html
thebuildingcoder.typepad.com/blog/2014/08/threejs-aec-viewer-progress-on-two-fronts.html
my result of this thread
But besides export, I needed to write code for import, it seemed to me excessive and I went in search of a suitable open format and quickly found it - gltf / glb from Khronos Group, import into A-Frame is elementary:
<a-scene> <a-assets> <a-asset-item id="tree" src="/path/to/tree.gltf"></a-asset-item> </a-assets> <a-entity gltf-model="#tree"></a-entity> </a-scene>
To create gltf / glb, a bunch of utilities were written in the Khronos Group, including C # - SharpGLTF .
Creating gltf requires creating the following objects: Model <= Scene <= Nodes <= Mesh <= Material
var material1 = new MaterialBuilder() .WithAlpha(AlphaMode.MASK) .WithDoubleSide(true) .WithSpecularGlossinessShader() .WithChannelParam("BaseColor", new Vector4(1, 0, 0, 0.1f)); var ch = material1.UseChannel("MetallicRoughness"); var mesh = new MeshBuilder<VERTEX>("mesh"); var prim = mesh.UsePrimitive(material1); VERTEX tv = new VERTEX(-10, 0, 0); prim.AddTriangle(tv, new VERTEX(10, 0, 0), new VERTEX(0, 10, 0)); prim.AddTriangle(new VERTEX(10, 0, 0), tv, new VERTEX(0, -10, 0)); var mesh2 = new MeshBuilder<VERTEX>("mesh"); // create a new gltf model var model = ModelRoot.CreateModel(); // create a scene, a node, and assign the first mesh Scene scene = model.UseScene("Default"); scene.CreateNode().WithMesh(model.CreateMeshes(mesh)[0]); // save the model in different formats model.SaveAsWavefront("mesh.obj"); model.SaveGLB("mesh.glb"); model.SaveGLTF("mesh.gltf");
It remains only to write the export from Revit, for this I studied the Jeremy Tammik utilities. For export, you need to create a class that implements the IExportContext interface, its methods are called in a certain order when the model is exported, we are interested in the main chain Start => OnViewBegin => OnElementBegin => OnPolymesh. In the Start method we will create a gltf model, in the OnElementBegin method I create a mesh - here you can get the geometry of the element, but it will be a brep model and it is not suitable for gltf, in the next OnPolymesh method we get the same geometry as a mesh that can already be saved in gltf.
The OnInstanceBegin method is executed - if the element is an insert of the family, its geometry will be obtained in its own coordinate system and it will be necessary to transform it into a world one. We need a stack to store these coordinate systems.
The OnMaterial method is performed when changing the material; it is better to create a dictionary of materials and take the necessary material from it, rather than creating a new one each time.
The OnLinkBegin method is executed when processing an external link - actually a nested model.
The OnLight method is executed when processing a light source
The OnFaceBegin method is executed when processing individual faces of an element; it is called only if the IncludeGeometricObjects property = true
In principle, you can write the entire model in one node, but in the future I want to associate elements with attribute data and therefore I write each element to my node using its ElementId as a name
Utility code on git-hub
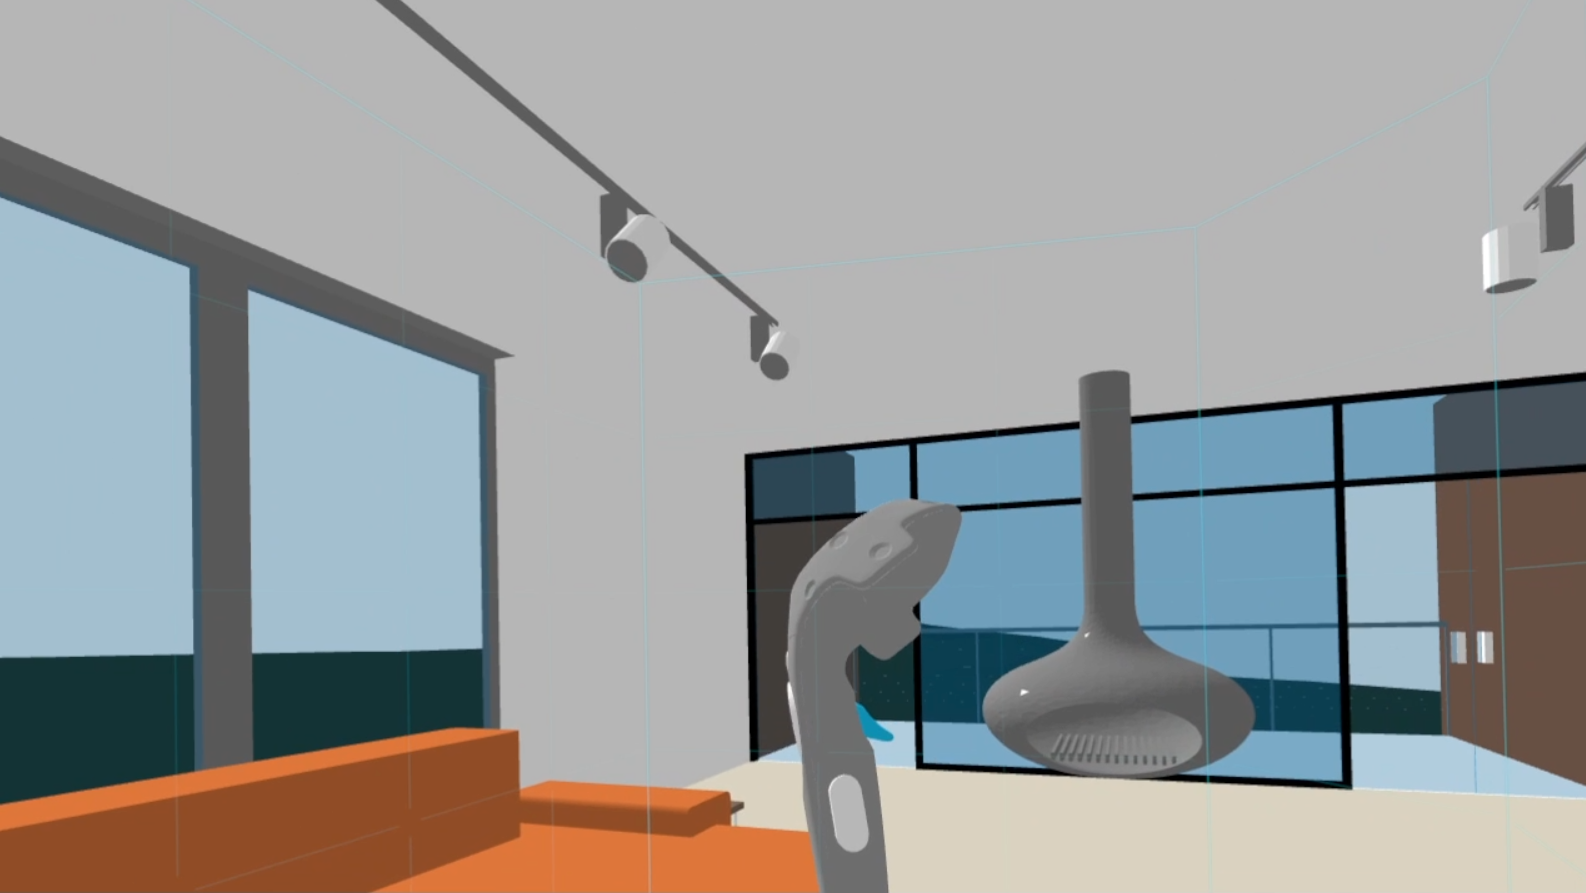
In Windows 10, there are two regular programs for viewing glb (but not gltf), this is a "Mixed Reality Viewer" for viewing
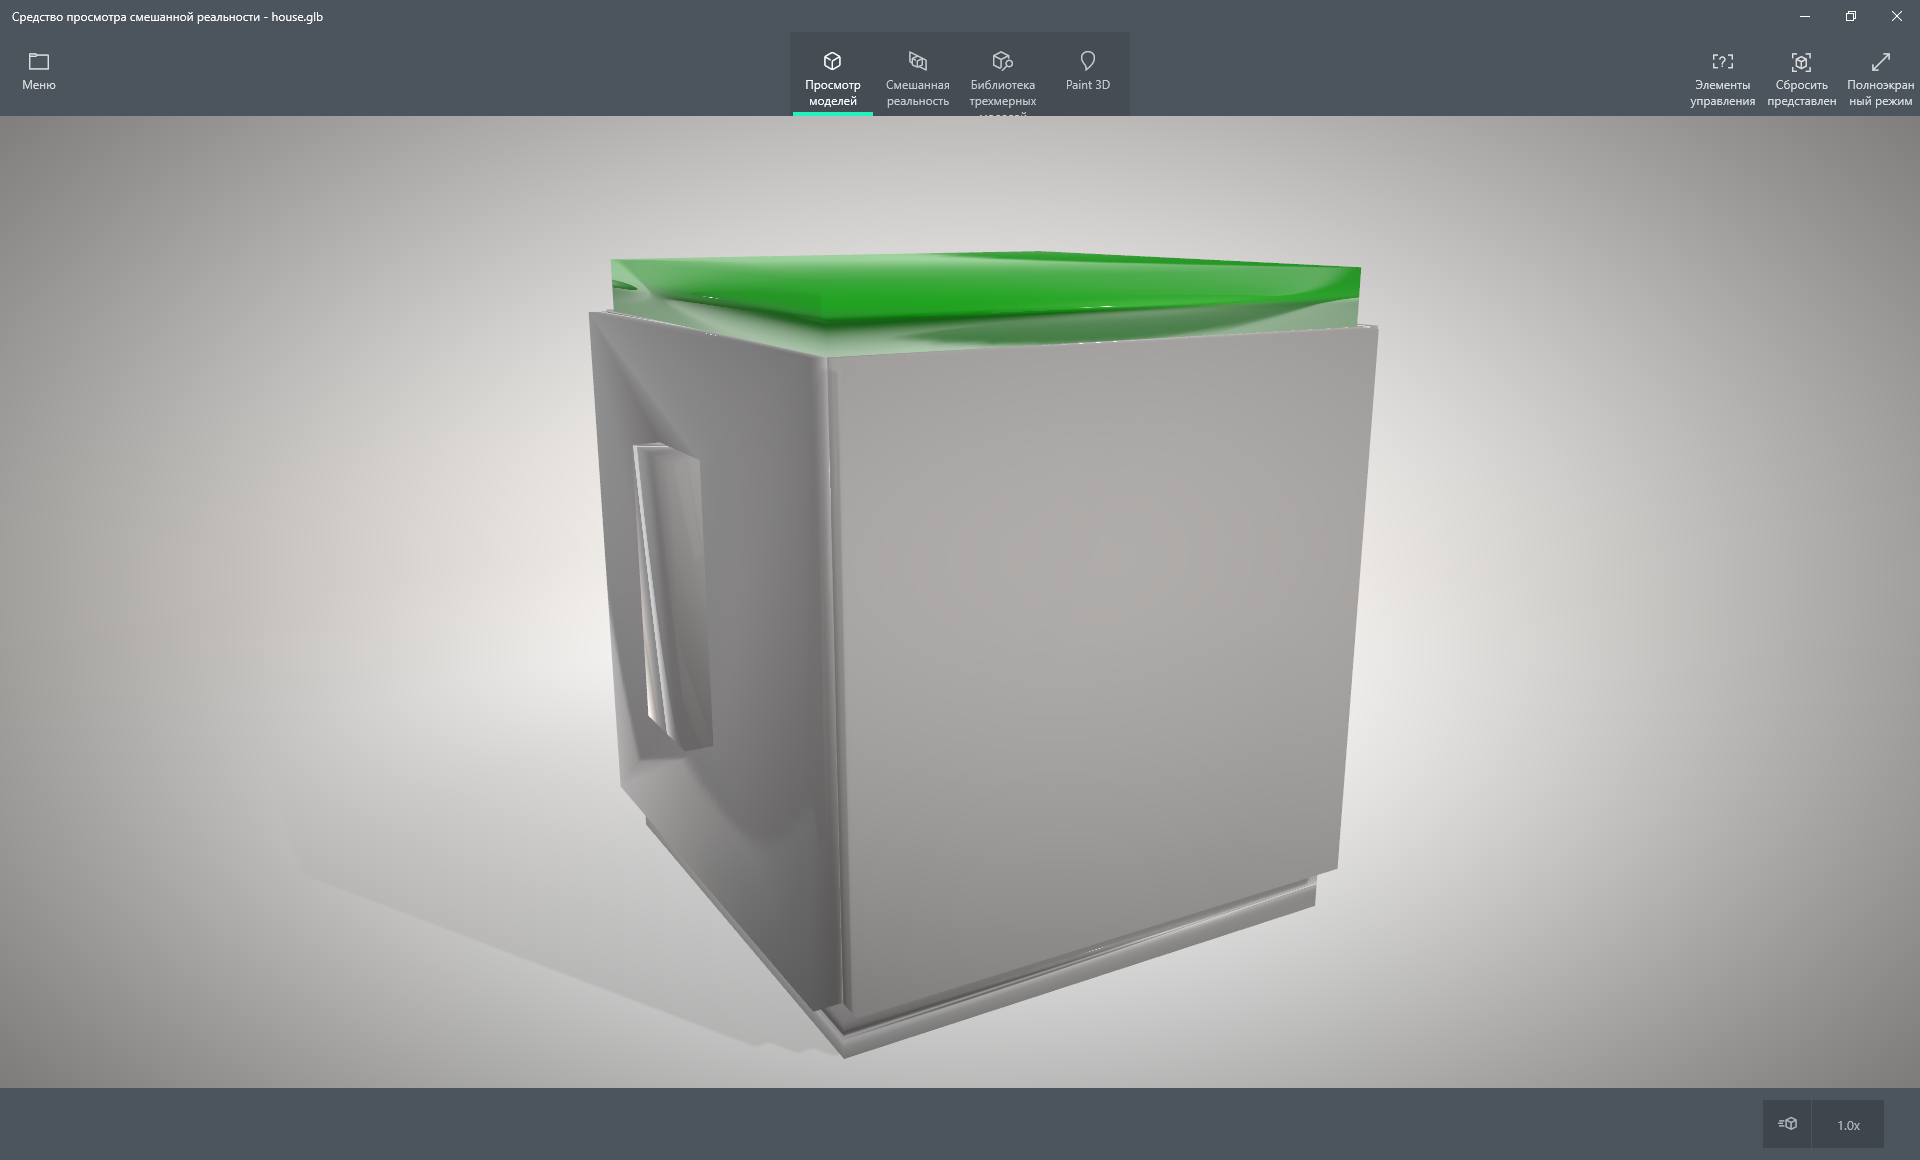
And Paint 3D for editing

As you can see, they render materials differently and, in particular, handle transparency differently (both are not correct)
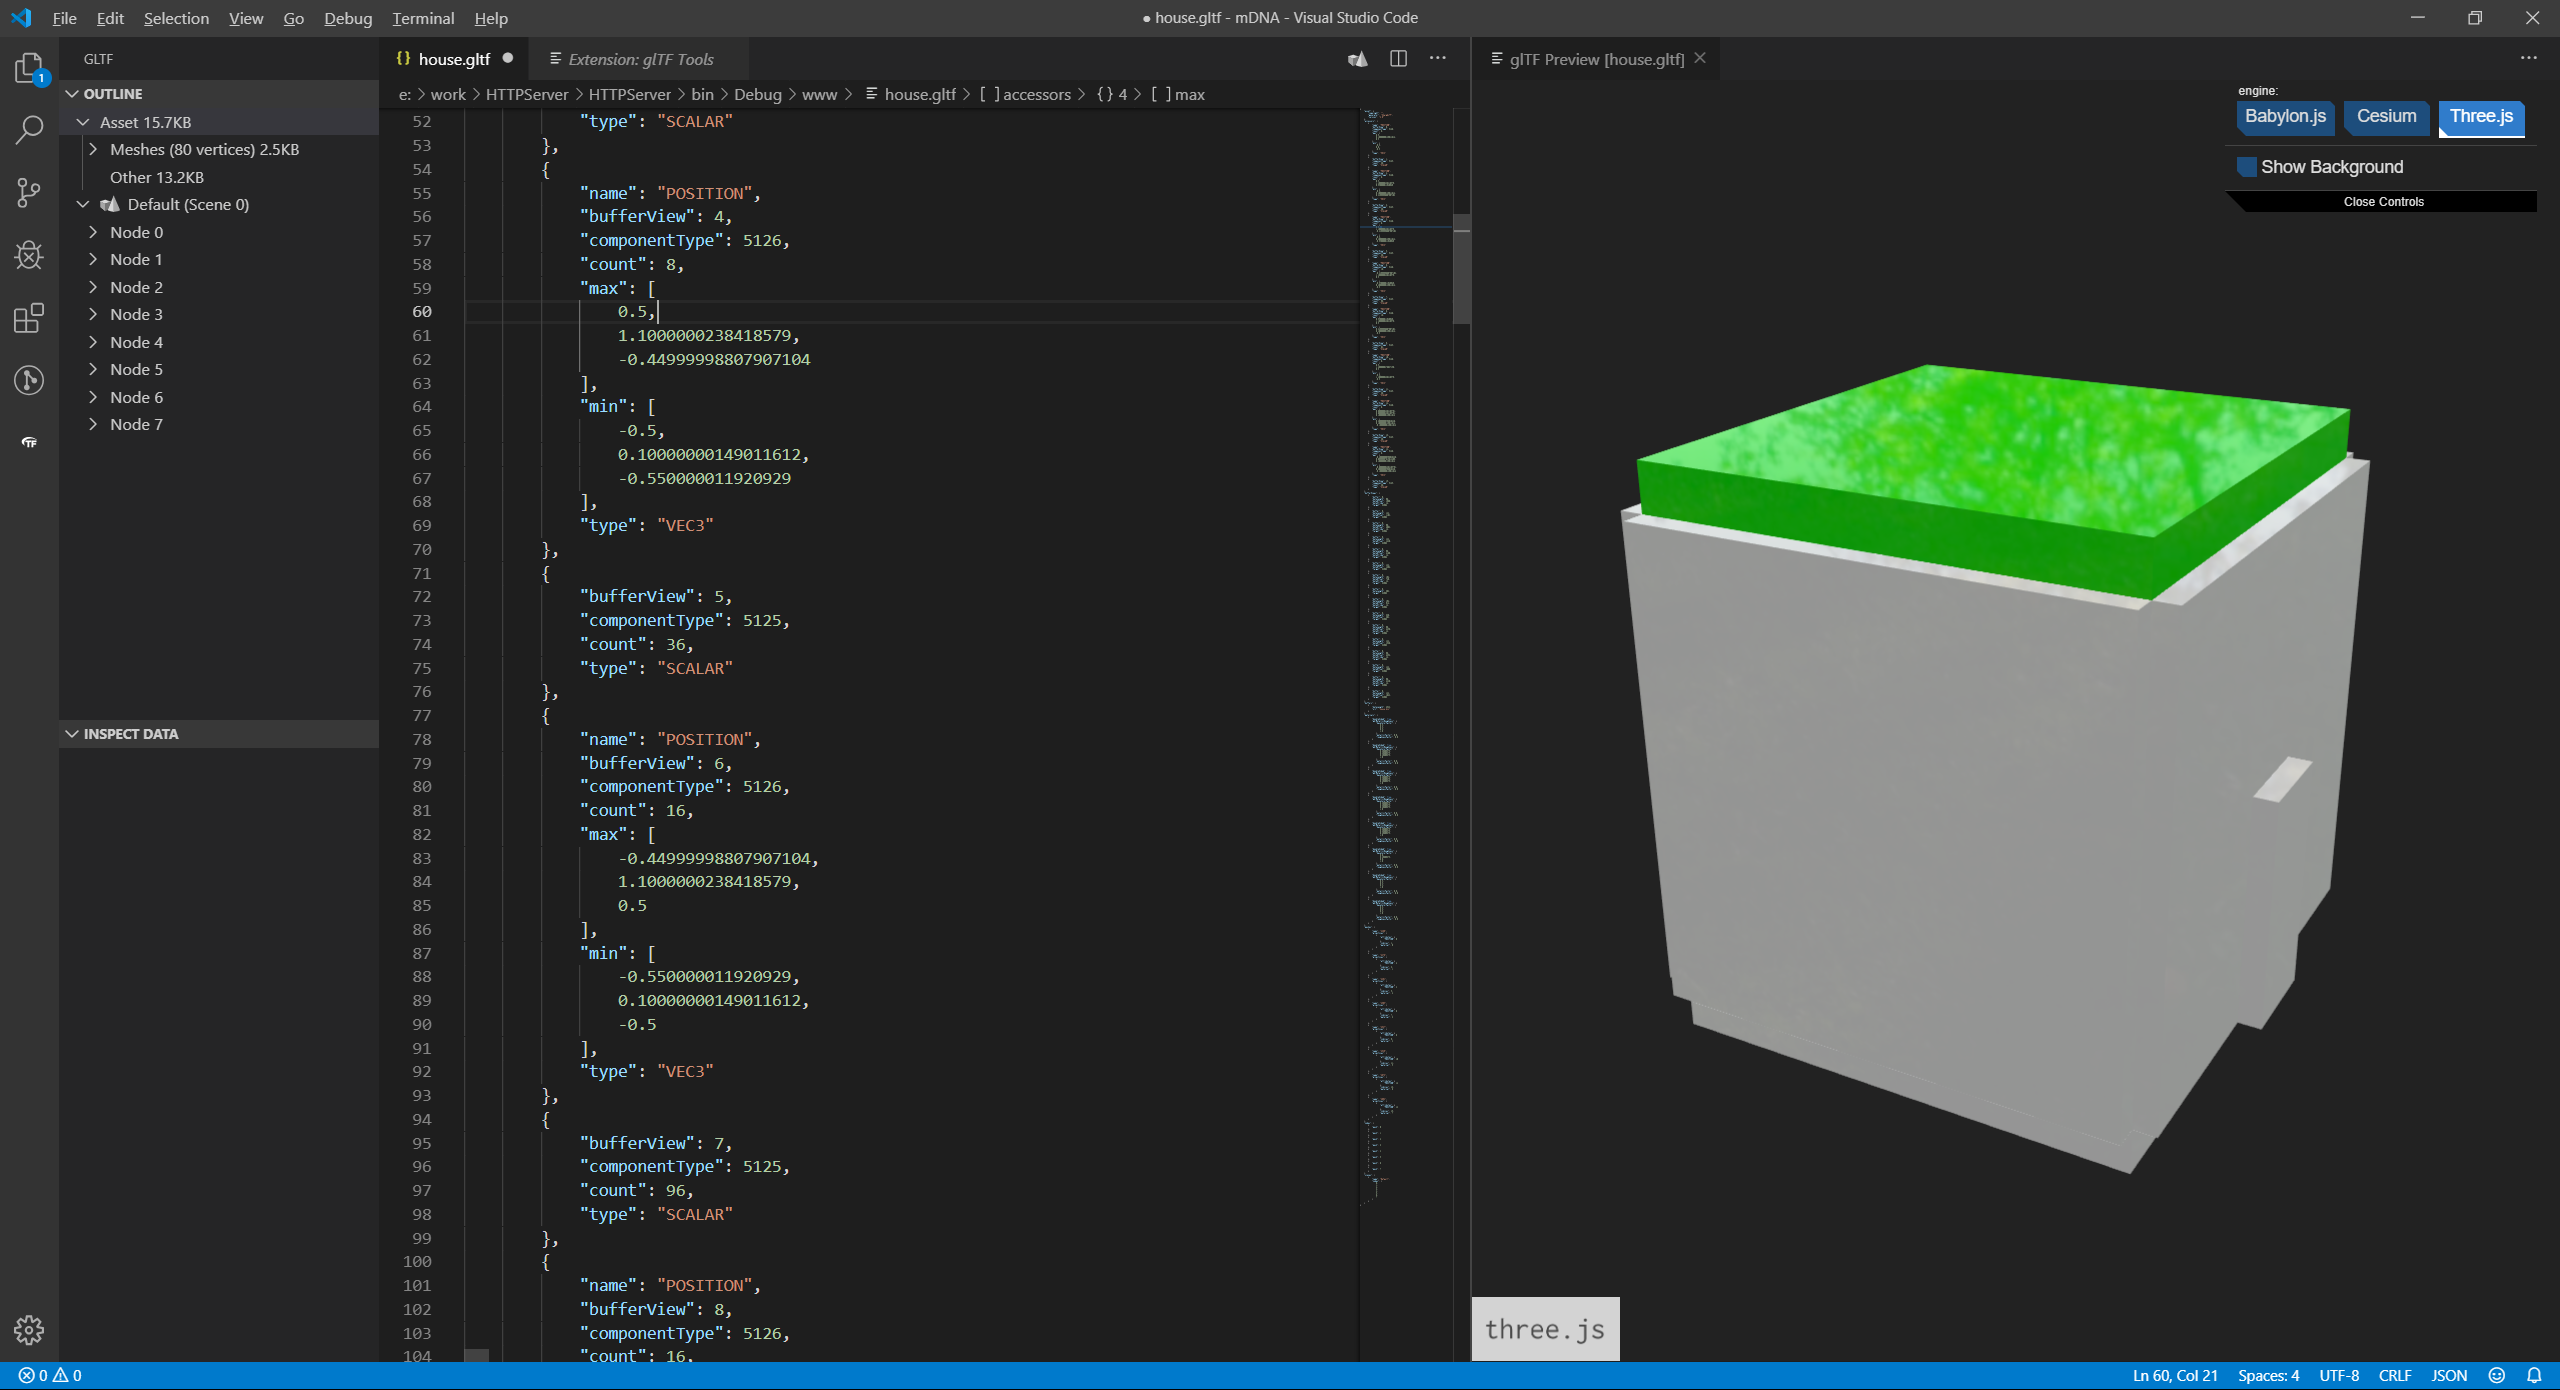
But for me - the best is VS Code + glTF Tools
A-Frame works in all modern browsers, but you can only use the helmet in Firefox (and Supermedium, of course). We will need to organize the control, in A-Frame you can use wasd-controls to control the mouse, but it is better to use movement-controls from the A-Frame Extras extension. To use vive controllers, you need to add vive-controls. Full page code on git-hub'e .
<a-scene background="color: #ECECEC"> <a-assets> <a-asset-item id="ar1" src="house5.glb"></a-asset-item> </a-assets> <a-gltf-model src="#ar1" rotation="0 0 0"></a-gltf-model> <a-entity position="0 0 4" movement-controls="acceleration: 2000; fly: true" > <a-camera></a-camera> <a-entity vive-controls="hand: left"></a-entity> <a-entity vive-controls="hand: right"></a-entity> </a-entity> </a-scene>
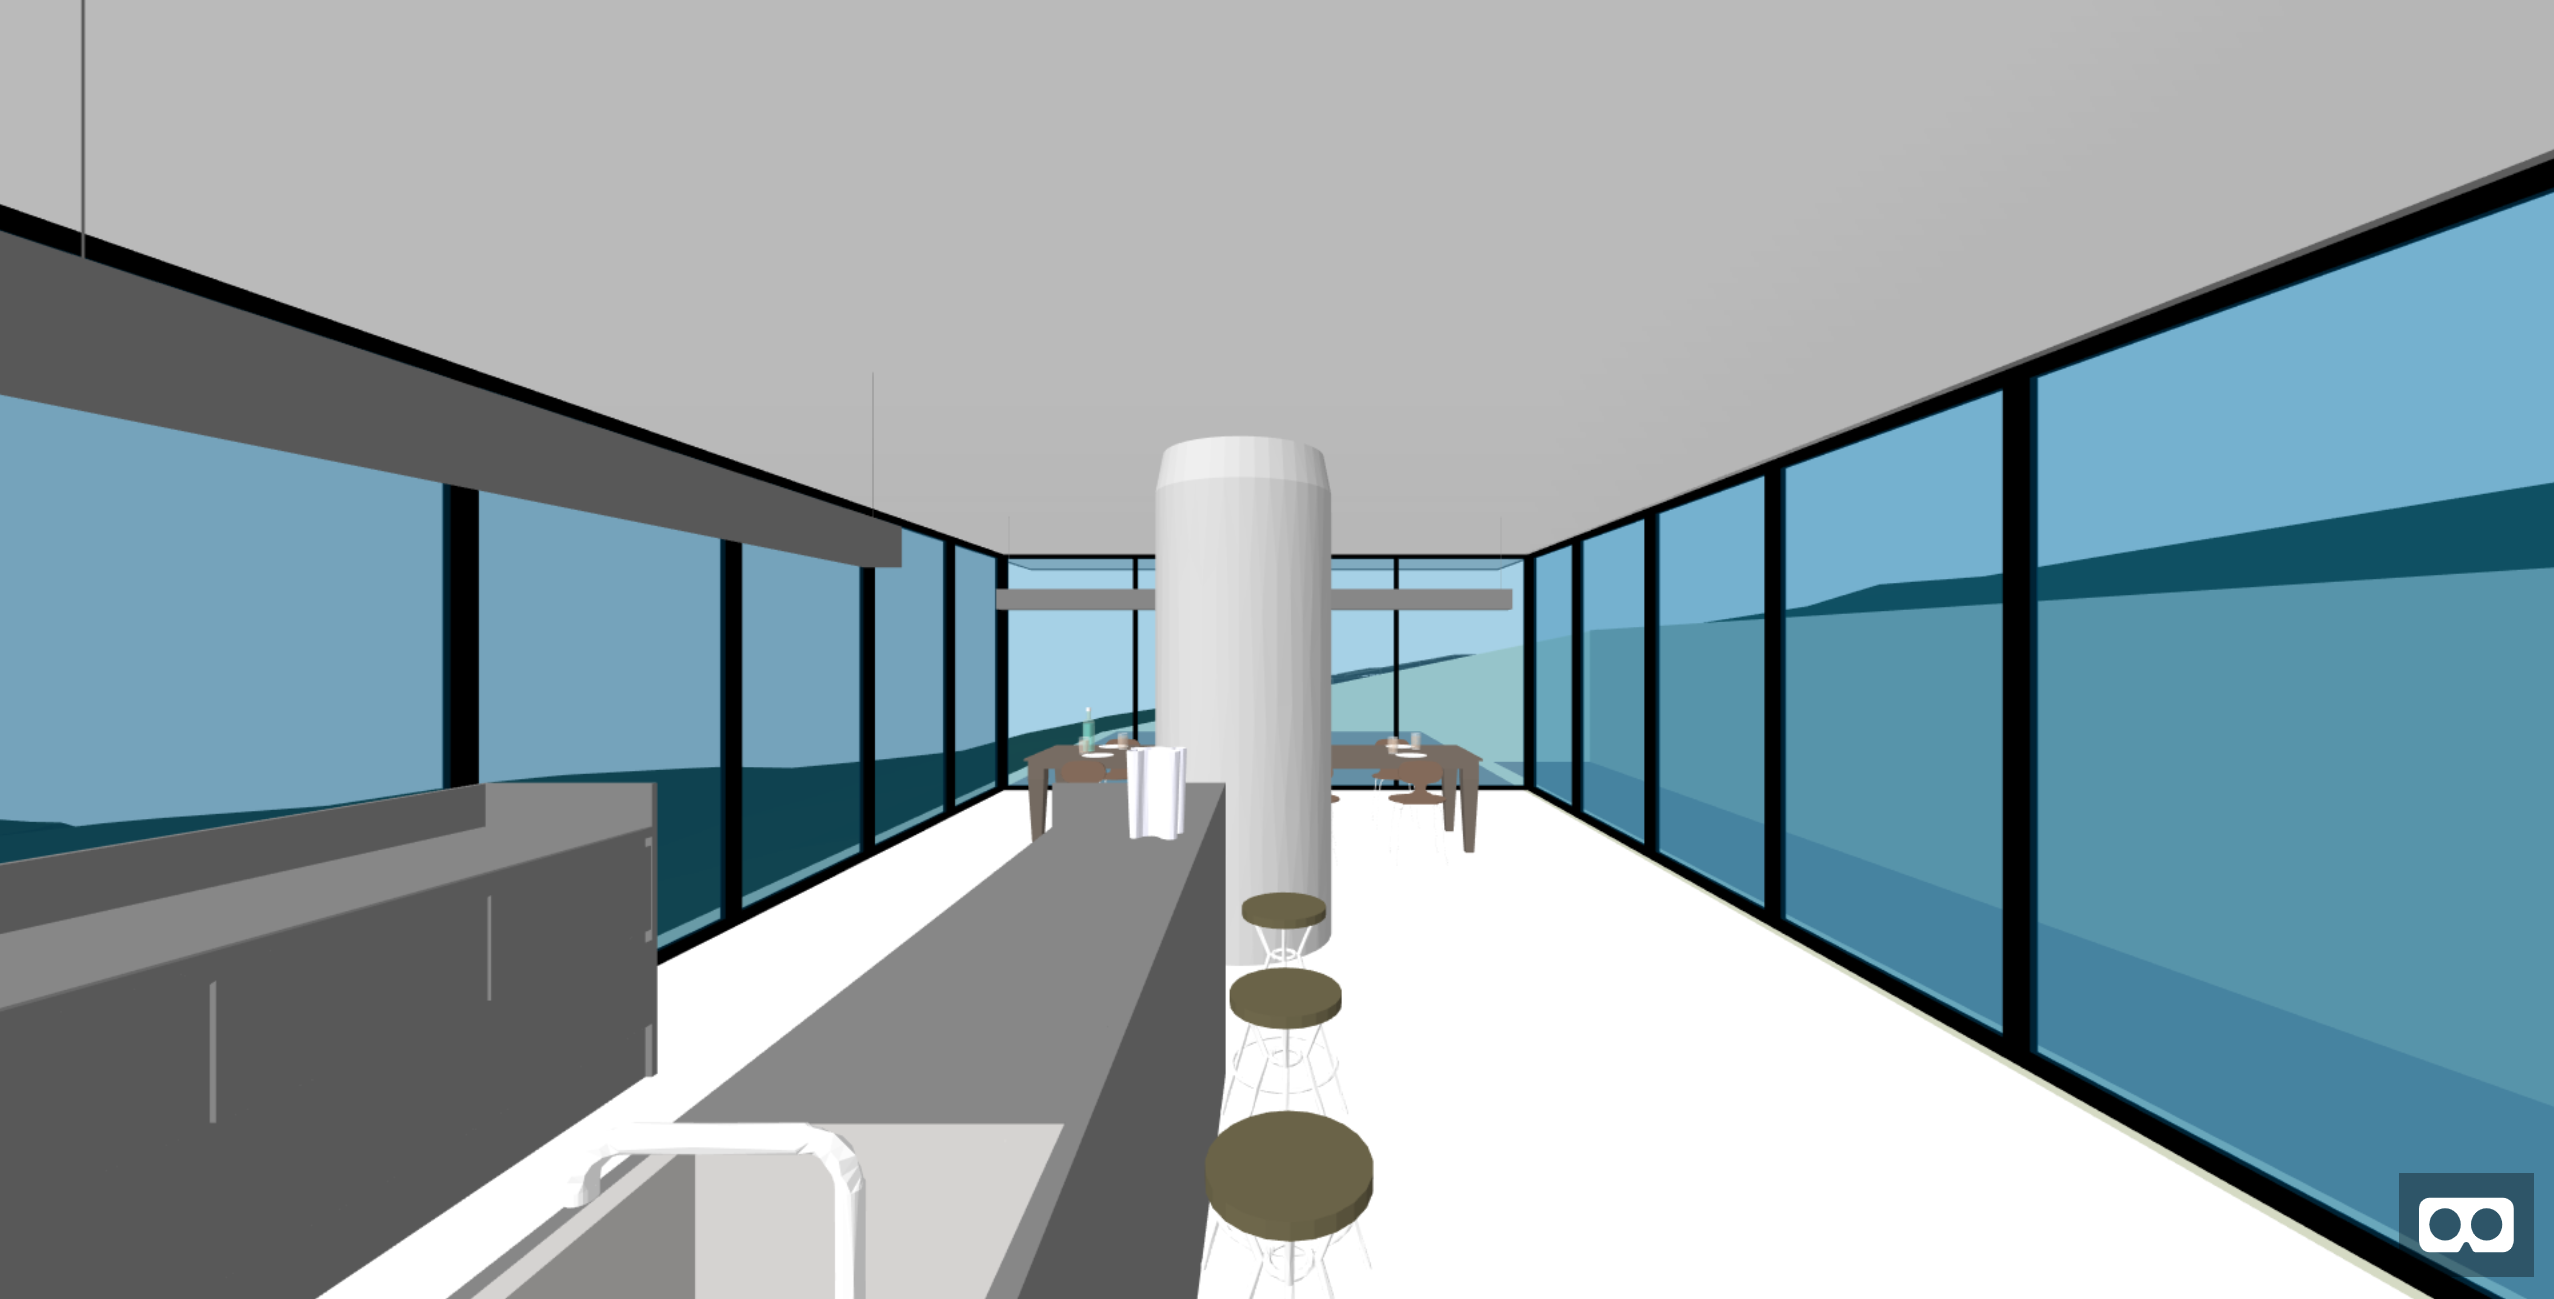
By the way, git-hub is suitable for hosting VR; =)
You can use the UnityGLTF plugin to import glb into Unity - if interested, I can paint how to use it, but there is nothing complicated.