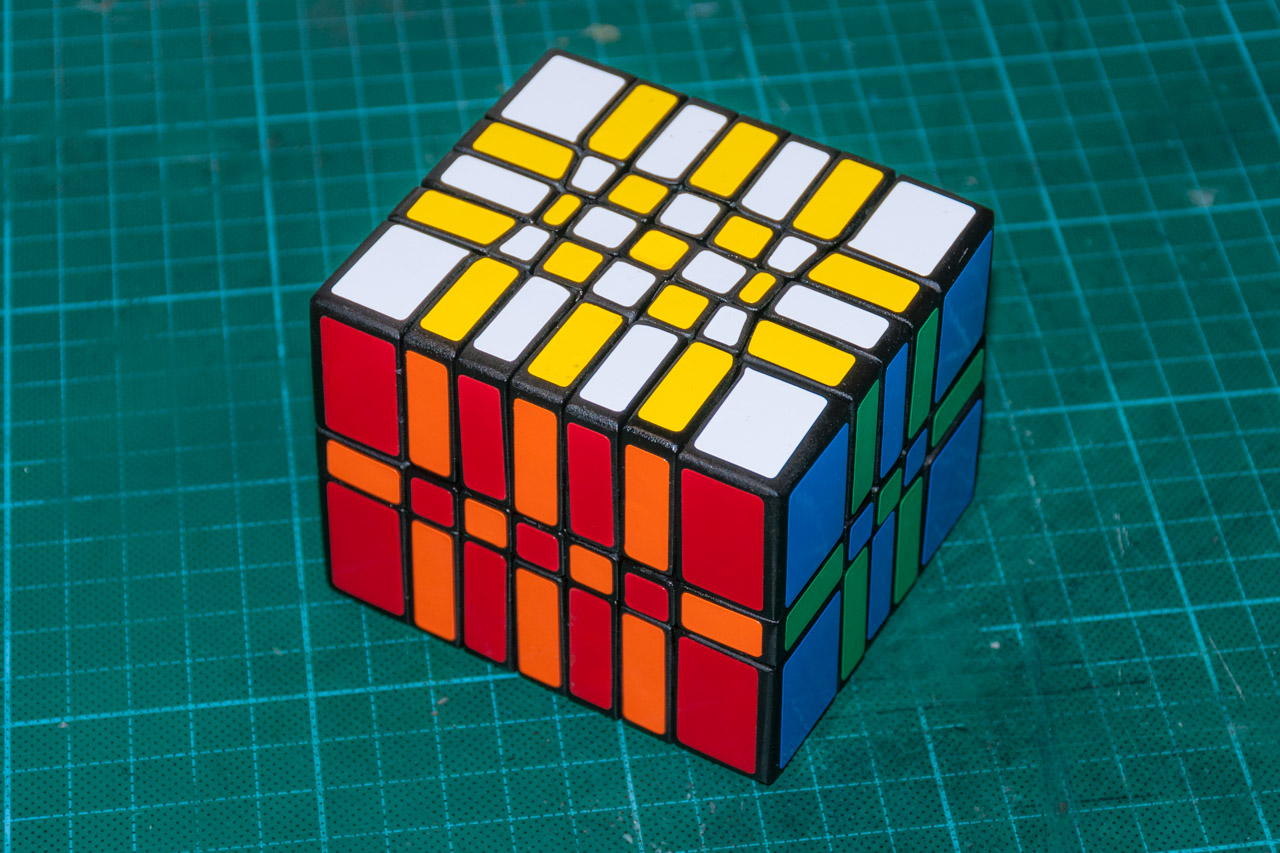
3x5x7 Cuboid or sawing Rubik's Cube
Some time ago I became interested in collecting all sorts of puzzles. I don’t enjoy speedcubing and cannot solve most of the puzzles in my collection on my own. I just like to replenish the collection with something interesting.
At first I bought all sorts of Rubik's cubes on aliexpress and ebay, but there the assortment, though wide, is still final. But once I got to a couple of YouTube channels ( one , two ), where the guys with the help of a file
Once a friend asked me to write an article about how exactly I make my cubes. I was just going to make a 3x5x7 cuboid and agreed to photograph every step. True, the article soon turned out to be unnecessary, but the pictures remained. So I decided to finish the job.
The article provides step-by-step instructions on how this kind of modification is made. The technology is generally simple - watch the videos mentioned and understand everything. You can even not read the article after that - there will be nothing new in it compared to the video :)
So, here it is a blank - a Shengshou 7x7x7 cube.
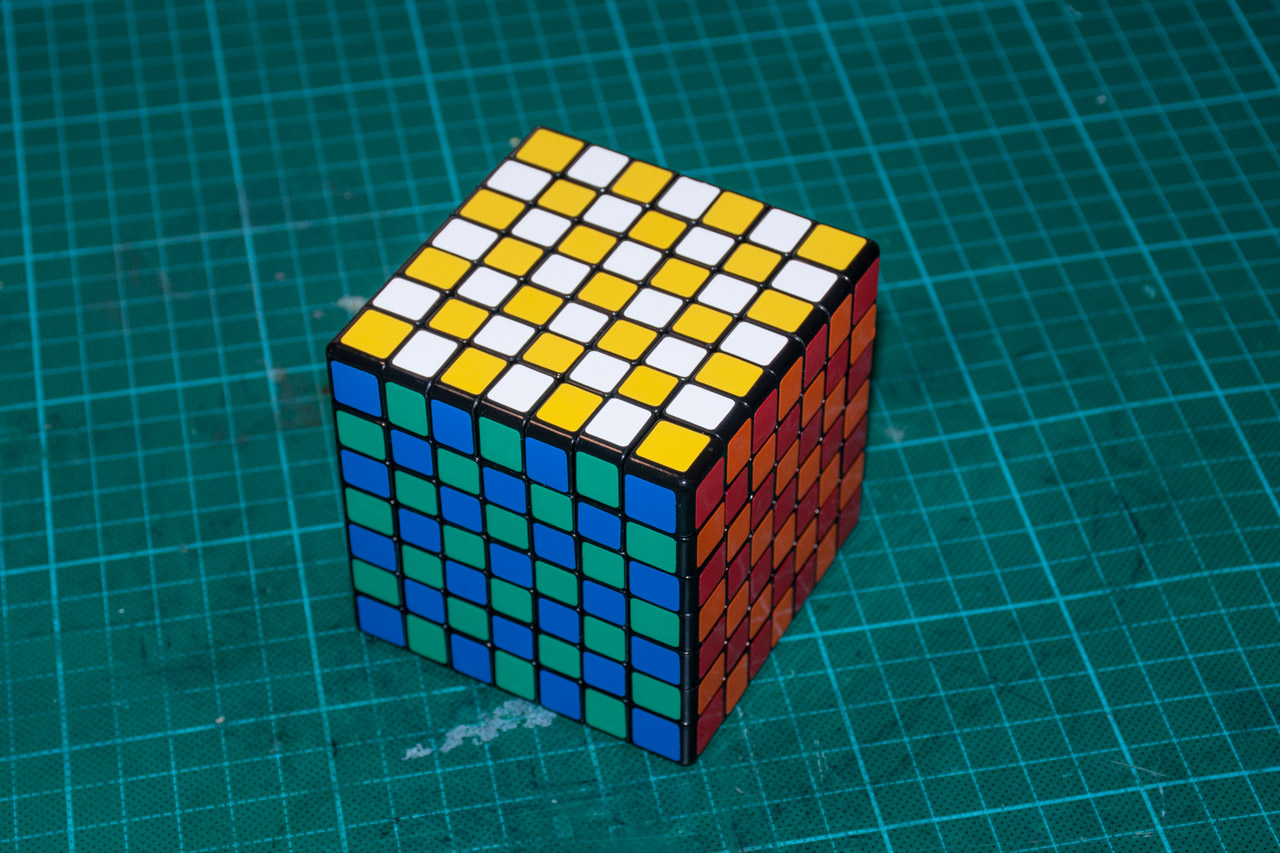
Not all cubes are suitable for modifications. The fact is that part of the cube is cut and it is important that the mechanism remains alive. I have YuXin 7x7x7 lying around, which is good for nothing except 7x7x7 - its roots of some cubes are too short and the odds are high. But with this Shengshou I was lucky, even though I bought the cheapest cube.
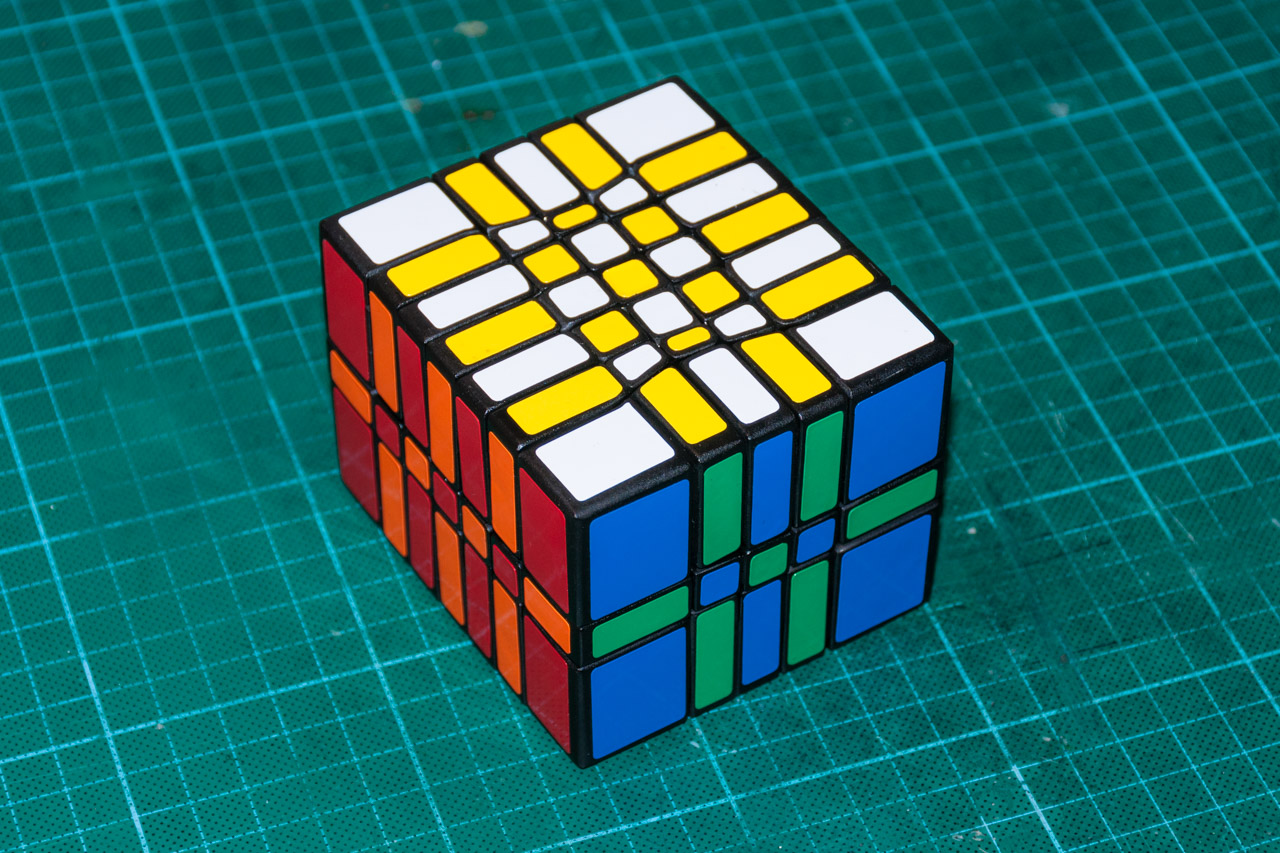
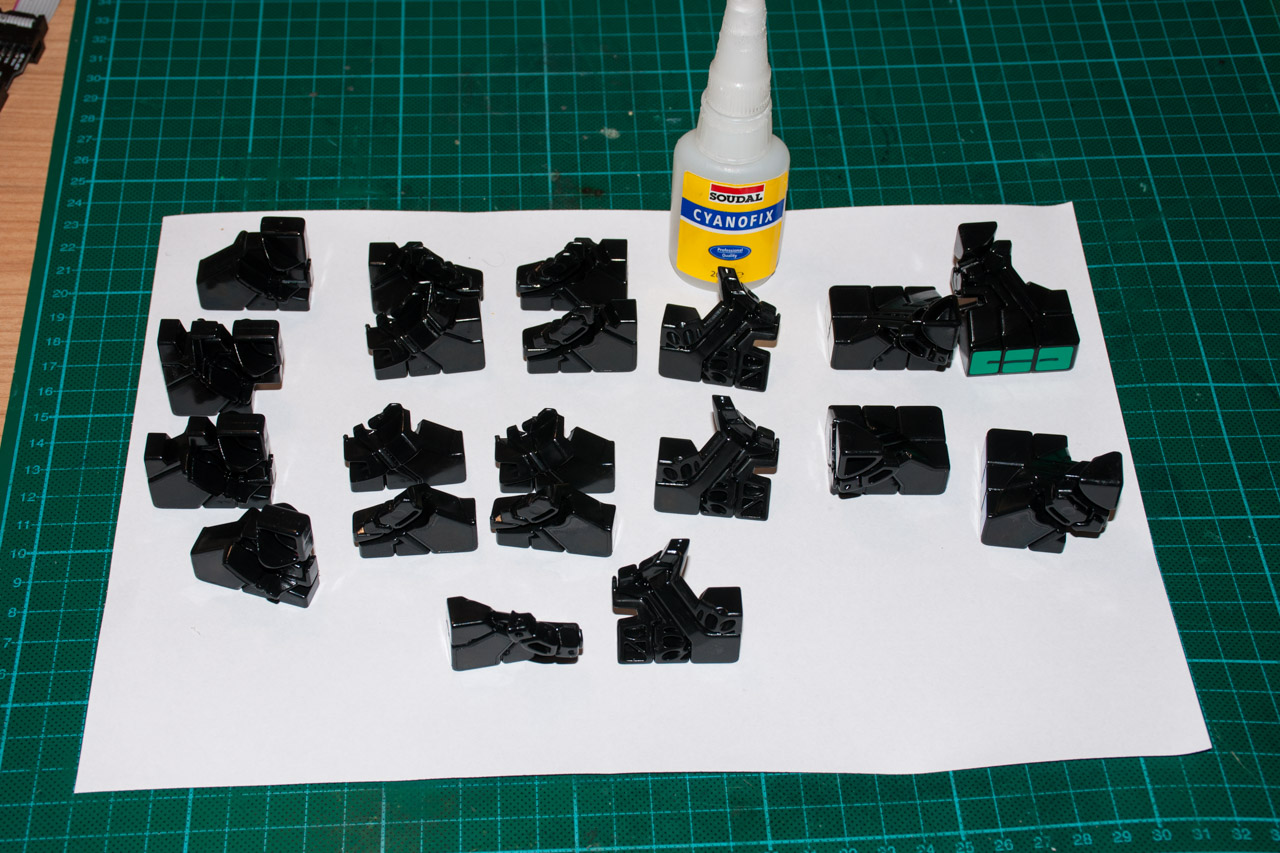
Today I will build a 3x5x7 cuboid. To do this, it will be necessary to glue some parts together. In order to understand what and with what I will glue, we will draw a line with a marker on the pieces to be glued. Don't worry about the stickers - I'll throw them out anyway.
You can disassemble the puzzle and glue the cubes separately. But there is one thing. During the rotation, the cubes do not fit close to each other, but are located slightly at a distance. If you glue the cubes separately, then these gaps will disappear and the cube will spin worse. Need to do so:
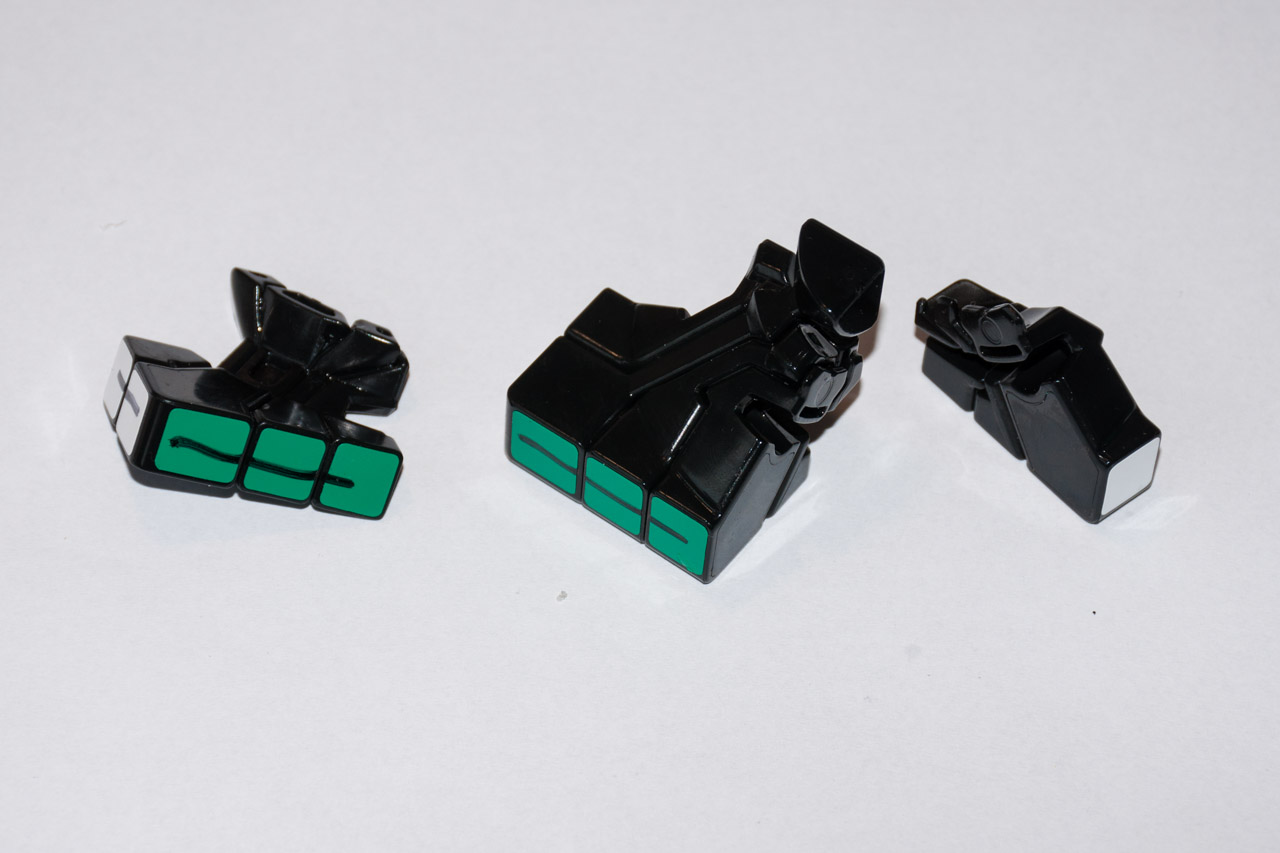
- Rotate one face at 30-45 degrees - so all the cubes are in a certain position, which guarantees rotation, sets the necessary gaps and does not warp other faces.
- Drip a small drop of superglue between the cubes that you want to glue. Glue needs to be applied very well, so that it does not penetrate deep into the mechanism
- Carefully disassemble the cube and add the resulting parts
It is not necessary to disassemble the whole cube, otherwise it will be very difficult to assemble it back. You can disassemble only half, and when it is ready to do the second.
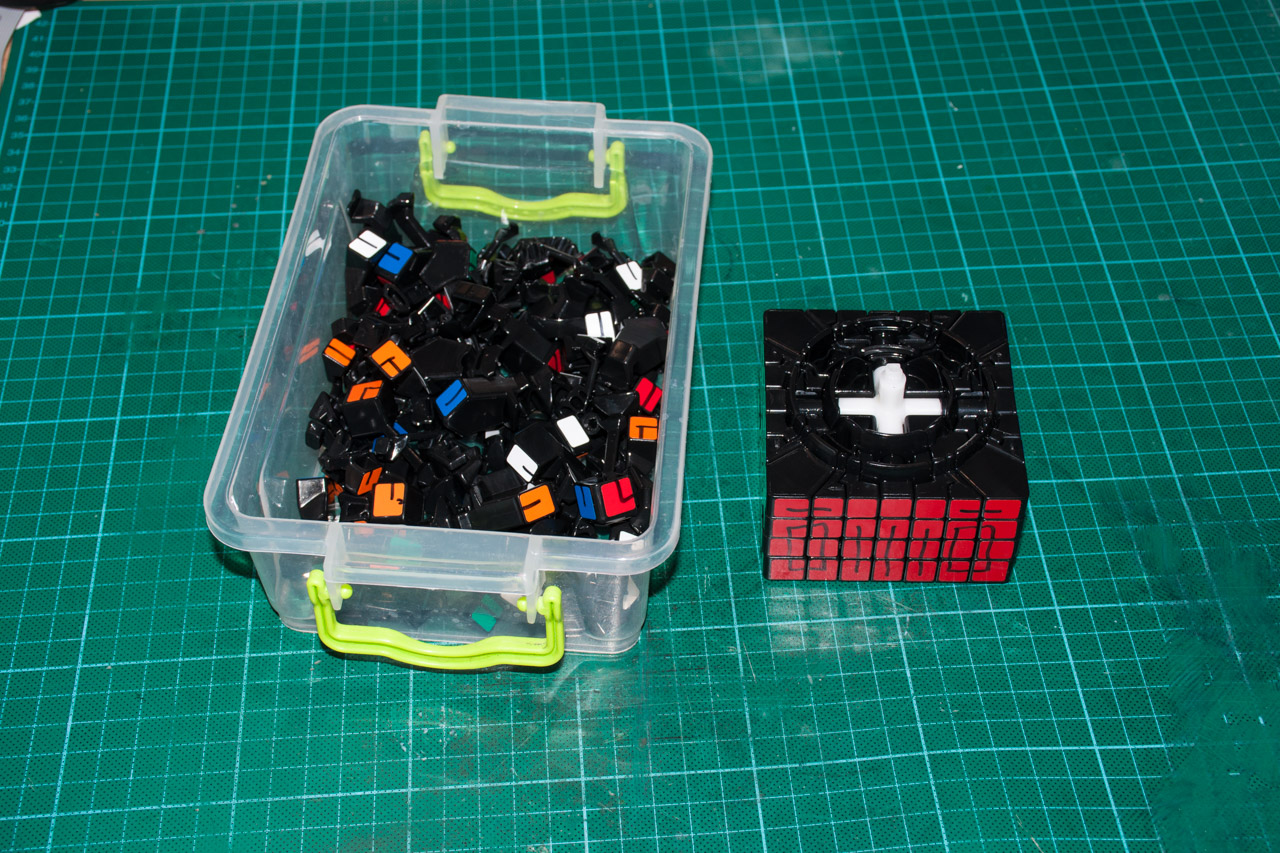
Now you can glue the pieces separately. Previously, we only fastened the outer cubes with a small drop of glue. Now you need to glue the parts more fundamentally.
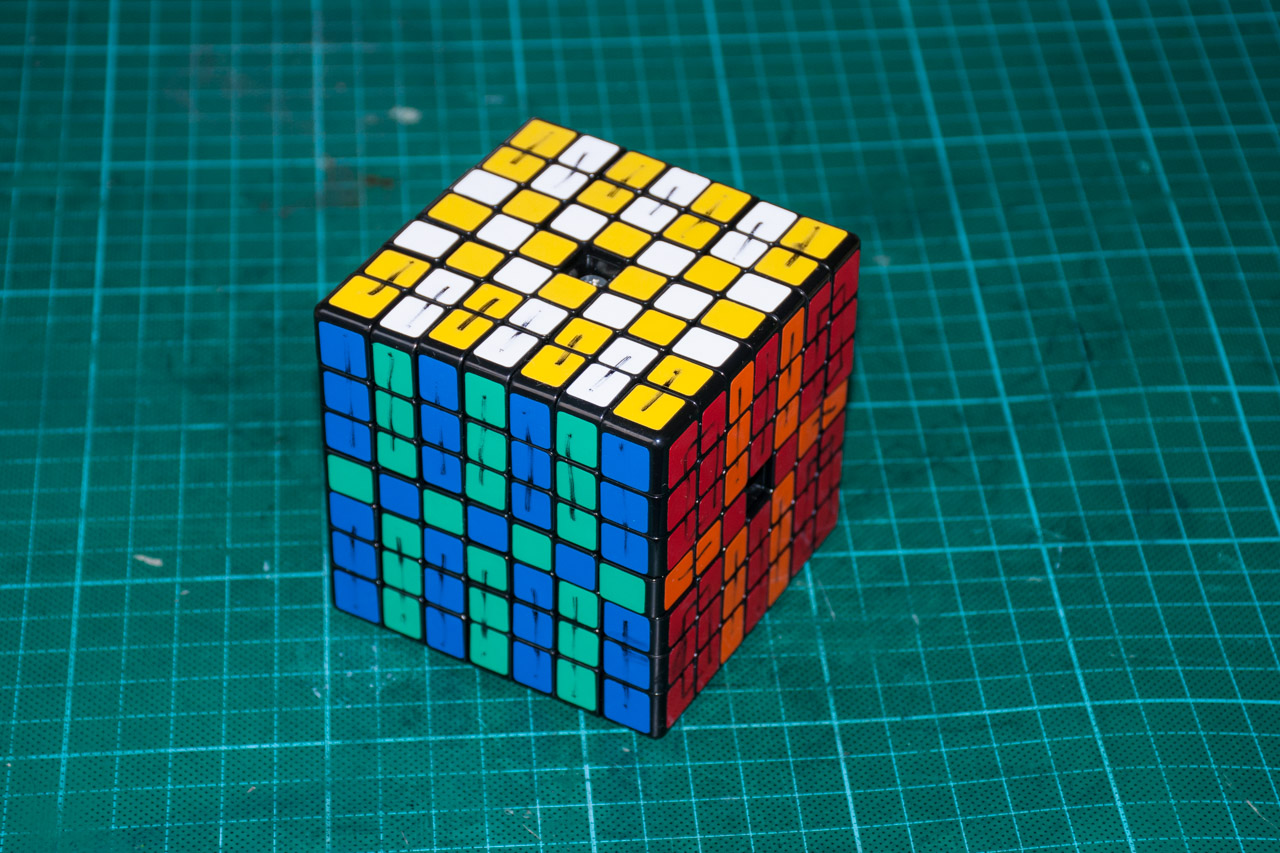
I prefer to check the operation of the mechanism at each stage. To do this, you can collect the cube back and check that it is still spinning. Here I found several crookedly glued cubes that interfered with the normal rotation of the faces. Pokleil pieces, everything was spinning more or less good.
By the way, chess is a great way to check the rotation of all faces and layers.
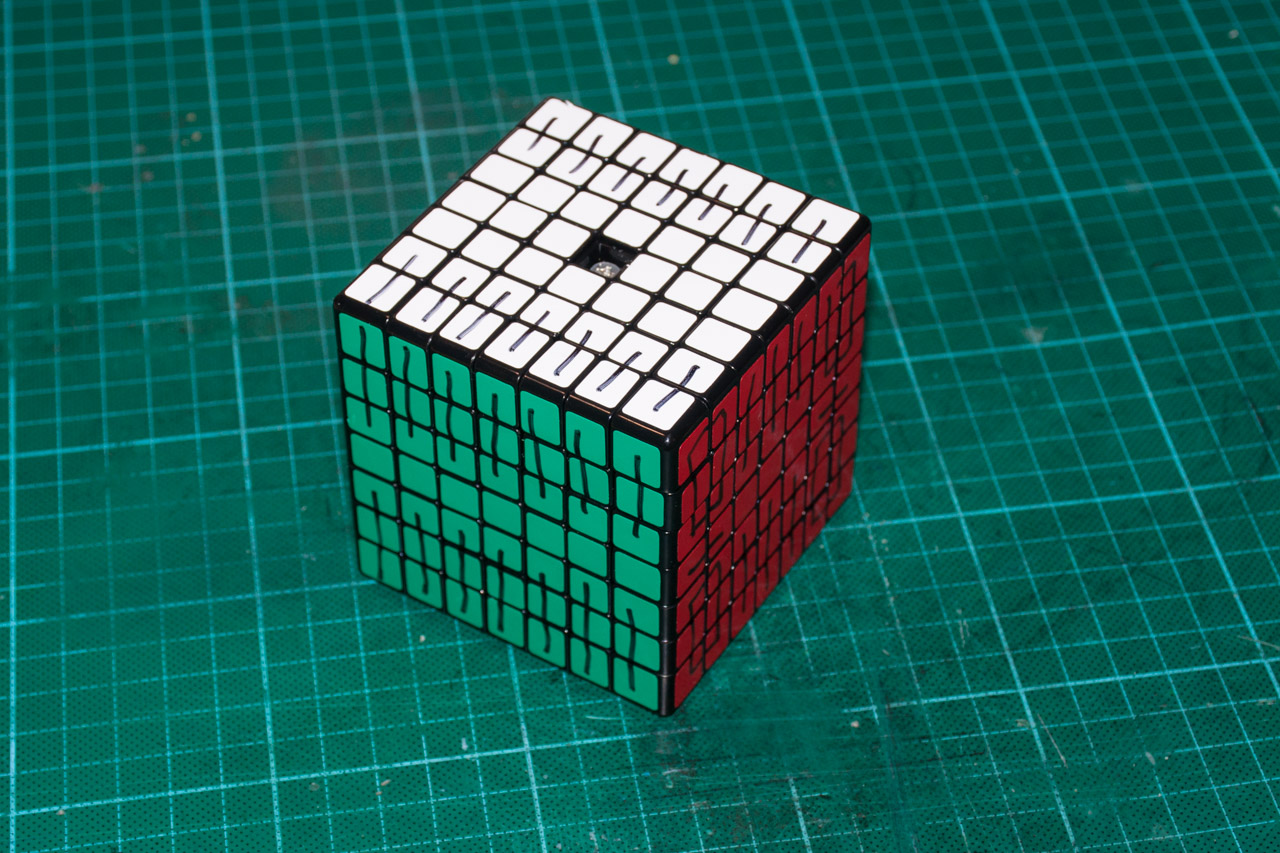
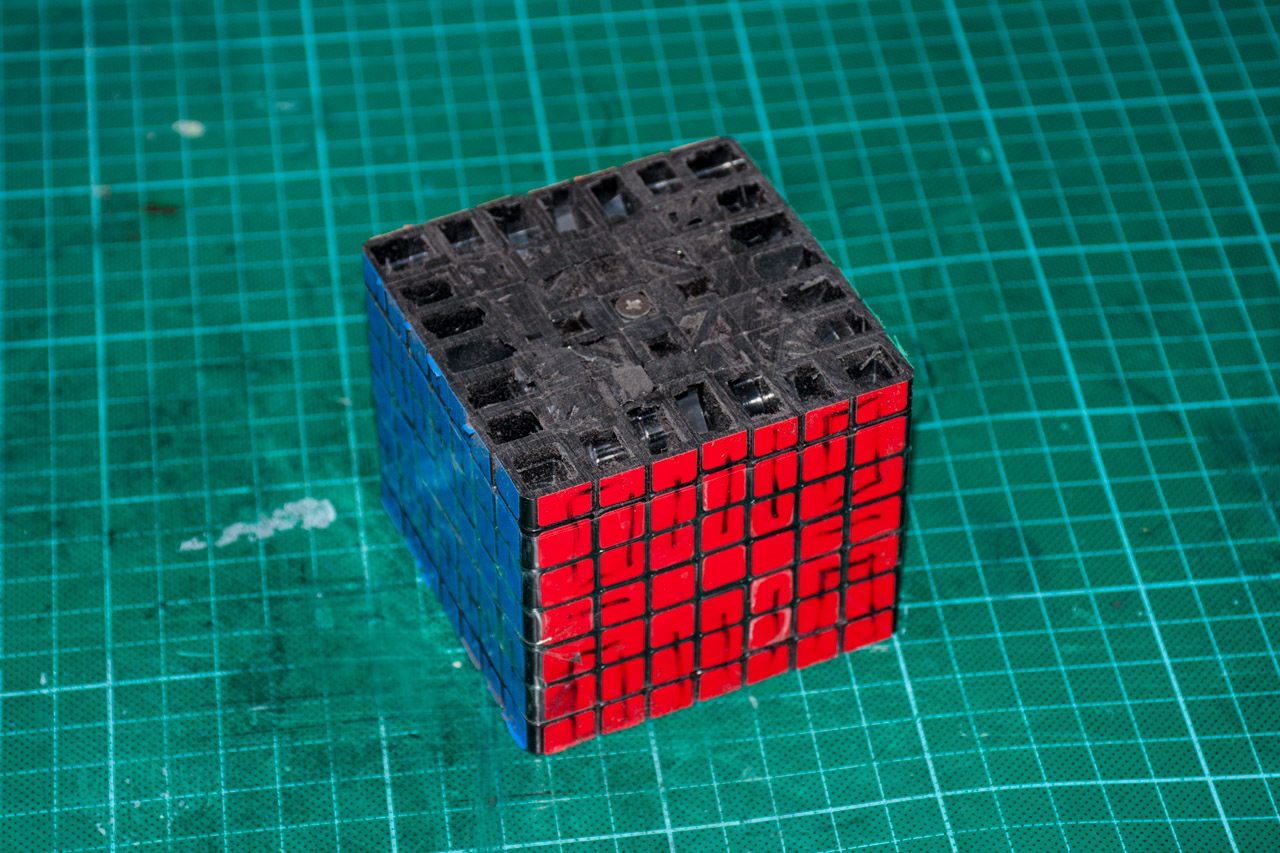
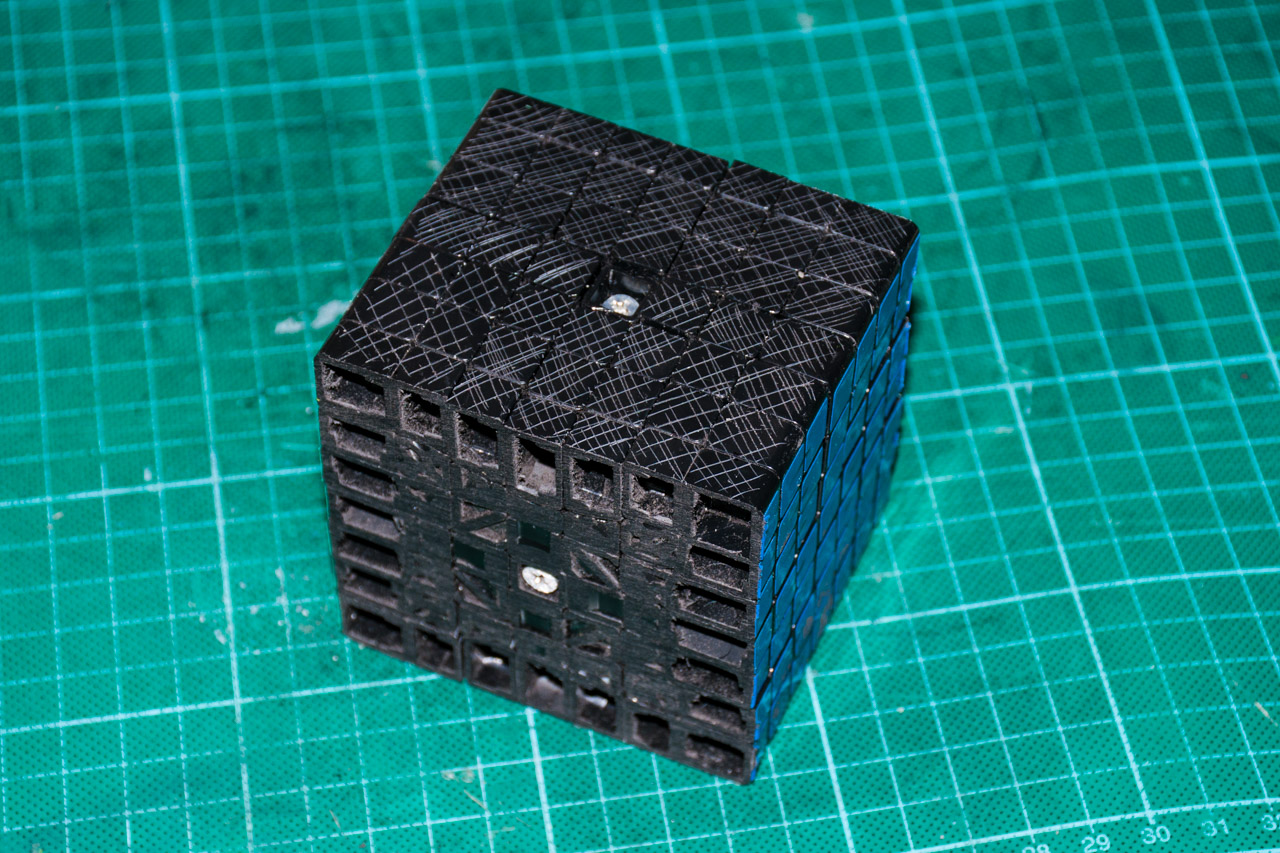
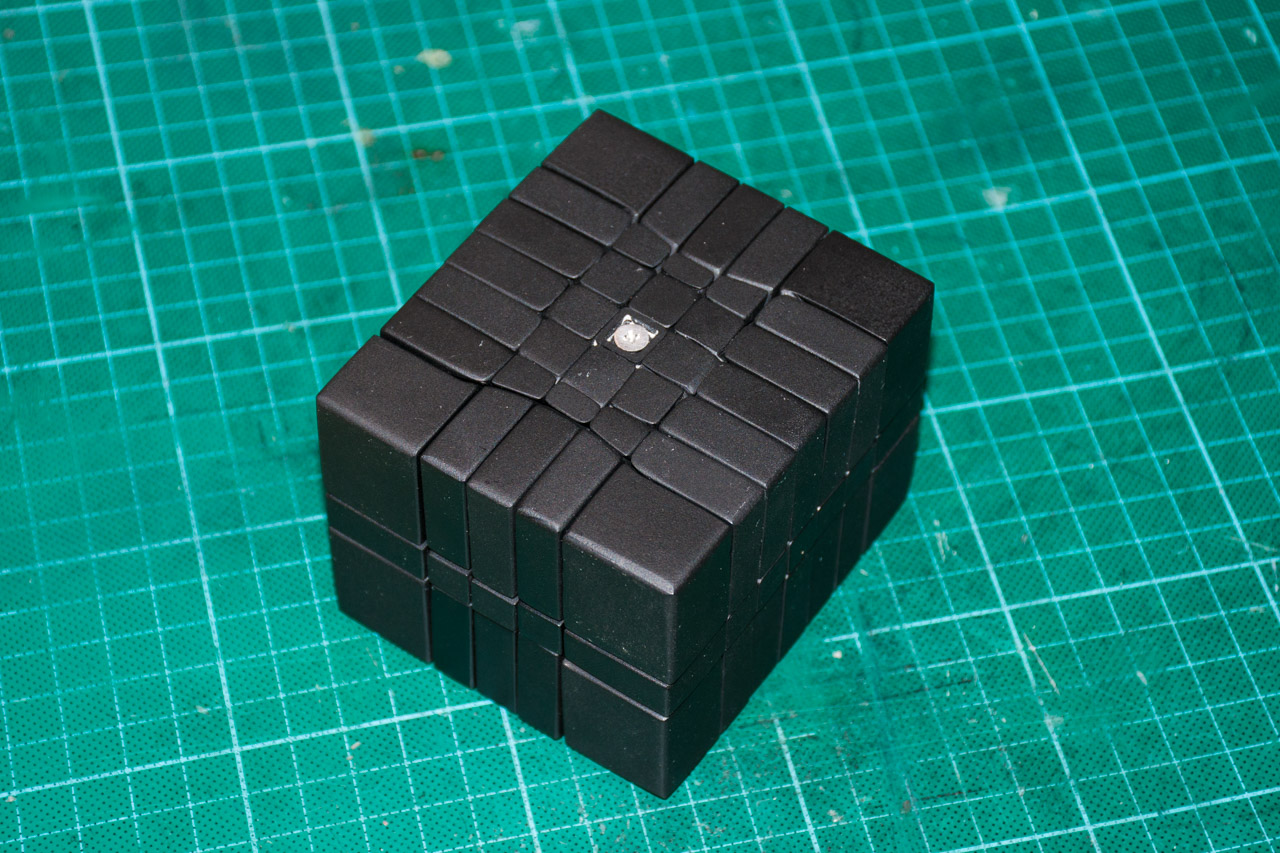
Now you can take up a hacksaw. The depth of the cut is determined by the screw in the central cube. You can make a convex cuboid, but this time I wanted to make a parallelepiped
So that the edges did not move during the execution, I first tightly tightened all the screws, and the cube was pulled tight with a wide tape. Sawed the usual hacksaw. You can jigsaw, but not electric. In fact, the most nasty stage.
After a rough cut with a hacksaw, the entire face must be grinded with an emery block to a more or less flat surface. It is necessary to remove as much height as possible, but leaving space for the screw cap. The hat, by the way, can also be sharpened with a Dremel to win another millimeter of height.
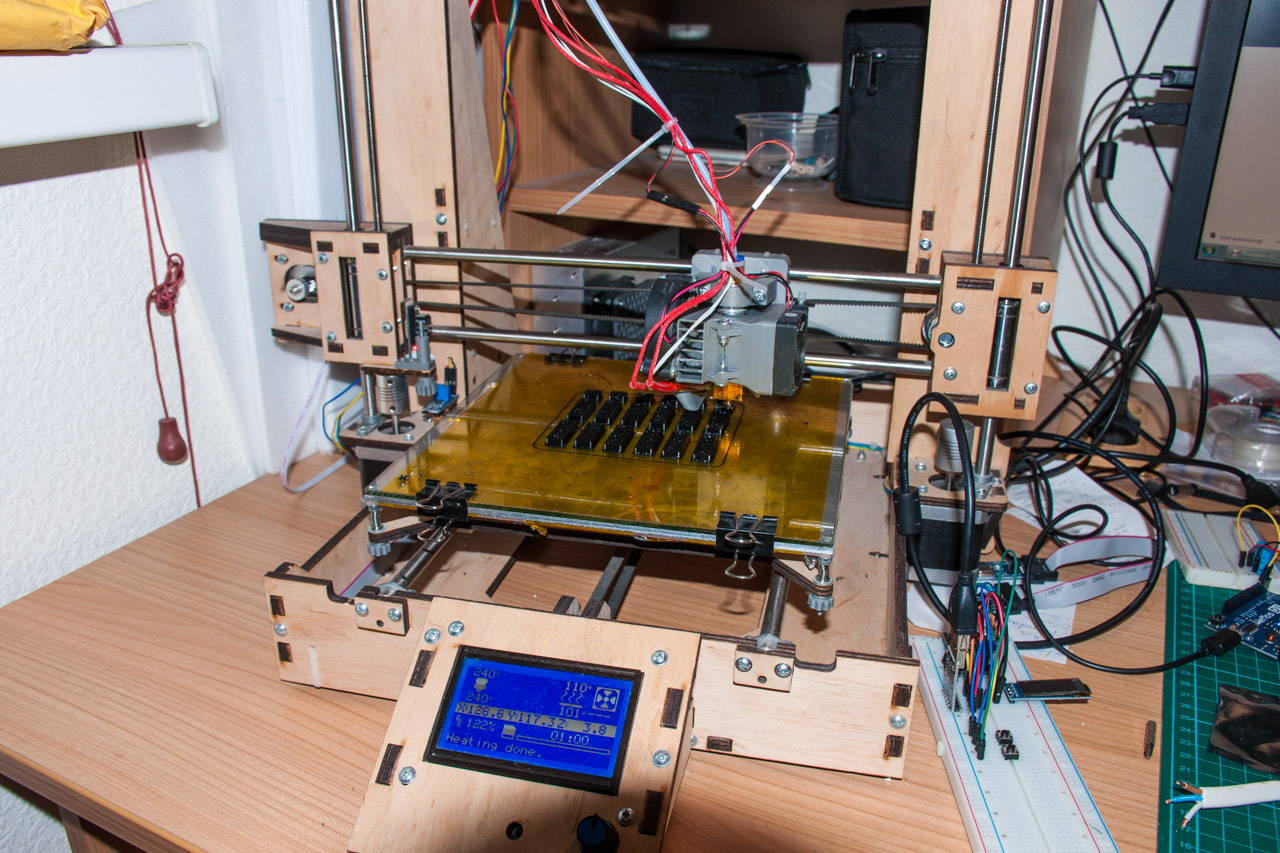
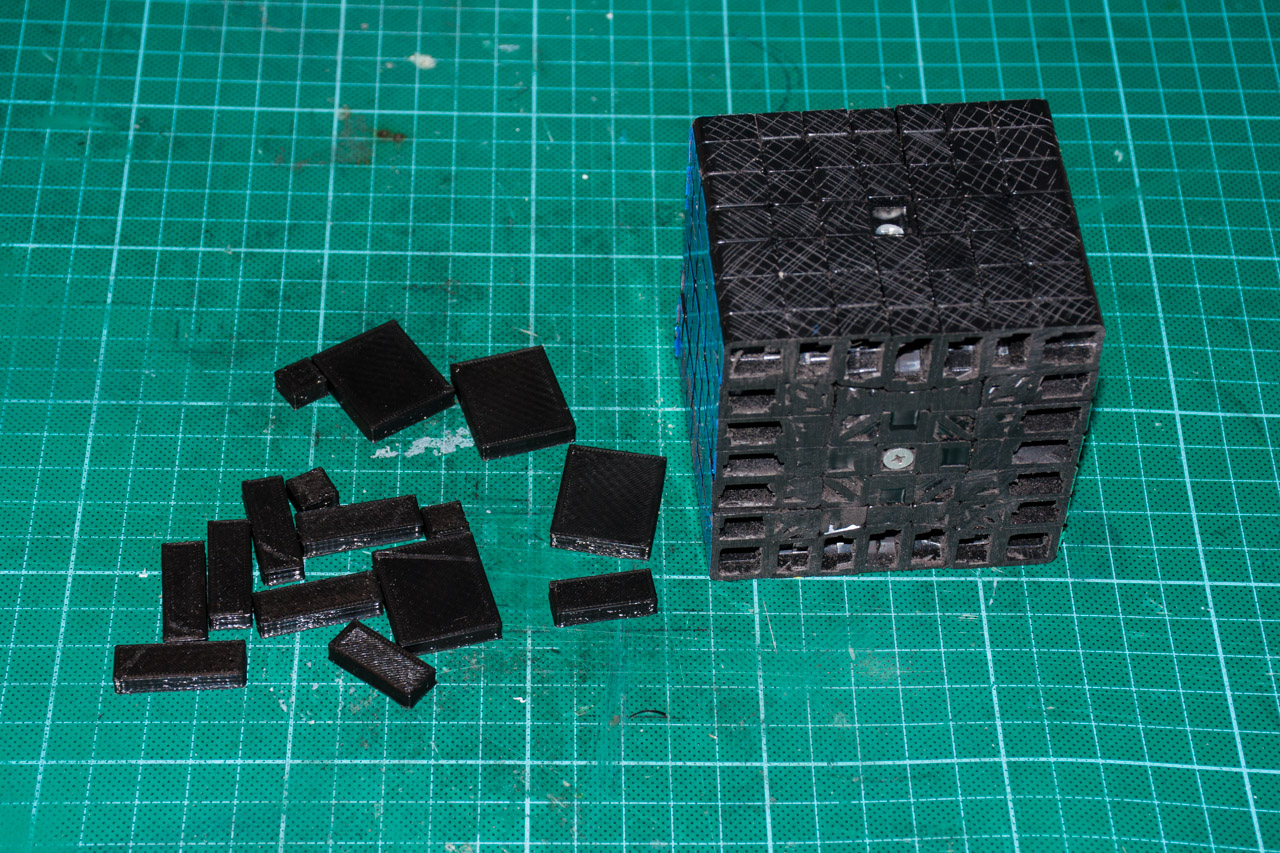
The trick of the cuboid 3x5x7 is that in addition to the two sawed edges, he will have 2 more extensions - well, he will look better. In YouTube, people are stepping up with ABS plastic discs, but I printed spacers on a 3D printer. To make the spacers stick better, I scratched the corresponding faces with a knife.
Spacers are small pieces of ABS plastic. I chose a height of about 4mm - about the same I cut off from two other faces.
Since both the spacers and the cube itself are made of ABS plastic, you can glue with ordinary acetone
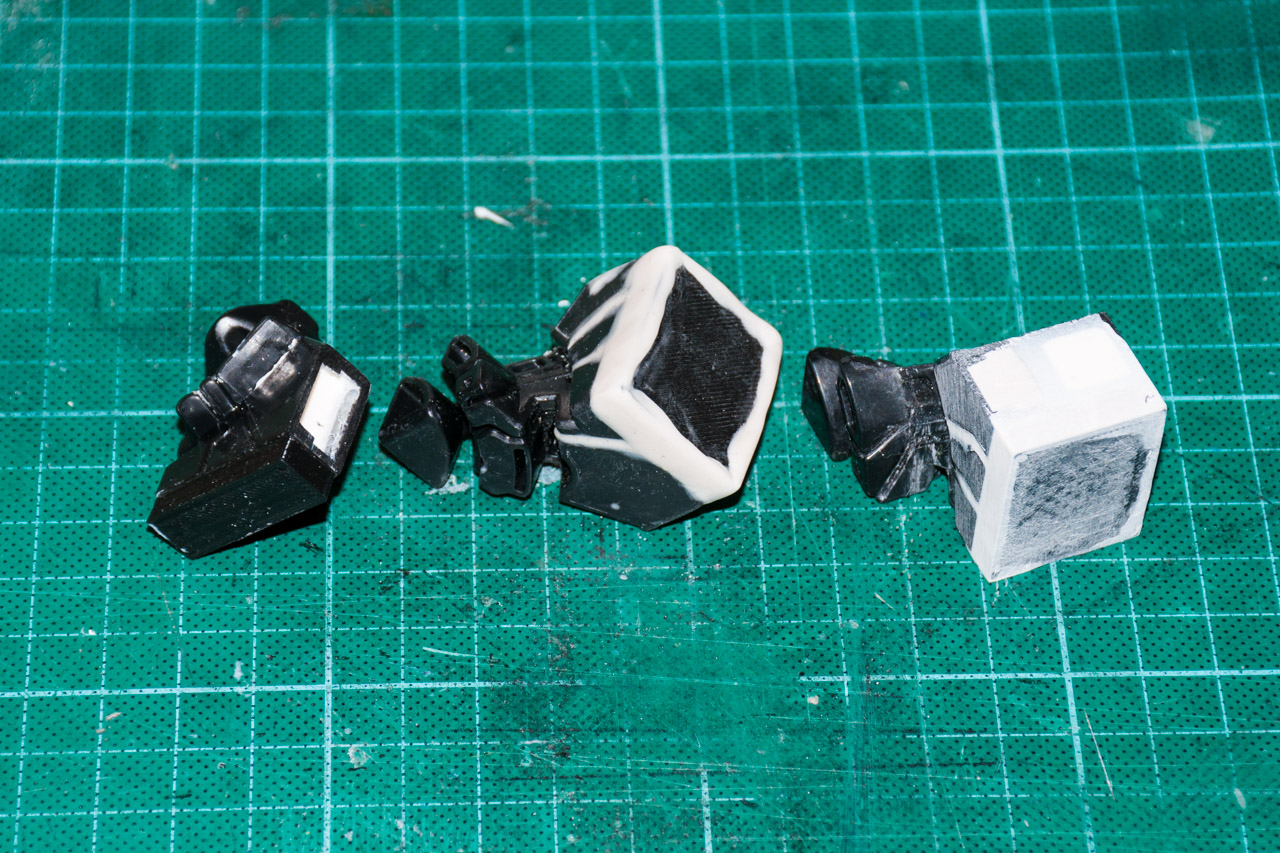
Then the most interesting, though dreary: all the gaps need to be repaired. Behind the hill use Milliput or Apoxie Sculpt. I didn’t see one or the other, but I bought a piece in the hardware store called Alteco Epo-putty. Positioned as cold welding, in fact, something like a two-component epoxy-clay.
Knead, cram in all the grooves, at the corners better stick with a margin. The piece dissolves well in water, so it is convenient to spread and push with wetted hands into the cracks. By the way, the detail should also be wetted with water for better adhesion.
After the epoxy has dried (hours 6), the excess can be ground off with sandpaper. I use 180-220 for rough turning of a part, 400-500 for a smoother surface. When the part is ready for painting in addition, you can still walk the paper 800-1200. For turning flat surfaces, it is convenient to lay out the paper on the table and crawl over the paper. In hard-to-reach places you can wield a file.
Now you need to slightly round the sharp edges, so that the puzzle does not jam when rotating. In addition, I also stowed the general outer edge of the puzzle with a rather large radius (2-3mm). Unfortunately I did not have pictures of this stage.
Now you need to paint the puzzle. I bought an acrylic enamel spray in the “automotive products” department. It would be better glossy, but matte also looks good. Lazy can paint the whole puzzle. I prefer to paint all the parts separately.
The final touch is new stickers. Practice shows that the best stickers are obtained from PVC film Oracal 641. I also tried films from other manufacturers (not all, literally 1-2) - unfortunately, not that. Their film is not glossy, thinner and holds worse. The only consolation is that there are colors that the Oracle has not (all kinds of fluorescent ones there). Bought in the local company for a decor and advertizing materials. They agreed to cut me into different colors of the film by 20 cm of linear length (for cubes these are gigantic volumes - for the second year I have mastered 20x100cm pieces).
Cutting stickers with your hands is not a thankful business. It turns out crooked, the pieces are different in size, corners are clumsy. It is better to overpay and order a plotter cutting. I went the other way - I bought a knife for the plotter and hooked it instead of the print head for a 3D printer. Cuts are not super cool, the stickers turn out a little crooked, but quickly and for free :)
That's all. As I said, the technology is not complicated, but very dreary. Making one cube takes up to a month in the evenings. I sincerely admire the guys who make it to order :)
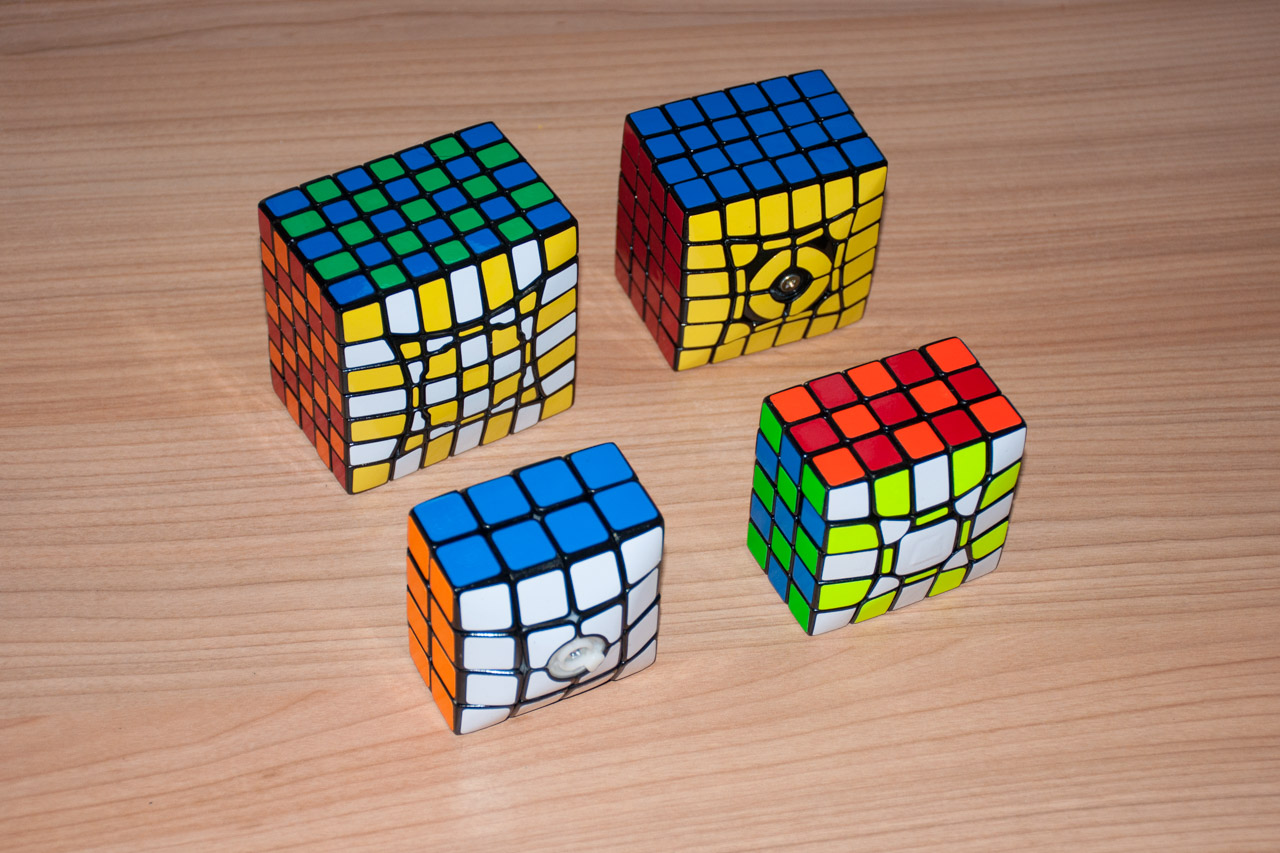
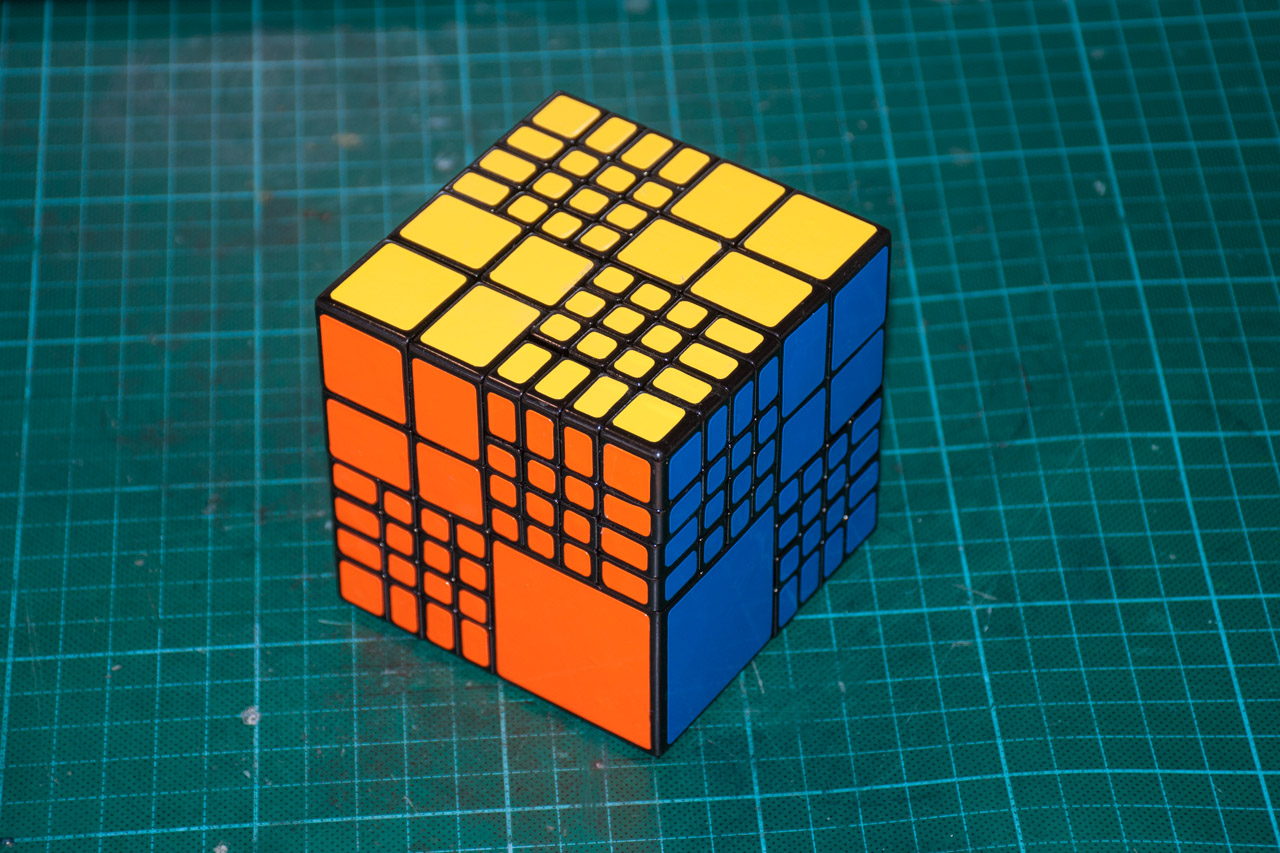
I showed how to make a so-called cube 7x7x7. cuboid 3x5x7. With the same technology, you can still make many different puzzles. I already have 4x4x2, 5x5x3, 6x6x4, 7x7x5 in my collection. Another rides from China blank 5x5x7.
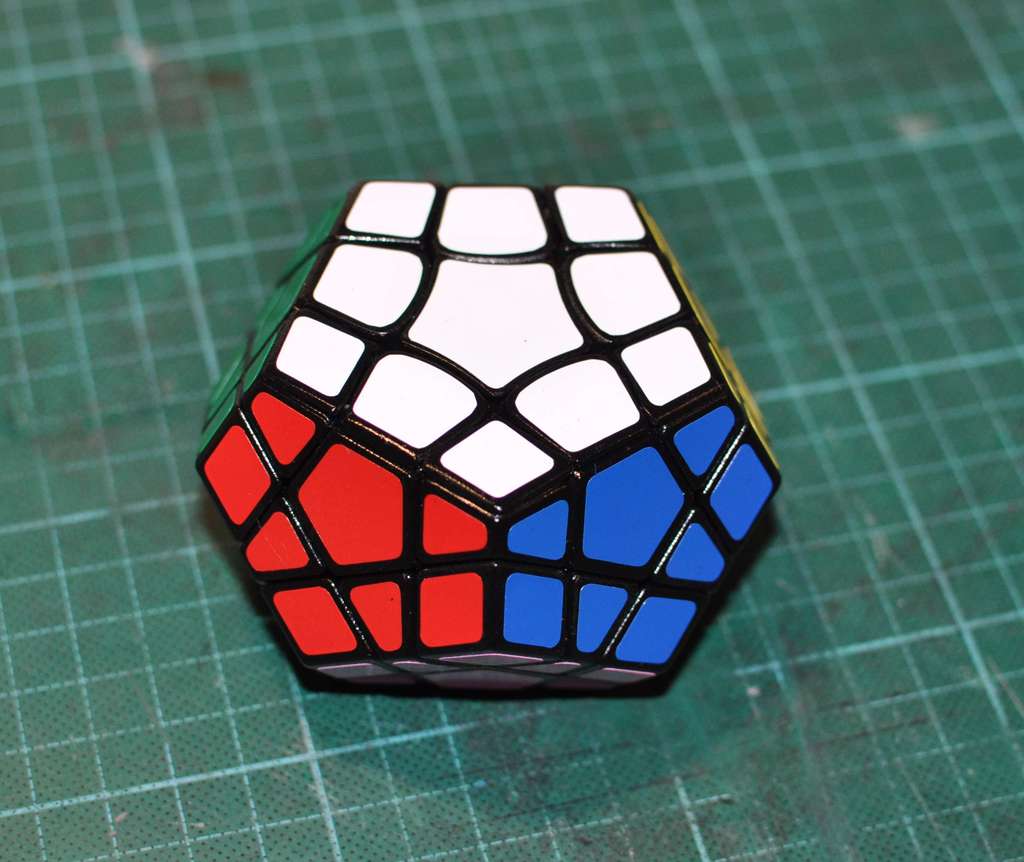
In the same way, you can not only cut cubes. Here, for example, megamoid (megaminx-cuboid) .
In a similar way (even without trimming), you can make all kinds of bandage puzzles (cubes with glued together pieces). I absolutely love the Crazy Planet Cubes and 248 Cube series . It is enough just to glue the cubes together and close the epoxy gaps.
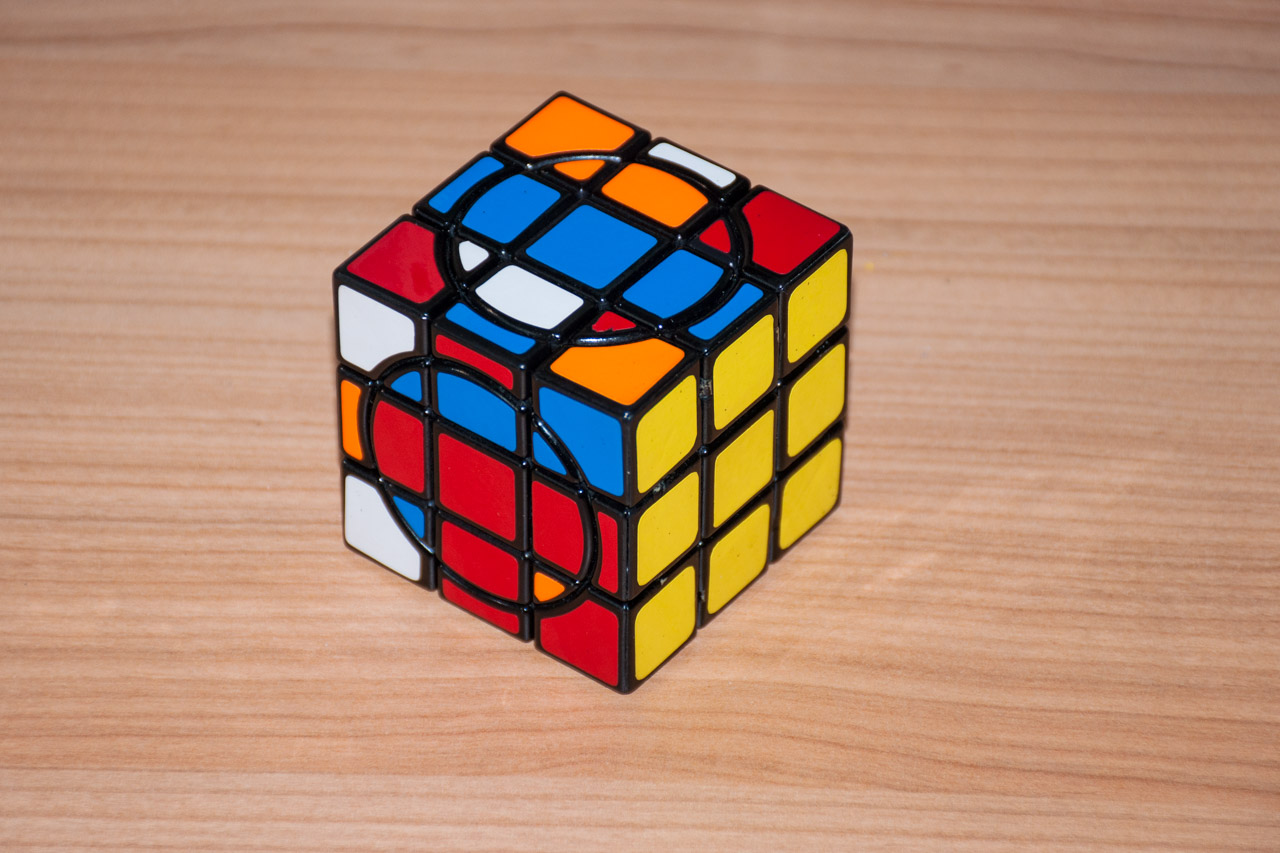
The yellow face is made by gluing circular pieces to square ones, with subsequent filling of the cracks with epoxy
That's all for today. Let me know if the puzzle theme is interesting for you. I have some more articles on how to design my own puzzles. I spread my developments on the thingiverse - welcome, download, print, offer. I am open to constructive criticism.
All Articles