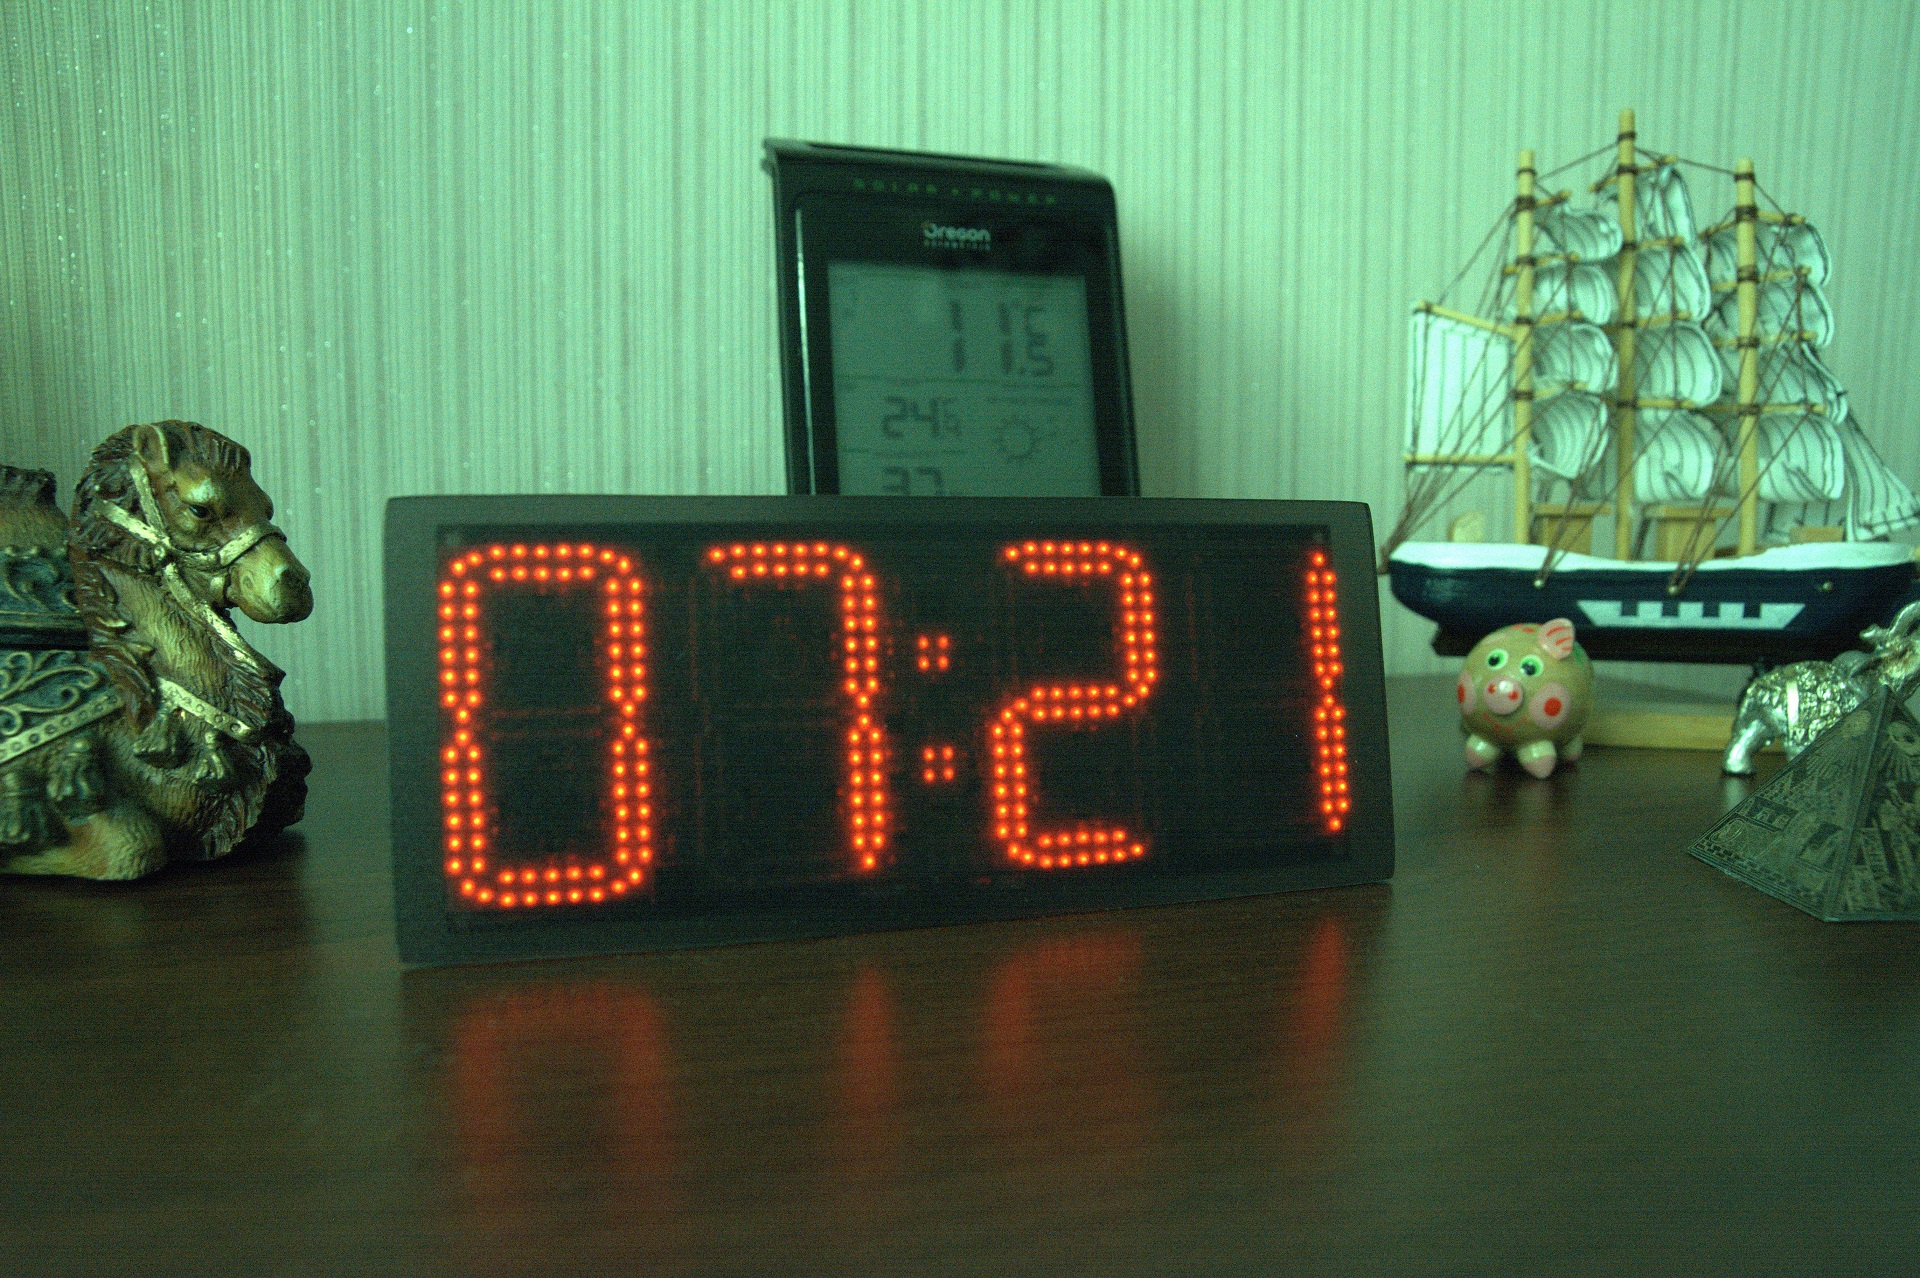
Another watch with WiFi. Clock380
My version of the perfect watch. Frankly, I'm tired of adjusting the clock. In order for the watches to adjust themselves, they must be equipped with at least one of the systems through which time can be obtained:
1) GPS
2) DCF77
3) Ethernet or WiFi
4) GSM
5) Own system
Pros and minutes of each system have already been described here.
At first I wanted to make my system. But then I stopped at WiFi. It would seem that the market should be full of desktop / wall clocks with synchronization over WiFi. However, what I want I did not find. Maybe bad looking for of course. Therefore, I decided to assemble myself. At first I tried to assemble the clock on the WS2812B, but I didn’t like it. They are too big. In the end, I stopped at ordinary LEDs. Well, as WiFi, of course, I decided to use ESP8266.
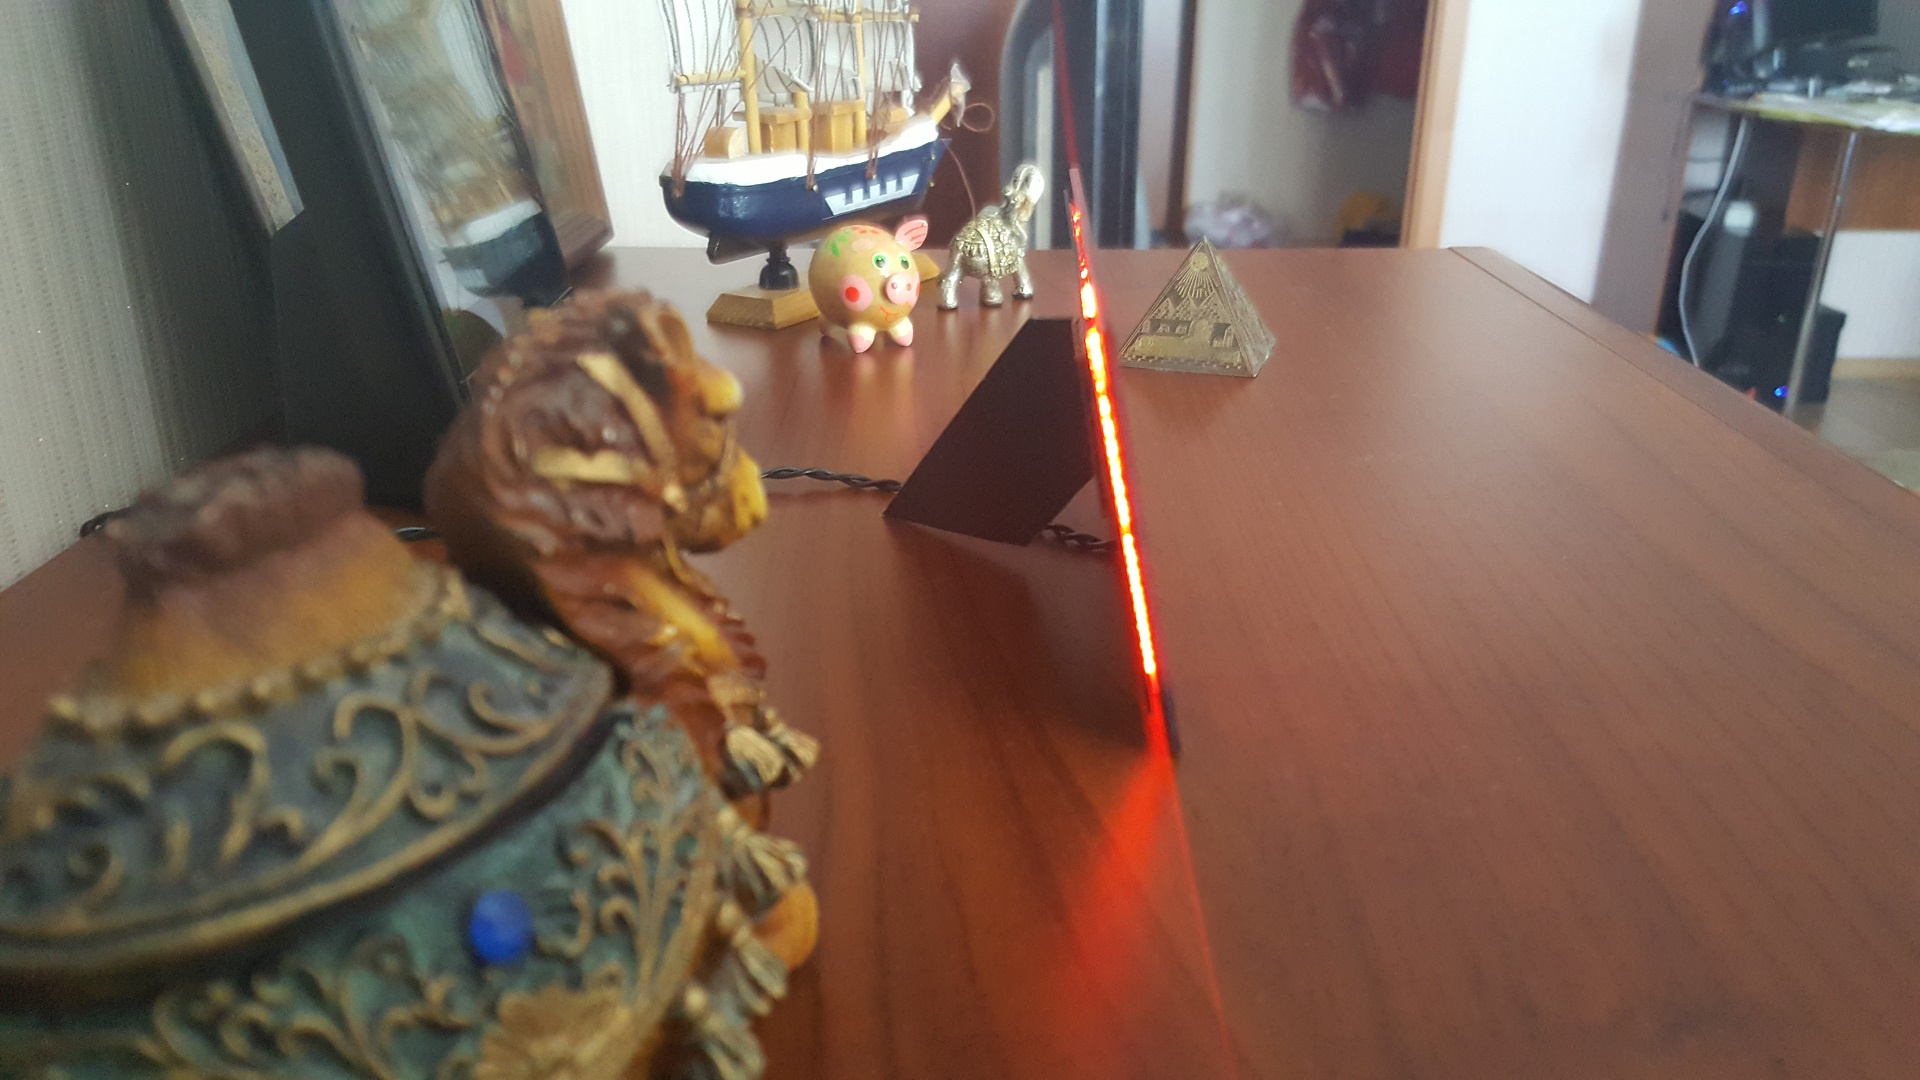
In the process of thinking about the design of future watches, I decided to make them as thin as possible. Therefore, all elements are selected with a minimum height. And placed everything on one side. The hardest thing was to find a thin ionistor and inductance.
In addition to the necessary elements for the watch, I added a seat for:
1) STM8S003F3U6 (Suddenly something will not work with ESP8266)
2) DS18B20U
3) BMP280 or BME280
Looking ahead I will say that they were not useful to me.
After a month of thinking, drawing a scheme and tracing, this is a double-sided board, 140x56 mm in size. And the thickness, together with the elements, is less than 2 mm. The size of one digit is ~ 25x48 mm.


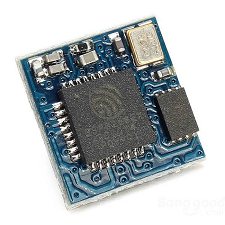
Printed circuit boards and equipment I ordered of course in China. Something from the configuration had to take the modules, as it came out cheaper. These donor modules are ESP-09 and GY-302:

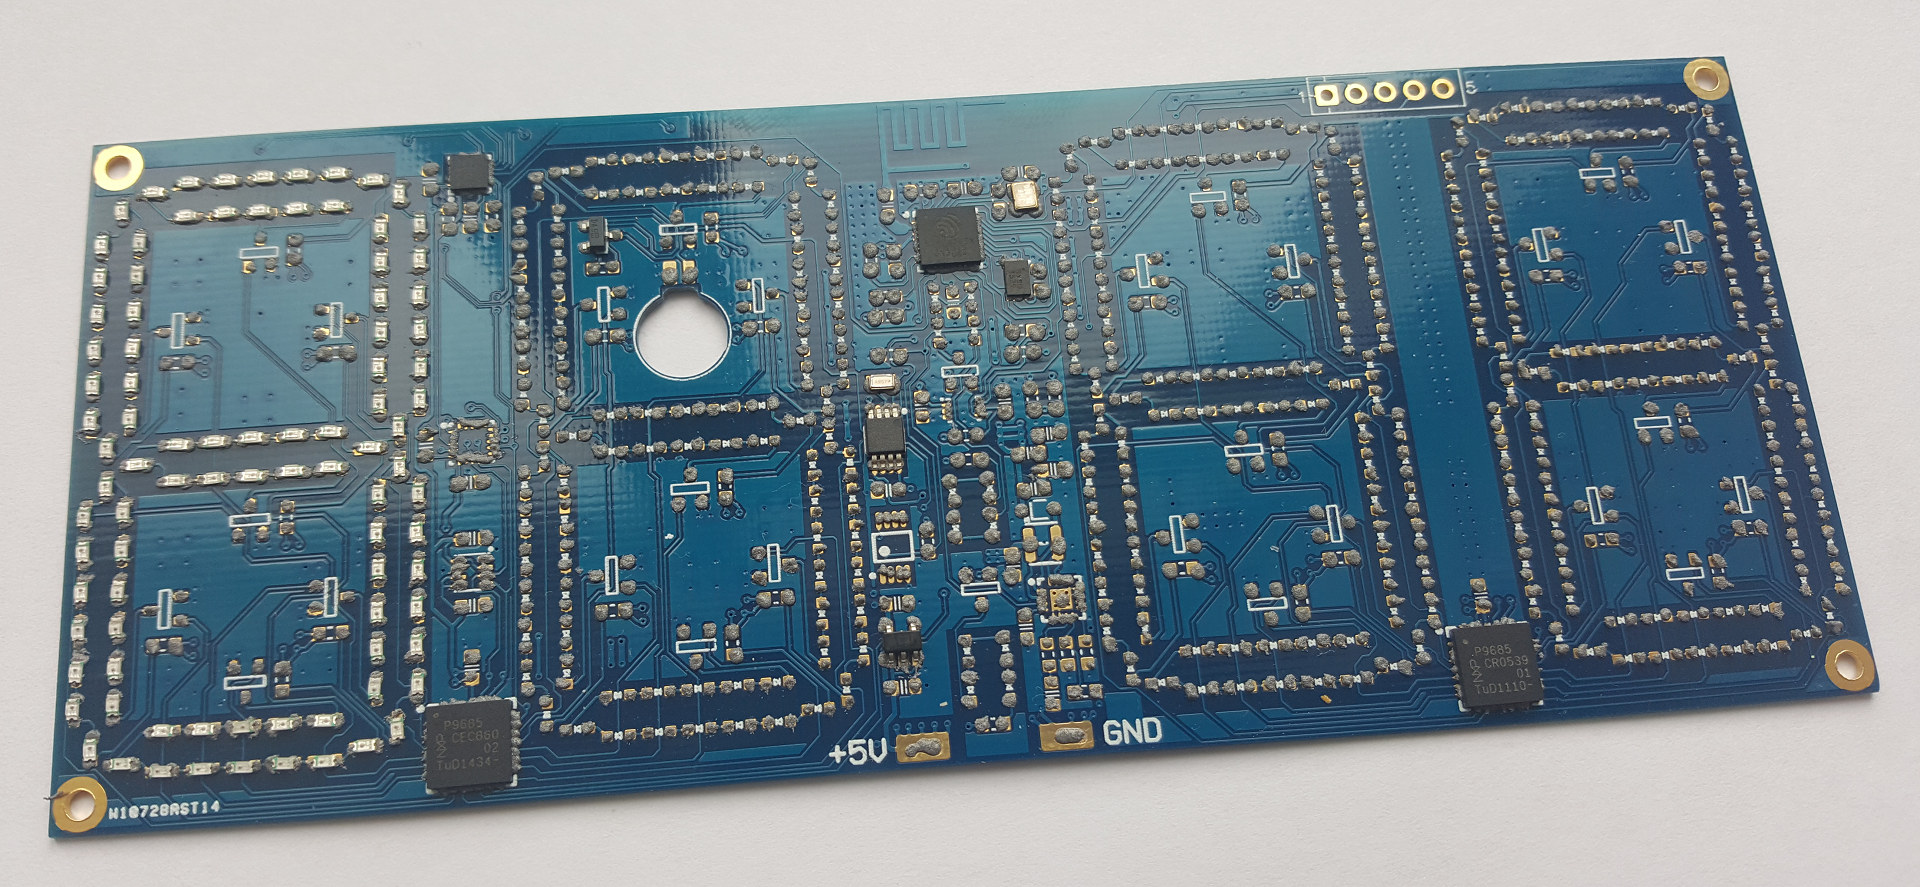
The LEDs are controlled by a 16-channel PWM controller PCA9685BS with an I2C interface and BSS138 field effect transistors. In general, the chips in the clock are specially selected with I2C, to simplify tracing and control.
After one month, the boards themselves were pulled up, followed by a couple of weeks later the rest of the equipment. The boards were covered with immersion gold for me.

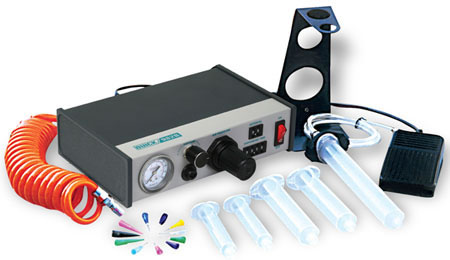
After all the equipment was received, I started the installation of the board. Apply solder paste to the board for a very short time, about one hour, using a dispenser.
But it took me about 5 hours to arrange the elements, but only the LEDs of size 0603 on the board were 380 pieces.
After placing almost all the elements, we send the board to the infrared oven. I have this:

After melting in the oven, it is necessary to correct the shortcomings and manually solder the ionistor. And finally, the board after installation.

For programming ESP8266 I decided to use the Arduino environment. Because this is the easiest and fastest start for the ESP8266, and indeed it’s just the whole watch, and not the protection management at a nuclear power plant.
After a few days of writing code and fixing installation errors, I was able to get her to display the time and synchronize with the NTP server over WiFi. Synchronization with NTP occurs every 5 hours. The rest of the time WiFi is turned off to reduce consumption.

On the reverse side of the board there are 4 touch buttons, and on the board itself the MPR121 controller. However, the github.com/adafruit/Adafruit_MPR121 library for Arduino does not work on ESP8266. Probably the reason for its inoperability is very simple, but honestly I will tell you so far there is no time to study this question.
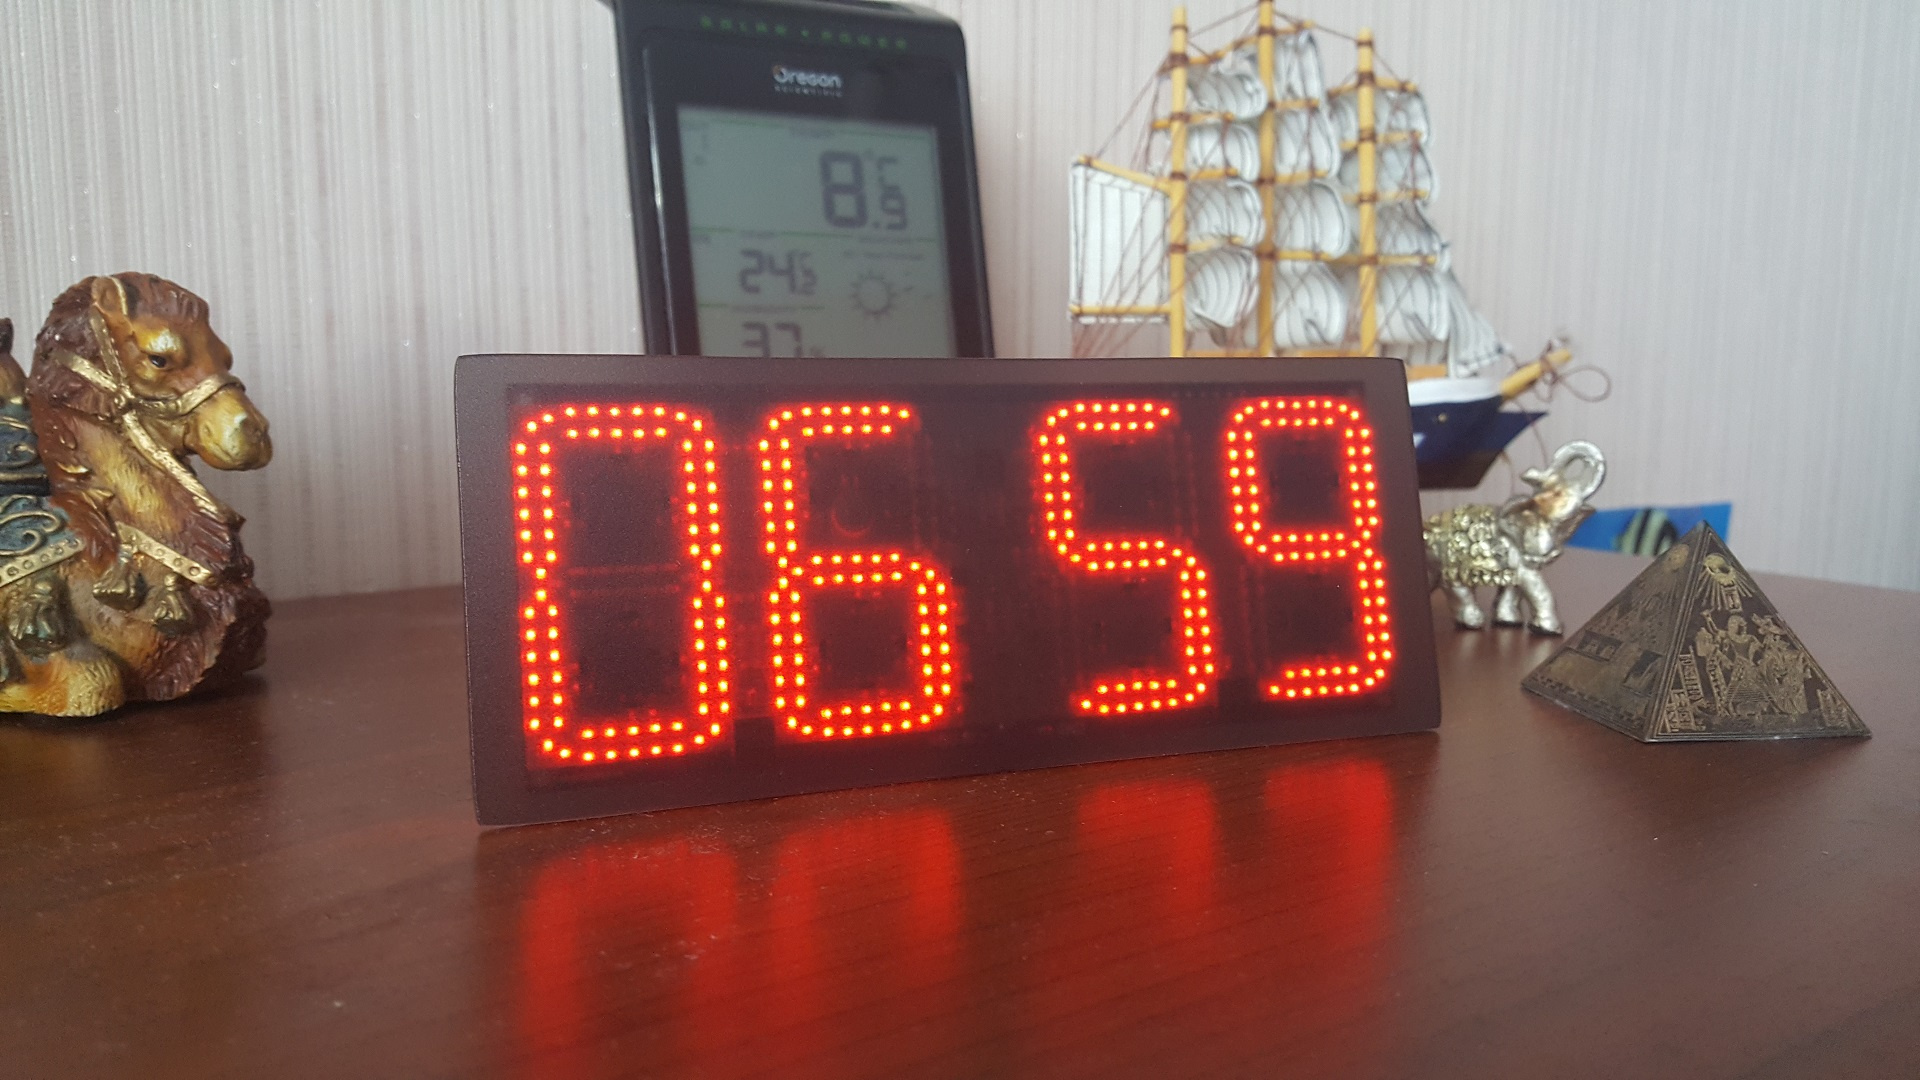
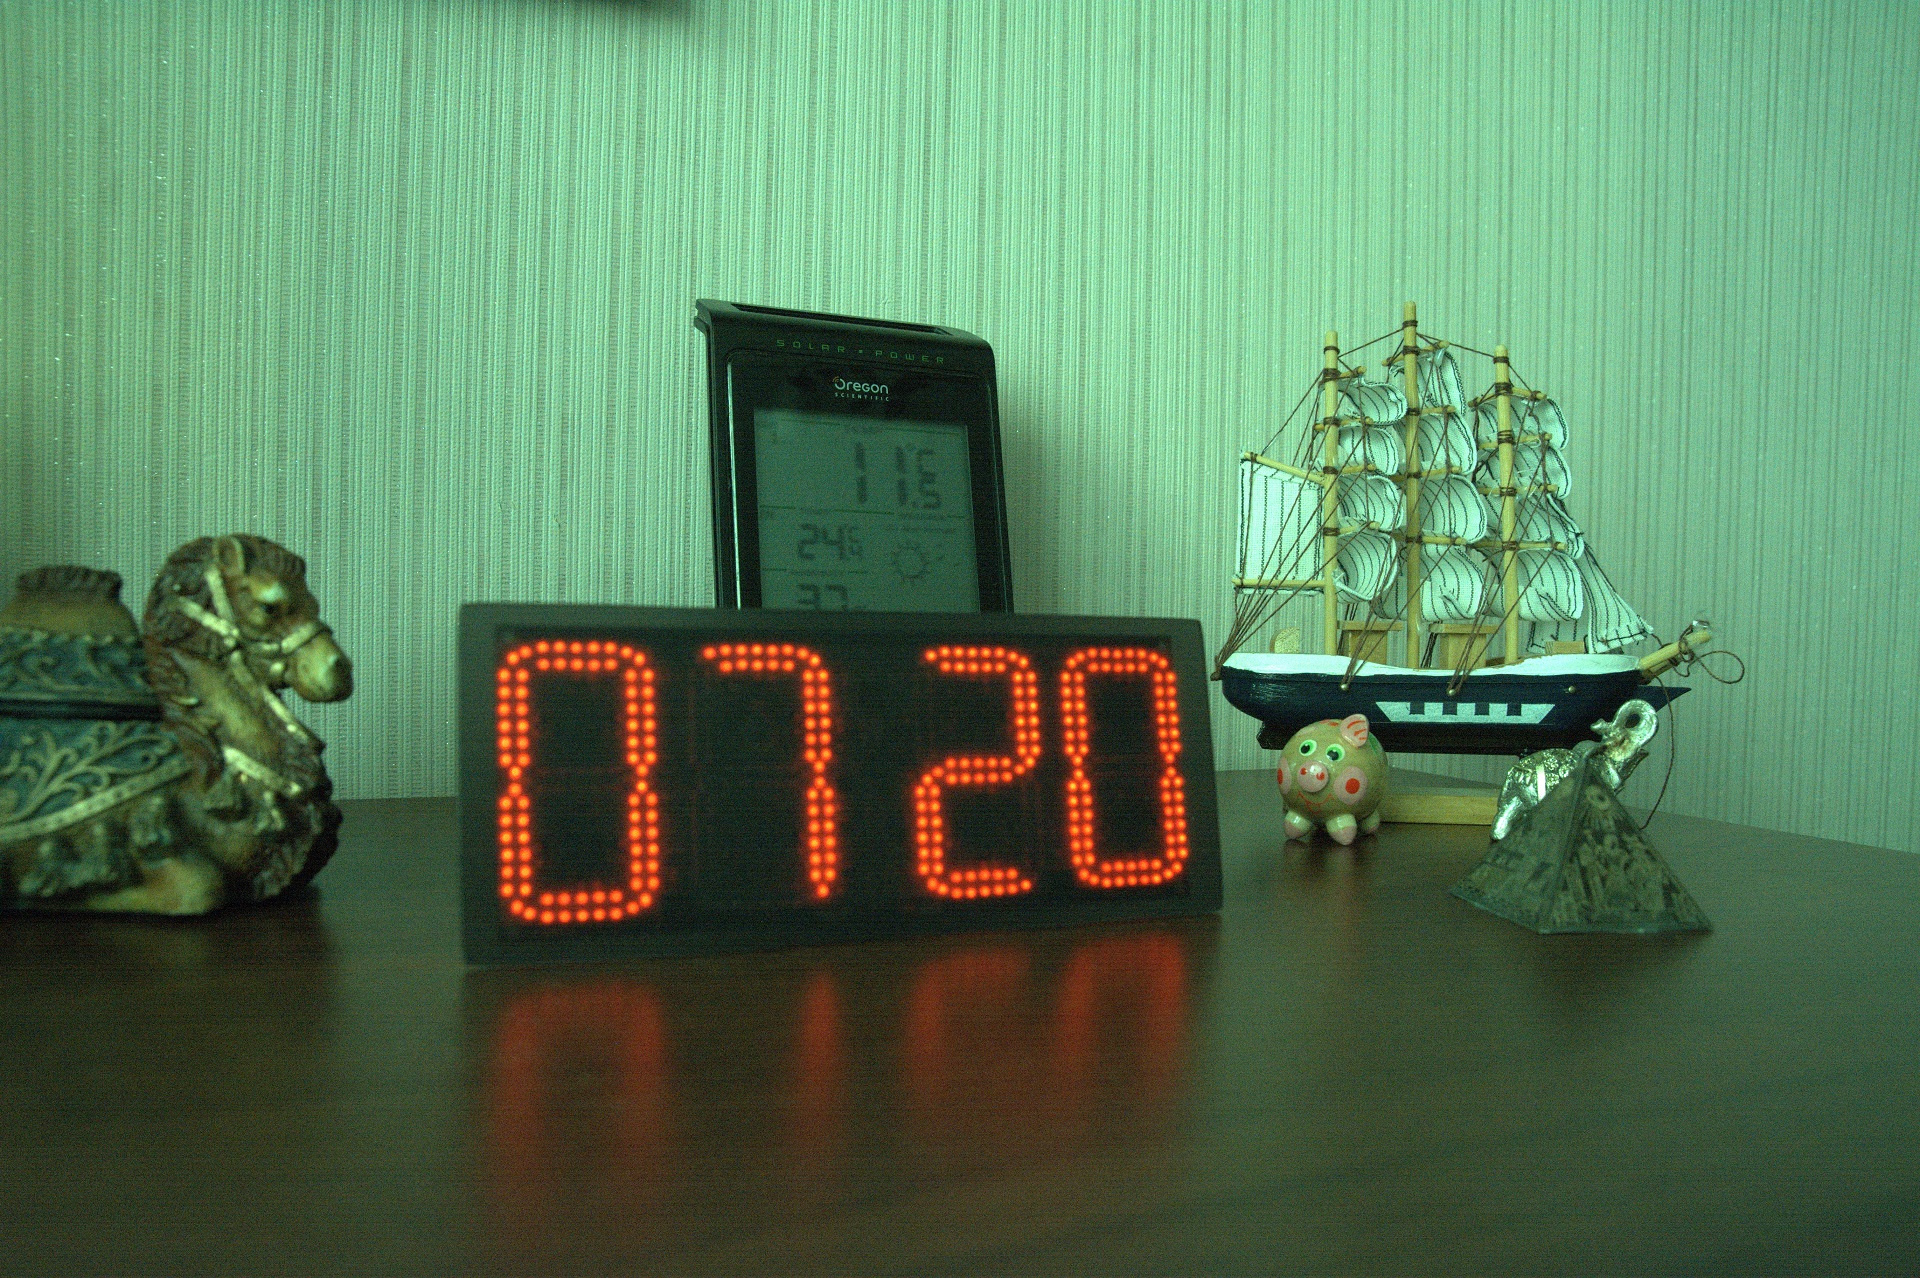
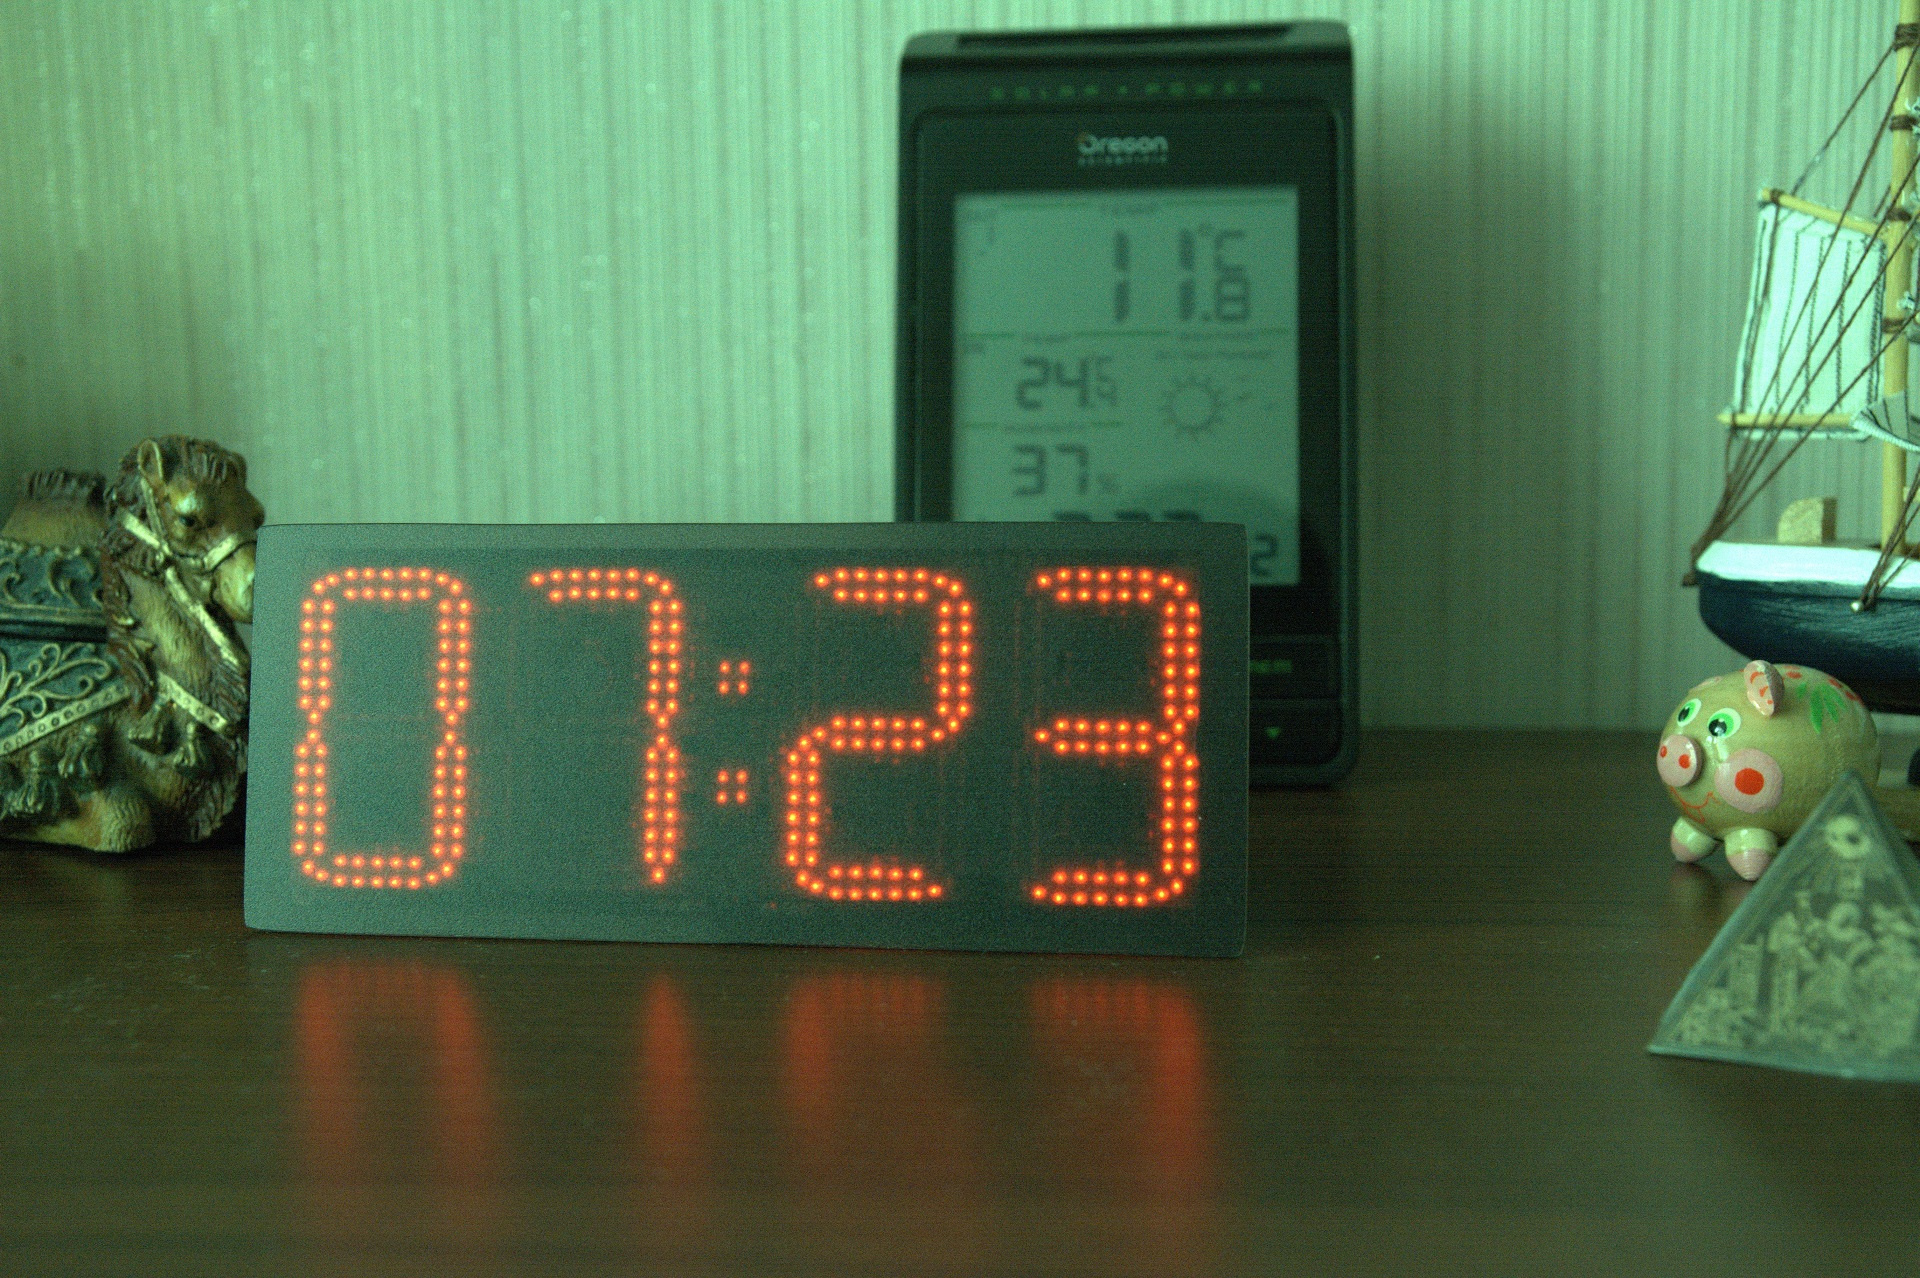
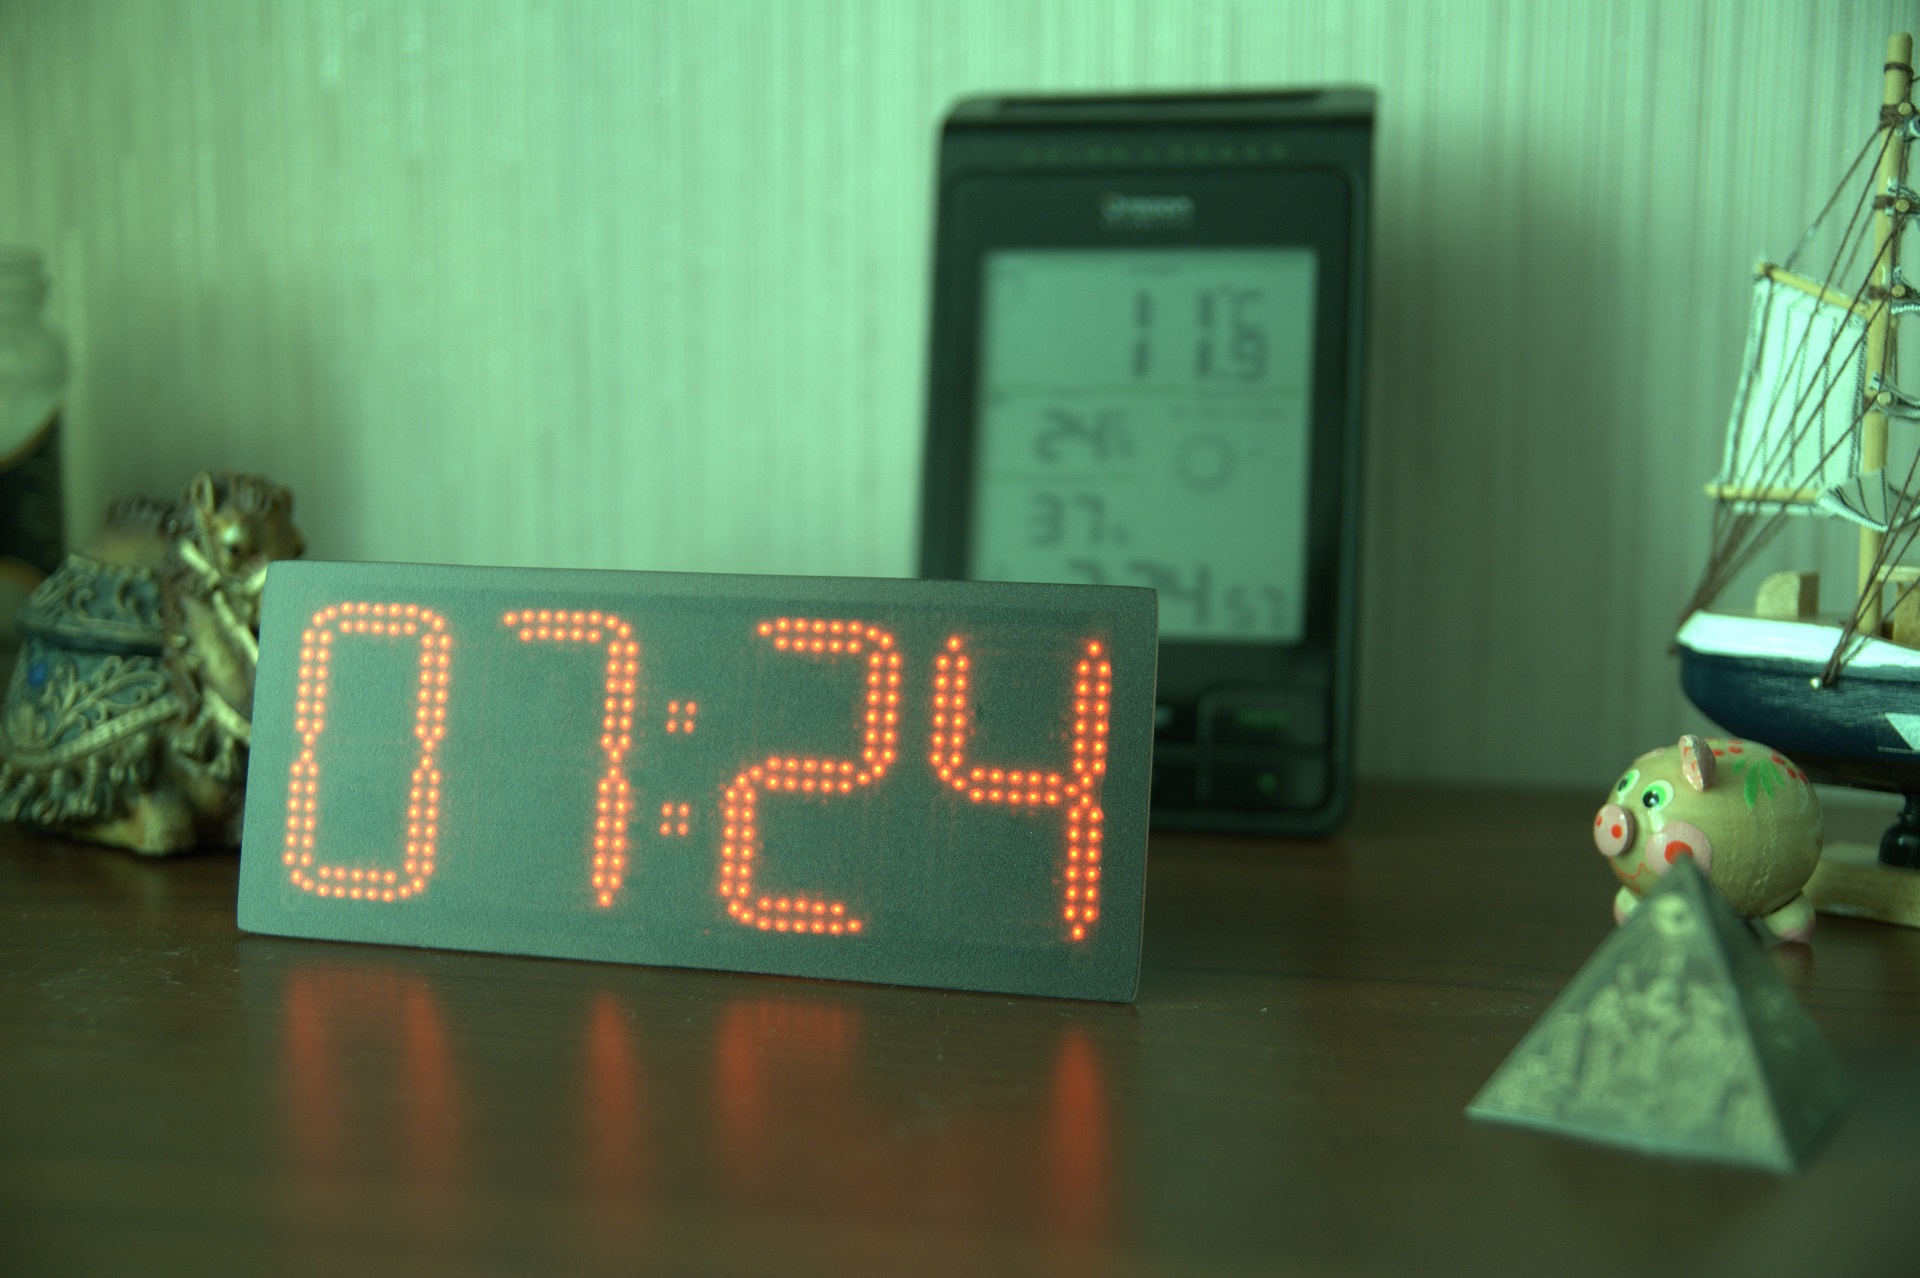
The motherboard worked without fail for about one month in my house, while I was thinking about the final design, but nothing particularly occurred to my head, except to simply stick the board to the glass. What I actually did.
Photo 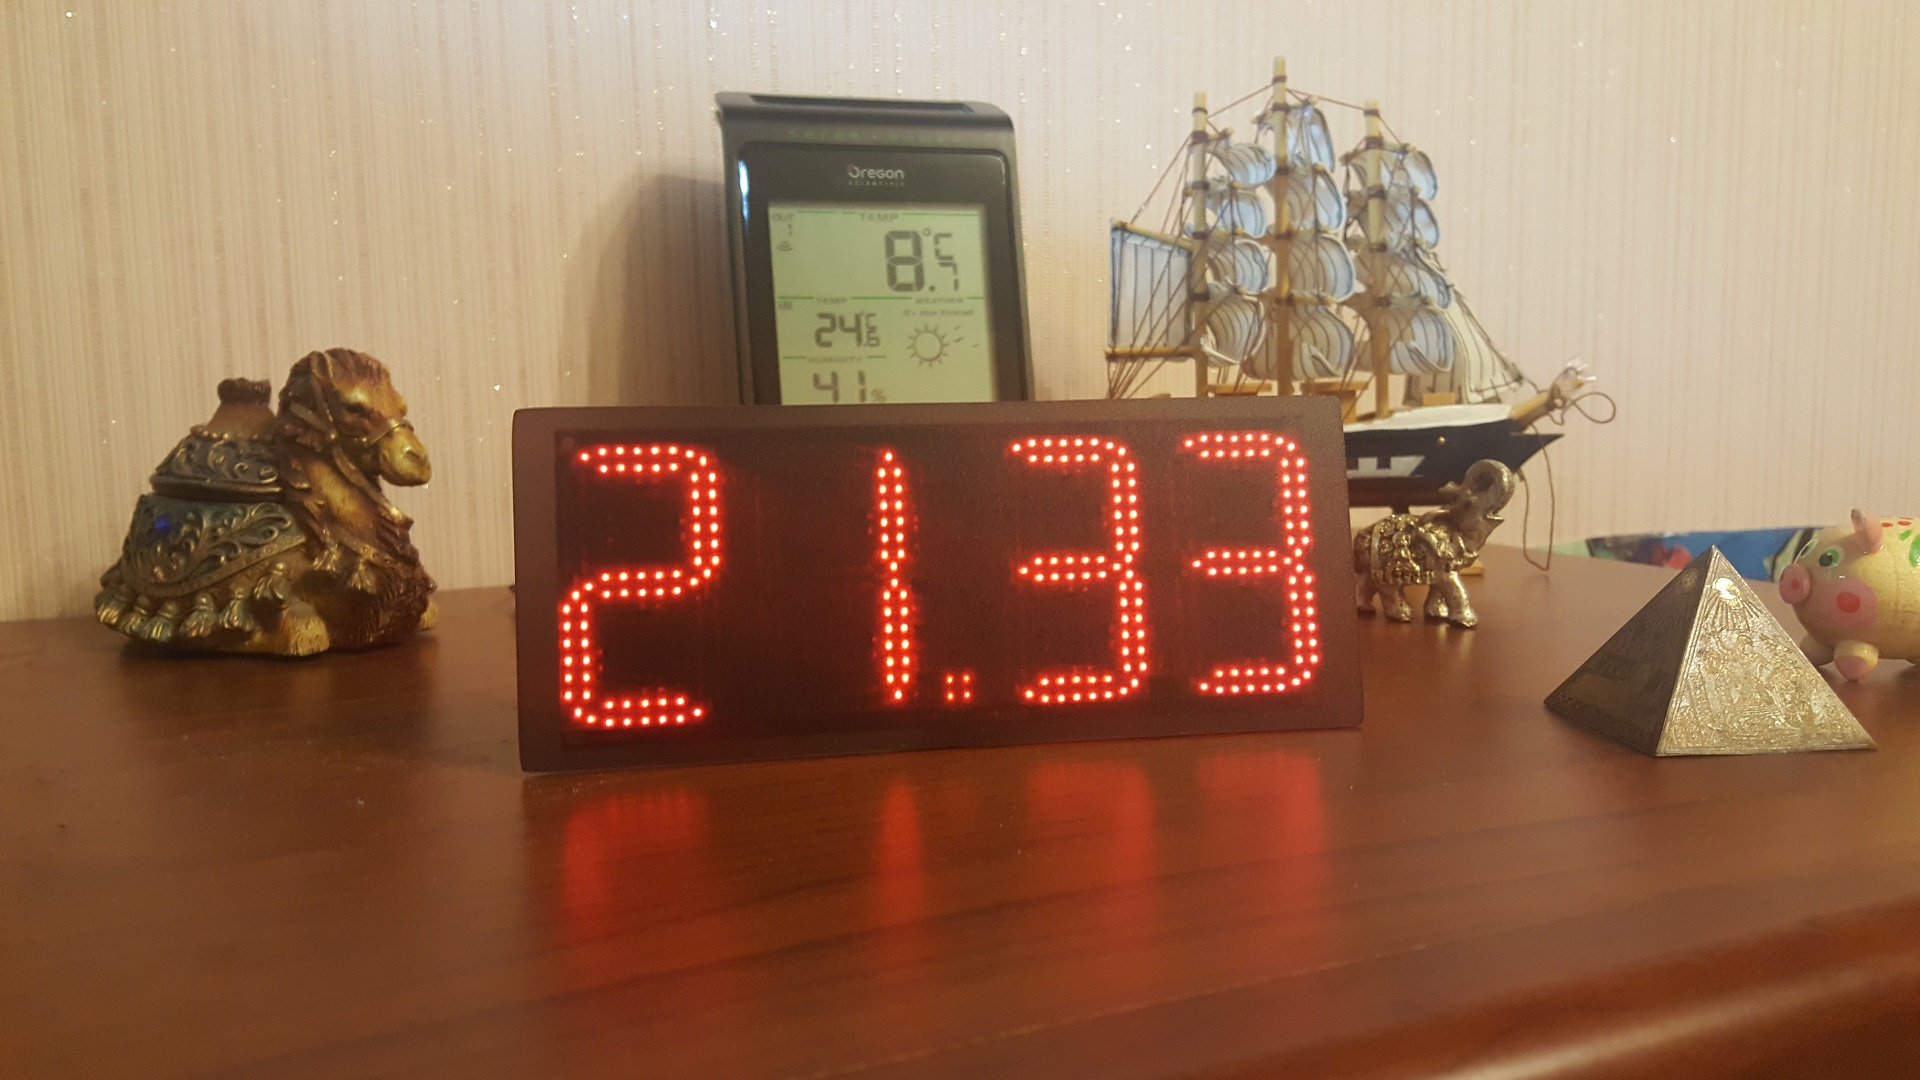


Plans for the future, if it will be:
1) Improve the firmware;
but. make settings through the web interface;
b. update firmware via web interface;
2) Deal with touch buttons.
The source files are here:
→ github.com/denruss/clock380
→ github.com/denruss/clock380_sketch
You can order PCB by reference:
www.pcbway.com/project/shareproject/clock380.html
All Articles