アプリケーション構成を追加するためのオプション
私の意見では、プラットフォームの明らかな欠点は、構成を保存するための不明瞭なメカニズムです。 したがって、次の方法を使用して構成を追加します。
ElasticBeanstalkで最も明白でネイティブなのは、環境変数を使用した設定です。 インスタンス内では、これらの環境変数は通常の方法ではアクセスできませんが、アプリケーション環境でのみアクセスできます。 これらのパラメーターを設定するには、アプリケーション(小規模プロジェクトに適しています)またはAWS APIのデプロイに使用されるawsebcliパッケージのeb setenvコマンドを使用するのが最も便利です。
eb setenv RDS_PORT=5432 PYTHONPATH=/opt/python/current/app/myapp:$PYTHONPATH RDS_PASSWORD=12345 DJANGO_SETTINGS_MODULE=myapp.settings RDS_USERNAME=dbuser RDS_DB_NAME=appdb RDS_HOSTNAME=dbcluster.us-east-1.rds.amazonaws.com
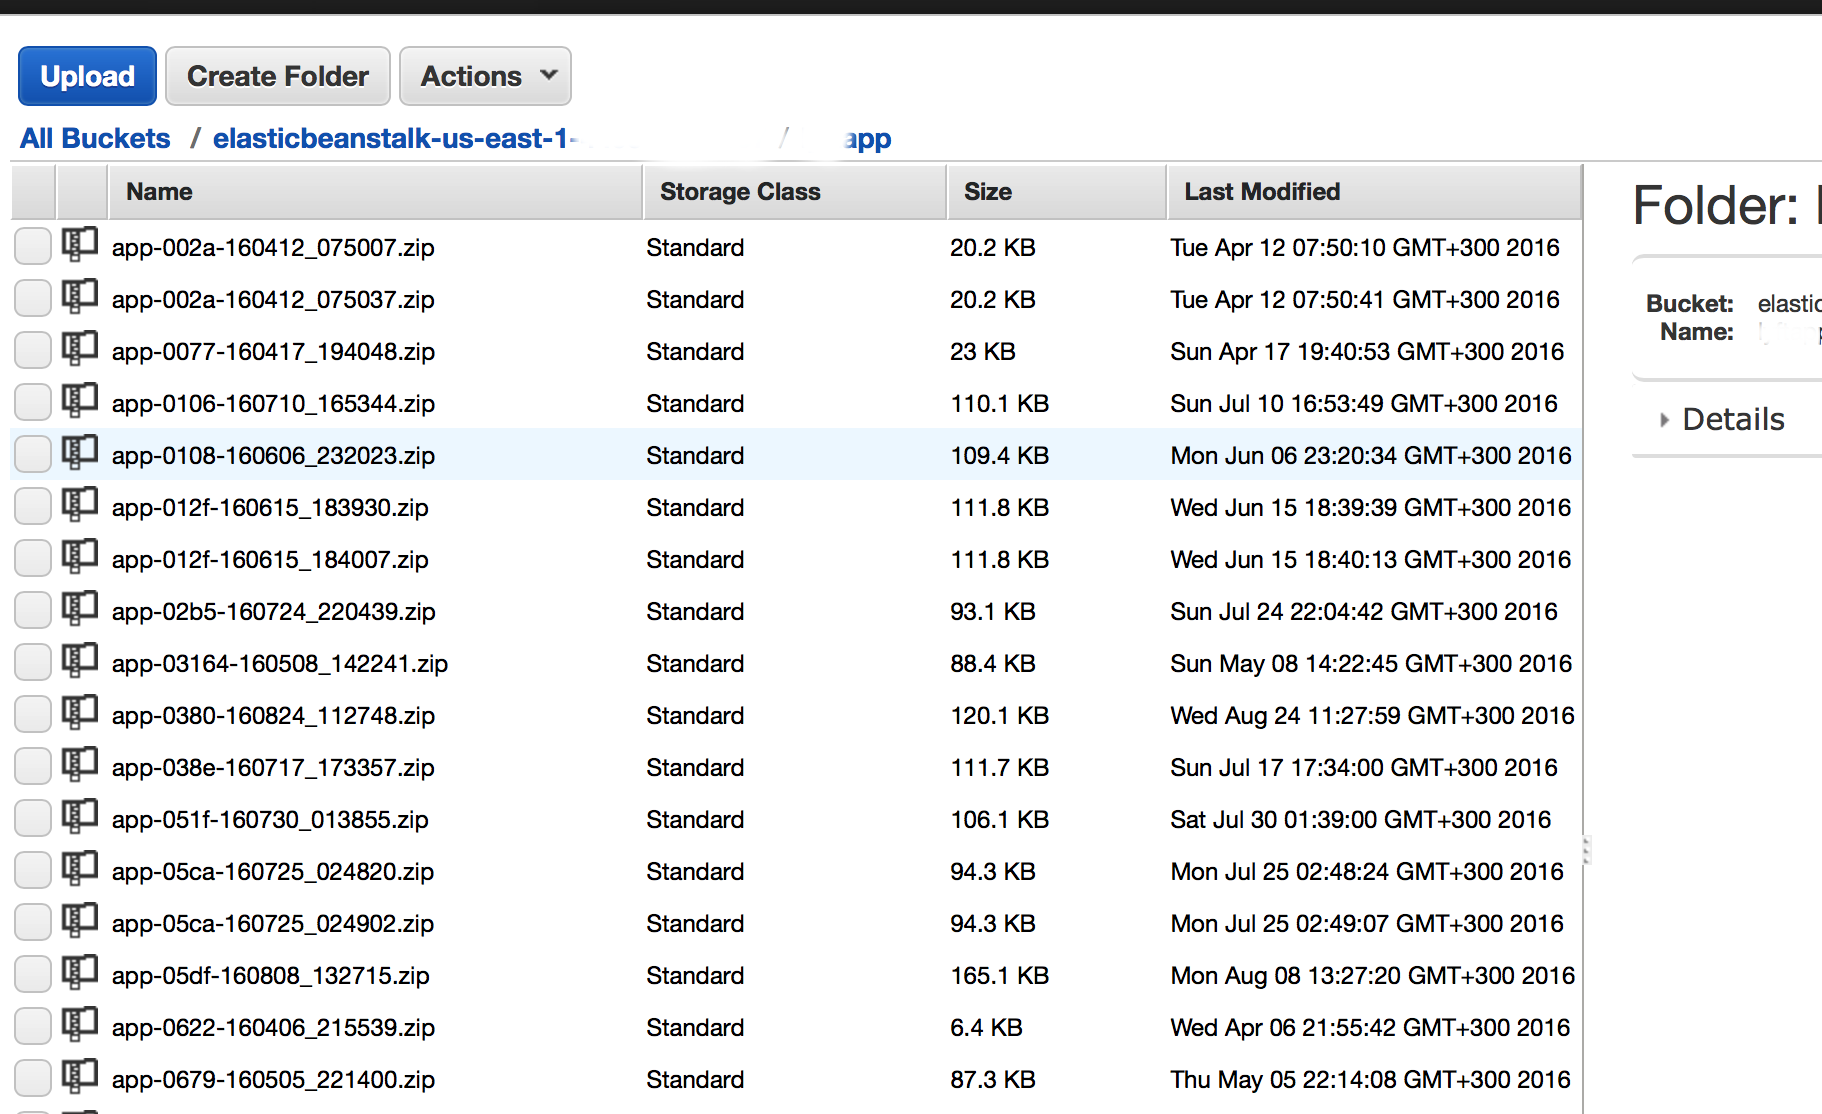
2番目のオプションは、構成が作成されたバージョンのアプリケーションに挿入される場合です。 これを行うには、展開プロセスがどのように行われるかを説明する必要があります。 手動またはスクリプトを使用して、各地域に固有の特別なS3バケットに配置されたアプリケーションコードを含むzipアーカイブが作成されます(弾性elasticstalk- <region_name>-<my_account_id>-別のものを使用しようとしないでください-チェックされます)。 このパッケージは手動で作成するか、プログラムで編集できます。 awsebcliの代わりに独自のバージョンパッケージ作成コードを使用する場合は、代替の展開オプションを使用することを好みます。

3番目のオプションは、展開フェーズ中に外部構成データベースから構成をリモートで読み込むことです。 しかし、私見で最も正しいアプローチは、この記事の範囲外です。 S3に設定を保存し、ゲートウェイAPIを介してS3にリクエストをプロキシするスキームを使用します。これにより、最も柔軟な設定管理が可能になります。 S3はバージョン管理もサポートしています。
crontabでジョブを有効にする
ElasticBeanstalkは、cron.yamlファイルを使用したスケジューラーのタスクの作成をサポートしています。 ただし、この構成は、ワーカー環境(タスクキュー/定期タスクの処理に使用される構成)でのみ機能します。 WebServer環境でこの問題を解決するには、次の内容のファイルをプロジェクトディレクトリ.ebextensionsに追加します。
files: "/etc/cron.d/cron_job": mode: "000644" owner: root group: root content: | #Add comands below 15 10 * * * root curl www.google.com >/dev/null 2>&1<code> "/usr/local/bin/cron_job.sh": mode: "000755" owner: root group: root content: | #!/bin/bash /usr/local/bin/test_cron.sh || exit echo "Cron running at " `date` >> /tmp/cron_job.log # Now do tasks that should only run on 1 instance ... "/usr/local/bin/test_cron.sh": mode: "000755" owner: root group: root content: | #!/bin/bash METADATA=/opt/aws/bin/ec2-metadata INSTANCE_ID=`$METADATA -i | awk '{print $2}'` REGION=`$METADATA -z | awk '{print substr($2, 0, length($2)-1)}'` # Find our Auto Scaling Group name. ASG=`aws ec2 describe-tags --filters "Name=resource-id,Values=$INSTANCE_ID" \ --region $REGION --output text | awk '/aws:autoscaling:groupName/ {print $5}'` # Find the first instance in the Group FIRST=`aws autoscaling describe-auto-scaling-groups --auto-scaling-group-names $ASG \ --region $REGION --output text | awk '/InService$/ {print $4}' | sort | head -1` # Test if they're the same. [ "$FIRST" = "$INSTANCE_ID" ] commands: rm_old_cron: command: "rm *.bak" cwd: "/etc/cron.d" ignoreErrors: true
Djangoの移行を自動的に適用し、展開中に静的データを構築します
.ebextensionsの構成ファイルに追加します。
container_commands: 01_migrate: command: "python manage.py migrate --noinput" leader_only: true 02_collectstatic: command: "./manage.py collectstatic --noinput"
同様に、アレンビック移行を適用します。 自動スケーリンググループの各インスタンスに移行を適用しないようにするために、leader_onlyパラメーターが指定されています
アプリケーションをデプロイするときにフックを使用する
/ opt / elasticbeanstalk / hooks /ディレクトリにスクリプトを作成することにより、さまざまな制御スクリプトを追加できます。特に、アプリケーションの展開プロセスを変更できます。 デプロイ前に実行されるスクリプトは、/ opt / elasticbeanstalk / hooks / appdeploy / pre / *ディレクトリ、/ opt / elasticbeanstalk / hooks / appdeploy / enact / *、および/ opt / elasticbeanstalk / hooks /にあります。 appdeploy / post / *。 スクリプトはアルファベット順に実行されるため、アプリケーションの展開の正しいシーケンスを構築できます。
既存のスーパーバイザー構成へのCeleryデーモンの追加
files: "/opt/elasticbeanstalk/hooks/appdeploy/post/run_supervised_celeryd.sh": mode: "000755" owner: root group: root content: | #!/usr/bin/env bash # Get django environment variables celeryenv=`cat /opt/python/current/env | tr '\n' ',' | sed 's/export //g' | sed 's/$PATH/%(ENV_PATH)s/g' | sed 's/$PYTHONPATH//g' | sed 's/$LD_LIBRARY_PATH//g'` celeryenv=${celeryenv%?} # Create celery configuraiton script celeryconf="[program:celeryd] ; Set full path to celery program if using virtualenv command=/opt/python/run/venv/bin/celery worker -A yourapp -B --loglevel=INFO -s /tmp/celerybeat-schedule directory=/opt/python/current/app user=nobody numprocs=1 stdout_logfile=/var/log/celery-worker.log stderr_logfile=/var/log/celery-worker.log autostart=true autorestart=true startsecs=10 ; Need to wait for currently executing tasks to finish at shutdown. ; Increase this if you have very long running tasks. stopwaitsecs = 600 ; When resorting to send SIGKILL to the program to terminate it ; send SIGKILL to its whole process group instead, ; taking care of its children as well. killasgroup=true ; if rabbitmq is supervised, set its priority higher ; so it starts first priority=998 environment=$celeryenv" # Create the celery supervisord conf script echo "$celeryconf" | tee /opt/python/etc/celery.conf # Add configuration script to supervisord conf (if not there already) if ! grep -Fxq "[include]" /opt/python/etc/supervisord.conf then echo "[include]" | tee -a /opt/python/etc/supervisord.conf echo "files: celery.conf" | tee -a /opt/python/etc/supervisord.conf fi # Reread the supervisord config supervisorctl -c /opt/python/etc/supervisord.conf reread # Update supervisord in cache without restarting all services supervisorctl -c /opt/python/etc/supervisord.conf update # Start/Restart celeryd through supervisord supervisorctl -c /opt/python/etc/supervisord.conf restart celeryd
ちなみに、私は実験的な機会を利用してCelery SQSのブローカーとして採用しました。 ただし、花はまだそのようなスキームをサポートしていません。
HTTPからHTTPSへの自動転送
ElasticBeanstalk内のApache構成にこのような追加を使用しました
files: "/etc/httpd/conf.d/ssl_rewrite.conf": mode: "000644" owner: root group: root content: | RewriteEngine On <If "-n '%{HTTP:X-Forwarded-Proto}' && %{HTTP:X-Forwarded-Proto} != 'https'"> RewriteRule (.*) https://%{HTTP_HOST}%{REQUEST_URI} [R,L] </If>
複数のSSLドメインを使用する
Amazonは、AWS内でのみ、ワイルドカードを含むSSL証明書をドメイン所有者に無料で使用する機会を提供します。 1つの環境でSSLを使用して複数のドメインを使用するには、AWS Certificate Managerから証明書を取得し、別のELBバランサーを追加してSSLを設定します。 別のサプライヤから取得した証明書を使用できます。

以下のコメントでは、 darken99が尊重したいくつかの便利な機能を紹介しました。
スケジュール通りに環境をオフにする
この場合、指定された時間範囲に応じて、自動スケーリンググループ内のインスタンスの数は1から0に減少します。
option_settings: - namespace: aws:autoscaling:scheduledaction resource_name: Start option_name: MinSize value: 1 - namespace: aws:autoscaling:scheduledaction resource_name: Start option_name: MaxSize value: 1 - namespace: aws:autoscaling:scheduledaction resource_name: Start option_name: DesiredCapacity value: 1 - namespace: aws:autoscaling:scheduledaction resource_name: Start option_name: Recurrence value: "0 9 * * 1-5" - namespace: aws:autoscaling:scheduledaction resource_name: Stop option_name: MinSize value: 0 - namespace: aws:autoscaling:scheduledaction resource_name: Stop option_name: MaxSize value: 0 - namespace: aws:autoscaling:scheduledaction resource_name: Stop option_name: DesiredCapacity value: 0 - namespace: aws:autoscaling:scheduledaction resource_name: Stop option_name: Recurrence value: "0 18 * * 1-5"
Pythonでは動作しませんoption_settings: aws:elasticbeanstalk:environment:proxy: ProxyServer: nginx