準備する
まず、Xcode 6 Betaをインストールする必要があります。 ここからダウンロードできます:
https://developer.apple.com/devcenter/ios/index.action
ダウンロード、インストールして開きます(インストールに問題はありません。ベータ版は別のアプリケーションとしてインストールされ、メインのXcodeには一切影響しません)。
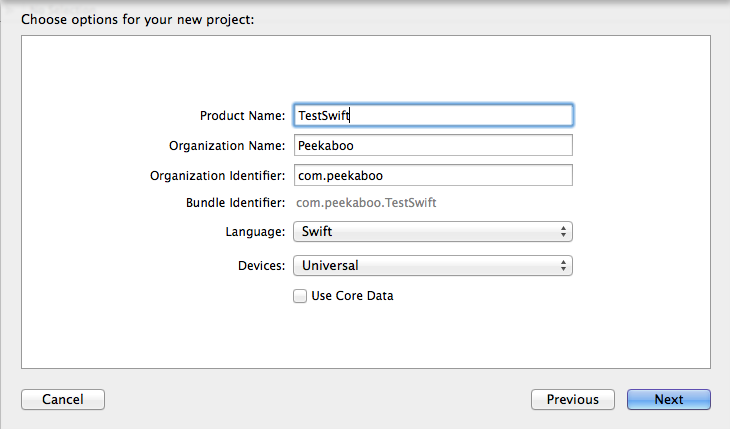
新しいプロジェクトを作成(シングルビューアプリケーション)->プロジェクトの名前を入力し、Swift言語を選択することを忘れないでください!
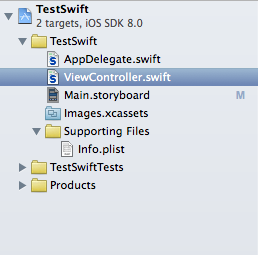
構造
構造に注意してください。ファイル数は2倍に減り、ヘッダーファイルは不要になりました。 グローバルエリアに記述されたコードは、プログラムのエントリポイントとして使用されるため、main関数は不要になります。
AppDelegateの外観は次のとおりです。
import UIKit @UIApplicationMain class AppDelegate: UIResponder, UIApplicationDelegate { var window: UIWindow? func application(application: UIApplication, didFinishLaunchingWithOptions launchOptions: NSDictionary?) -> Bool { // Override point for customization after application launch. return true } func applicationWillResignActive(application: UIApplication) { // Sent when the application is about to move from active to inactive state. This can occur for certain types of temporary interruptions (such as an incoming phone call or SMS message) or when the user quits the application and it begins the transition to the background state. // Use this method to pause ongoing tasks, disable timers, and throttle down OpenGL ES frame rates. Games should use this method to pause the game. } func applicationDidEnterBackground(application: UIApplication) { // Use this method to release shared resources, save user data, invalidate timers, and store enough application state information to restore your application to its current state in case it is terminated later. // If your application supports background execution, this method is called instead of applicationWillTerminate: when the user quits. } func applicationWillEnterForeground(application: UIApplication) { // Called as part of the transition from the background to the inactive state; here you can undo many of the changes made on entering the background. } func applicationDidBecomeActive(application: UIApplication) { // Restart any tasks that were paused (or not yet started) while the application was inactive. If the application was previously in the background, optionally refresh the user interface. } func applicationWillTerminate(application: UIApplication) { // Called when the application is about to terminate. Save data if appropriate. See also applicationDidEnterBackground:. } }
ハローワールド
すべての言語の学習は、Hello Worldから始まります。 伝統を壊さないようにしましょう。 AppDelegate.swiftを開き、
func application(application: UIApplication, didFinishLaunchingWithOptions launchOptions: NSDictionary?) -> Bool
を追加し
func application(application: UIApplication, didFinishLaunchingWithOptions launchOptions: NSDictionary?) -> Bool
line:
println("Hello World") //
プログラムを実行すると、コンソールに大切なHello Worldが表示されます。 とても簡単です。
難しくする
プロジェクトを少し複雑にしましょう。 お気に入りのTableViewを追加します。
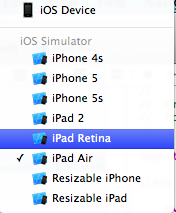
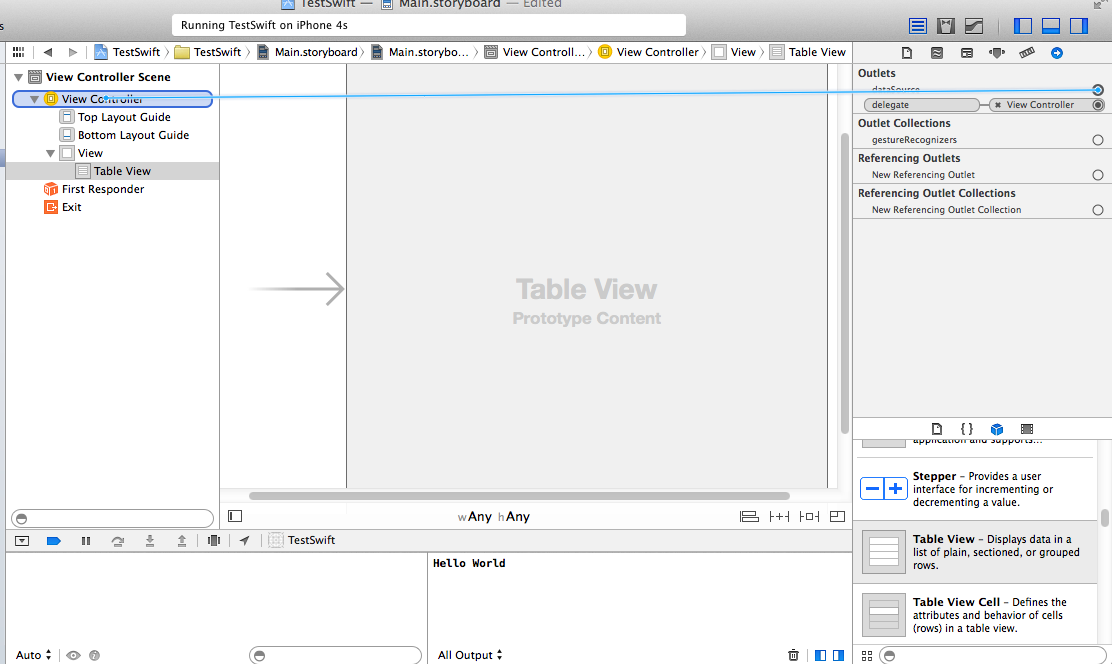
Main.storyboardを開きます。 ところで、ユニバーサルアプリケーションの場合、既定では、以前のように2つのストーリーボードは作成されず、1つだけ作成されることに注意してください。 シミュレーターの数も増加しました。
大切なテーブルビューをオブジェクトライブラリで見つけて、アプリケーション画面に転送します。 全画面になるようにテーブルを引き伸ばします(端と一致する必要があります)。
その後、すべてが以前のように行われ、dataSourceを設定し、テーブルにデリゲートする必要があります。 これを行うには、デリゲートからConnection Inspectorを開き、ViewControllerオブジェクトにドラッグします。dataSourceの場合も同様です。
ViewController.swiftで、必要なプロトコルを指定する必要があります:UITableViewDataSourceおよびUITableViewDelegate
これで次のようにできます:
class ViewController: UIViewController, UITableViewDataSource, UITableViewDelegate
コンパイラはすぐに誓います:
タイプ「ViewController」はプロトコル「UITableViewDataSource」に準拠していません
コンパイラーは、プロトコル関数
'UITableViewDataSource'
定義しなかったことを示しています。 決定する必要がある機能を確認するには、コマンドを押しながらプロトコルをクリックします。
protocol UITableViewDataSource : NSObjectProtocol { func tableView(tableView: UITableView!, numberOfRowsInSection section: Int) -> Int func tableView(tableView: UITableView!, cellForRowAtIndexPath indexPath: NSIndexPath!) -> UITableViewCell!
これらの2つの関数は、ViewController.swiftに追加する必要があります
最初の関数は、テーブル内の行数(Int)を返す必要があります。
func tableView(tableView: UITableView!, numberOfRowsInSection section: Int) -> Int { return 20 }
そして、2番目の関数はテーブルセルを返します。
func tableView(tableView: UITableView!, cellForRowAtIndexPath indexPath: NSIndexPath!) -> UITableViewCell! { let cell: UITableViewCell = UITableViewCell(style: UITableViewCellStyle.Subtitle, reuseIdentifier: "MyTestSwiftCell") cell.text = "Habrapost \(indexPath.row)" cell.detailTextLabel.text = "Hi, \(indexPath.row)" return cell }
最初の行では、セルを作成します。 レコードをさらに詳しく分析してみましょう。
letは、変数ではなく定数を作成することを意味します。
let cell:UITableViewCellは、この定数の型がUITableViewCellになることを報告します。 理論的には、定数または変数の型を示す必要はありません。 プログラムは次のように正常に機能します。
let cell = UITableViewCell(style: UITableViewCellStyle.Subtitle, reuseIdentifier: "MyTestSwiftCell")
しかし、とにかく報告する方が良いように思えます、Appleはその理由の良い例を挙げています:
let implicitInteger = 70 let implicitDouble = 70.0 let explicitDouble: Double = 70
Obj-Cでセルを作成した方法を思い出させてください。
UITableCell *cell =[[UITableCell alloc] initWithStyle:UITableViewCellStyleSubtitle reuseIdentifier:@"MyTestSwiftCell"]
allocはもう必要ありません。Swiftはすべてを独自に実行します。 initで始まるすべてのメソッドは削除され、初期化はSwiftスタイル(つまりMyClass())で行われます。 さらに、withの初期化子も変換されました。withの後に来るのは、Swift初期化子の最初の引数でした。
私は特にこのエントリが好きでした:
cell.text = "Habrapost \(indexPath.row)"
Obj-Cでは、単純な文字列連結操作を行うには、次のようにキャストする必要がありました。
cell.text = [NSString stringWithFormat:@"Habrapost %@", indexPath.row];
私にとって、これは素晴らしい変化です。
テキストの色を標準の紫色に変更したいとしました。 Obj-Cの場合と同じ方法でこれを行うことができます。クラスメソッドを見てみましょう。
cell.detailTextLabel.textColor = UIColor.purpleColor()
結果として、

遊び場について
プレイグラウンドは、実験できるプラットフォームであり、メインプロジェクトに転送する場合に使用します。
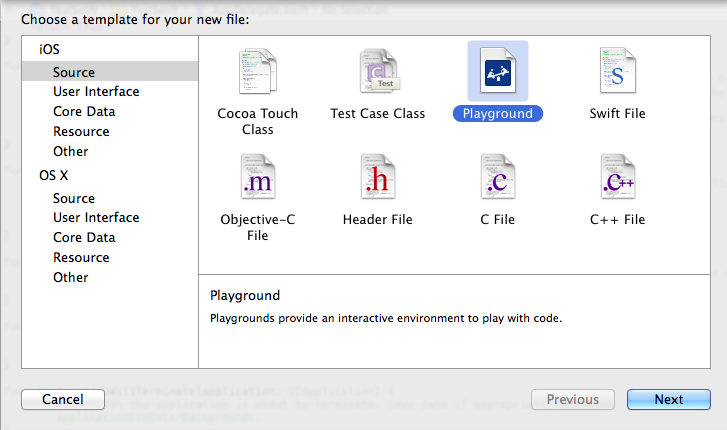
playgroungを作成するには、File-> New-> Fileを選択します。
それだけです、あなたは実験することができます。 たとえば、表のセルを追加して、どのように見えるかを確認しました。

詳細はこちらhttps://developer.apple.com / ...
おわりに
一見、私は言語が好きだった。 SwiftはObj-Cとうまくやり取りできることに加えて、Obj-CからSwiftに切り替えるのは非常に簡単です。 コードの量は大幅に減少しましたが、読みやすさは向上しました。 今、あなたはまったくメモリを気にする必要はありません。これはすべてスウィフトによって行われます。
Swiftの詳細: Swiftプログラミング言語