This time we will start by creating several views to display the inventory object and an information panel to display the parameters of the object. A sort of primitive inventory. Then we will focus on the inventory window, and we will finish the statistics window in the next part.
Let's see what our work will consist of. We have to:
- make visual components for information about the subject and inventory;
- create a prefab of the item in inventory;
- fill inventory with views;
- display information in the console by clicking on the item view.
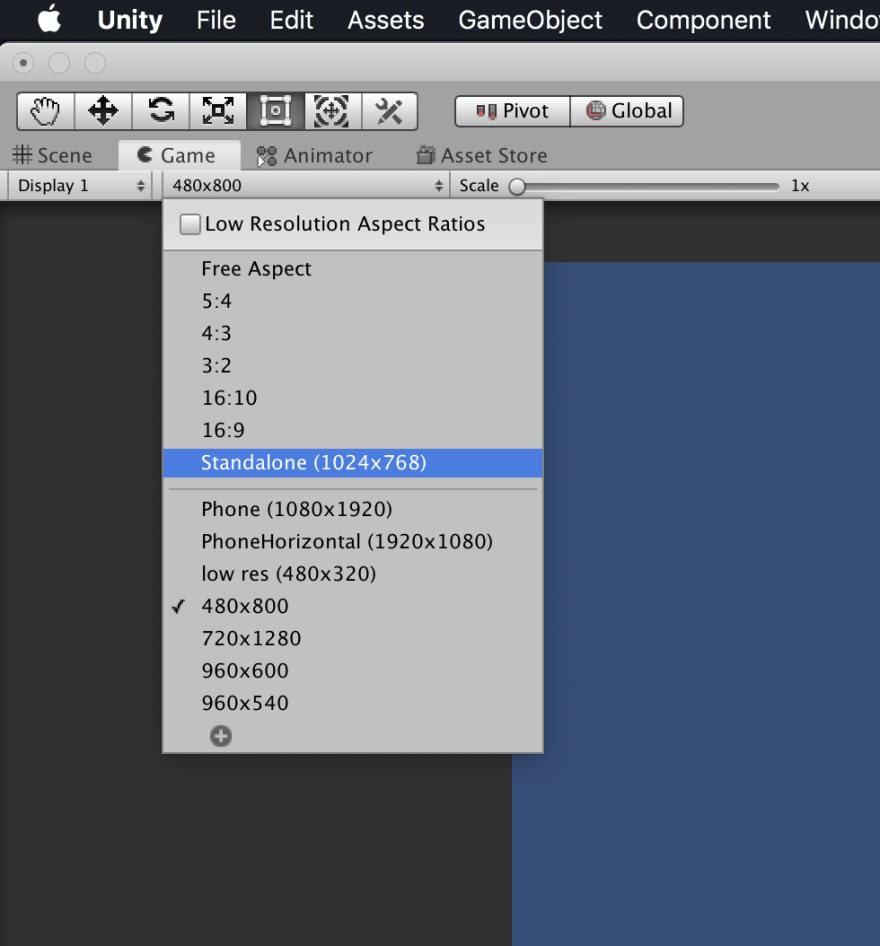
This is a lot. First, adjust the screen resolution.
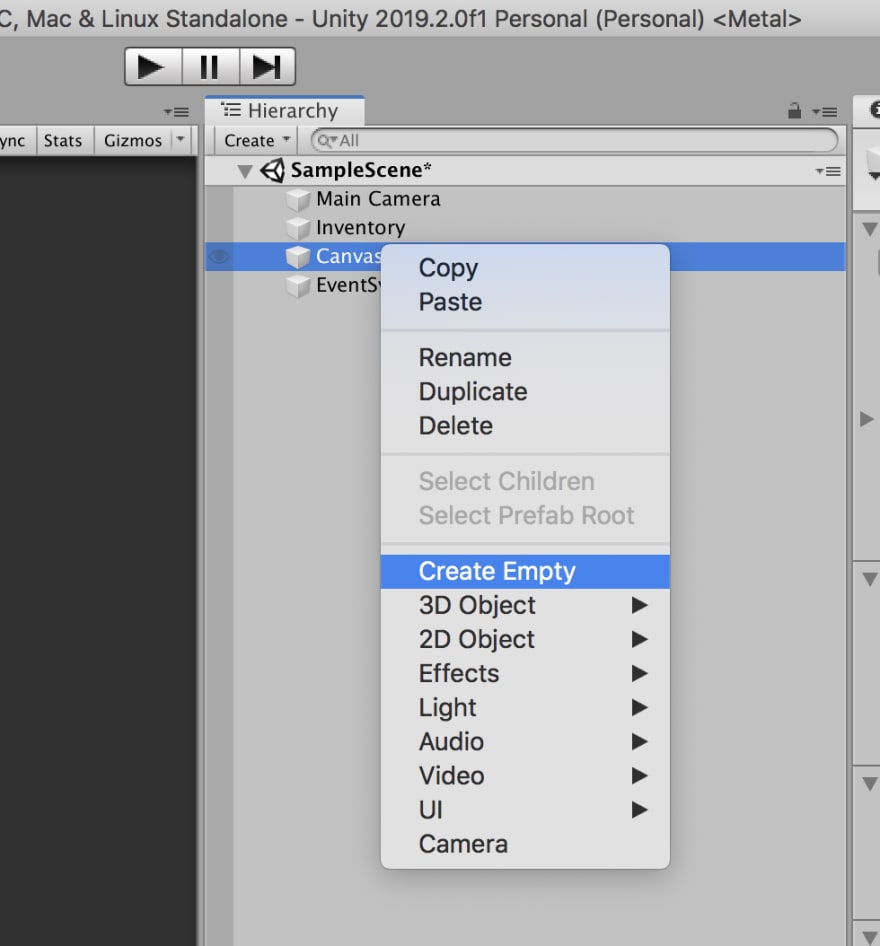
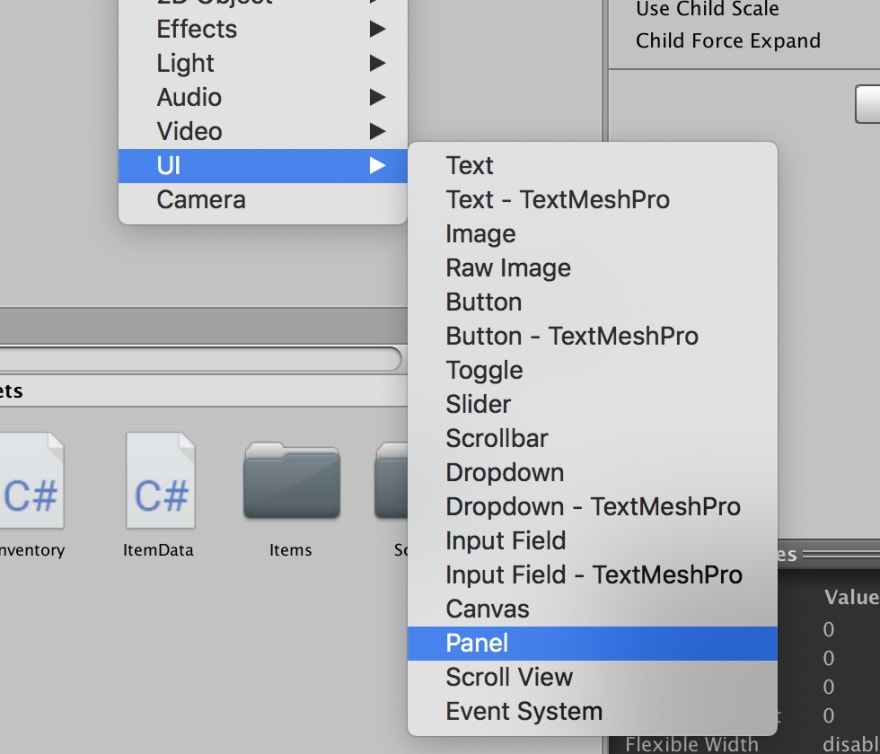
We will use Unity UI objects. Create an empty canvas (right-click in the hierarchy window → UI → Canvas).

Next, create two panels - information about the item and inventory.
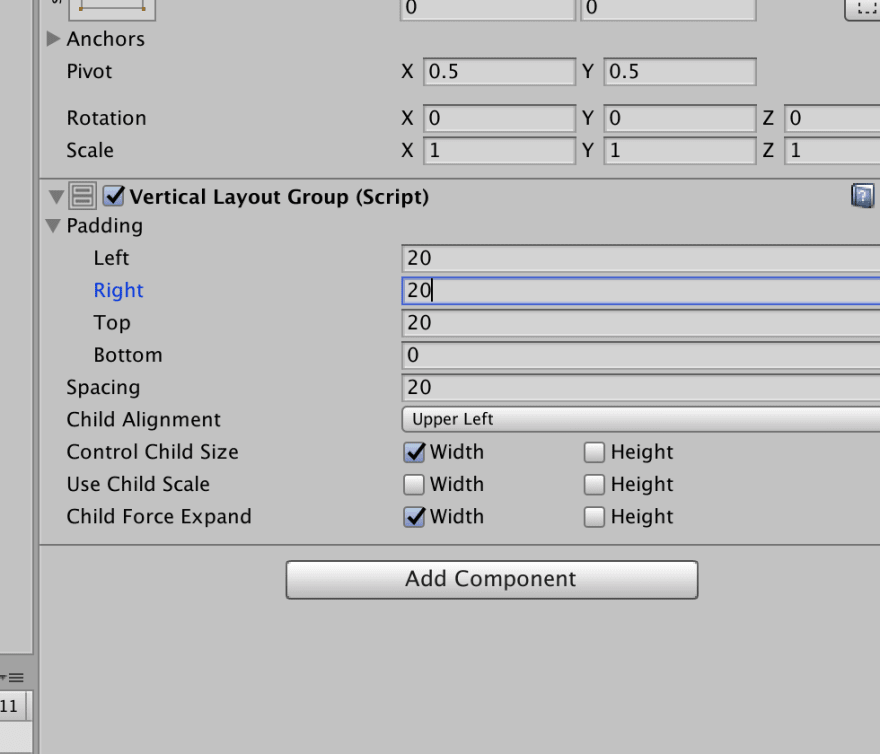
We also create an object for the background, call it BG and assign the Vertical Layout component to it.

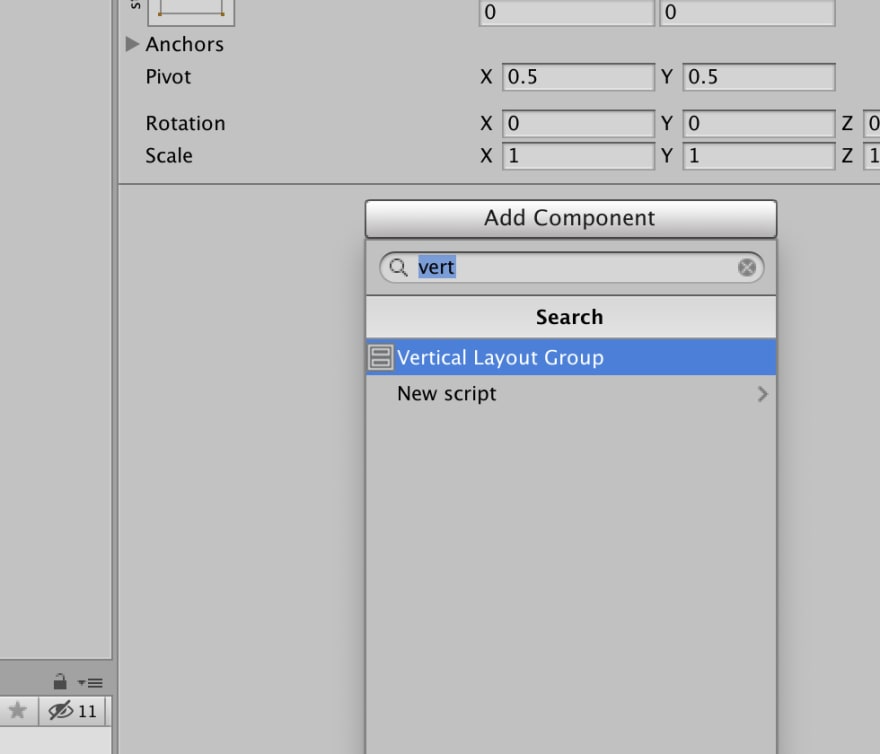
Now background children will be aligned vertically.
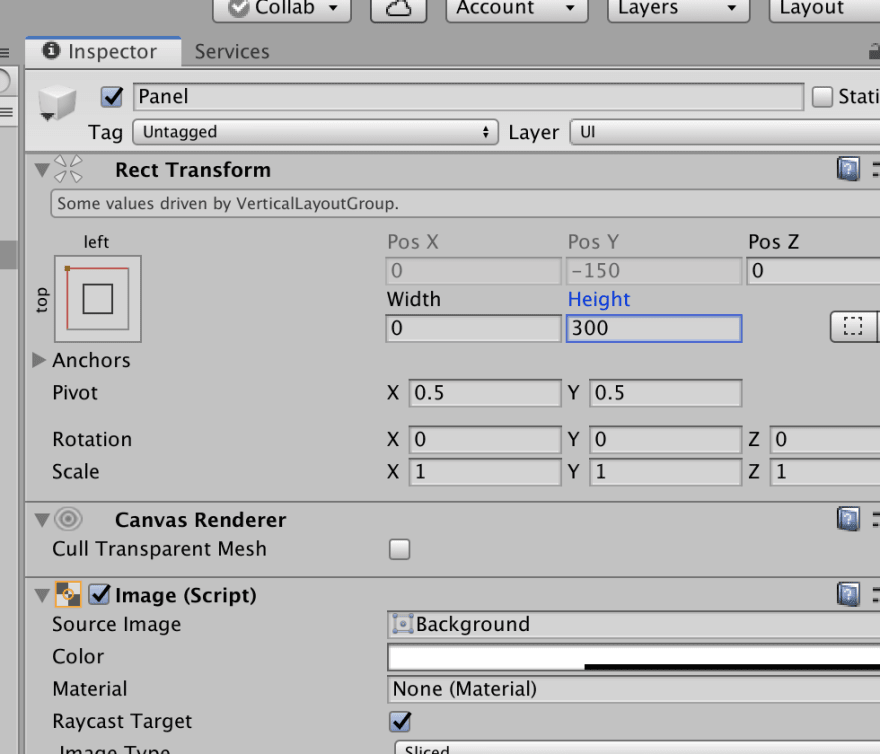
Let's create a panel inside the BG.
In the RectTransform component, we set only the panel height - 300, and leave the width automatic, under the control of the Vertical Layout component. Here are my settings for the BG object:
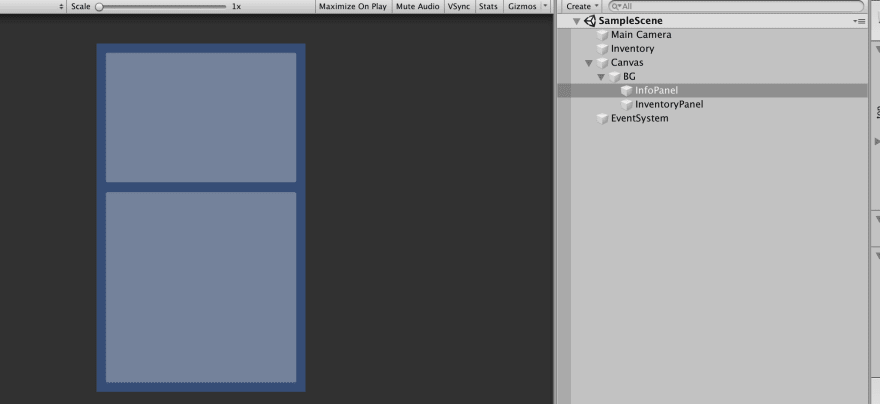
Now duplicate the panel and set the height to 440.

Then we give the panels the correct names.

It should look like this:
The story of working on the InfoPanel object will continue in the next part.
Let's prepare a view for the inventory item and save it as a prefab. Create a button inside the panel. To get the correct display of items in the inventory, add the convenient Grid Layout Group component to the InventoryPanel object.
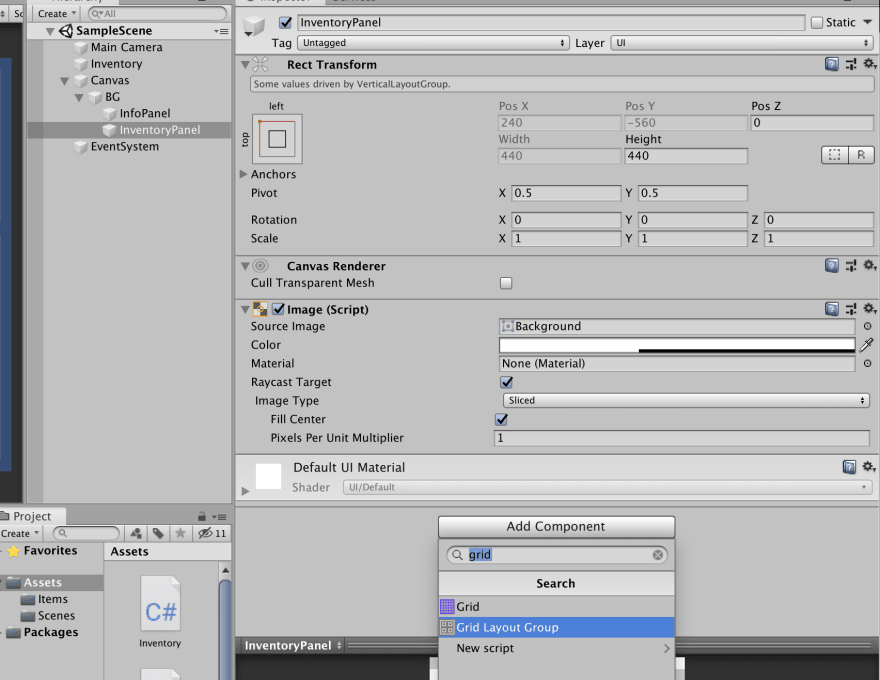
Now each child object of the inventory panel will be placed on the screen according to the grid settings in the Grid Layout Group component. Let's go back to the button.

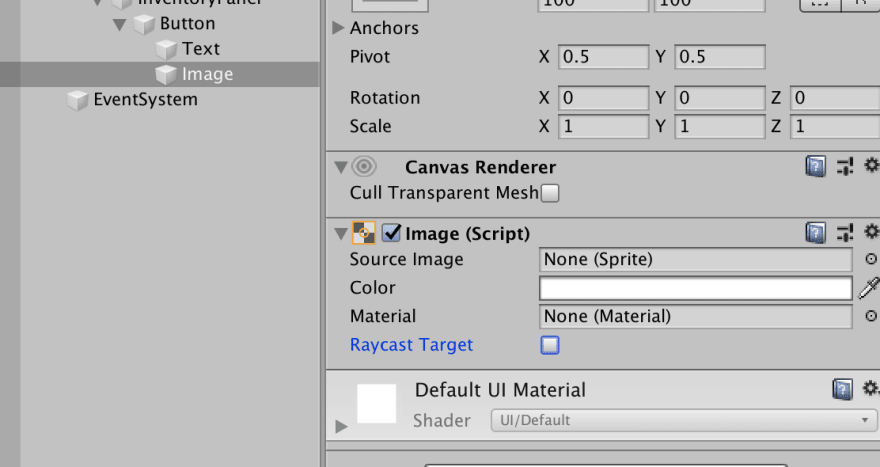
The button does not work correctly because we have not configured the grid yet. For now, add the Image object to the button as a child of the item’s icon and remove the Raycast Target flag from the Image component so that clicking on the image does not cause the button to be clicked.
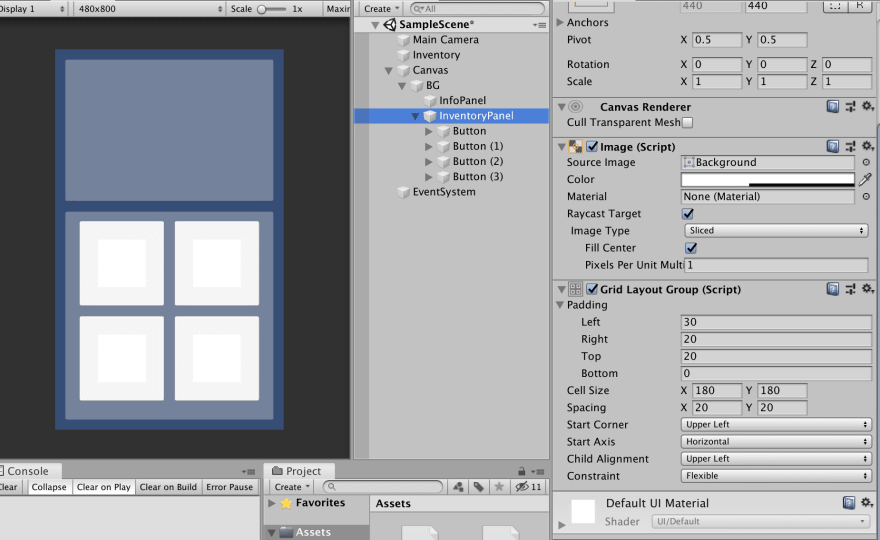
Now copy the button several times. Four copies will be enough for this lesson. Here's how it should look:
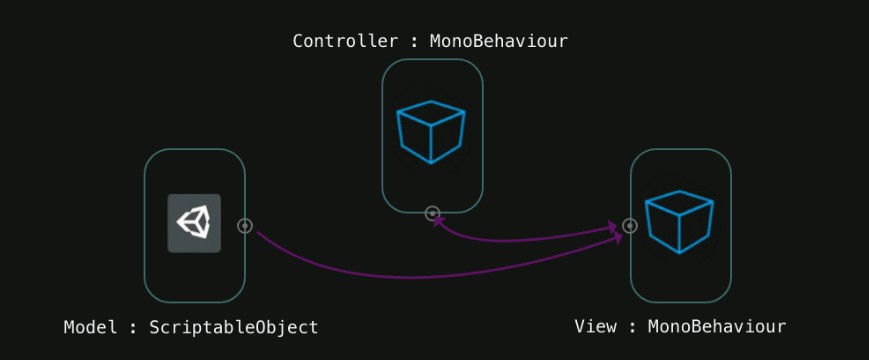
Before moving on, we need to make one script to represent the subject. He will be responsible for storing information about the inventory item itself and will respond to the event of a click on the button (for now, we restrict ourselves to displaying the Debug.Log command in the console).
Create a new script and call it ItemView.

ItemView is responsible for data storage, visual presentation, click processing and initial state before loading data.
using System.Collections; using System.Collections.Generic; using UnityEngine; using UnityEngine.UI; public class ItemView : MonoBehaviour { public Button button; public Image ItemIcon; private ItemData itemData; }
Let's create a method for setting the initial state.
using System; using System.Collections; using System.Collections.Generic; using UnityEngine; using UnityEngine.UI; public class ItemView : MonoBehaviour { public Button button; public Image itemIcon; private ItemData itemData; public void InitItem(ItemData item) { this.itemData = item; button.onClick.AddListener(ButtonClicked); } private void ButtonClicked() { Debug.Log(itemData.name); } }
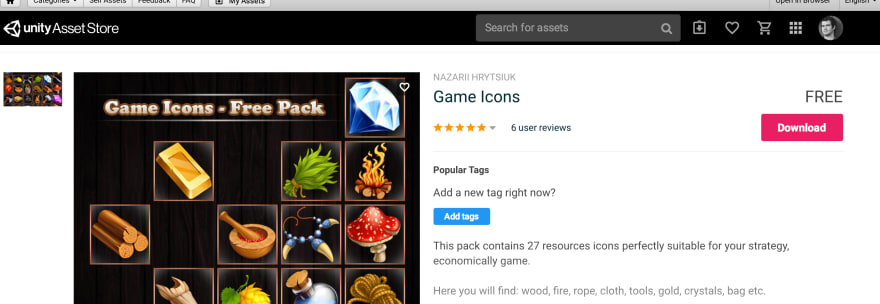
I think for our project you will need several icons. I found a free kit on the Asset Store. Let's add it to the project.
Now you can add a variable that will store the icon for the item inside the ItemData class .
using UnityEngine; [CreateAssetMenu] public class ItemData : ScriptableObject { public string itemName; public ItemType type; public float attack; public Sprite icon; public float GetPrice() { return attack * 40; } } public enum ItemType { Dagger, Axe, Hammer, Potion }
Now in ItemView we can add an icon to the view.
public void InitItem(ItemData item) { this.itemData = item; itemIcon.sprite = itemData.icon; button.onClick.AddListener(ButtonClicked); }
Add a script to the button in the scene and rename the object with the button to Item. After that, we will assign an ImageIcon object in the ItemIcon field.
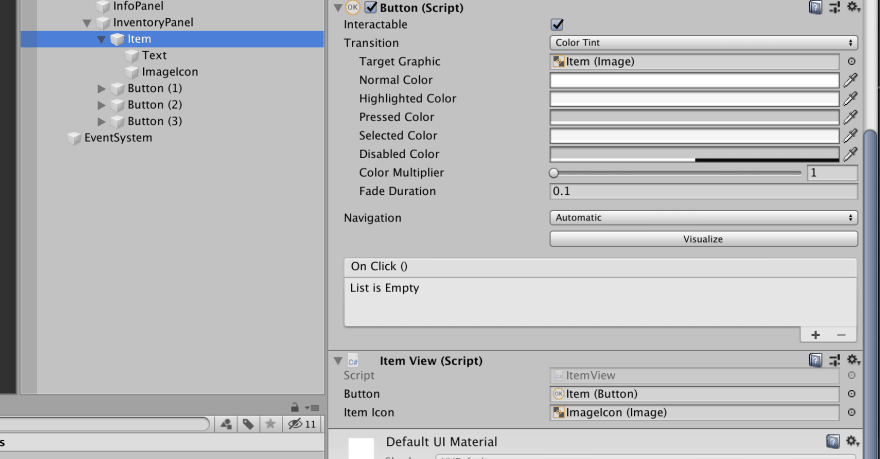
Delete the remaining three buttons, since they were needed to configure the grid, and save the Item object as a prefab by dragging it to the project window.
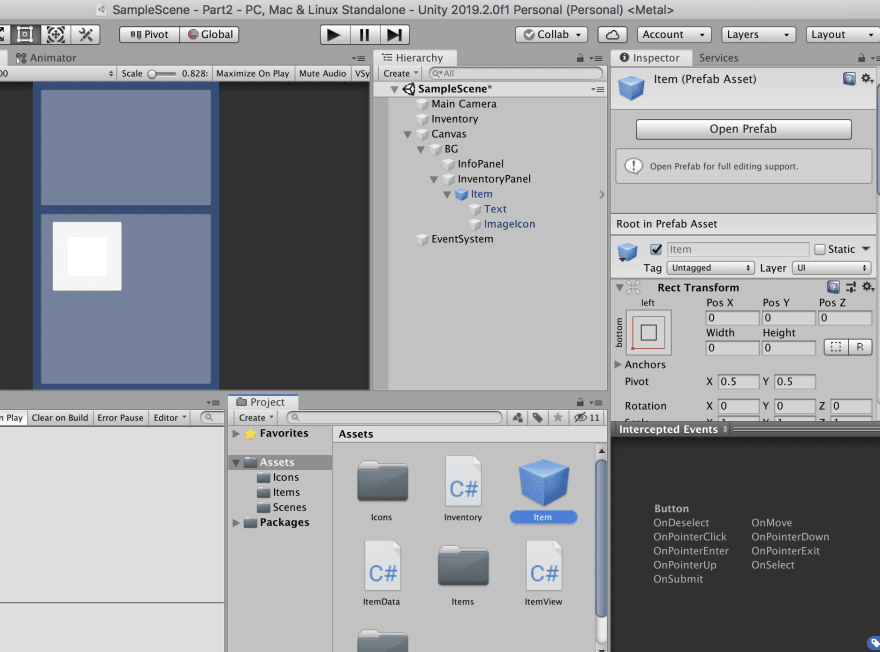
The presentation is almost done. We need 4 items to fill the inventory. Let's create and assign icons to the models that we did in the previous lesson.

Done. Now create an ItemViewController script .
using System.Collections; using System.Collections.Generic; using UnityEngine; public class ItemViewController : MonoBehaviour { public Inventory inventoryHolder; public Transform inventoryViewParent; public GameObject itemViewPrefab; private void Start() { foreach (var item in inventoryHolder.inventory) { var itemGO = GameObject.Instantiate(itemViewPrefab, inventoryViewParent); itemGO.GetComponent<ItemView>().InitItem(item); } } }
So, we have a link to the inventory that stores the ItemData created in the project folder, a link to InventoryPanel to create views as children of this panel, and a link to the prefab that contains the view of the item itself.
Now, in the Start method, create an instance of the item view and call the InitItem method to fill the view data with data from the model for each inventory item.
Well, finally, create an empty object in the scene, attach the controller script to it and assign links to the required objects in the scene.
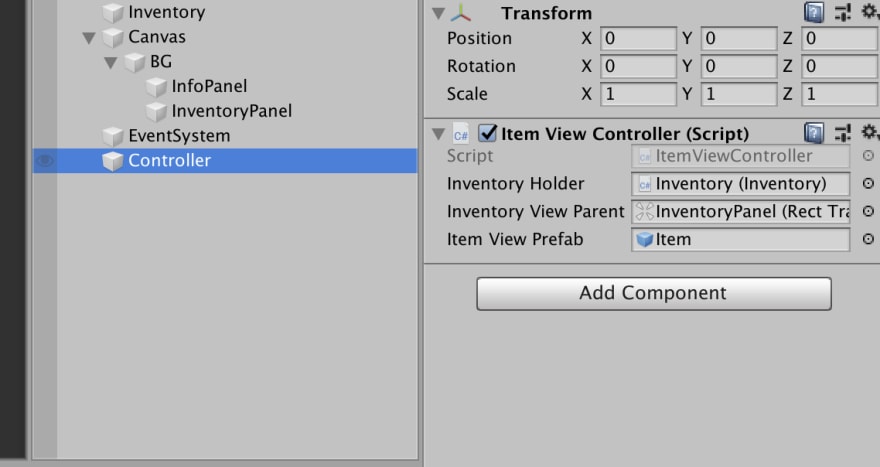
Make sure that all items are assigned in the inventory.

We have done quite a lot. Now let's see how it works.

Items created, but I forgot to remove the Text object from the button. In Unity, buttons are created by default with text. Open the prefab that we saved in the project and delete the Text object. Then save the prefab and go back to the scene.
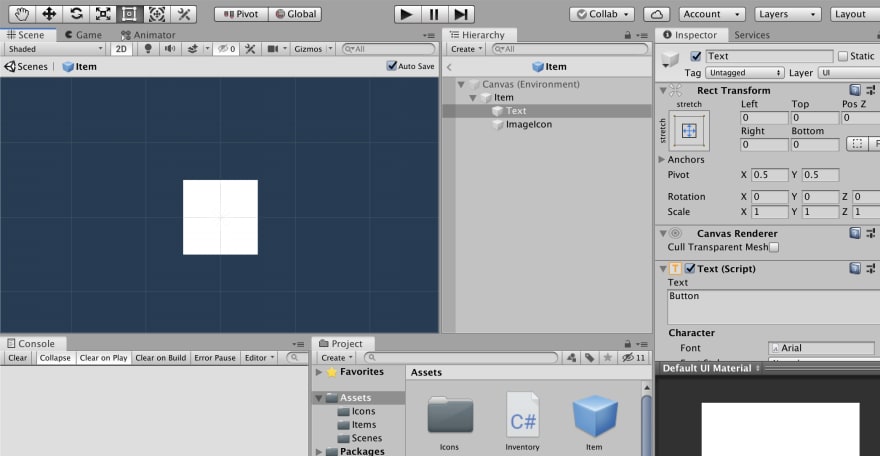
Now test again.
Congratulations, everything works.
In the next part we will deal with the information panel.