Hello, Habr! I present to you the translation of the article "How to build your first web application with Go" by Ayooluwa Isaiah.
This is the guide to your first Go web application. We will create a news application that uses the News API to receive news articles on a specific topic and deploy it to the production server at the end.
You can find the complete code used for this tutorial in this GitHub repository .
Requirements
The only requirement for this task is that Go is installed on your computer and you are a little familiar with its syntax and constructions. The Go version that I used when creating the application is also the latest at the time of writing: 1.12.9 . To view the installed version of Go, use the go version
command.
If you find this task too difficult for you, go to my previous introductory language lesson , which should help you get started.
So, let's begin!
We clone the start file repository on GitHub and cd
into the created directory. We have three main files: In the main.go
file main.go
we will write all the Go code for this task. The index.html
file is the template that will be sent to the browser, and the
for the application are in assets/styles.css
.
Create a basic web server
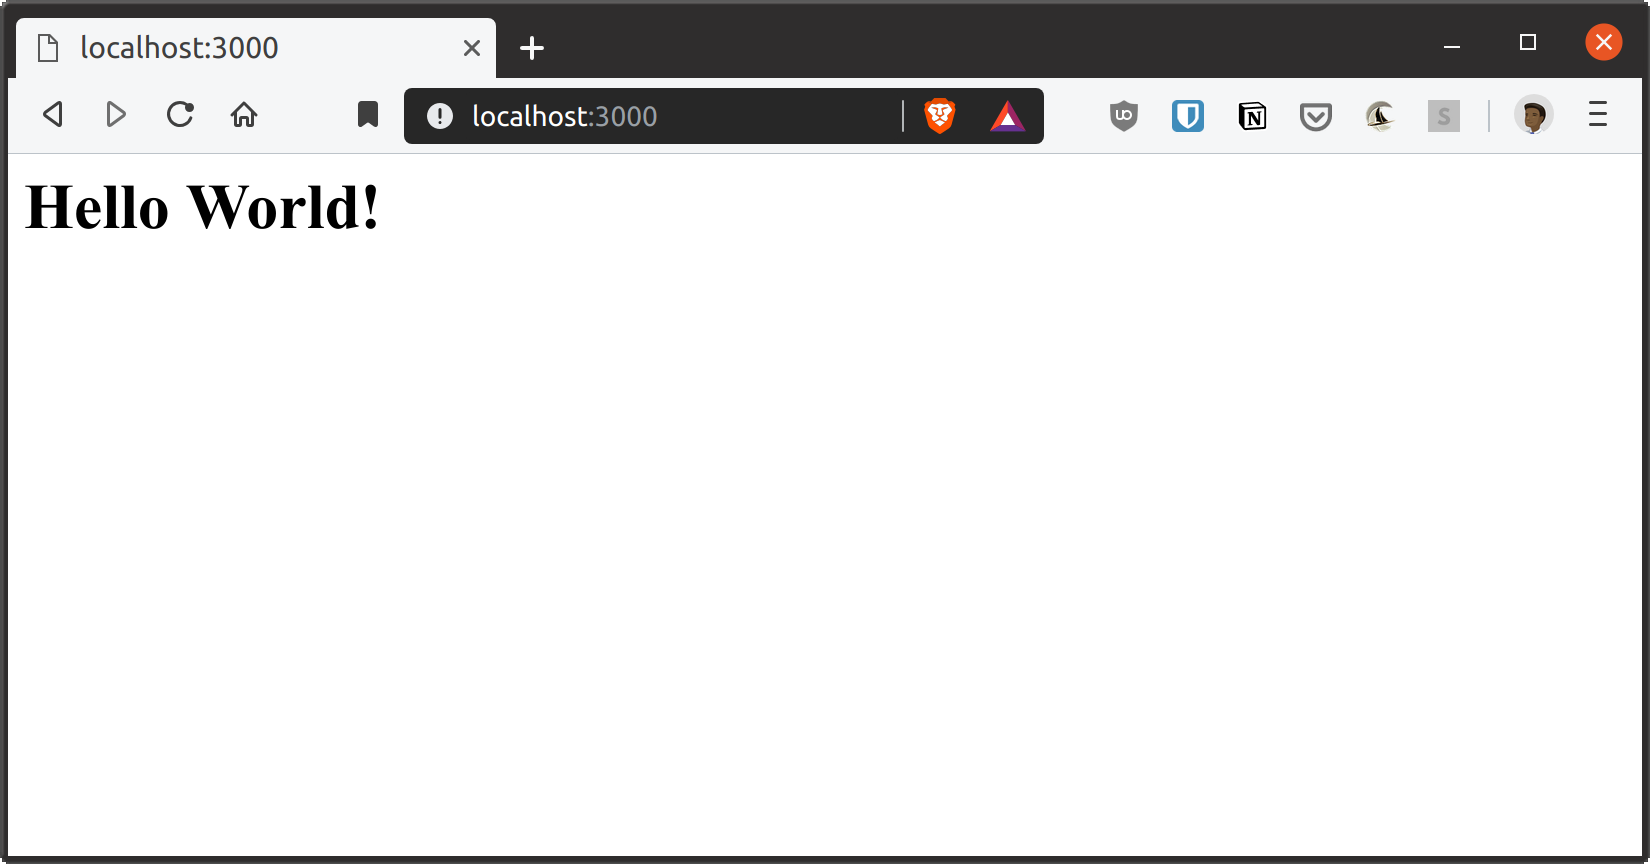
Let's start by creating a core server that sends the text “Hello World!” To the browser when executing a GET request to the server root. Change your main.go
file to look like this:
package main import ( "net/http" "os" ) func indexHandler(w http.ResponseWriter, r *http.Request) { w.Write([]byte("<h1>Hello World!</h1>")) } func main() { port := os.Getenv("PORT") if port == "" { port = "3000" } mux := http.NewServeMux() mux.HandleFunc("/", indexHandler) http.ListenAndServe(":"+port, mux) }
The first line of package main
- declares that the code in the main.go
file main.go
to the main package. After that, we imported the net/http
package, which provides HTTP client and server implementations for use in our application. This package is part of the standard library and is included with every Go installation.
In the main
function, http.NewServeMux()
creates a new HTTP request multiplexer and assigns it to the mux
variable. Essentially, the request multiplexer maps the incoming URL to a list of registered paths and calls the appropriate handler for the path whenever a match is found.
Next, we register our first handler function for the root path /
. This handler function is the second argument to HandleFunc
and always has the signature func (w http.ResponseWriter, r * http.Request)
.
If you look at the indexHandler
function, you will see that it has just such a signature, which makes it a valid second argument to HandleFunc
. The w
parameter is the structure we use to send responses to the HTTP request. It implements the Write()
method, which takes a byte slice and writes the combined data as part of the HTTP response.
On the other hand, the r
parameter represents the HTTP request received from the client. This is how we access the data sent by the web browser on the server. We are not using it here yet, but we will definitely use it later.
Finally, we have the http.ListenAndServe()
method, which starts the server on port 3000 if the port is not set by the environment. Feel free to use a different port if 3000 is used on your computer.
Then compile and execute the code you just wrote:
go run main.go
If you go to http: // localhost: 3000 in your browser, you should see the text “Hello World!”.
Go Templates
Let's look at the basics of templating in Go. If you are familiar with templates in other languages, this should be easy enough to understand.
Templates provide an easy way to customize the output of your web application depending on the route without having to write the same code in different places. For example, we can create a template for the navigation bar and use it on all pages of the site without duplicating the code. In addition, we also get the opportunity to add some basic logic to our web pages.
Go provides two template libraries in its standard library: text/template
and html/template
. Both provide the same interface, however the html/template
package is used to generate HTML output that is protected against code injection, so we will use it here.
Import this package into your main.go
file and use it as follows:
package main import ( "html/template" "net/http" "os" ) var tpl = template.Must(template.ParseFiles("index.html")) func indexHandler(w http.ResponseWriter, r *http.Request) { tpl.Execute(w, nil) } func main() { port := os.Getenv("PORT") if port == "" { port = "3000" } mux := http.NewServeMux() mux.HandleFunc("/", indexHandler) http.ListenAndServe(":"+port, mux) }
tpl
is a package level variable that indicates the definition of a template from the provided files. The template.ParseFiles
call parses the index.html
file in the root of our project directory and checks its validity.
We wrap the template.ParseFiles
call in template.Must
so that the code causes a panic when an error occurs. The reason we panic here instead of trying to handle the error is because it makes no sense to continue executing the code if we have an invalid template. This is a problem that needs to be fixed before trying to restart the server.
In the indexHandler
function indexHandler
we execute the previously created template by providing two arguments: where we want to write the output data and the data that we want to pass to the template.
In the above case, we write the output to the ResponseWriter
interface and, since we have no data to pass to our template at present, nil
is passed as the second argument.
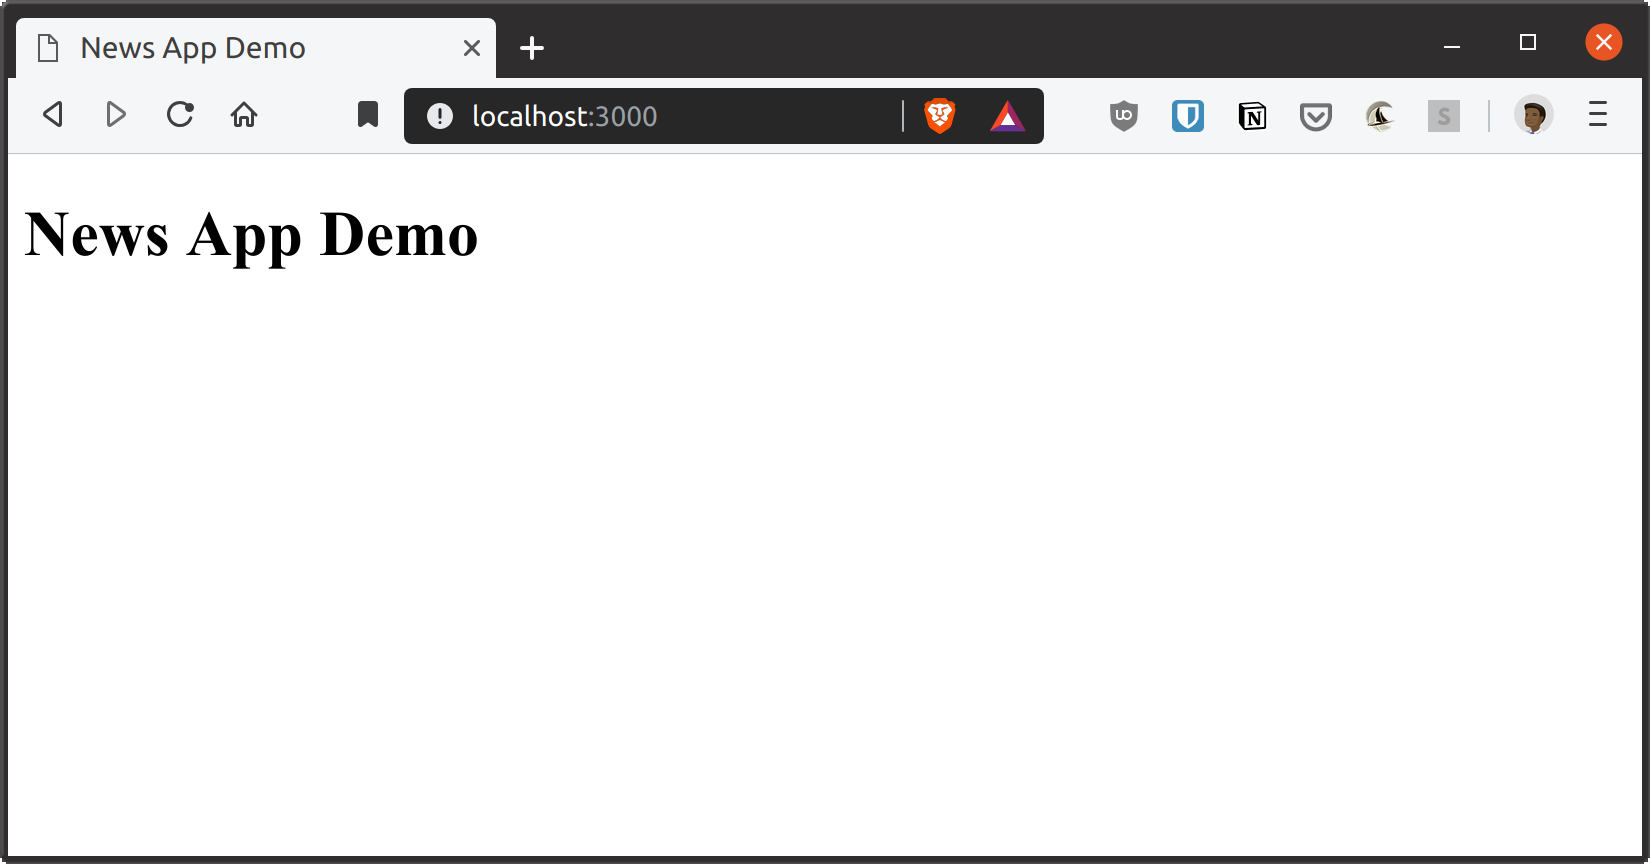
Stop the running process in your terminal using Ctrl-C and start it again with go run main.go
, then refresh your browser. You should see the text “News App Demo” on the page as shown below:
Add a navigation bar to the page
Replace the contents of the <body>
in your index.html file as shown below:
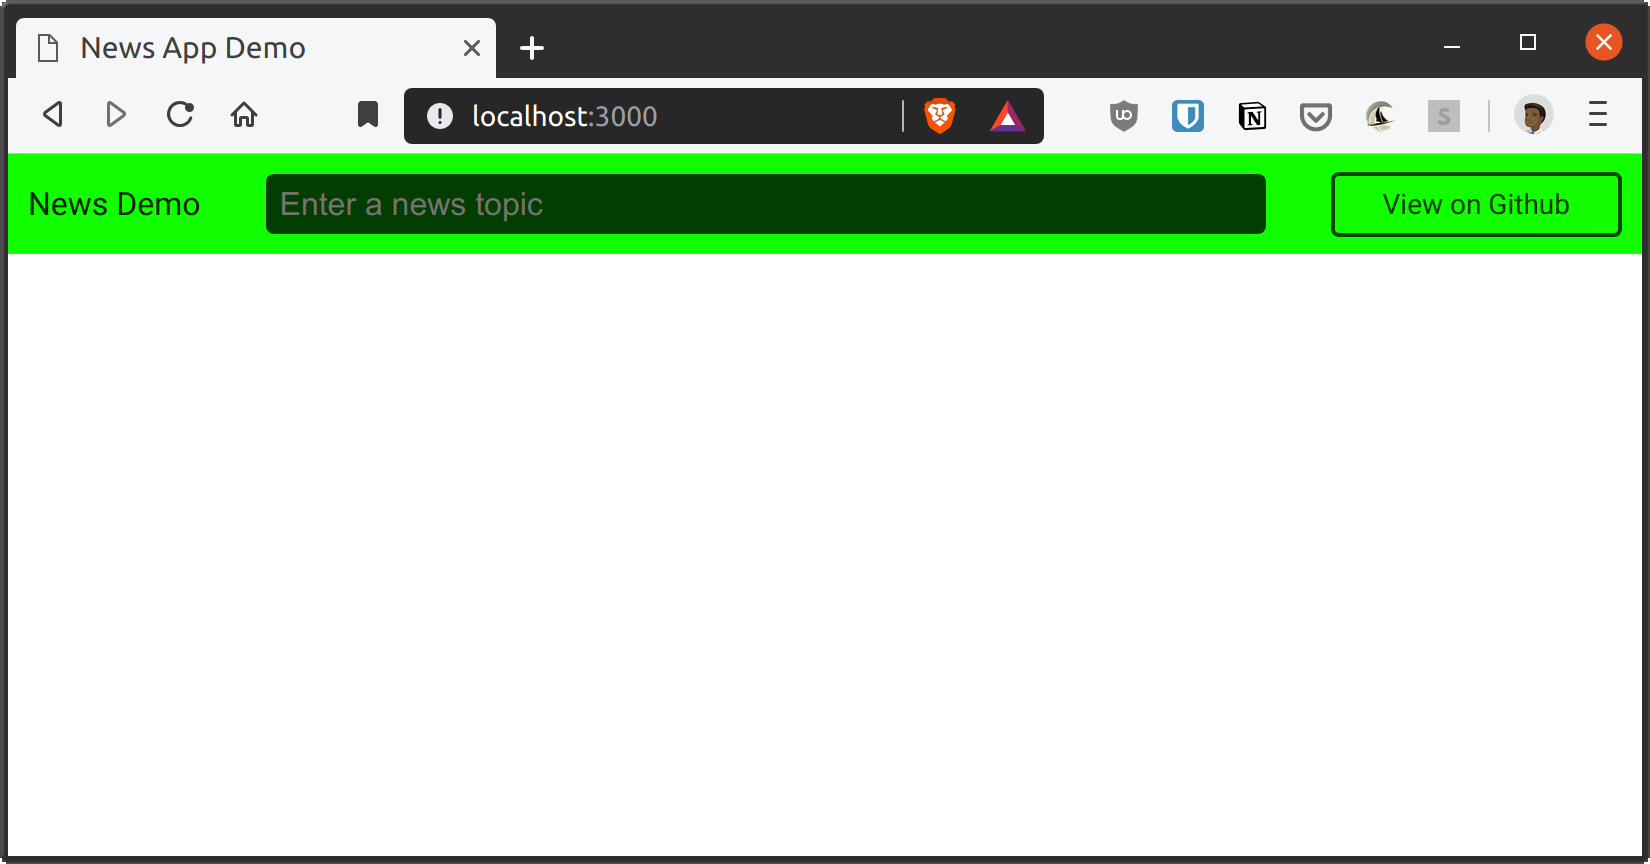
<main> <header> <a class="logo" href="/">News Demo</a> <form action="/search" method="GET"> <input autofocus class="search-input" value="" placeholder="Enter a news topic" type="search" name="q"> </form> <a href="https://github.com/freshman-tech/news" class="button github-button">View on Github</a> </header> </main>
Then reboot the server and refresh your browser. You should see something similar to this:

Work with static files
Please note that the navigation bar we added above does not have styles, despite the fact that we already specified them in the <head>
our document.
This is because the path /
actually matches all paths that are not processed elsewhere. Therefore, if you go to http: // localhost: 3000 / assets / style.css , you will still get the News Demo homepage instead of the CSS file because the route /assets/style.css
not been specifically declared.
But the need to declare explicit handlers for all of our static files is unrealistic and cannot scale. Fortunately, we can create one handler to serve all static resources.
The first thing to do is create an instance of the file server object, passing in the directory in which all our static files are located:
fs := http.FileServer(http.Dir("assets"))
Next, we need to tell our router to use this file server object for all paths starting with the /assets/
prefix:
mux.Handle("/assets/", http.StripPrefix("/assets/", fs))
Now all together:
// main.go // func main() { port := os.Getenv("PORT") if port == "" { port = "3000" } mux := http.NewServeMux() // fs := http.FileServer(http.Dir("assets")) mux.Handle("/assets/", http.StripPrefix("/assets/", fs)) mux.HandleFunc("/", indexHandler) http.ListenAndServe(":"+port, mux) }
Reboot the server and refresh the browser. Styles should turn on as shown below:
Create a route / search
Let's create a route that handles search queries for news articles. We will use the News API to process requests, so you need to register to receive a free API key here .
This route expects two query parameters: q
represents the user's query, and page
used to scroll through the results. This page
parameter is optional. If it is not included in the URL, we simply assume that the page number of the results is set to “1”.
Add the following handler under indexHandler
to your main.go
file:
func searchHandler(w http.ResponseWriter, r *http.Request) { u, err := url.Parse(r.URL.String()) if err != nil { w.WriteHeader(http.StatusInternalServerError) w.Write([]byte("Internal server error")) return } params := u.Query() searchKey := params.Get("q") page := params.Get("page") if page == "" { page = "1" } fmt.Println("Search Query is: ", searchKey) fmt.Println("Results page is: ", page) }
The above code extracts the q
and page
parameters from the request URL and displays both of them in the terminal.
Then register the searchHandler
function as the /search
path handler, as shown below:
func main() { port := os.Getenv("PORT") if port == "" { port = "3000" } mux := http.NewServeMux() fs := http.FileServer(http.Dir("assets")) mux.Handle("/assets/", http.StripPrefix("/assets/", fs)) // Add the next line mux.HandleFunc("/search", searchHandler) mux.HandleFunc("/", indexHandler) http.ListenAndServe(":"+port, mux) }
Remember to import the fmt
and net/url
packages from above:
import ( "fmt" "html/template" "net/http" "net/url" "os" )
Now restart the server, enter the query in the search field and check the terminal. You should see your request in the terminal, as shown below:
Create a data model
When we make a request to the News API/everything
endpoint, we expect a json response in the following format:
{ "status": "ok", "totalResults": 4661, "articles": [ { "source": { "id": null, "name": "Gizmodo.com" }, "author": "Jennings Brown", "title": "World's Dumbest Bitcoin Scammer Tries to Scam Bitcoin Educator, Gets Scammed in The Process", "description": "Ben Perrin is a Canadian cryptocurrency enthusiast and educator who hosts a bitcoin show on YouTube. This is immediately apparent after a quick a look at all his social media. Ten seconds of viewing on of his videos will show that he is knowledgeable about di…", "url": "https://gizmodo.com/worlds-dumbest-bitcoin-scammer-tries-to-scam-bitcoin-ed-1837032058", "urlToImage": "https://i.kinja-img.com/gawker-media/image/upload/s--uLIW_Oxp--/c_fill,fl_progressive,g_center,h_900,q_80,w_1600/s4us4gembzxlsjrkmnbi.png", "publishedAt": "2019-08-07T16:30:00Z", "content": "Ben Perrin is a Canadian cryptocurrency enthusiast and educator who hosts a bitcoin show on YouTube. This is immediately apparent after a quick a look at all his social media. Ten seconds of viewing on of his videos will show that he is knowledgeable about..." } ] }
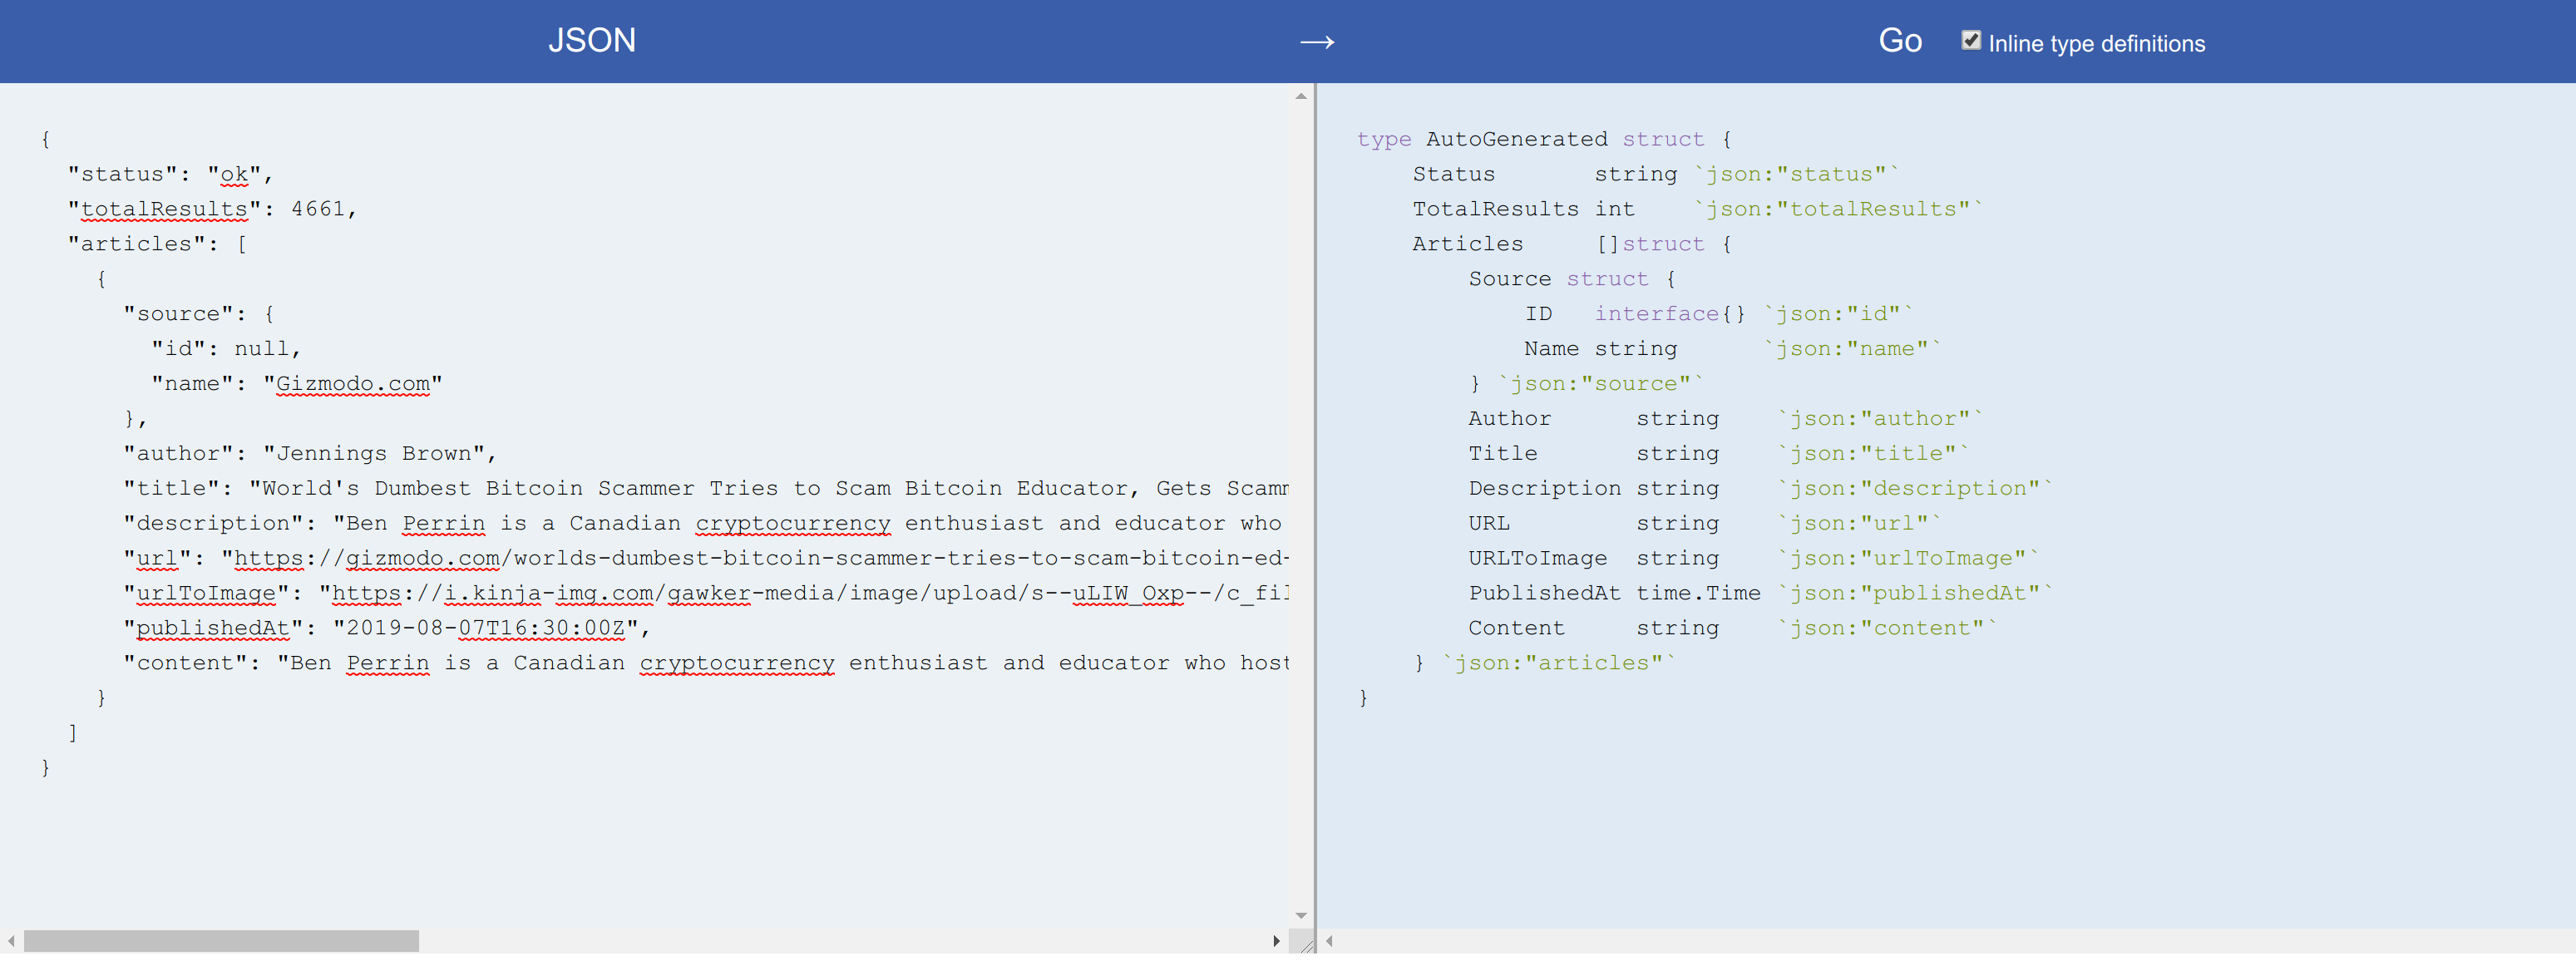
To work with this data in Go, we need to generate a structure that reflects the data when decoding the response body. Of course, you can do it manually, but I prefer to use the JSON-to-Go website, which makes this process really easy. It generates a Go structure (with tags) that will work for this JSON.
All you have to do is copy the JSON object and paste it into the field labeled JSON , then copy the output and paste it into your code. Here is what we get for the above JSON object:
type AutoGenerated struct { Status string `json:"status"` TotalResults int `json:"totalResults"` Articles []struct { Source struct { ID interface{} `json:"id"` Name string `json:"name"` } `json:"source"` Author string `json:"author"` Title string `json:"title"` Description string `json:"description"` URL string `json:"url"` URLToImage string `json:"urlToImage"` PublishedAt time.Time `json:"publishedAt"` Content string `json:"content"` } `json:"articles"` }
I made several changes to the AutoGenerated
structure by separating the Articles
fragment into its own structure and updating the structure name. Paste the following tpl
variable declaration into main.go
and add the time
package to your import:
type Source struct { ID interface{} `json:"id"` Name string `json:"name"` } type Article struct { Source Source `json:"source"` Author string `json:"author"` Title string `json:"title"` Description string `json:"description"` URL string `json:"url"` URLToImage string `json:"urlToImage"` PublishedAt time.Time `json:"publishedAt"` Content string `json:"content"` } type Results struct { Status string `json:"status"` TotalResults int `json:"totalResults"` Articles []Article `json:"articles"` }
As you may know, Go requires that all exported fields in the structure begin with a capital letter. However, it is customary to represent JSON fields using camelCase or snake_case , which do not start with a capital letter.
Therefore, we use structure field tags such as json:"id"
to explicitly map the structure field to the JSON field, as shown above. It also allows you to use completely different names for the structure field and the corresponding json field, if necessary.
Finally, let's create a different type of structure for each search query. Add this below the Results
structure in main.go
:
type Search struct { SearchKey string NextPage int TotalPages int Results Results }
This structure represents each search query made by the user. SearchKey
is the query itself, the NextPage
field allows NextPage
to scroll through the results, TotalPages
- the total number of pages of query results, and Results
- the current page of query results.
Send a request using the News API and render the results
Now that we have the data model for our application, let's continue and make requests to the News API, and then render the results on the page.
Since the News API requires an API key, we need to find a way to pass it in our application without hard coding in the code. Environment variables are a common approach, but I decided to use command line flags instead. Go provides a flag
package that supports basic analysis of command line flags, and this is what we are going to use here.
First declare a new apiKey
variable under the tpl
variable:
var apiKey *string
Then use it in the main
function as follows:
func main() { apiKey = flag.String("apikey", "", "Newsapi.org access key") flag.Parse() if *apiKey == "" { log.Fatal("apiKey must be set") } // }
Here we call the flag.String()
method, which allows us to define a string flag. The first argument to this method is the flag name, the second is the default value, and the third is the usage description.
After defining all the flags, you need to call flag.Parse()
to actually flag.Parse()
them. Finally, since apikey
is a required component for this application, we ensure that the program crashes if this flag is not set during program execution.
Make sure you add the flag
package to your import, then restart the server and pass the required apikey
flag, as shown below:
go run main.go -apikey=<your newsapi access key>
Next, let's continue and update searchHandler
so that the user's search query is sent to newsapi.org and the results are displayed in our template.
Replace the two calls to the fmt.Println()
method at the end of the searchHandler
function searchHandler
following code:
func searchHandler(w http.ResponseWriter, r *http.Request) { // beginning of the function search := &Search{} search.SearchKey = searchKey next, err := strconv.Atoi(page) if err != nil { http.Error(w, "Unexpected server error", http.StatusInternalServerError) return } search.NextPage = next pageSize := 20 endpoint := fmt.Sprintf("https://newsapi.org/v2/everything?q=%s&pageSize=%d&page=%d&apiKey=%s&sortBy=publishedAt&language=en", url.QueryEscape(search.SearchKey), pageSize, search.NextPage, *apiKey) resp, err := http.Get(endpoint) if err != nil { w.WriteHeader(http.StatusInternalServerError) return } defer resp.Body.Close() if resp.StatusCode != 200 { w.WriteHeader(http.StatusInternalServerError) return } err = json.NewDecoder(resp.Body).Decode(&search.Results) if err != nil { w.WriteHeader(http.StatusInternalServerError) return } search.TotalPages = int(math.Ceil(float64(search.Results.TotalResults / pageSize))) err = tpl.Execute(w, search) if err != nil { w.WriteHeader(http.StatusInternalServerError) } }
First, we create a new instance of the Search
structure and set the value of the SearchKey
field to the value of the URL parameter q
in the HTTP request.
After that, we convert the page
variable to an integer and assign the result to the NextPage
field NextPage
search
variable. Then we create the pageSize
variable and set its value to 20. This pageSize
variable represents the number of results that the news API will return in its response. This value can range from 0 to 100.
Then we create the endpoint using fmt.Sprintf()
and make a GET request to it. If the response from the News API is not 200 OK , we will return a general server error to the client. Otherwise, the response body is parsed in search.Results
.
Then we calculate the total number of pages by dividing the TotalResults
field by pageSize
. For example, if a query returns 100 results, and we only view 20 at a time, we will need to scroll through five pages to see all 100 results for that query.
After that, we render our template and pass the search
variable as the data interface. This allows us to access data from a JSON object in our template, as you will see.
Before moving on to index.html
, be sure to update your imports as shown below:
import ( "encoding/json" "flag" "fmt" "html/template" "log" "math" "net/http" "net/url" "os" "strconv" "time" )
Let's continue and display the results on the page by changing the index.html
file as follows. Add this under the <header>
:
<section class="container"> <ul class="search-results"> {{ range .Results.Articles }} <li class="news-article"> <div> <a target="_blank" rel="noreferrer noopener" href="{{.URL}}"> <h3 class="title">{{.Title }}</h3> </a> <p class="description">{{ .Description }}</p> <div class="metadata"> <p class="source">{{ .Source.Name }}</p> <time class="published-date">{{ .PublishedAt }}</time> </div> </div> <img class="article-image" src="{{ .URLToImage }}"> </li> {{ end }} </ul> </section>
To access the structure field in the template, we use the point operator. This operator refers to a structure object (in this case, search
), and then inside the template we simply specify the field name (as {{.Results}}
).
The range
block allows us to iterate over a slice in Go and output some HTML for each element in the slice. Here, we iterate over the slice of the Article
structures contained in the Articles
field and display the HTML at each iteration.
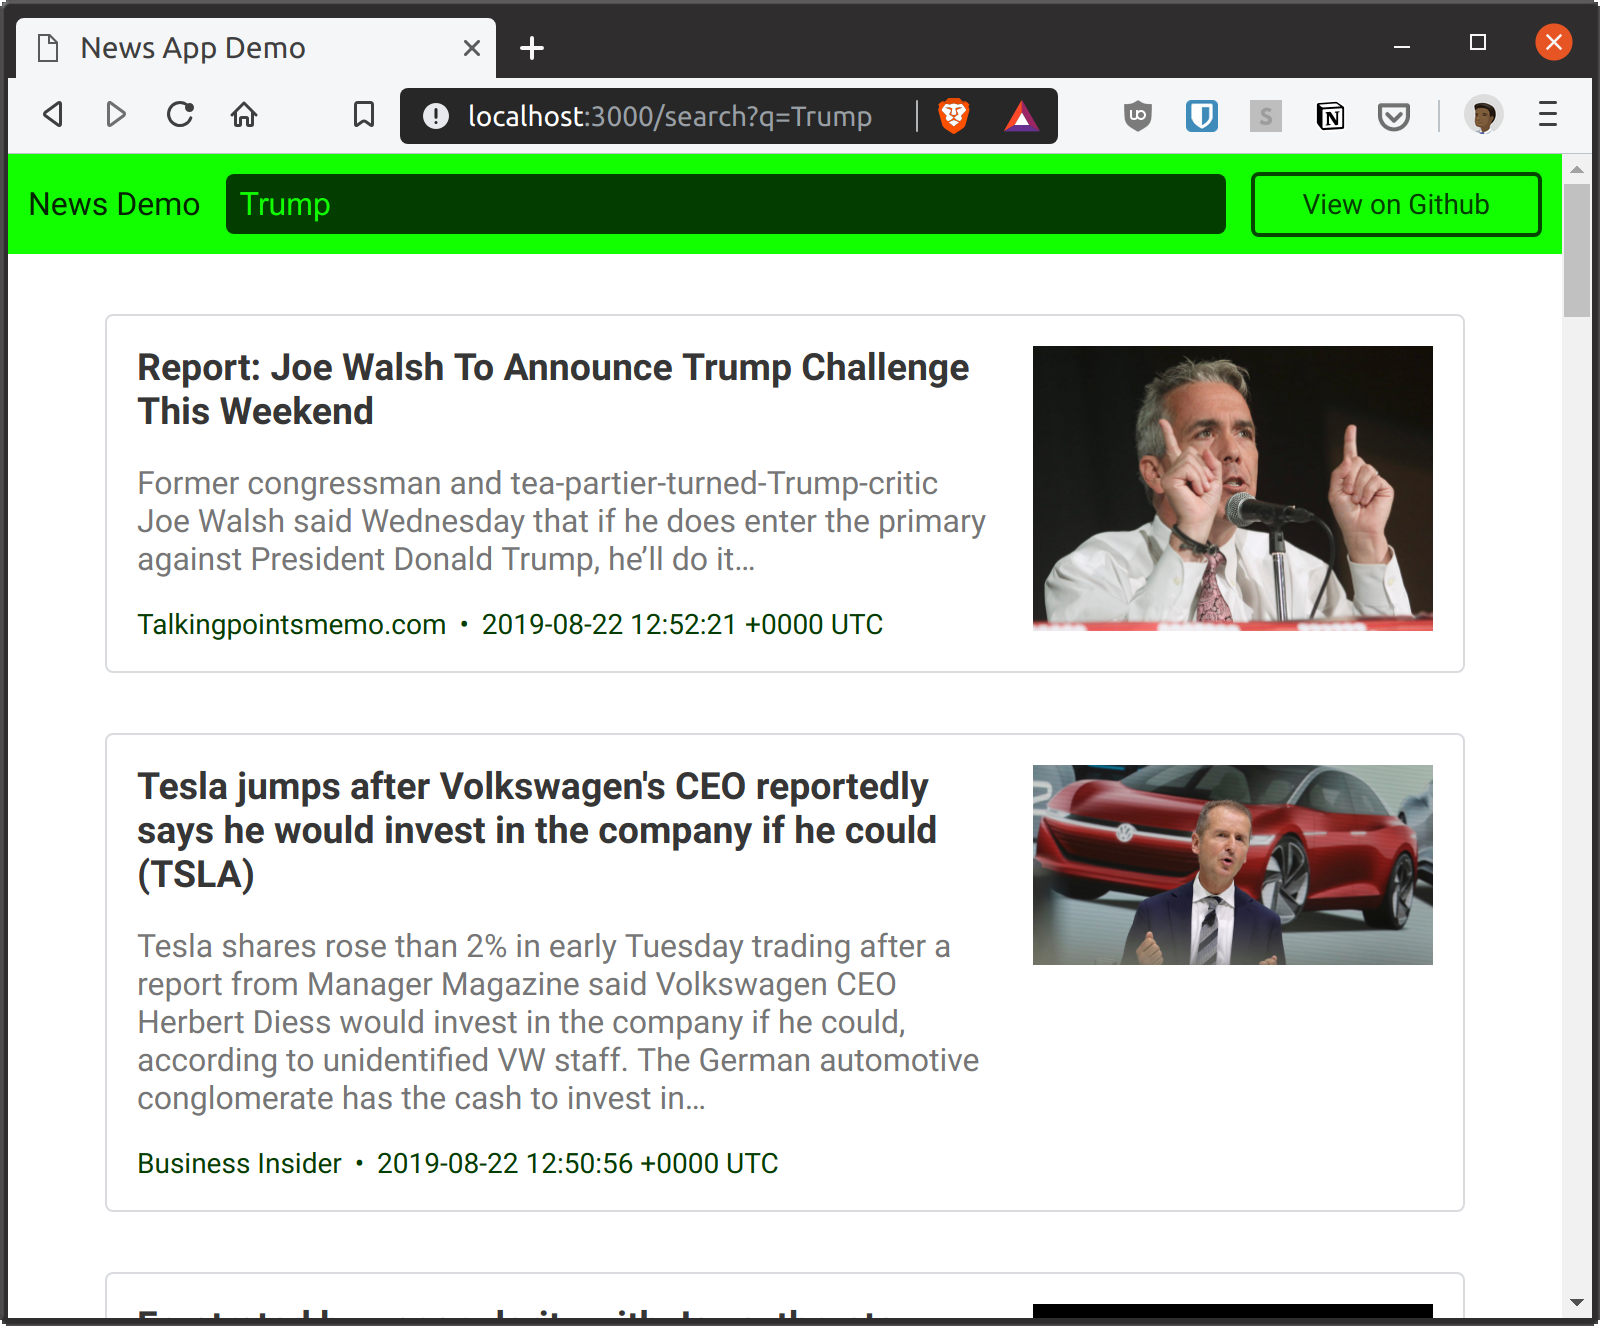
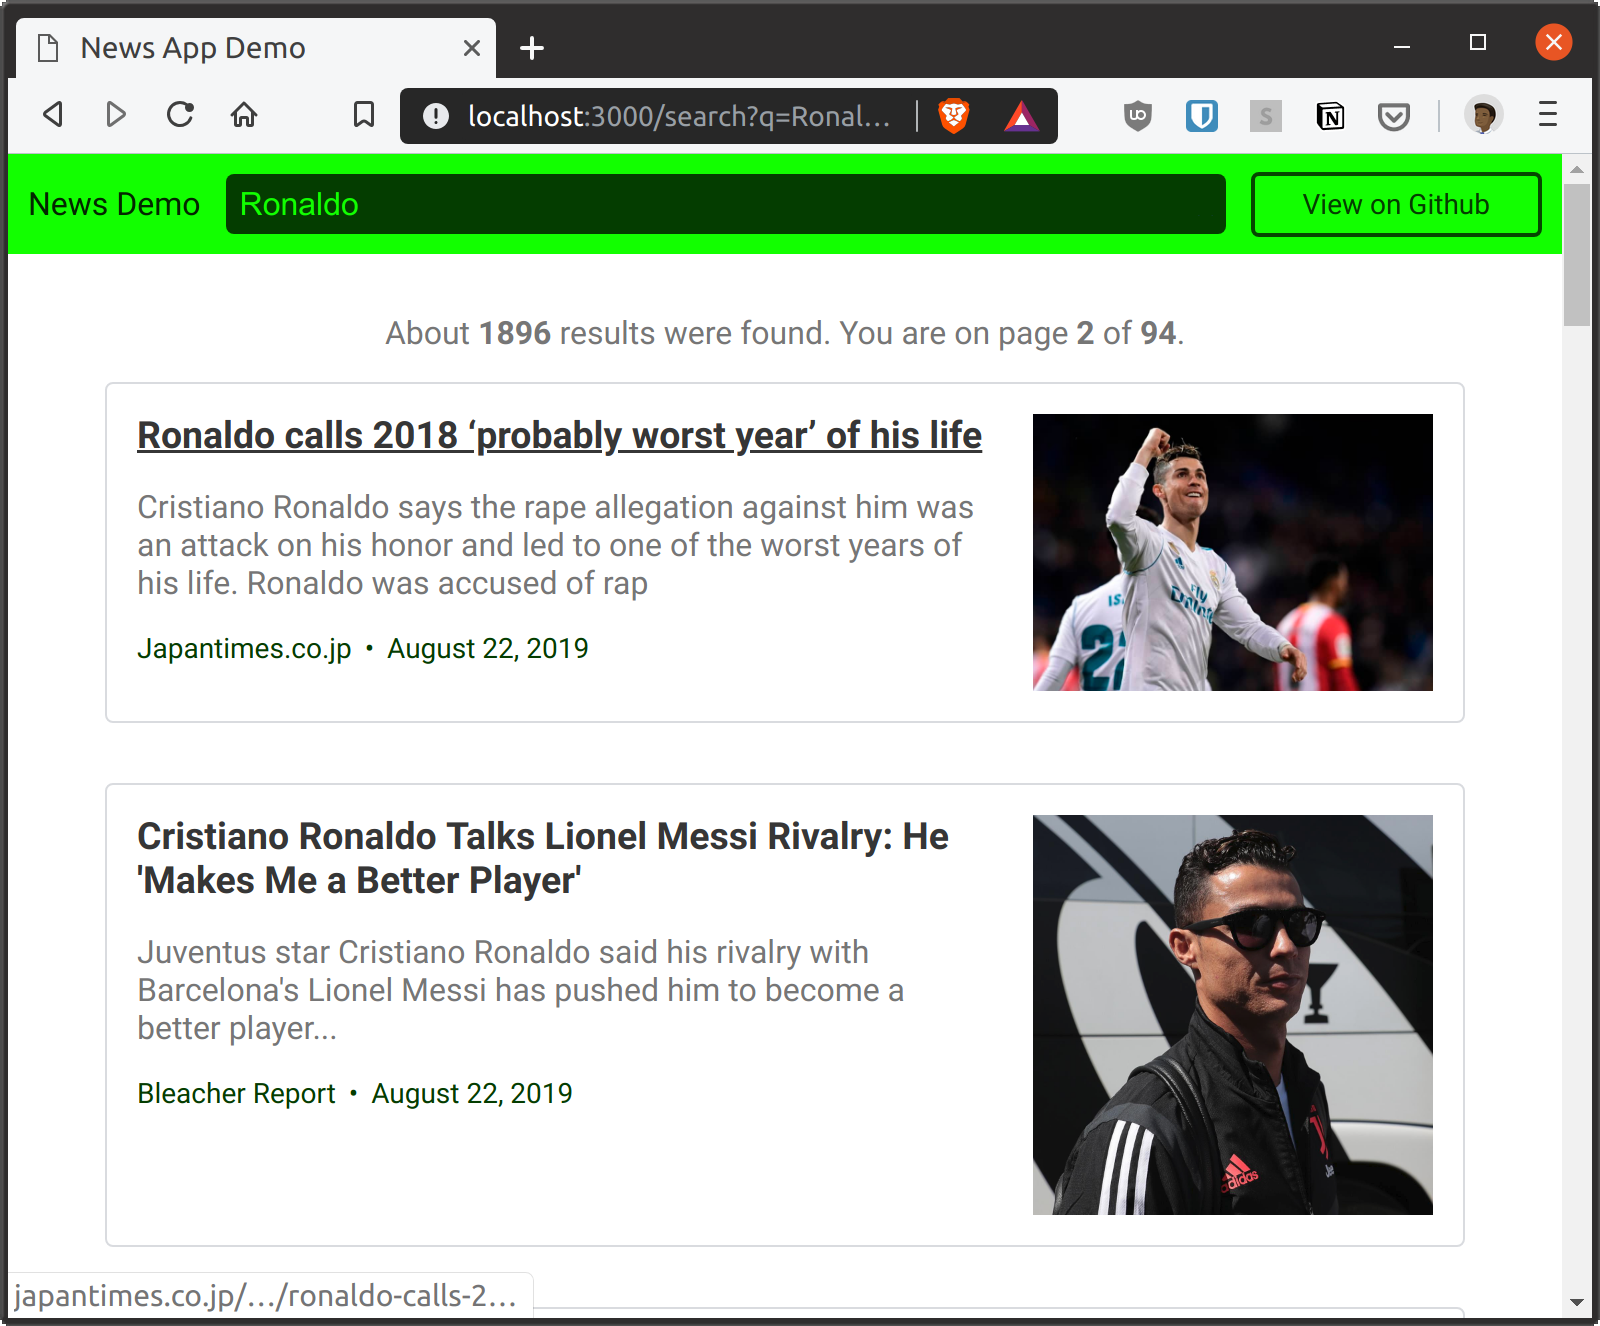
Reboot the server, refresh the browser and search for news on a popular topic. You should get a list of 20 results per page, as shown in the screenshot below.

Save search query in foreign
Note that the search query disappears from the input when the page refreshes with the results. Ideally, the query should be kept until the user performs a new search. Here's how Google Search works, for example.
We can easily fix this by updating the value
attribute of the input
tag in our index.html
file as follows:
<input autofocus class="search-input" value="{{ .SearchKey }}" placeholder="Enter a news topic" type="search" name="q">
Restart your browser and perform a new search. The search query will be saved as shown below:
Format publication date
If you look at the date in each article, you will see that it is poorly readable. The current output shows how the News API returns the publication date of the article. But we can easily change this by adding a method to the Article
structure and using it to format the date instead of using the default value.
Let's add the following code just below the Article
structure in main.go
:
func (a *Article) FormatPublishedDate() string { year, month, day := a.PublishedAt.Date() return fmt.Sprintf("%v %d, %d", month, day, year) }
Here, the new FormatPublishedDate
method FormatPublishedDate
created in the Article
structure, and this method formats the PublishedAt
field in Article
and returns a string in the following format: 10 2009
.
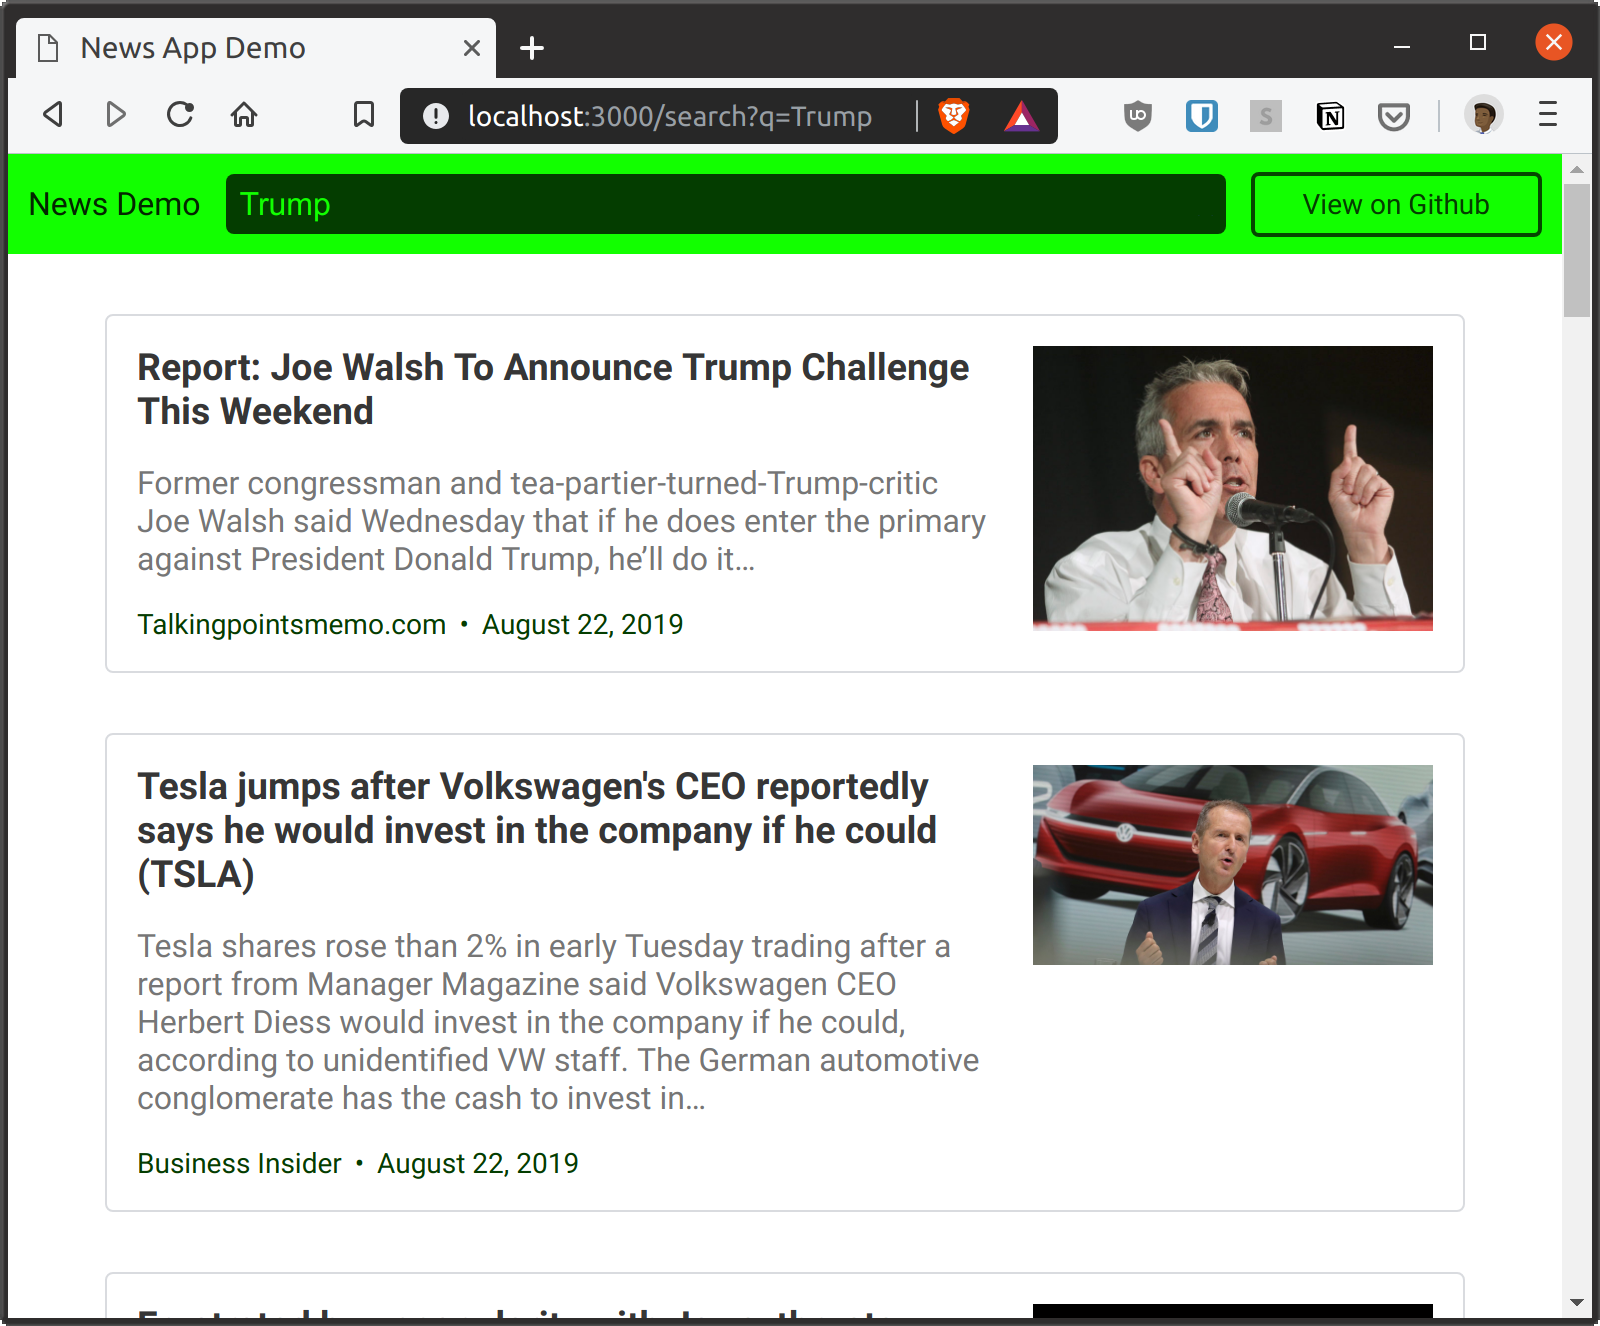
To use this new method in your template, replace .PublishedAt
with .FormatPublishedDate
in your index.html
file. Then restart the server and repeat the previous search query. This will output the results with a correctly formatted time, as shown below:
Display the total number of results.
Let's improve the user interface of our news application by indicating the total number of results at the top of the page, and then display a message in case no results were found for a particular query.
, , .container
, .search-results
index.html
:
<div class="result-count"> {{ if (gt .Results.TotalResults 0)}} <p>About <strong>{{ .Results.TotalResults }}</strong> results were found.</p> {{ else if (ne .SearchKey "") and (eq .Results.TotalResults 0) }} <p>No results found for your query: <strong>{{ .SearchKey }}</strong>.</p> {{ end }} </div>
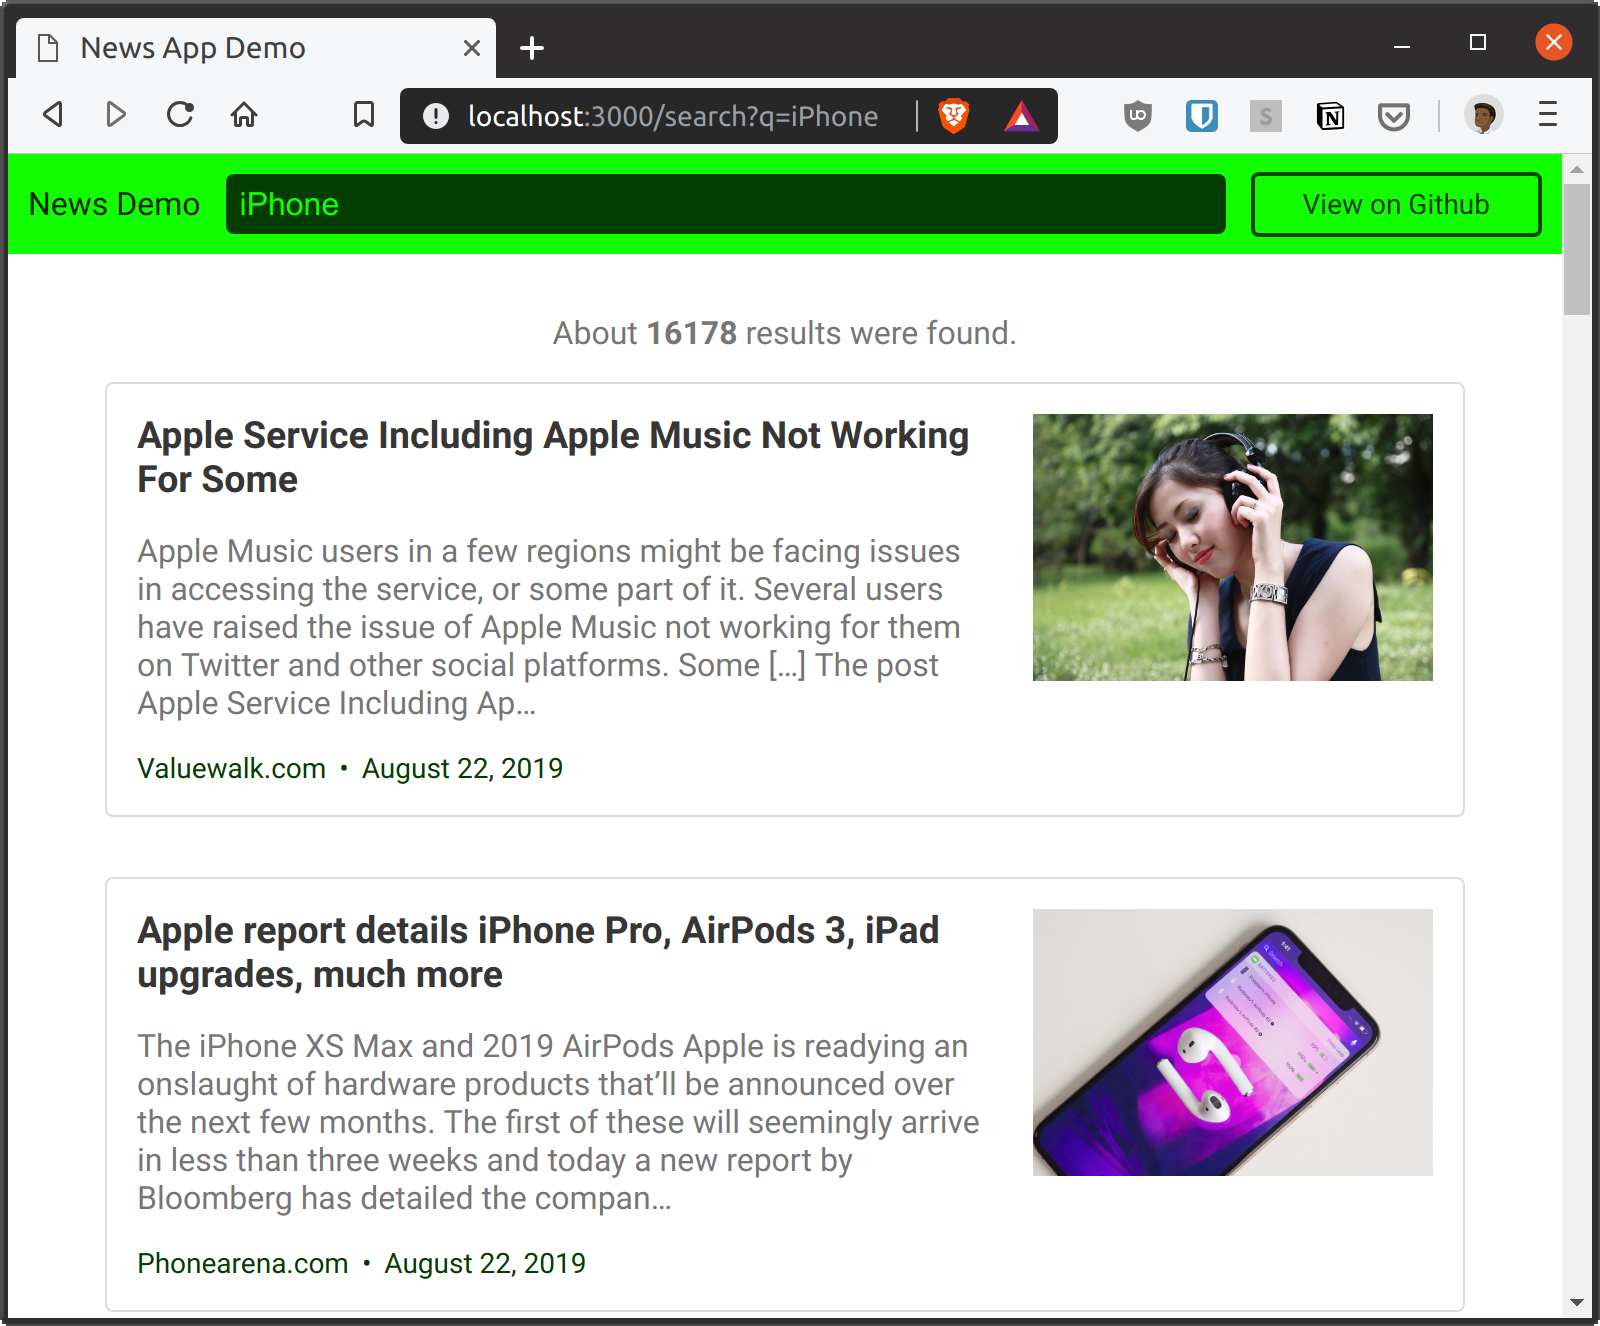
Go , . gt
, , TotalResults
Results
. , .
, SearchKey
( (ne .SearchKey "")
) TotalResults
( (eq .Results.TotalResults 0)
), «No results found».
, . «No results found».
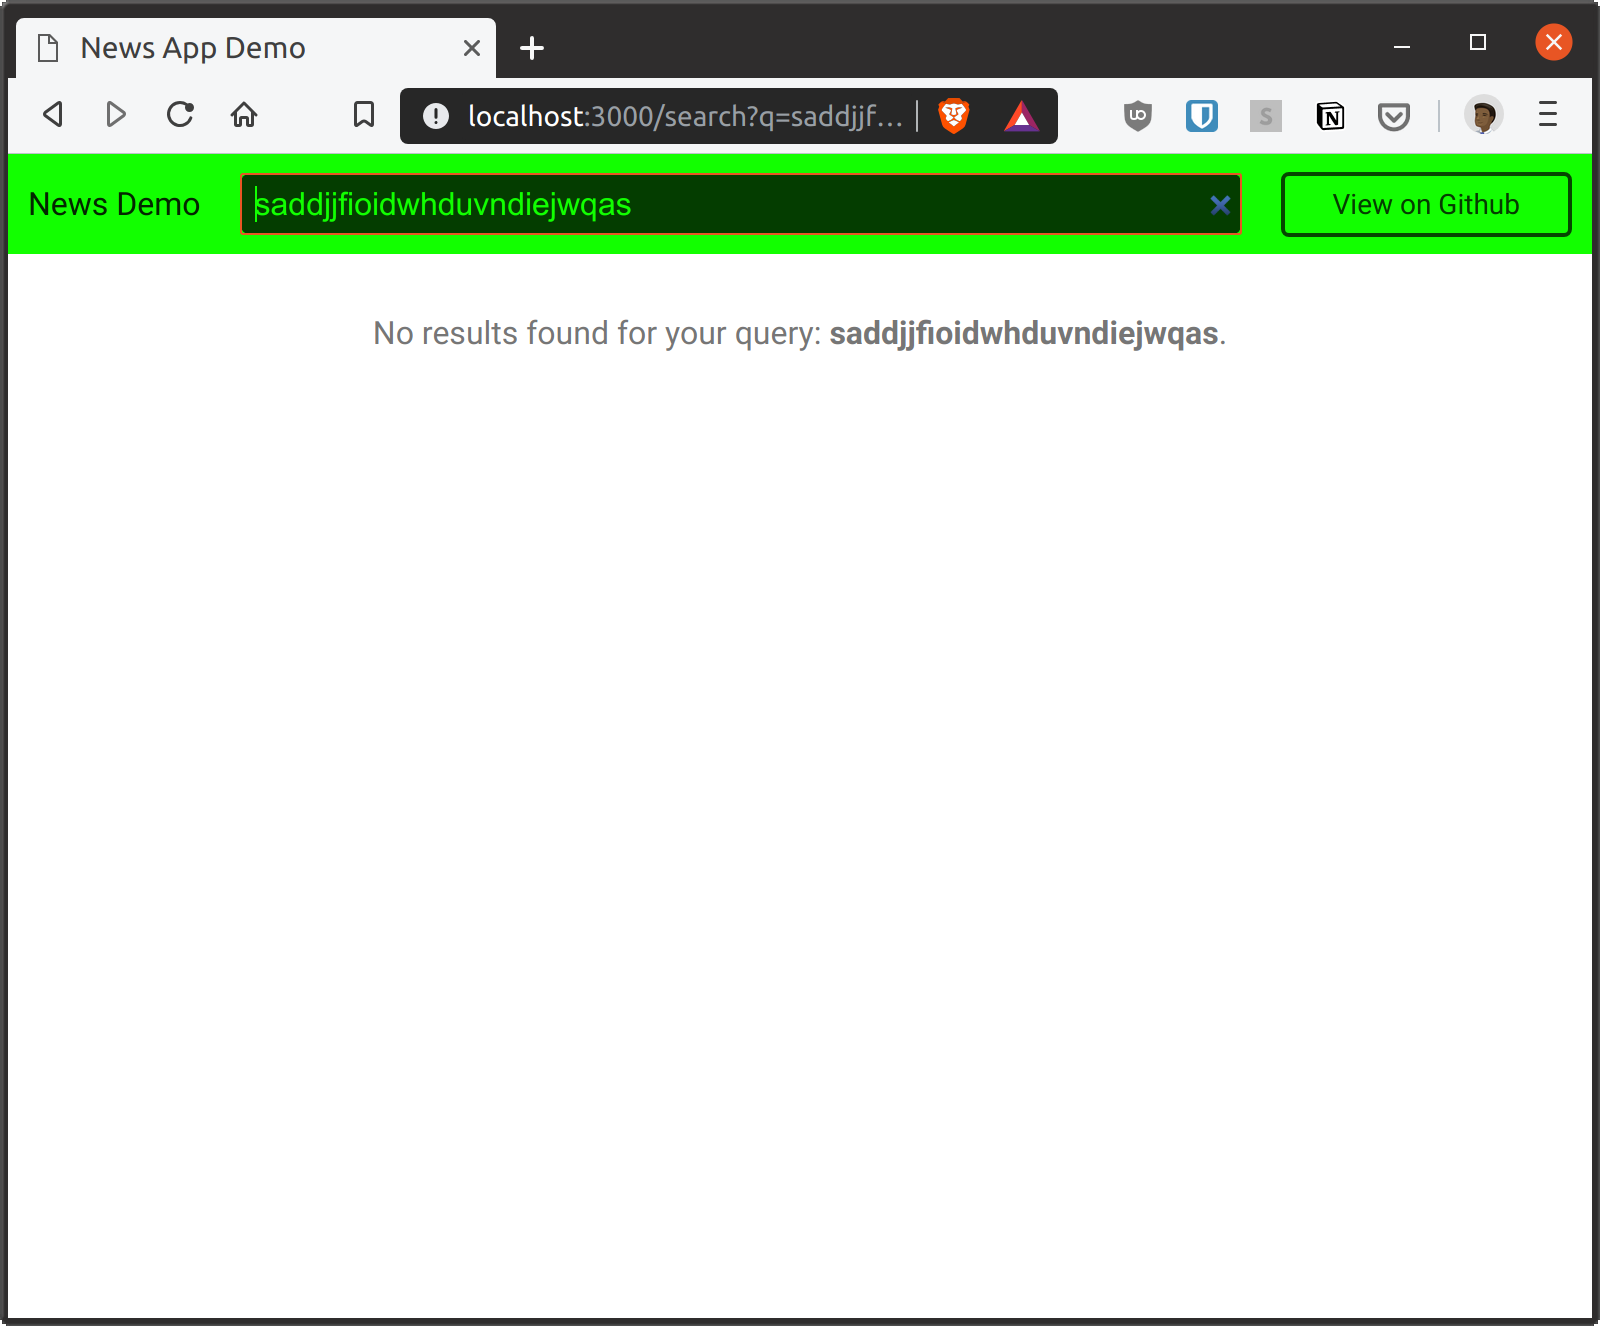
. , :
20 , , .
Next , . , , Search
main.go
:
func (s *Search) IsLastPage() bool { return s.NextPage >= s.TotalPages }
, NextPage
, TotalPages
Search
. , NextPage
, . Here's how to do it:
func searchHandler(w http.ResponseWriter, r *http.Request) { // search.TotalPages = int(math.Ceil(float64(search.Results.TotalResults / pageSize))) // if if ok := !search.IsLastPage(); ok { search.NextPage++ } // }
, , . .search-results
index.html
.
<div class="pagination"> {{ if (ne .IsLastPage true) }} <a href="/search?q={{ .SearchKey }}&page={{ .NextPage }}" class="button next-page">Next</a> {{ end }} </div>
, Next .
, href
/search
q
, NextPage
page
.
Previous . , 1. , CurrentPage()
Search
, . IsLastPage
:
func (s *Search) CurrentPage() int { if s.NextPage == 1 { return s.NextPage } return s.NextPage - 1 }
NextPage - 1
, , NextPage
1. , 1 . :
func (s *Search) PreviousPage() int { return s.CurrentPage() - 1 }
, Previous , 1. .pagination
index.html
:
<div class="pagination"> {{ if (gt .NextPage 2) }} <a href="/search?q={{ .SearchKey }}&page={{ .PreviousPage }}" class="button previous-page">Previous</a> {{ end }} {{ if (ne .IsLastPage true) }} <a href="/search?q={{ .SearchKey }}&page={{ .NextPage }}" class="button next-page">Next</a> {{ end }} </div>
. , :
, , , , .
index.html
:
<div class="result-count"> {{ if (gt .Results.TotalResults 0)}} <p>About <strong>{{ .Results.TotalResults }}</strong> results were found. You are on page <strong>{{ .CurrentPage }}</strong> of <strong> {{ .TotalPages }}</strong>.</p> {{ else if (ne .SearchKey "") and (eq .Results.TotalResults 0) }} <p>No results found for your query: <strong>{{ .SearchKey }}</strong>.</p> {{ end }} </div>
, , .
Heroku
, , Heroku. , , . . freshman-news .
, Heroku . heroku login
, Heroku.
, git- . , git init
, , heroku git-. freshman-news
.
heroku git:remote -a freshman-news
Procfile ( touch Procfile
) :
web: bin/news-demo -apikey $NEWS_API_KEY
GitHub Go, , go.mod
, . , , .
module github.com/freshman-tech/news-demo go 1.12.9
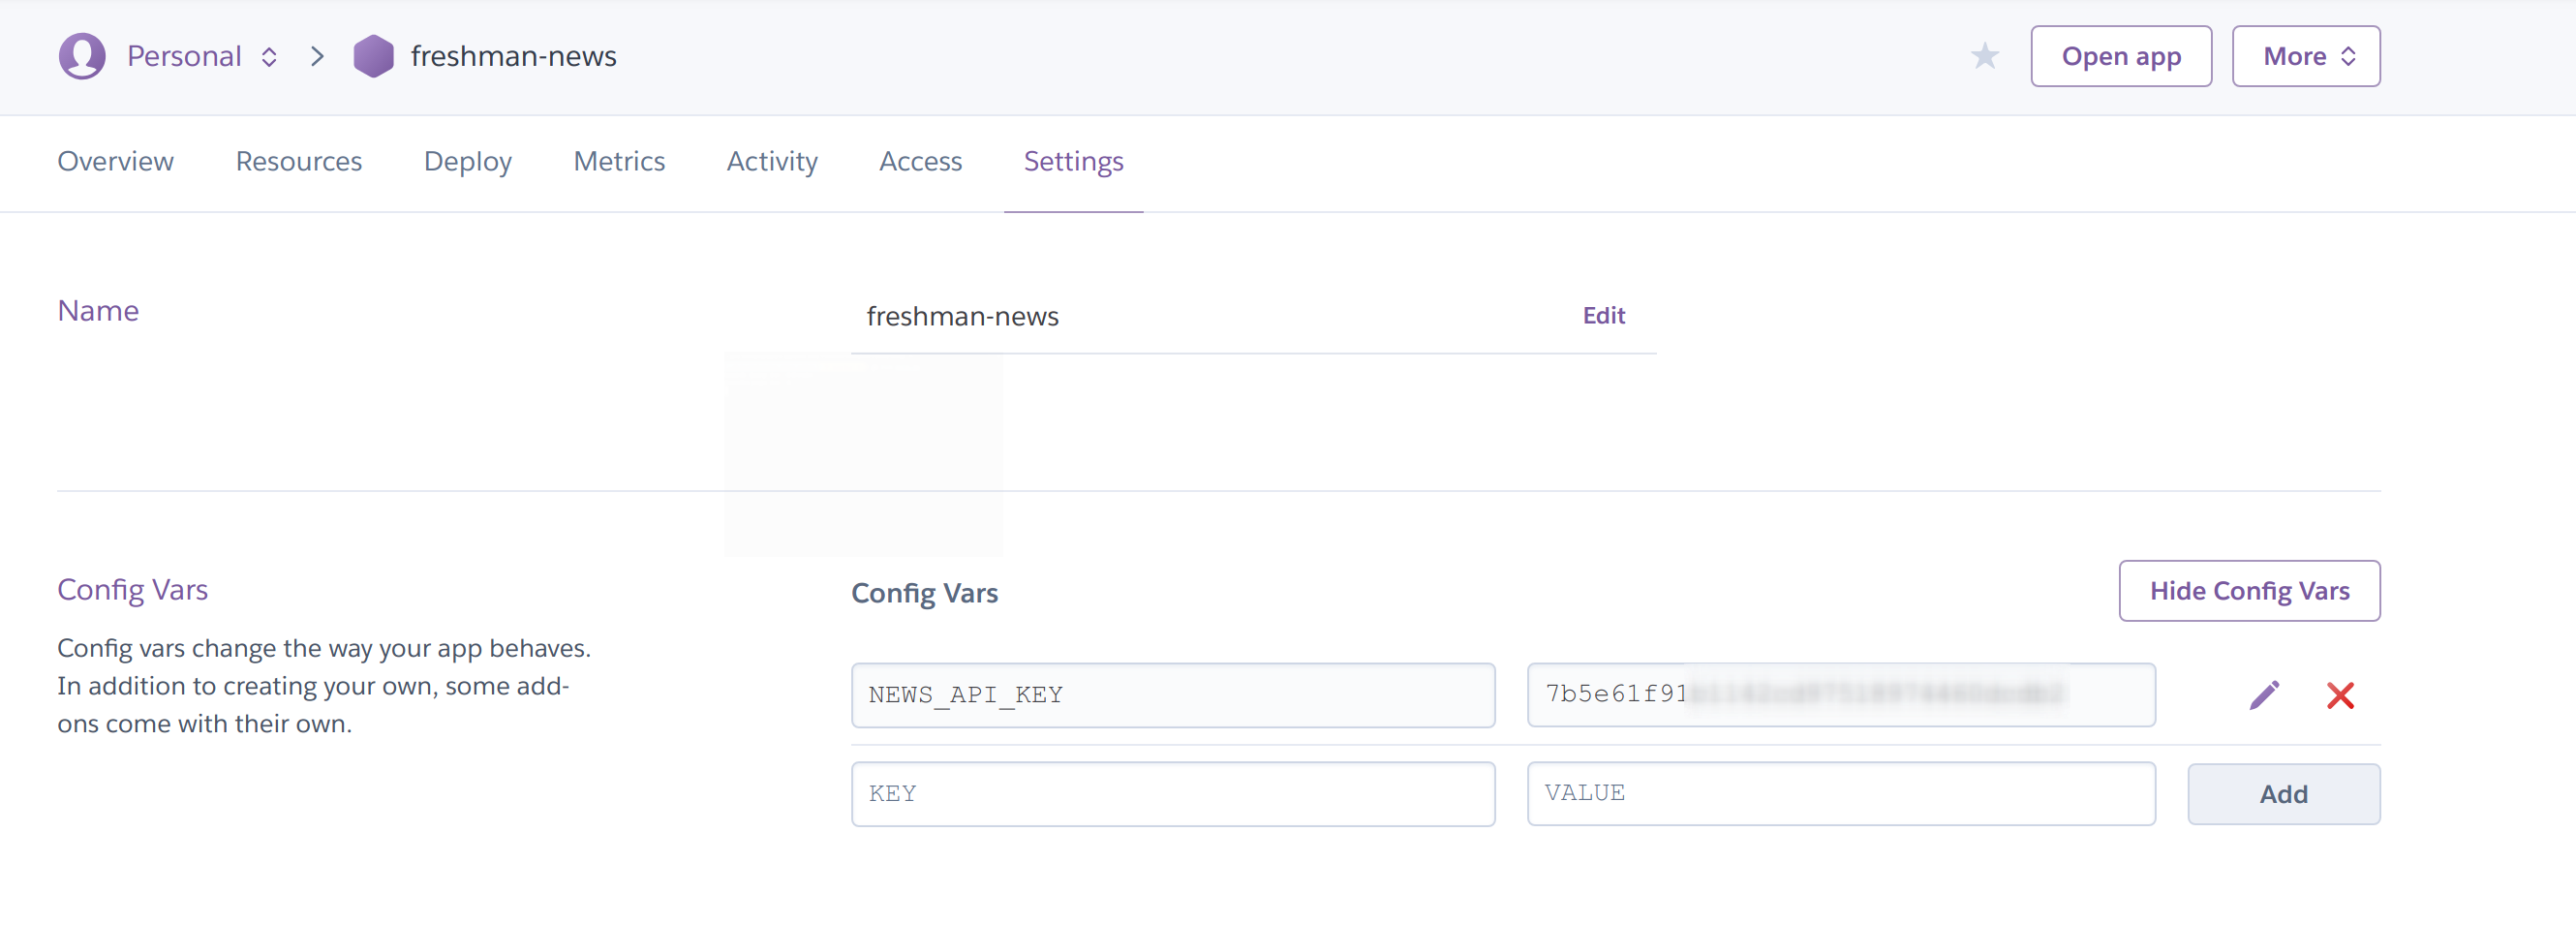
Settings Heroku Reveal Config Vars . NEWS_API_KEY , .
, Heroku :
git add . git commit -m "Initial commit" git push heroku master
Conclusion
News Go -. , Heroku.
, . - , , .
Thanks for reading!