In the second part , 5 ways to use the Raspberry Pi were discussed. And as it turns out, this microcomputer is capable of even more. Now we will consider another 5, I hope, no less interesting features of the Raspberry Pi.
As in the previous part, we will consider methods that do not require programming.
Continued under the cut.
To begin with, I will answer the question that was asked in the previous part - which model of Raspberry Pi is better to choose. Indeed, different versions have different performance, test results are easy to find in Google:

As you can see, of the modern models, the fastest are the Raspberry Pi 3 B + and the latest version of the Raspberry Pi 4. The only drawback of the Pi4 is that it has a rarer Micro HDMI connector, the 3B + model is more universal in this regard. If you need an ultra-compact model, you can look towards the Raspberry Pi Zero W, but by and large, I would not recommend it. Firstly, as you can see from the tests, it is noticeably slower, and secondly, Zero W has (again!) Another video connector (Mini HDMI), does not have Ethernet and requires a USB adapter to connect a keyboard or mouse. Zero W should be taken only if you know exactly why you need an ultra-compact model - the regular version (Pi 3B + or Pi 4) is faster and more universal.
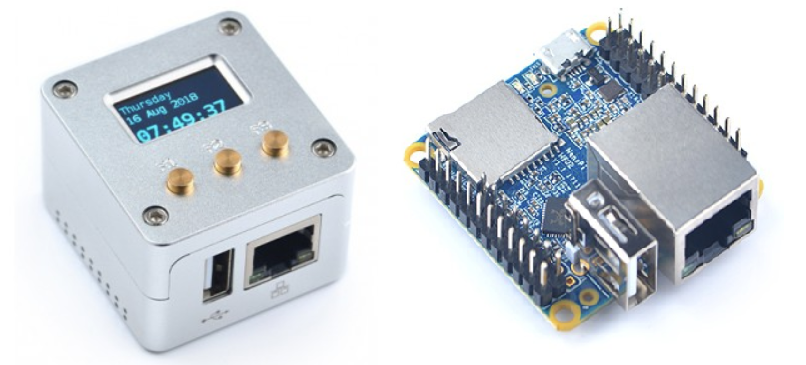
By the way, if you need an ultra-compact micro-PC, you can look towards the Nano Pi, which come in the form of quite interesting models, such as these:
And now, we will continue. So, 5 ways to use the Raspberry Pi.
1. Information kiosk
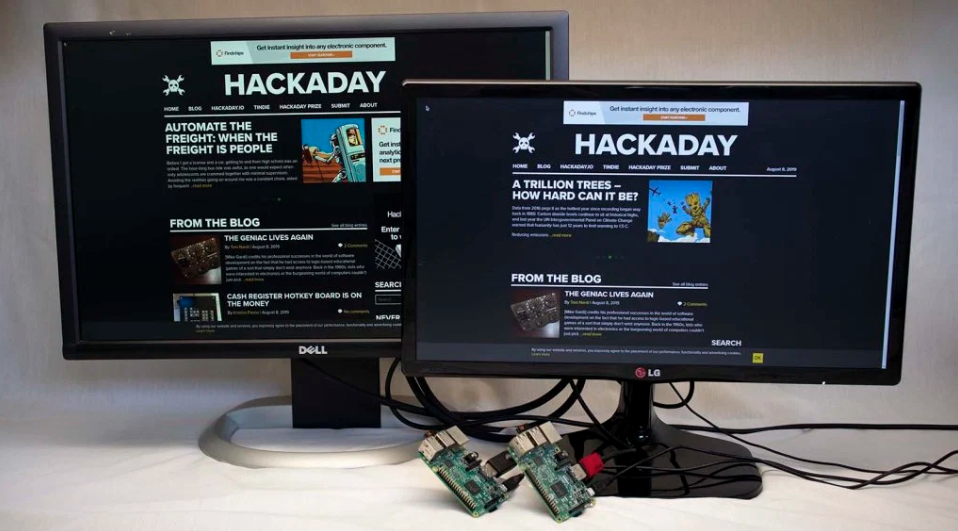
Photo from newscrewdriver.com/2019/08/10/raspberry-pi-web-kiosk-boots-faster-on-raspbian-than-ubuntu-core
The latest versions of Raspbian OS have a completely modern Chromium browser capable of correctly displaying even complex web pages. So if you need to display tickets from Jira, quotes of your company’s stocks, train schedules, or at least the weather forecast on a big screen, Raspberry Pi will completely cope with this task.
It is quite simple and does not require any programming, you just need to run Chromium in kiosk-mode, hide the mouse cursor and turn off the screensaver.
For those interested, a couple of tutorials:
2. LoRaWAN gateway
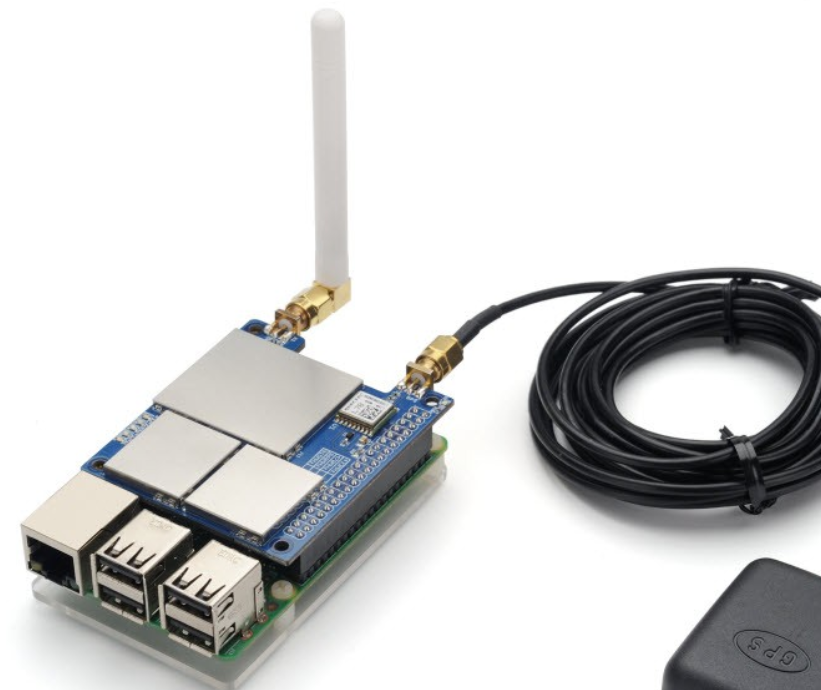
If you need a LoRaWAN wireless network to receive data through low power LoRa radio modems, you can make it based on the Raspberry Pi. There are options for different price categories, single-channel gateways are cheaper, 8-channel more expensive. The approximate price of the issue is from $ 50 to $ 500, depending on the "trick" of the gateway.
A detailed study of LoRa is beyond the scope of this text, materials for a more detailed study:
- learn.adafruit.com/lora-and-lorawan-radio-for-raspberry-pi
- www.cooking-hacks.com/documentation/tutorials/lorawan-for-arduino-raspberry-pi-waspmote-868-900-915-433-mhz
- www.thethingsnetwork.org/docs/gateways/start/build.html
3. Internet radio and Internet TV
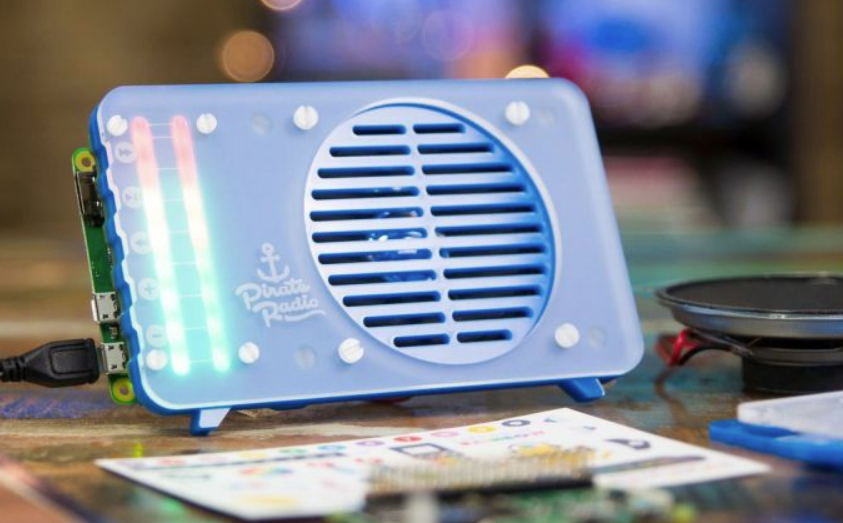
The topic of audio playback on the Raspberry Pi is extremely extensive - you can connect a Chinese USB sound card for $ 3.5, a HiFi-shield with gold-plated connectors for $ 35, and a board with a speaker , as shown in the photo above, to the device. It is also easy to find boards with an optical output, which will add even modern “network” functions to the old audio system.
As for software, there are also many options. You can hardcode and play only one Internet radio station, making a semblance of a “radio point” for your beloved grandmother, you can add an LCD display, buttons, etc. Having a subscription can play from Spotify.
Those interested can see the following tutorials:
- www.jan-holst.dk/pi-radio/pi-radio.html
- www.hackster.io/Granpino/raspberry-pi-internet-radio-and-mp3-player-with-bluetooth-1aa591
- learn.pimoroni.com/tutorial/sandyj/streaming-spotify-to-your-pi
- pimylifeup.com/raspberry-pi-spotify
As for IP-TV, it is recommended to use Kodi - software specially tailored for use as a media center. I personally have not tried setting up IP-TV, and I don’t have a paid subscription, but for those, for example, who live abroad but want to watch Russian-language TV, this may be relevant.
Those interested can refer to the tutorials:
You can also connect an IR receiver to the Raspberry Pi, which allows you to use the remote control.
4. FM transmitter
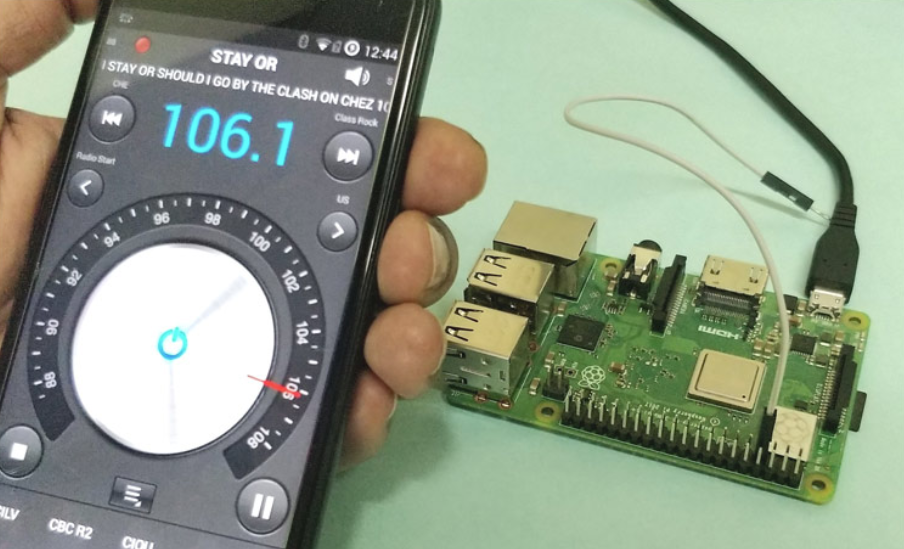
Photo from circuitdigest.com/microcontroller-projects/raspberry-pi-fm-transmitter
Not many people know, but by changing the PLL frequency programmatically, on the Raspberry Pi you can transmit radio signals in the range up to 500 MHz without any additional hardware - just connect a piece of wire to the pin, as shown in the photo, and start the program. Of course, there will be no HiFi-quality here, and the output power is only about 10mW, but for testing any radio devices or just for playing friends or neighbors, this may well come in handy. 10mW of power is enough to play music on the FM radio within the room.
I described this technology in more detail a couple of years ago in an article on geektimes , although today that article is already outdated, a better program for transmission can be found here .
5. Flight controller for drone
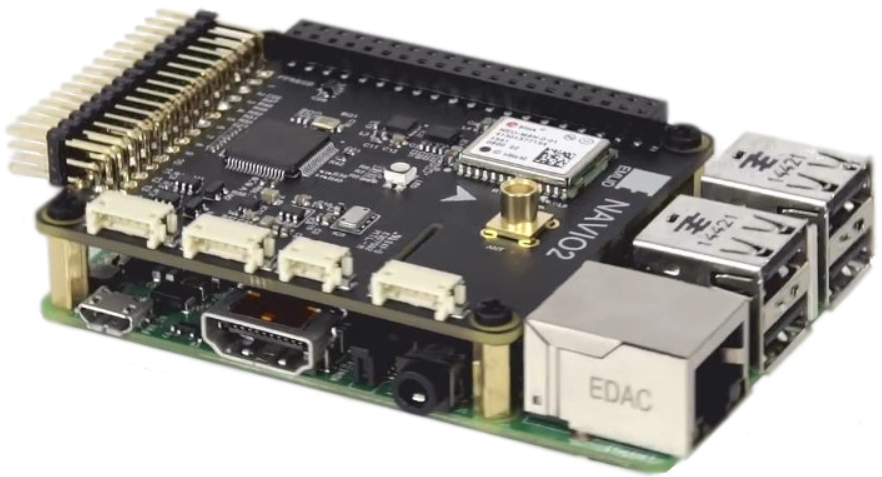
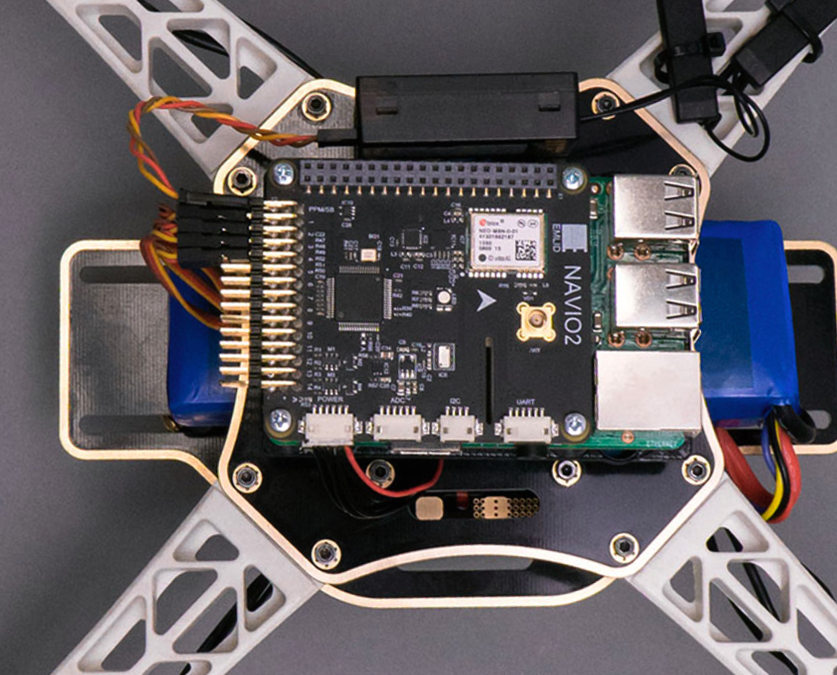
The next project for the Raspberry Pi is no less interesting. Many probably know the controllers for multicopter, such as MultiWii, Arducopter or DJI. A similar controller can be made based on the Raspberry Pi. The NAVIO2 project is a special shield that can control motor controllers and has the necessary sensors on board (accelerometer, barometer, GPS, etc.).
It is difficult to say how much such a bunch is better than the “ordinary” Arducopter / Pixhawk, but for a number of tasks the idea can be quite promising. Firstly, you can control or transmit telemetry (or even an image) from such a copter via a 3G / 4G modem, which significantly increases the range of the link. Secondly, Raspberry Pi can run quite complex algorithms, such as a Kalman filter or some other math. I personally have not tried this controller, so I can’t say in more detail, anyone can search for video of flights on Youtube.
Conclusion
I hope readers have found some useful ideas for themselves.
It was the last part, the second and first parts are available at the links.
All successful experiments.