Today we will continue to study the network capabilities of the Raspberry Pi, or rather their implementation in Python. In the first part, we examined the basic functions of the simplest web server running on the Raspberry Pi. Now we will go further and consider several ways to make our server interactive.

The article is designed for beginners.
Before you start a couple of notes.
Firstly, I myself doubted whether to continue and expected a greater flow of criticism and low ratings, but as the survey showed in the first part, 85% of readers found the information provided there useful. I understand that some pro articles for "dummies" are annoying, but they all started once, so you have to wait.
Secondly, I will write about programming, not about administration. So the issues of configuring Raspbian, configs, VPN, security and other things will not be considered here. Although this is also important, one cannot embrace the immense. It will only be about Python, and how to make a server on it.
Those who are not interested can click the back button in the browser right now and not waste their valuable time;)
And we will begin.
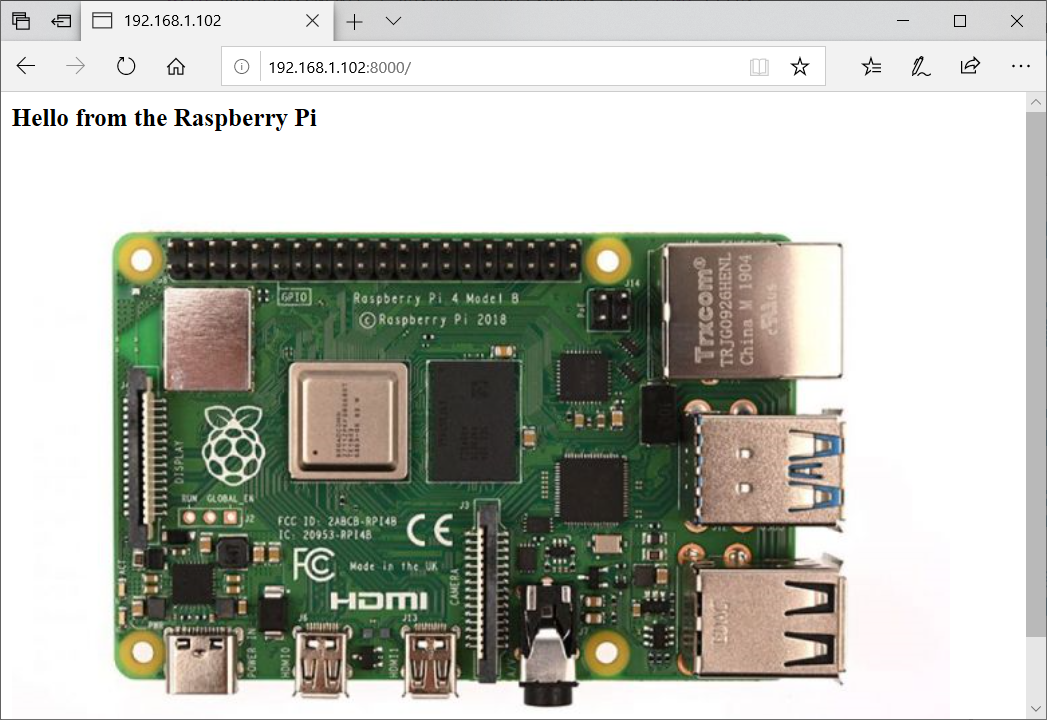
Let me remind you that in the previous part we ended up launching a simple web server on a Raspberry Pi showing a static page:
Now we will go further and make our server interactive, add LED control to the web page. Of course, instead of the LED, there can be any other device that can be controlled by GPIO, but with the LED it is the easiest to conduct an experiment.
Training
I will not describe how to connect the LED to the Raspberry Pi, anyone can find it in Google in 5 minutes. We will write several functions for using GPIO at once, which we then insert into our server.
try: import RPi.GPIO as GPIO except ModuleNotFoundError: pass led_pin = 21 def raspberrypi_init(): try: GPIO.setmode(GPIO.BCM) GPIO.setup(led_pin, GPIO.OUT) except: pass def rasperrypi_pinout(pin: int, value: bool): print("LED ON" if value else "LED OFF") try: GPIO.output(pin, value) except: pass def rasperrypi_cleanup(): try: GPIO.cleanup() except: pass
As you can see, each GPIO call function is “wrapped” in a try-catch block. Why is this done? This allows you to debug the server on any PC, including Windows, which is quite convenient. Now we can insert these functions into the web server code.
Our task is to add buttons to the web page that allow us to control the LED from the browser. 3 ways of implementation will be considered.
Method 1: Wrong
This method cannot be called beautiful, but it is short and the easiest to understand.
Create a line with an HTML page.
html = '''<html> <style>html{font-family: Helvetica; display:inline-block; margin: 0px auto; text-align: center;} .button_led {display: inline-block; background-color: #e7bd3b; border: none; border-radius: 4px; color: white; padding: 16px 40px; text-decoration: none; font-size: 30px; margin: 2px; cursor: pointer;} </style> <body> <h2>Hello from the Raspberry Pi!</h2> <p><a href="/led/on"><button class="button button_led">Led ON</button></a></p> <p><a href="/led/off"><button class="button button_led">Led OFF</button></a></p> </body> </html>'''
There are 3 points to note here:
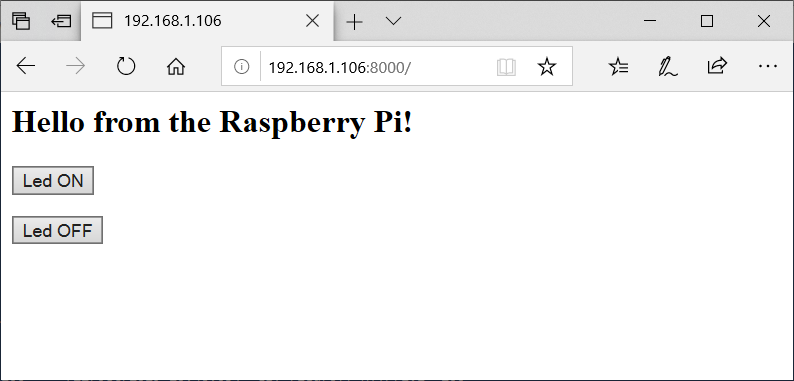
- We use CSS to specify the style of the buttons. You couldn’t do this and get by with just 4 lines of HTML-code, but then our page would look like “greetings from 90s”:
- For each button, we create a local link like / led / on and / led / off
- Mixing resources and code is a bad programming style, and ideally, HTML is best kept separate from Python code. But my goal is to show minimally working code in which there is a minimum of superfluous, so some things are omitted for simplicity. In addition, it is convenient when the code can simply be copied from the article, without too much fuss with additional files.
We already examined the server itself in the previous part, it remains to add the processing of the '/ led / on' and '/ led / off' lines to it. Updated whole code:
from http.server import BaseHTTPRequestHandler, HTTPServer class ServerHandler(BaseHTTPRequestHandler): def do_GET(self): print("GET request, Path:", self.path) if self.path == "/" or self.path.endswith("/led/on") or self.path.endswith("/led/off"): if self.path.endswith("/led/on"): rasperrypi_pinout(led_pin, True) if self.path.endswith("/led/off"): rasperrypi_pinout(led_pin, False) self.send_response(200) self.send_header('Content-type', 'text/html') self.end_headers() self.wfile.write(html.encode('utf-8')) else: self.send_error(404, "Page Not Found {}".format(self.path)) def server_thread(port): server_address = ('', port) httpd = HTTPServer(server_address, ServerHandler) try: httpd.serve_forever() except KeyboardInterrupt: pass httpd.server_close() if __name__ == '__main__': port = 8000 print("Starting server at port %d" % port) raspberrypi_init() server_thread(port) rasperrypi_cleanup()
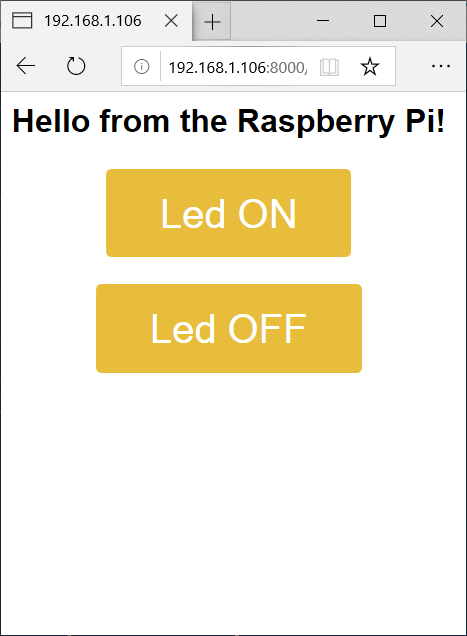
We start it, and if everything was done correctly, then we can control the LED through our web server:
You can test the server not only on Raspberry Pi, but also on Windows or OSX, in the console there will be LED ON, LED OFF messages when you click on the corresponding button:

Now we find out why this method is bad, and why it is "wrong." This example is quite working, and quite often copied in different tutorials. But there are two problems - firstly, it is wrong to reload the whole page when we just want to light up the LED. But this is still half the problem. The second, and more serious, problem is that when we press the button for turning on the LED, the page address becomes http://192.168.1.106:8000/led/on . Browsers usually remember the last opened page, and the next time you open the browser, the command to turn on the LED will work again, even if we did not want to. Therefore, we will move on to the next, more correct way.
Method 2: Right
To do everything right, we put out the on and off functions of the LED in separate requests, and we will call them asynchronously using Javascript. HTML page code will now look like this:
html = '''<html> <style>html{font-family: Helvetica; display:inline-block; margin: 0px auto; text-align: center;} .button_led {display: inline-block; background-color: #e7bd3b; border: none; border-radius: 4px; color: white; padding: 16px 40px; text-decoration: none; font-size: 30px; margin: 2px; cursor: pointer;} </style> <script type="text/javascript" charset="utf-8"> function httpGetAsync(method, callback) { var xmlHttp = new XMLHttpRequest(); xmlHttp.onreadystatechange = function() { if (xmlHttp.readyState == 4 && xmlHttp.status == 200) callback(xmlHttp.responseText); } xmlHttp.open("GET", window.location.href + method, true); xmlHttp.send(null); } function ledOn() { console.log("Led ON..."); httpGetAsync("led/on", function(){ console.log("Done"); }); } function ledOff() { console.log("Led OFF..."); httpGetAsync("led/off", function(){ console.log("Done"); }); } </script> <body> <h2>Hello from the Raspberry Pi!</h2> <p><button class="button button_led" onclick="ledOn();">Led ON</button></p> <p><button class="button button_led" onclick="ledOff();">Led OFF</button></p> </body> </html>'''
As you can see, we abandoned href, and we call the ledOn and ledOff functions, which, in turn, invoke the corresponding server methods asynchronously (asynchronous methods are needed so that the page does not block until the response from the server arrives).
Now it remains to add the processing of get requests to the server:
def do_GET(self): print("GET request, path:", self.path) if self.path == "/": self.send_response(200) self.send_header('Content-type', 'text/html') self.end_headers() self.wfile.write(html.encode('utf-8')) elif self.path == "/led/on": self.send_response(200) self.send_header('Content-type', 'text/plain') self.end_headers() rasperrypi_pinout(led_pin, True) self.wfile.write(b"OK") elif self.path == "/led/off": self.send_response(200) self.send_header('Content-type', 'text/plain') self.end_headers() rasperrypi_pinout(led_pin, False) self.wfile.write(b"OK") else: self.send_error(404, "Page Not Found {}".format(self.path))
Now, as you can see, the page no longer reloads when trying to light the LED, each method does only what it should do.
Method 3: More Correct
It seems that everything is already working. But of course, the above code can (and should) be improved. The fact is that we use GET requests to control the LED. This saves us space in the code, but methodologically this is not entirely correct - GET requests are designed to read data from the server, they can be cached by the browser, and generally should not be used to modify data. The correct way is to use POST (for those who are interested in details, more details here ).
We’ll change the calls in HTML from get to post, but at the same time, since the code is asynchronous, we will display the status of the server’s response and display of the results. For a local network this will not be noticeable, but for a slow connection it is very convenient. To make it more interesting, we will use JSON to pass parameters.
The final version looks like this:
html = '''<html> <style>html{font-family: Helvetica; display:inline-block; margin: 0px auto; text-align: center;} .button_led {display: inline-block; background-color: #e7bd3b; border: none; border-radius: 4px; color: white; padding: 16px 40px; text-decoration: none; font-size: 30px; margin: 2px; cursor: pointer;} </style> <script type="text/javascript" charset="utf-8"> function httpPostAsync(method, params, callback) { var xmlHttp = new XMLHttpRequest(); xmlHttp.onreadystatechange = function() { if (xmlHttp.readyState == 4 && xmlHttp.status == 200) callback(xmlHttp.responseText); else callback(`Error ${xmlHttp.status}`) } xmlHttp.open("POST", window.location.href + method, true); xmlHttp.setRequestHeader("Content-Type", "application/json"); xmlHttp.send(params); } function ledOn() { document.getElementById("textstatus").textContent = "Making LED on..."; httpPostAsync("led", JSON.stringify({ "on": true }), function(resp) { document.getElementById("textstatus").textContent = `Led ON: ${resp}`; }); } function ledOff() { document.getElementById("textstatus").textContent = "Making LED off..."; httpPostAsync("led", JSON.stringify({ "on": false }), function(resp) { document.getElementById("textstatus").textContent = `Led OFF: ${resp}`; }); } </script> <body> <h2>Hello from the Raspberry Pi!</h2> <p><button class="button button_led" onclick="ledOn();">Led ON</button></p> <p><button class="button button_led" onclick="ledOff();">Led OFF</button></p> <span id="textstatus">Status: Ready</span> </body> </html>'''
Add support for GET and POST requests to the server:
import json class ServerHandler(BaseHTTPRequestHandler): def do_GET(self): print("GET request, path:", self.path) if self.path == "/": self.send_response(200) self.send_header('Content-type', 'text/html') self.end_headers() self.wfile.write(html.encode('utf-8')) else: self.send_error(404, "Page Not Found {}".format(self.path)) def do_POST(self): content_length = int(self.headers['Content-Length']) body = self.rfile.read(content_length) try: print("POST request, path:", self.path, "body:", body.decode('utf-8')) if self.path == "/led": data_dict = json.loads(body.decode('utf-8')) if 'on' in data_dict: rasperrypi_pinout(led_pin, data_dict['on']) self.send_response(200) self.send_header('Content-type', 'text/plain') self.end_headers() self.wfile.write(b"OK") else: self.send_response(400, 'Bad Request: Method does not exist') self.send_header('Content-Type', 'application/json') self.end_headers() except Exception as err: print("do_POST exception: %s" % str(err))
As you can see, we now use one led function, into which the on parameter is passed using json, accepting True or False (when called in HTML, a json string of the form {"on": true} is transmitted, respectively). It is also worth paying attention to try-catch - this blocks the server from falling, for example, if someone sends a string with invalid json to the server.
If everything was done correctly, we get a server with feedback, which should look something like this:

Feedback, in our case, the message “OK”, allows you to see confirmation from the server that the code has actually been processed.
Can this server be improved yet? You can, for example, make sense to replace the use of the print function with the use of logging, this is more correct, and allows you to display server logs not only on the screen, but also if you want to write them to a file with automatic rotation. Those who wish can do this on their own.
Conclusion
If everything was done correctly, we will get a mini-server that allows you to control the LED or any other device through a browser from any network device.
Important: Safety Precautions
Once again, I note that there is no protection or authentication here, so you should not “upload” such a page to the Internet if you plan to manage some more or less responsible load. Although the cases of attacks on such servers are unknown to me, it’s still not worth giving anyone who wants to be able to remotely open the garage door or turn on the kilowatt heater. If you want remote control through such a page, it’s worth setting up a VPN or something similar.
In conclusion, I repeat that the material is designed for beginners, and I hope this was more or less useful. It is clear that not everyone on Habré is satisfied with the availability of articles "for dummies", so whether or not the next part will depend on the final grades. If there is, then it will consider the Flask and WSGI frameworks, as well as the basic authentication methods.
All successful experiments.