Live review of the food 3D-printer Chocola3D
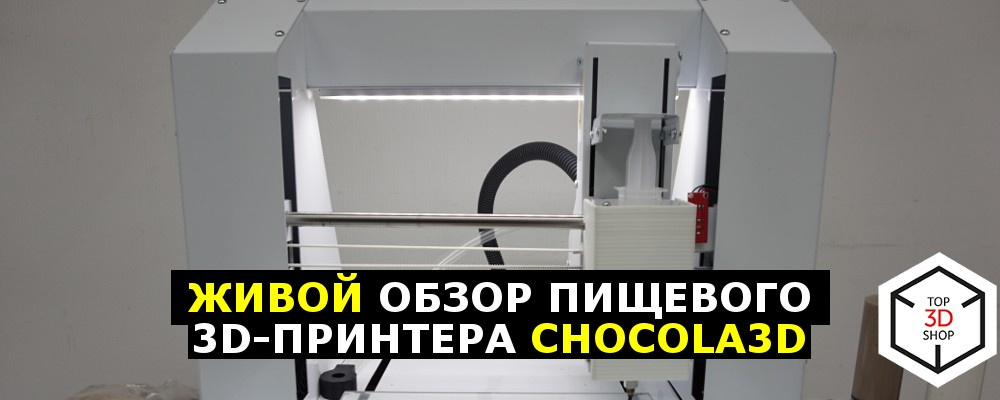
This is a review of Chocola3D Culinary 3D Printer. We have already announced the beginning of its sales, now - a live review with our photos.
What is it
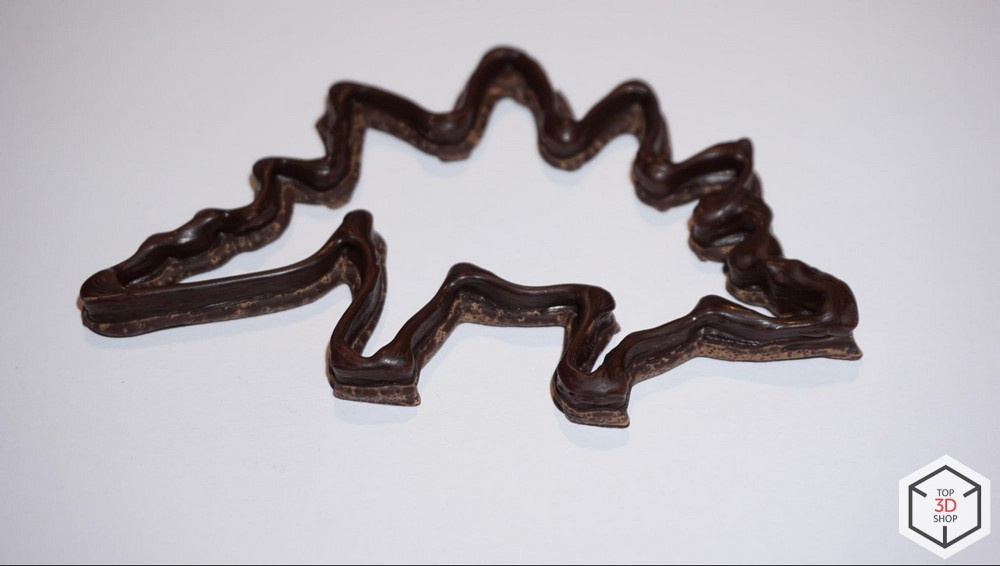
3D printer Chocola3D - prints three-dimensional and embossed figures with chocolate and other food products.
Printing material: chocolate, pastry mixes and glazes, hummus, cheese, pate, vegetable pastes, fruit pastes and other pasty food materials
- Body Material: Steel
- Platform: tempered glass
- Printing area: 250 x 210 x 80 mm
- Volume: 50 ml
- Print speed: 50 mm / s
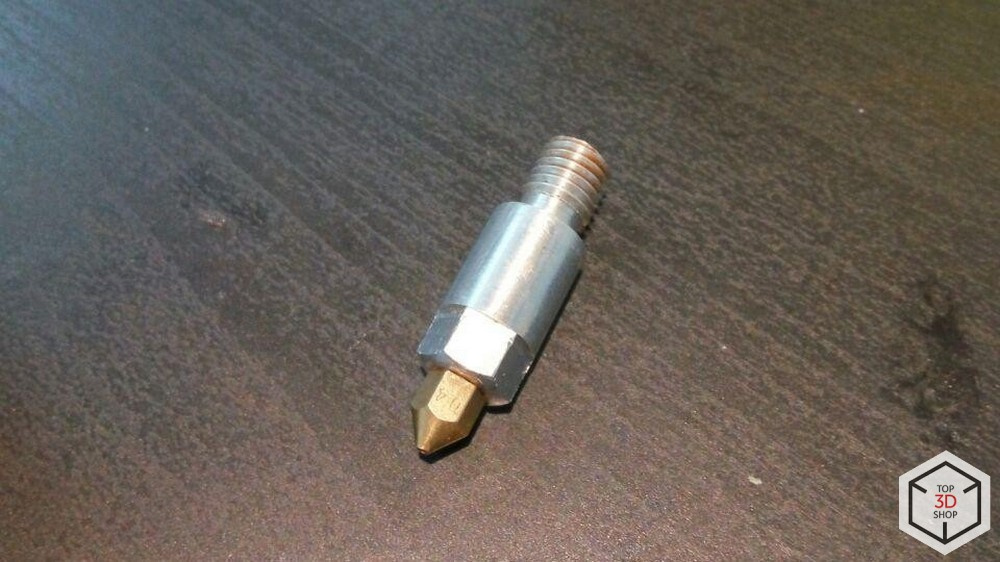
- Nozzle diameter: 0.9-1.2 mm
- Dimensions: 510 x 480 x 550 mm
- Weight: 17 kg
- File Format: .gcode
- Interfaces: USB, Wi-Fi
- Software: Cura, Simplify
- Price: 194 820 rubles
Video
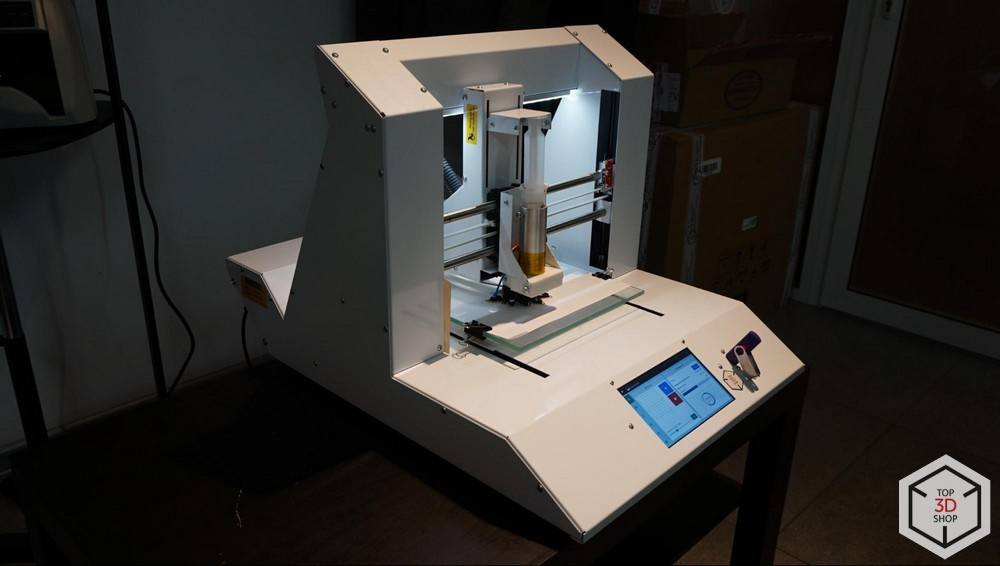
Launch
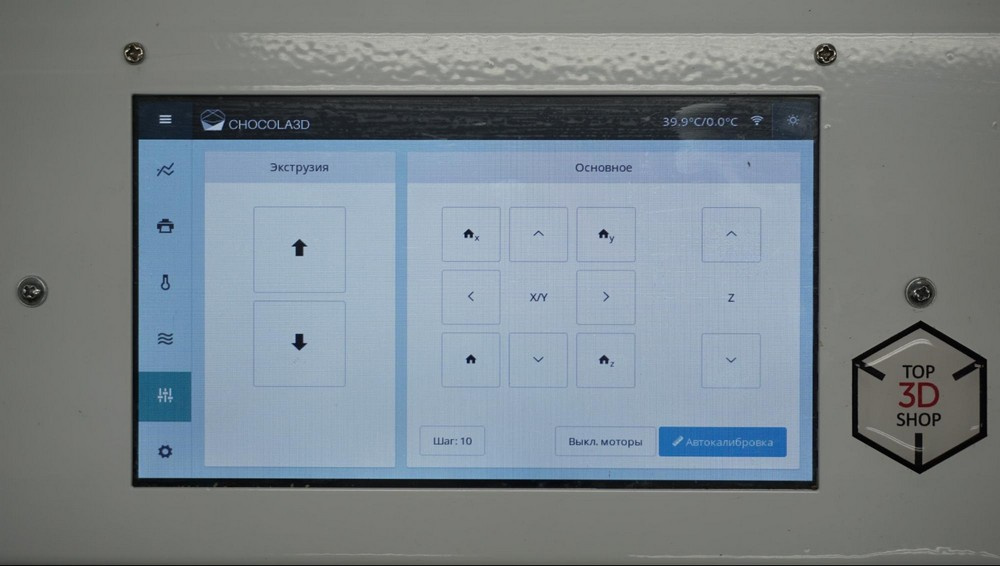
Before the first print we calibrate the printer table in the XY plane. To do this, we return the extruder head to the X0 Y0 Z0 position, raise the extruder a little, choose the best calibration option - calibration is possible on a sheet of paper or on a selected probe gap.
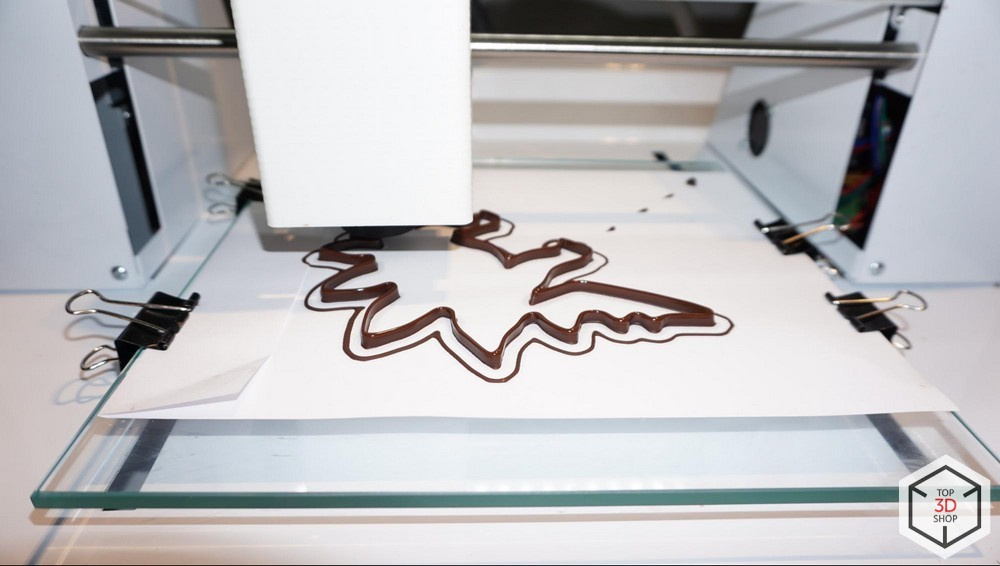
The glass table of the printer is fixed with four office clips, if a sheet of paper is attached to it, or two if it is printed on cling film.
For 5-10 minutes before printing, we include one of three modes of blowing the model and heating the hopper with a syringe.

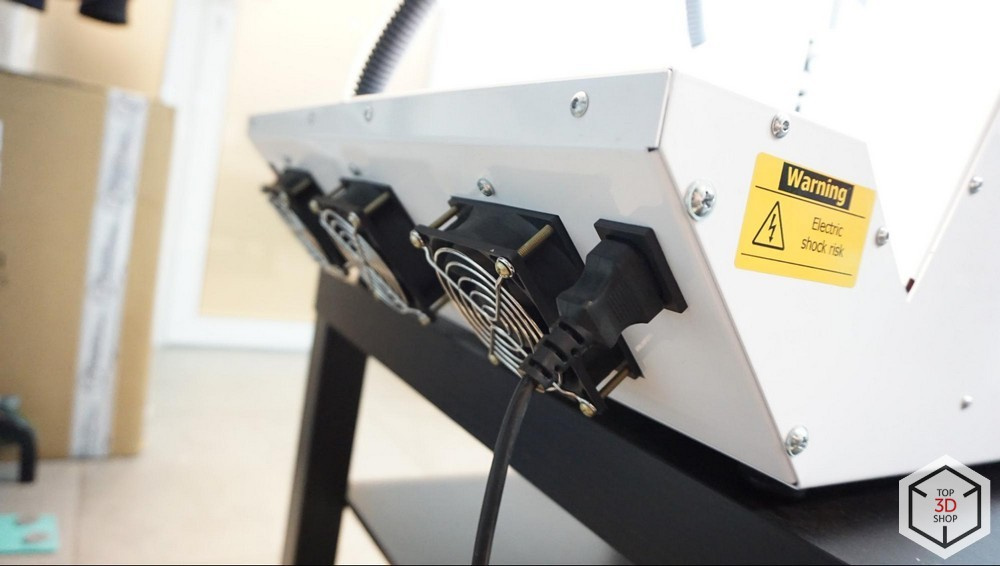
The printer has three units for heating and cooling the air on the Peltier elements.
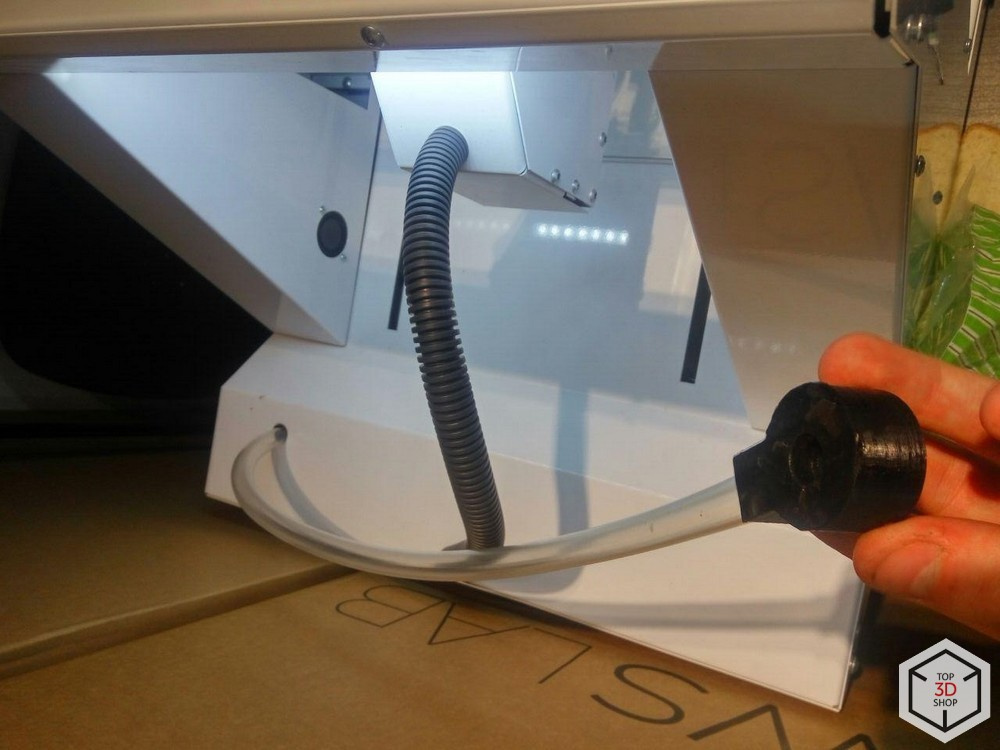
Hot or cold air from them goes through the tube to the top.
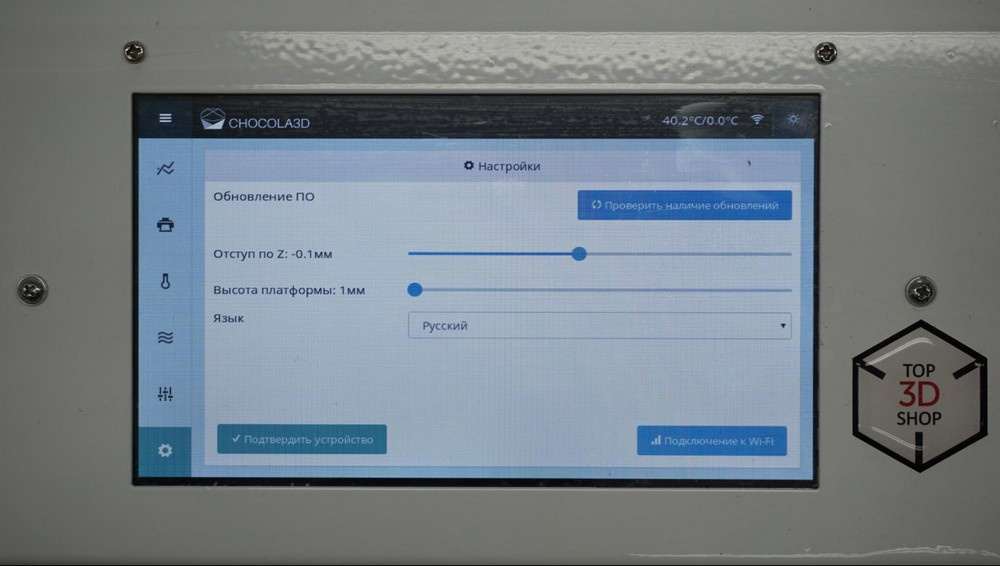
Set the settings for cooling, blowing and heating in the menu.

In the process of printing, you can adjust the height of the nozzle relative to the working surface, in increments of 0.2 mm.
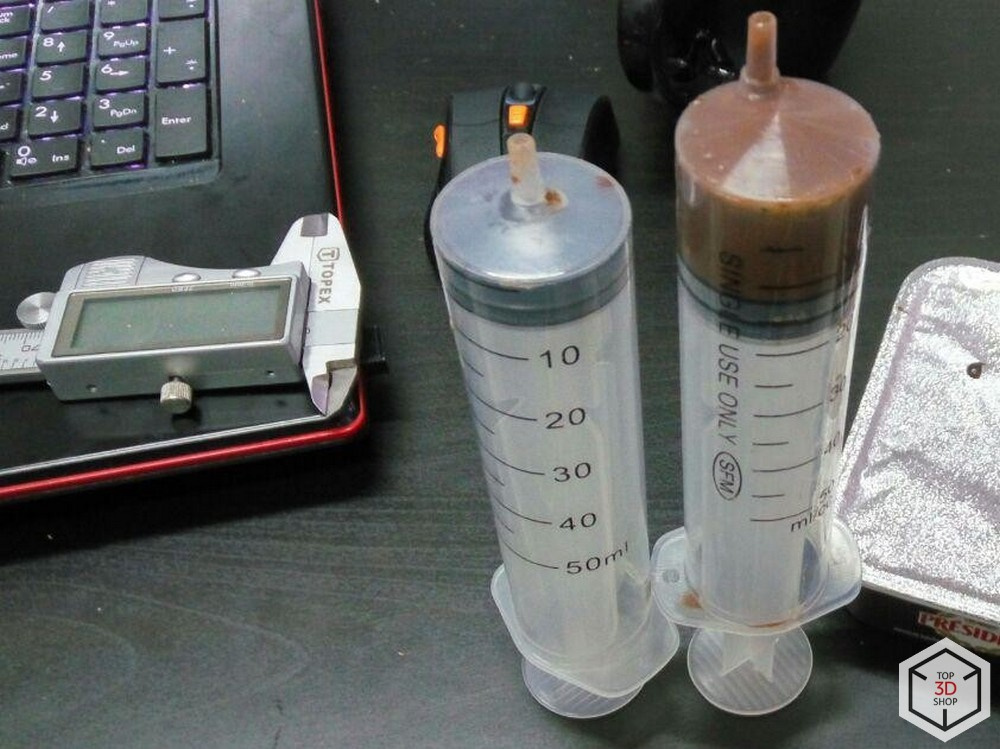
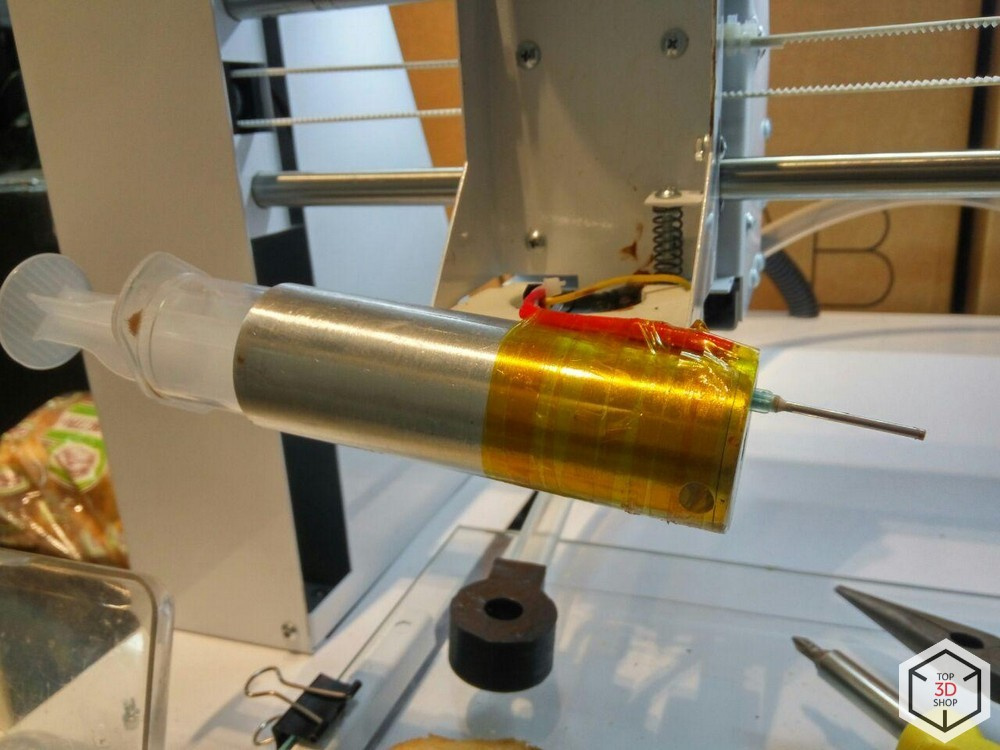
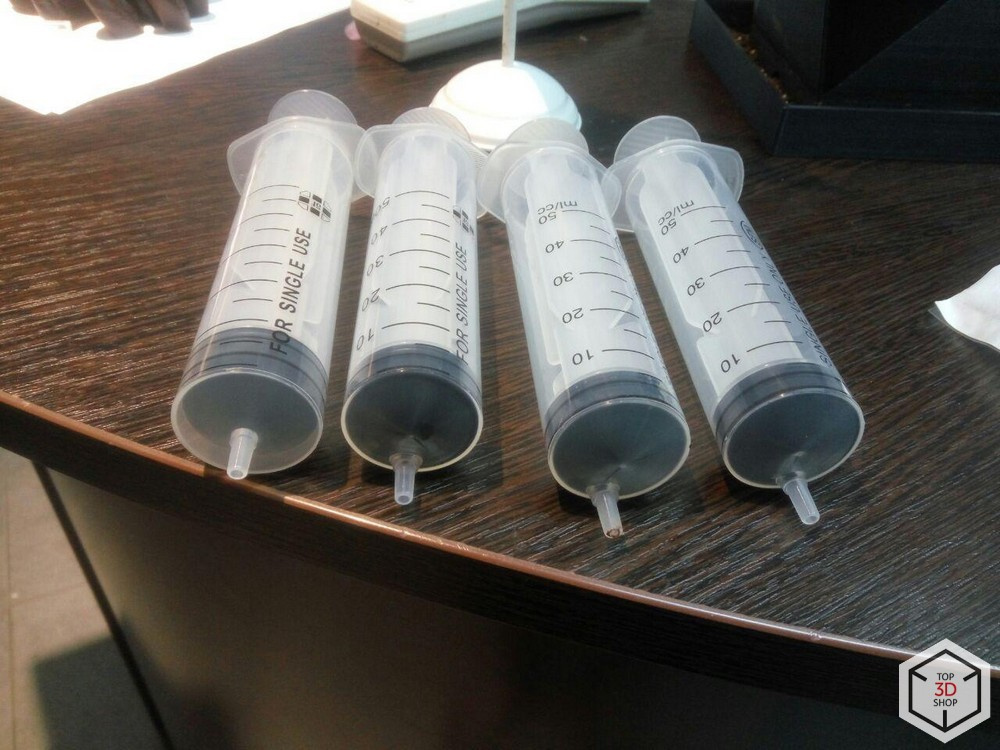
Before filling the syringe make sure there are no lumps. Print material before refilling filter. Included is a sieve for a syringe. For printing with a cold mixture, for example, with a paste, fill the syringe to the 50 ml mark. Before installing the syringe in the hopper, fully raise the material supply unit.
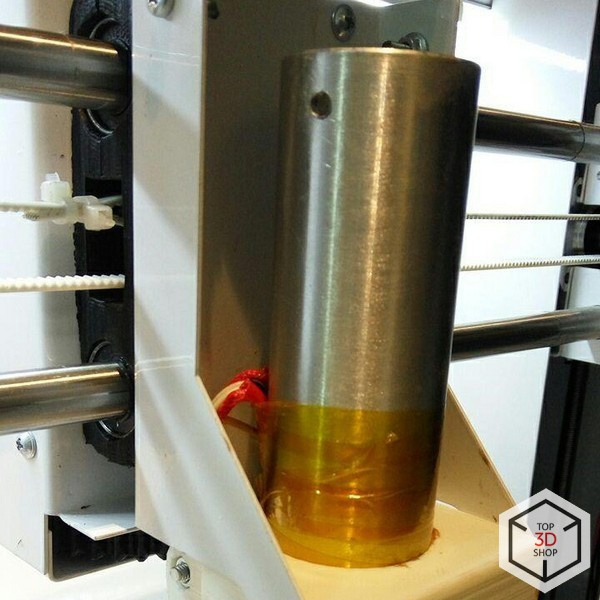
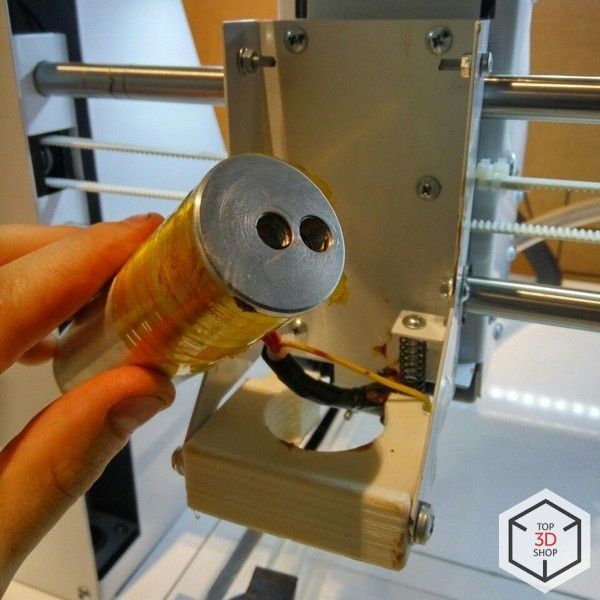
Chocolate is placed in a tempered syringe, then it is heated by a bunker.
We load the syringe into the bunker, check that the syringe pen hangs loosely under the feeder's stop, lower the stop in the printer menu, forcing some material through the nozzle. If the material passes freely through the nozzle, the printer is ready to print.
So that the material does not leak out spontaneously, we return the extruder to its initial position: X-0, Y-0, Z-0, so that the nozzle rests on the table.
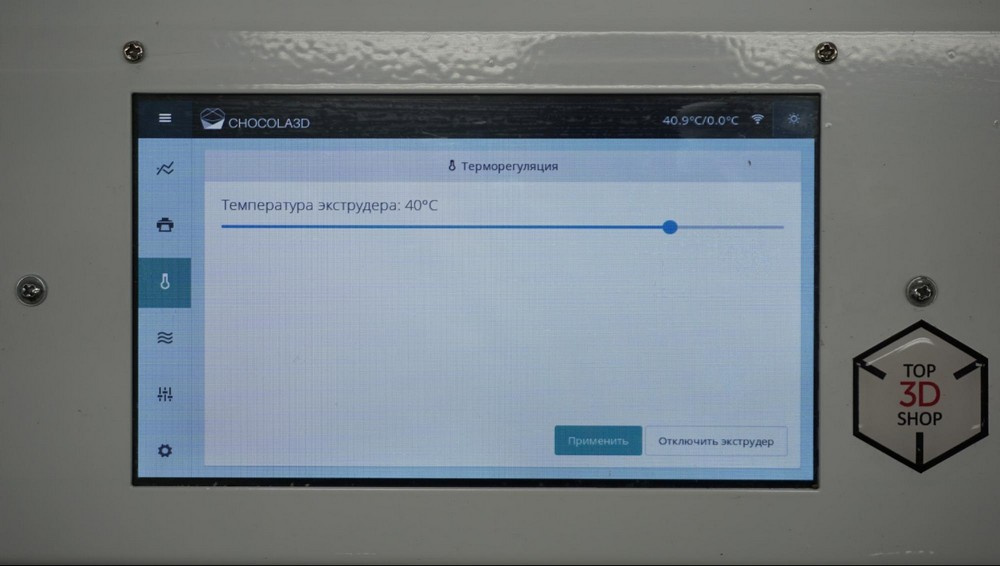
Before printing, we check the work of heating the printer. The temperature in the room, when working with chocolate, should not exceed 20-22 degrees. The temperature of the extruder corresponds to the temperature of tempered chocolate - 36-37 degrees Celsius. The .gcode file is downloaded to the printer via a USB flash drive or Wi-Fi.
It is possible to adjust the extruder height and material feed both in the printing process and by pausing. The speed of printing with chocolate is 3-15 mm / s, it depends on the geometry of the model. The more complex the model, the slower the printing should be.
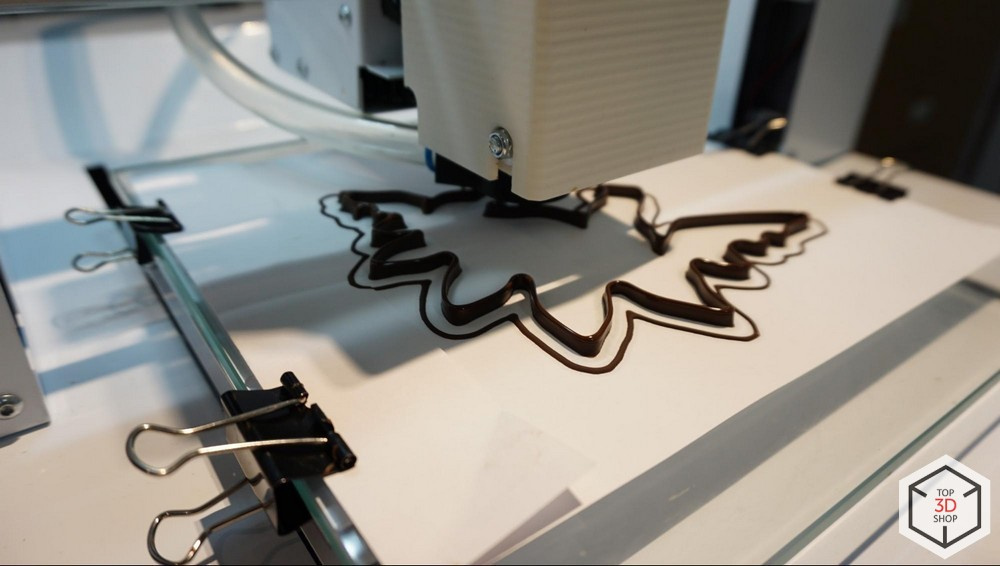
Dinosaurs were printed for 6 hours at a room temperature of 22 degrees, with a decrease in temperature, printing can be accelerated.

Chocola3D is quieter than a regular FDM 3D printer.
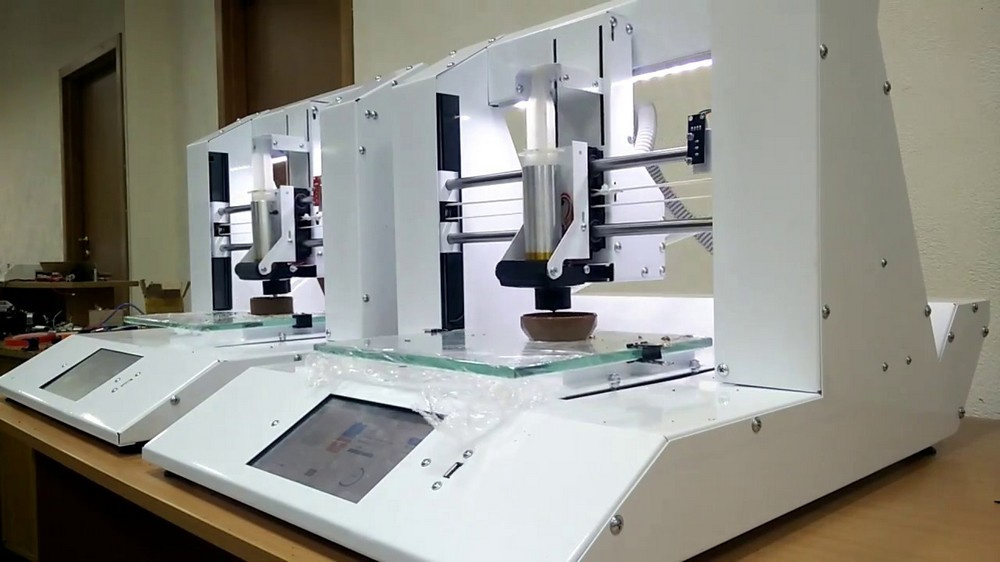
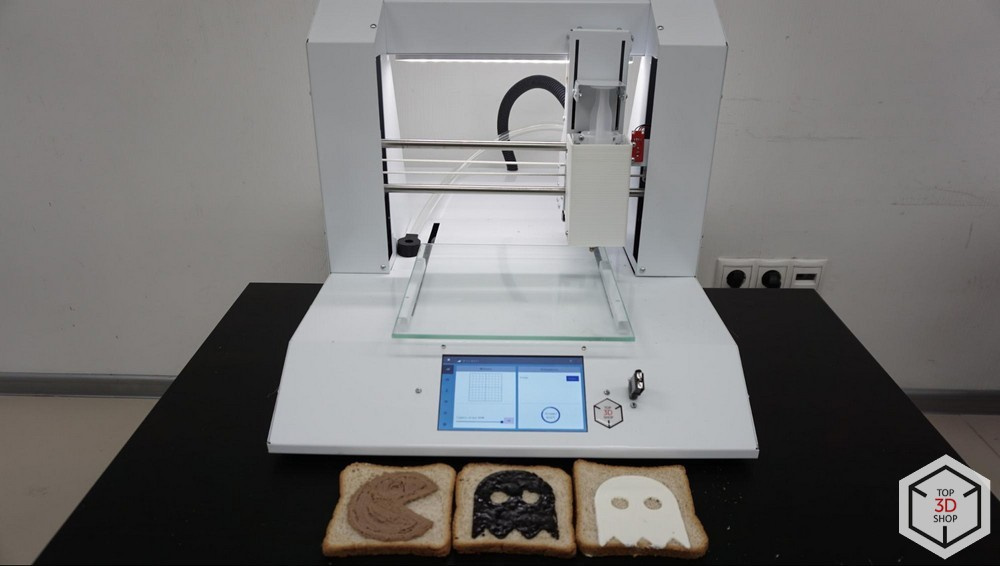
Constructive
The design of the printer is similar to the Wanhao Duplicator 3, the main difference is the presence of thermoregulation on the Peltier elements and the replacement of an FDM extruder with a heated hopper and a material feed mechanism.
In the heated hopper, syringes can be used both with the central nozzle and with the side nozzle; for this, two extruder nozzle sockets are provided.
What to print
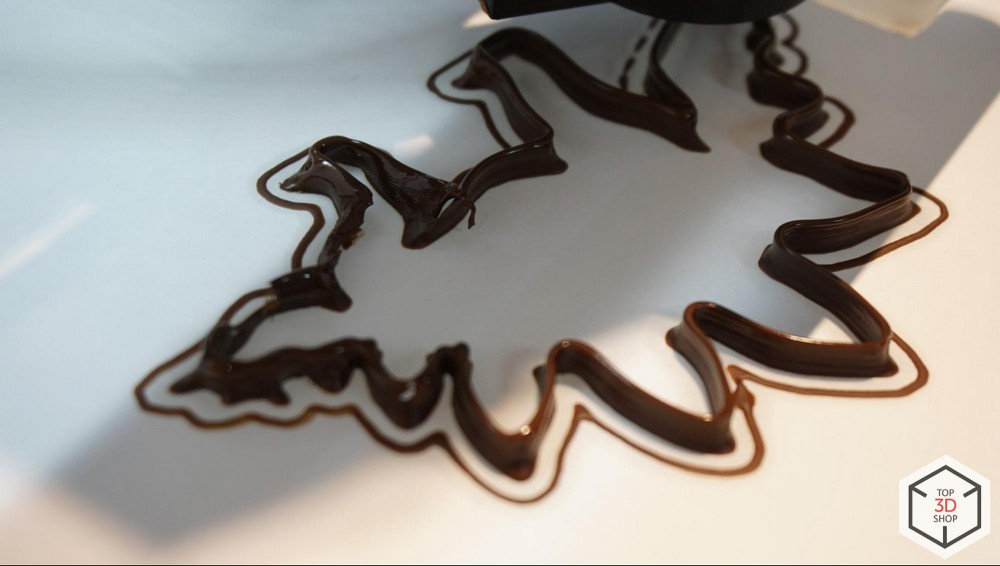
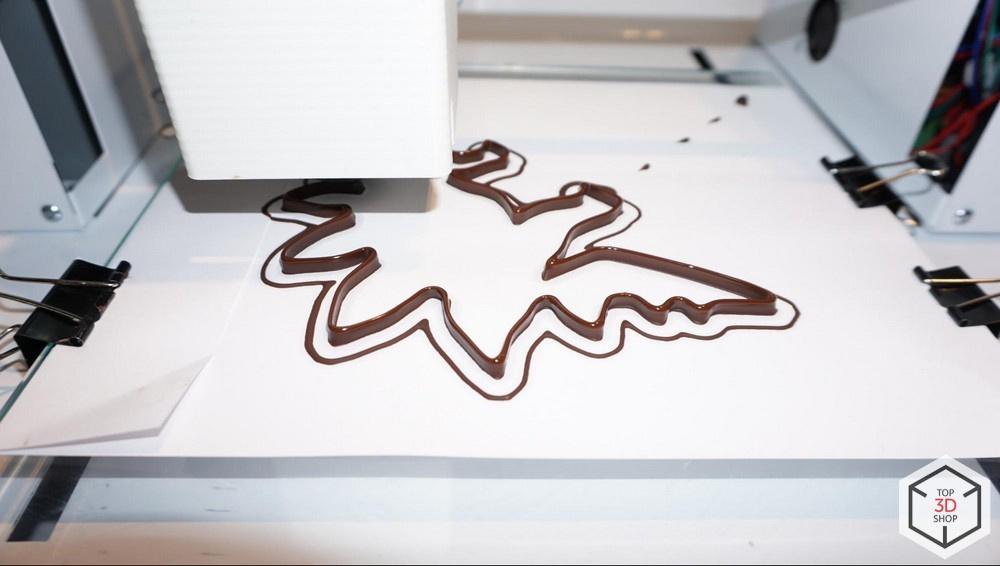
For printing on Chocola3D, chocolate is best suited for fondue and fountains, with a cocoa content of more than 50 percent, such as this .
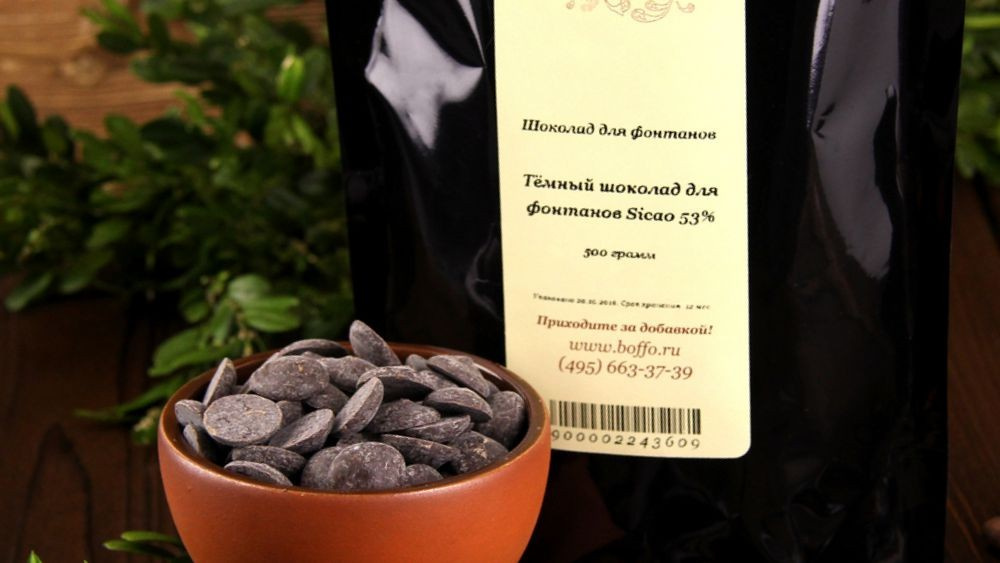
Milk chocolate clogs the nozzle faster, but you can also print them, the main requirement is the absence of foreign inclusions and the cocoa content of at least 33%. We used dark chocolate for 53% cocoa fondue.
Available printing and other materials - sandwich mixes, pate, pasta.
When printing mixtures have their own subtleties. The mixture should be fine and without solid inclusions, not every pate, cheese or jam will do. To ensure that nothing gets stuck in the extruder, the mixture must first be processed with a blender.
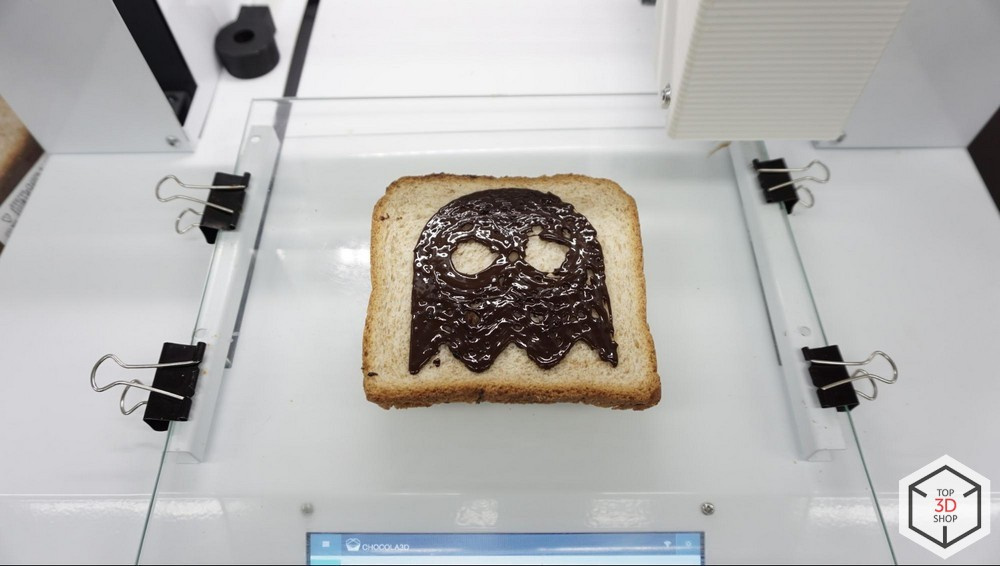
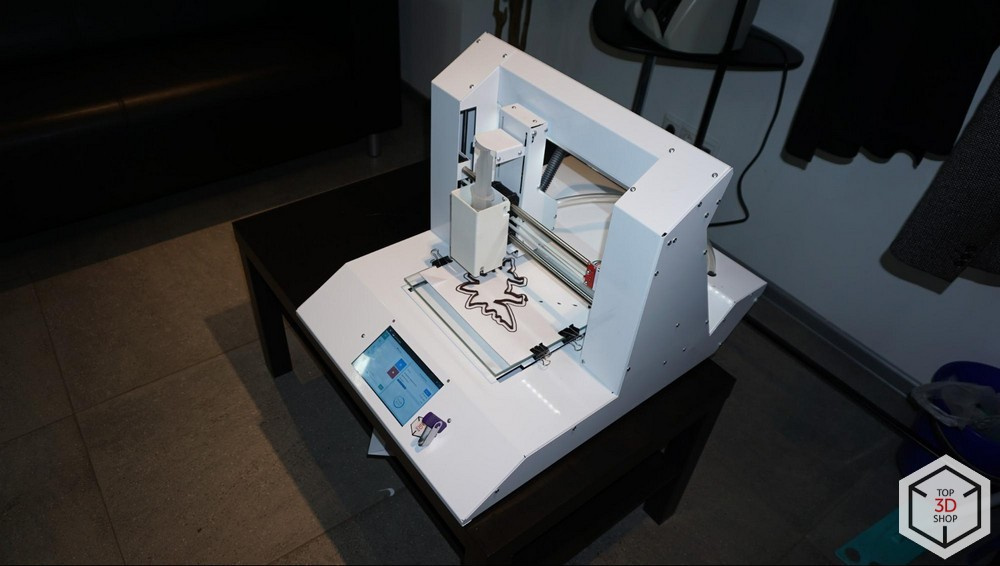
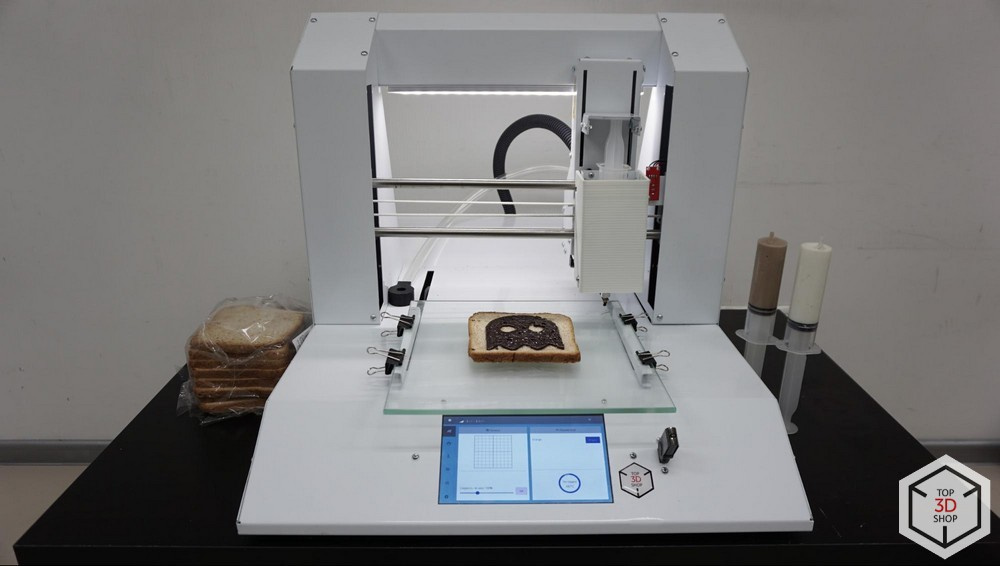
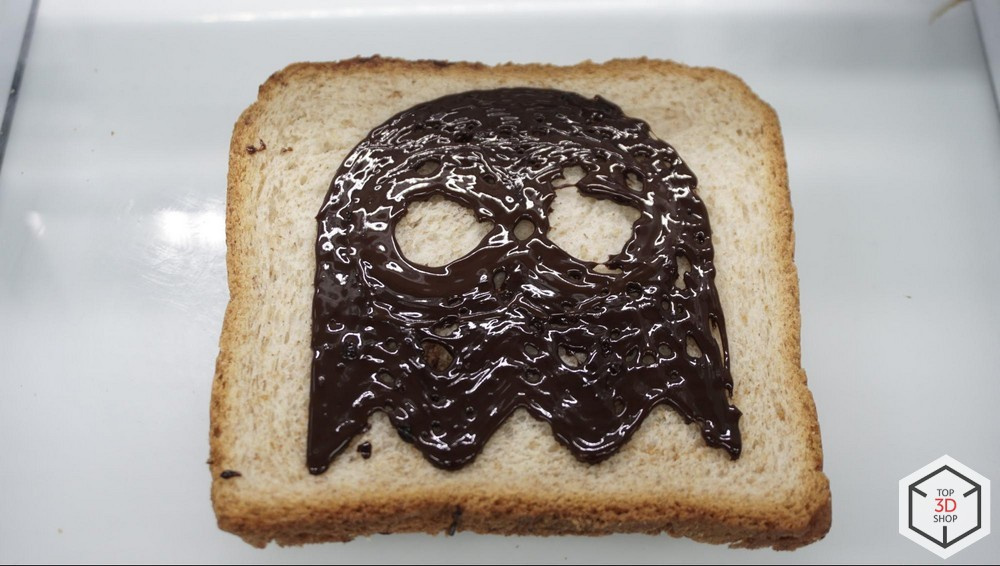
When printing on bread, it is necessary to preliminarily measure the height of the bread and place the object in the slicer exactly 500 microns lower, that is, if the bread is 11 mm high, then in the slicer it is necessary to raise the drawing to a height of 10.5 mm. The object must be centered to fit the image on the piece.
Melted cheese and liquid cottage cheese printer prints well. When printing with pate and jam, due to their heterogeneous density, it is necessary to follow the process.
Printing by mixtures for the user differs only in terms of calibration: select the second profile, according to which the printer is calibrated, then the extruder goes to the center of the platform and goes into standby mode for 5 seconds - at this time you need to set the bread under the nozzle, exactly in the center. This is the only difference between profiles in Simplify3D.
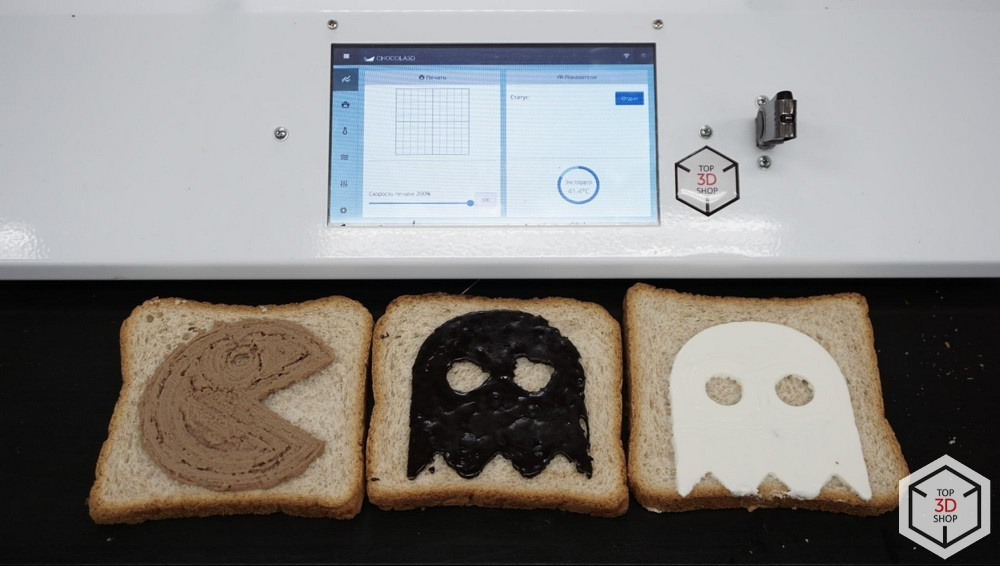
Sandwiches were printed pate, melted chocolate cheese and curd cheese.
Difficulties and their solution
- If the printing of the first layers is not uniform and tears are visible, calibrate by tightening the nuts at the mounting points of the printer.
- To eliminate scrap when printing with chocolate, caused by high temperature of the air in the room, transfer the printer to the air-conditioned room.

- If the nozzle of the printer is clogged, and this is normal - the chocolate dries, especially milky, - periodic cleaning is needed, after printing every 4-5 models. You can clean with cotton buds dipped in hot water. Remove the syringe, unscrew the nozzle and wipe all contaminated areas with a stick. Material matters: when printing with dark chocolate, there was not a single blockage, milky - the nozzle was often clogged. Another possible cause of blockages - the wrong temperature. The temperature of the hopper when printing chocolate must be at least 37 degrees.
- If the model collapses - the cause may be too large overhang, or the product is too hot. It is treated by changing the model and compliance with temperature regimes.
- If you cannot find 50 ml three-component syringes that are used as cartridges, you can order them from medical equipment sites.
findings
Chocola3D, with its price of 194,820 rubles, is one of the most affordable food 3D printers that works stably.
It will be useful primarily to confectioners, to create chocolate products of any shape and cake decorations.
At observance of temperature conditions, the correct control and use of high-quality chocolate provides good quality of the press.
You can order Chocola3D from an authorized dealer right now.
Want more interesting news from the world of 3D technology?
Subscribe to us in the social. networks:


All Articles