 今日は、Windowsプラットフォーム上の仮想サーバーにWeb Platform Installer(WebPI)を介して人気のあるJoomla CMSをインストールする方法についてお話したいと思います。 WebPIは、Web開発者向けのツールの無料アーカイブです(IIS、PHP、MS SQL、.NET、MySql、WebsitePanel、MS WebMatrix、Umbraco、WordPress、Acquia Drupal、Joomlaなど)。 ライブラリは常に更新されています 。その構成はこちらで確認できます 。
それでは始めましょう。
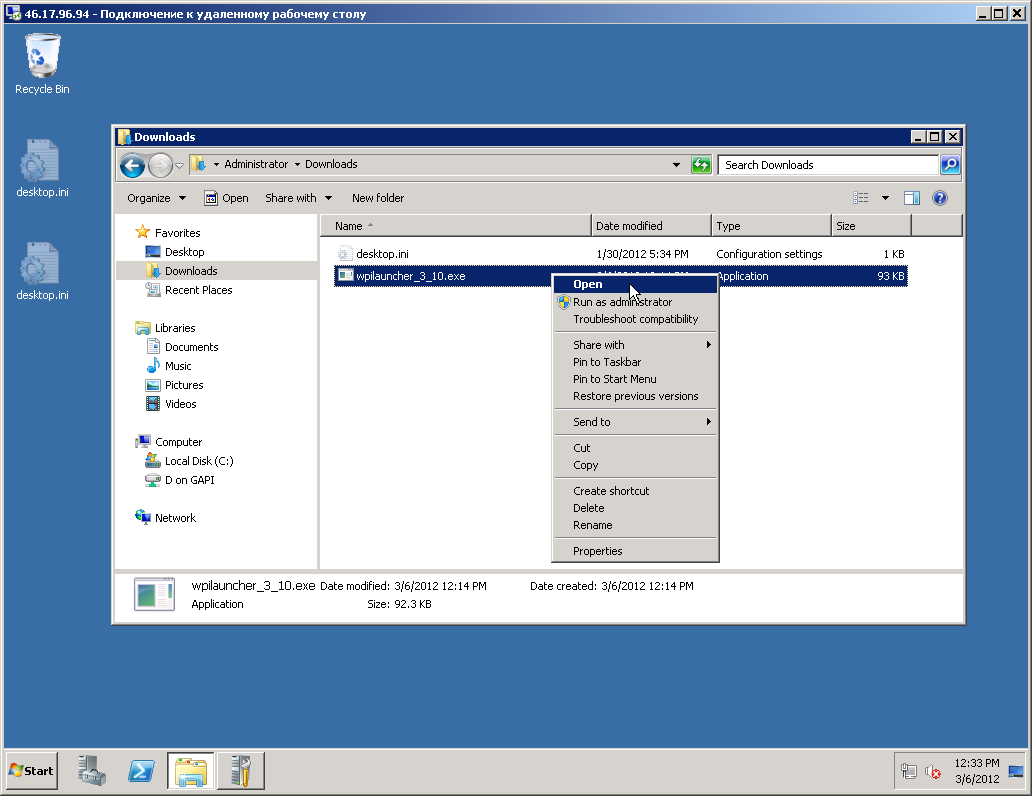
1. RDPを介して仮想サーバーに接続し、ダウンロードフォルダー(C:ユーザー/管理者/ダウンロード)でwpilauncher_3_10.exeファイルを実行します。
2.展開されたWebPI。
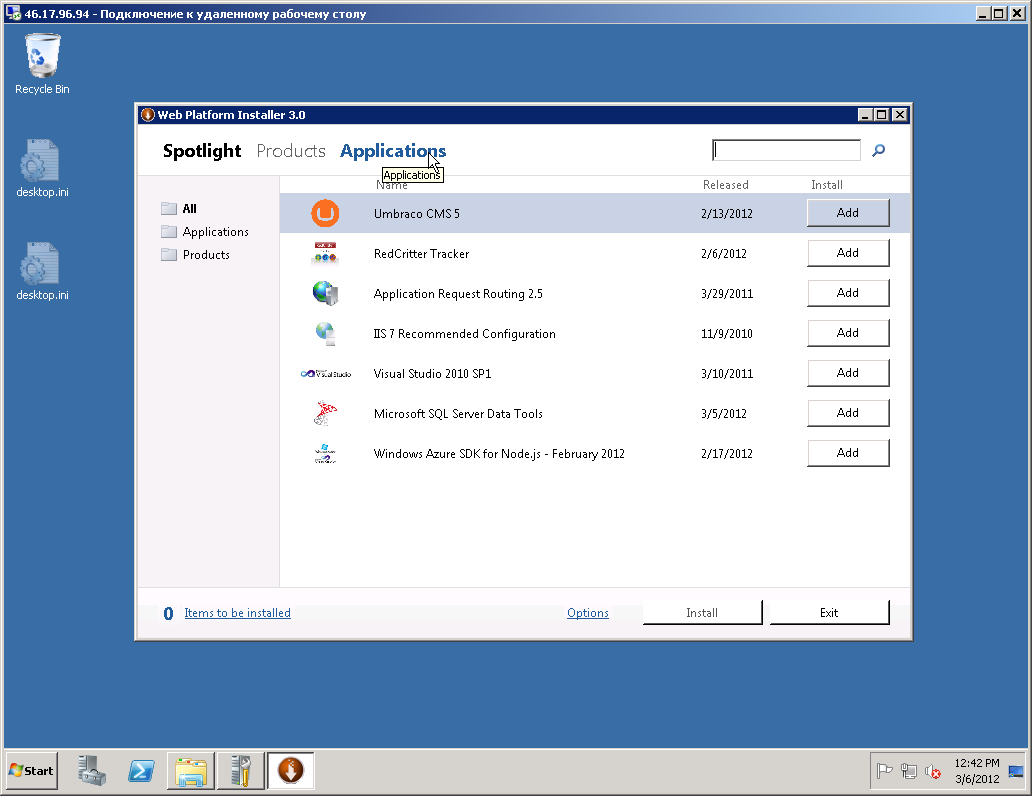
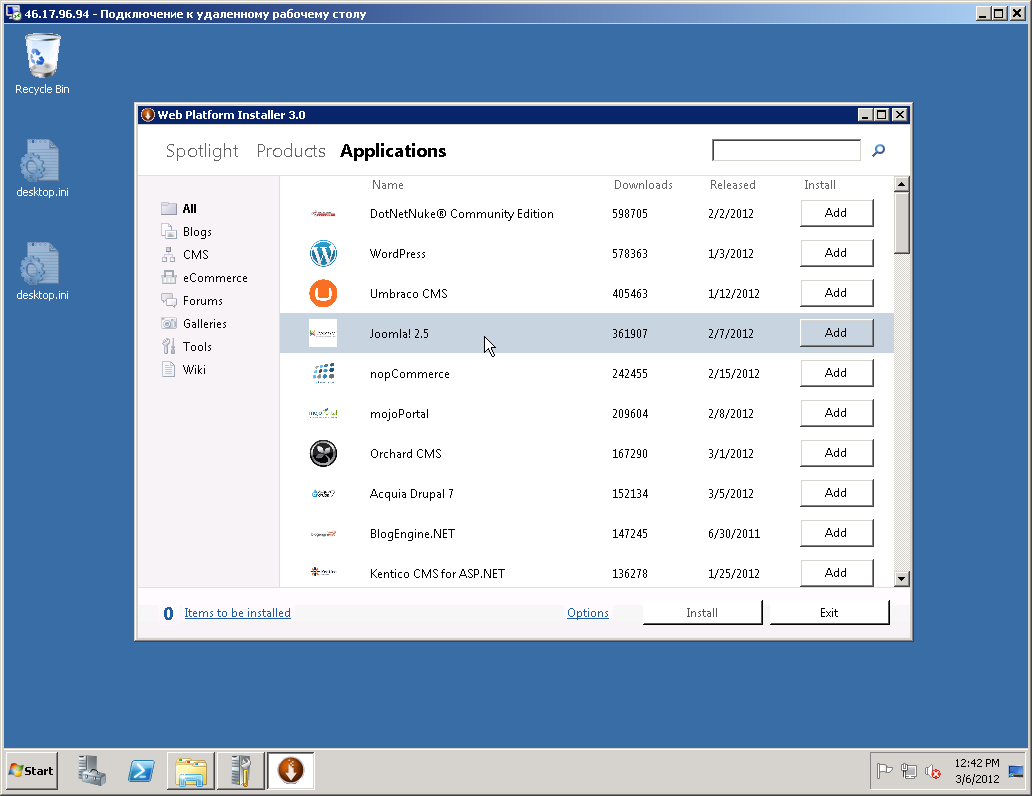
3.アプリケーションセクション-> CMSサブセクション-> Joomlaを選択し、インストールを続行します。
4.次に、データベースを選択し、「サーバーにインストール」を選択します。


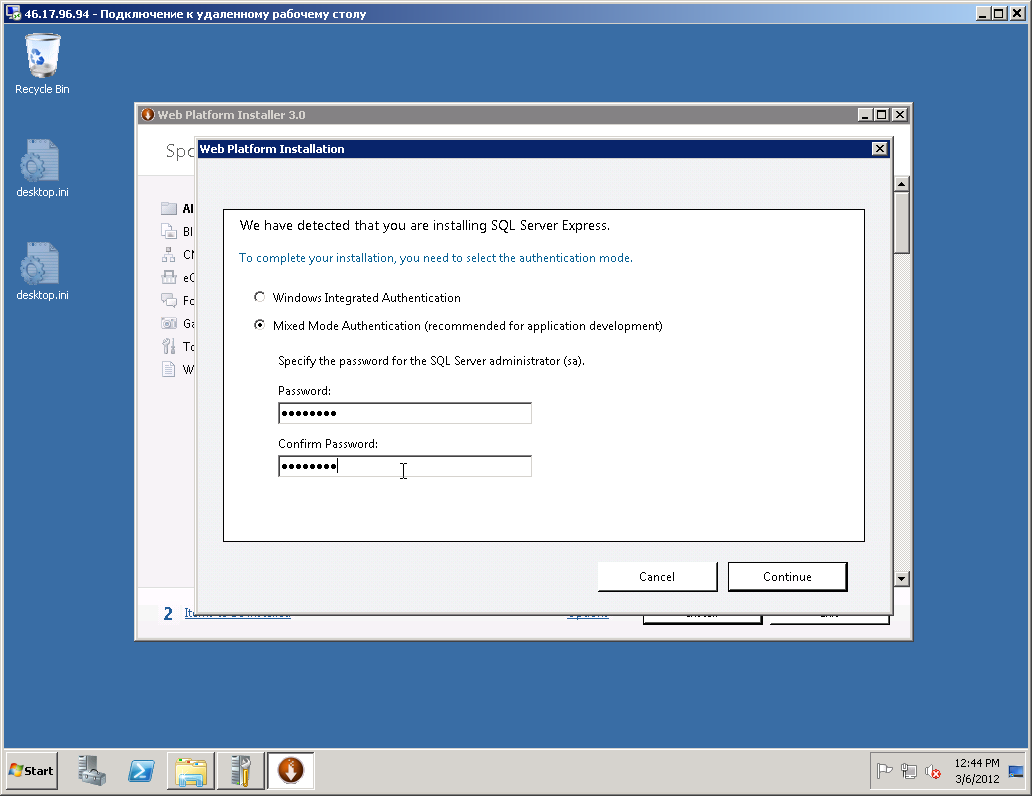
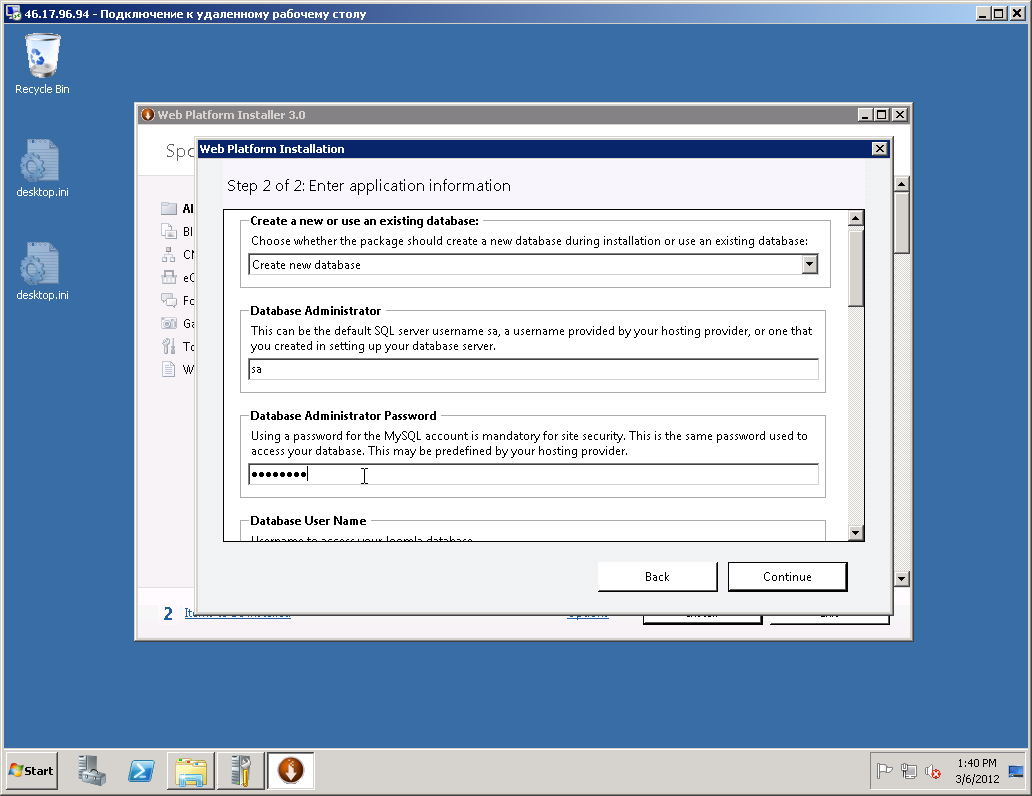
5.データベース管理者パスワードを作成します。
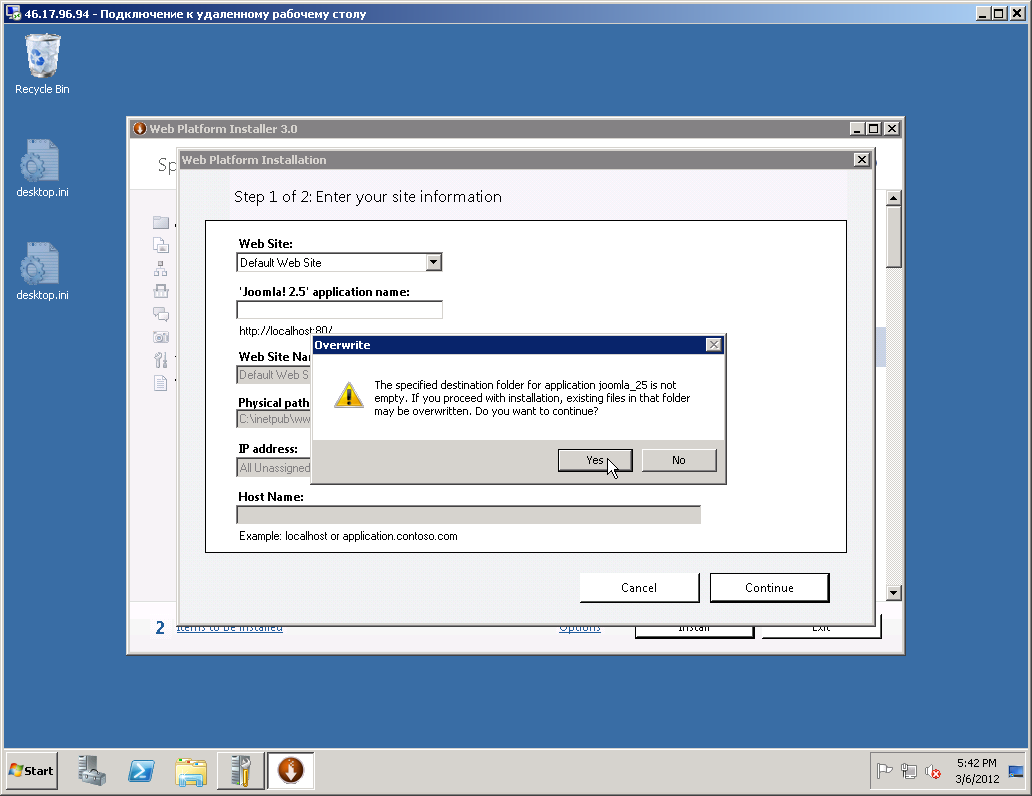
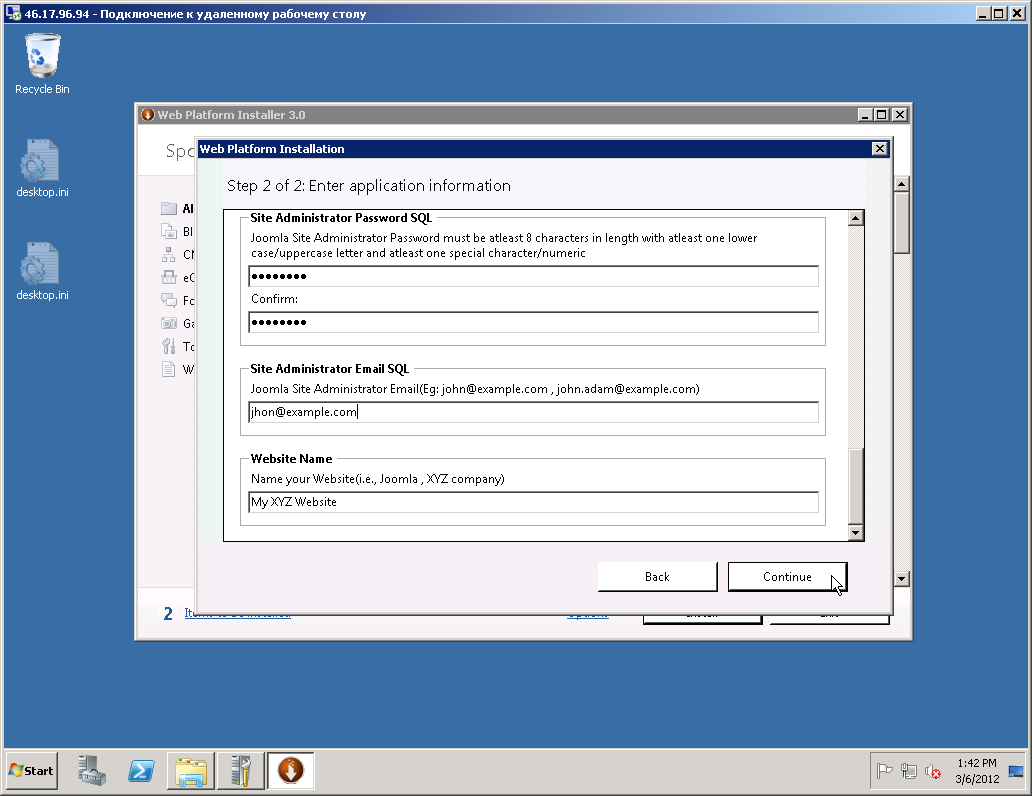
6.将来のサイトで情報を入力し、サイトをルートディレクトリに配置する場合は「アプリケーション名」フィールドを空白のままにします。

7.この段階で、データベースを作成し、ログイン/パスワードを入力します。

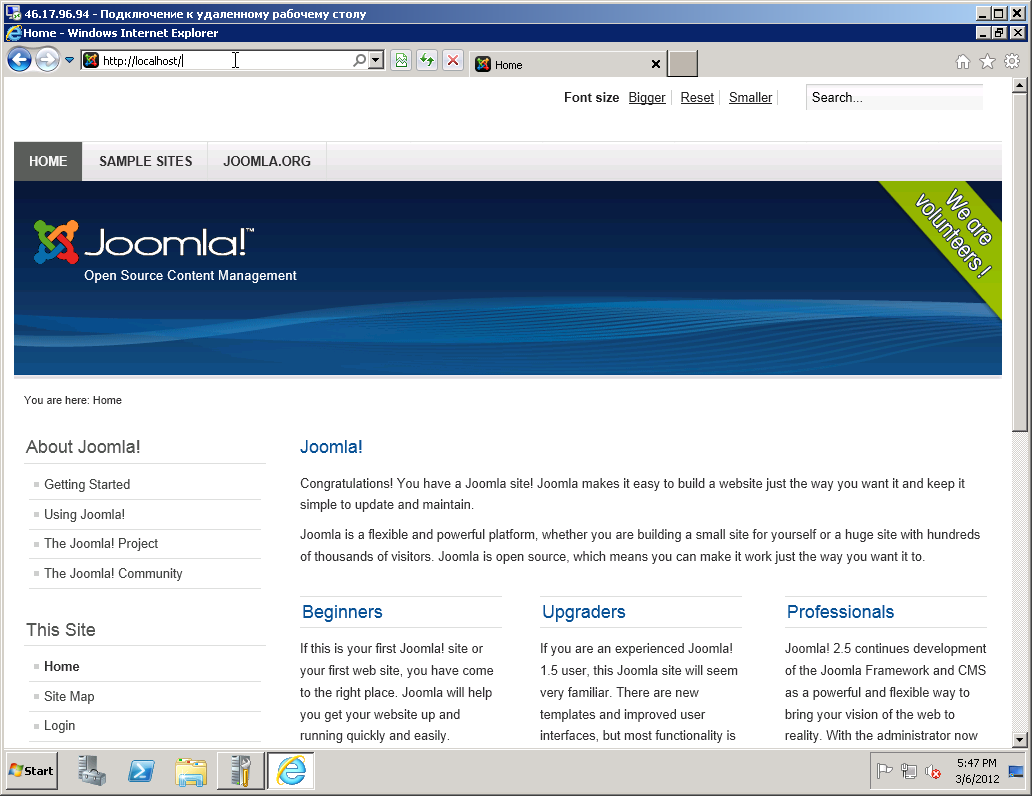
8.それで終わりです。 Joomla CMSへのリンク(http:// localhost /)。

9.デフォルトバージョンを開く
10.サイト管理にアクセスするには、ブラウザのアドレスバーにlocalhost / administrator /(またはlocalhost IPアドレスの代わりに)を入力し、手順7で作成したログインとパスワードを入力する必要があります。
WebPIを備えた仮想サーバーは、VPS configuratorを介してHostkey.ruから購入できます。