Today, a large number of home automation projects (and not only) use the Raspberry Pi. At the same time, it is convenient enough to have not only direct access to the device, but also to use a browser - this allows you to perform the necessary actions from a computer, and from a mobile phone, and even remotely from anywhere in the world.
Suppose we already have a super Python program that does something very important, from blinking an LED to controlling a "smart home" or at least a cat feeder. I will show you different ways, from simple to complex, how to make web access to such an application by adding some code.
For those who are interested, continued under the cut.
Note : this article is a kind of "experiment", once in the comments they complained that there were not enough articles for Habré for beginners. I tried to fill the gap, but according to estimates it will be clear whether it makes sense to continue in this format or not. Pros are unlikely to find anything radically new here, but I hope it will be useful for newcomers to Linux.
So let's get started.
Configure Raspberry Pi
Let's hope that the reader has a Raspberry Pi that is connected to the home network via WiFi or Ethernet, and the reader knows what the IP address is and how to log in remotely to the Raspberry Pi via SSH using putty. We will consider the so-called headless configuration - without a keyboard and monitor. But before you do something with the Raspberry Pi, a couple of small life hacks.
Tip N1 . To do something remotely with the Raspberry Pi, you need to configure SSH on it, and by default it is turned off. You can go the traditional way and start the standard configurator, but it can be simpler - after recording the disk image, just create an empty ssh file (without extension) in the root of the SD card. Further, after loading the Raspberry Pi, SSH will be immediately active.
To access the device remotely, you need to find out the IP address of the Raspberry Pi. To do this, just open the control panel of your router, find the list of DHCP clients there, copy the desired IP address from there (for example, it will be 192.168.1.102), and enter the command putty.exe pi@192.168.1.102 (for Windows) or ssh pi @ 192.168.1.102 for Linux or OSX.
However, IP addresses can change, for example, after rebooting the router, this is not always convenient. From this follows Tip N2 - configure a static IP address. To do this, run the sudo nano /etc/dhcpcd.conf command on the Raspberry Pi, and enter the following settings:
interface eth0 static ip_address=192.168.1.152/24 static routers=192.168.1.1 static domain_name_servers=192.168.1.1 8.8.8.8
If you need a WiFi address, then the interface will be wlan0, if Ethernet then eth0. IP addresses, of course, you need to substitute your own. After the reboot, make sure that the IP address is correct by issuing the ifconfig command.
Now everything is ready, we can start Python. All examples are given for Python 3.7, because 2.7 has long been deprecated, and it makes no sense to maintain it. But with small code changes, everything will work there, if necessary. By the way, the Python language is cross-platform - this means that all of the code below can be run on both Windows and OSX, and of course, on the Raspberry Pi. From this follows Council N3 - you can debug the program on a regular PC, and upload the finished version to Raspberry Pi. You may only have to make wrapper functions for the GPIO methods; everything else will work.
So, our task is to provide access to the application through a regular browser. For it is stylish-fashionable youth, well, the “Internet of things” is our everything.
Method 1: command line
The easiest way, requiring no programming at all.
Select the desired folder on the Raspberry Pi, and enter the command:
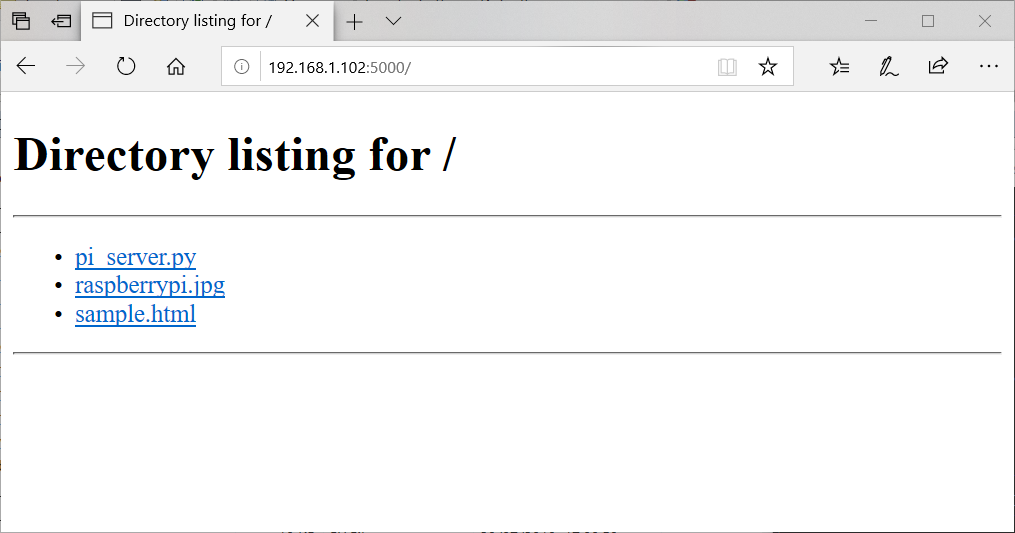
python3 -m http.server 5000
That's it, the file server runs on the Raspberry Pi! It is enough to go to the page http://192.168.1.102►000 and we will see our files in the browser:
This is convenient enough if you need to open remote access to any files with a minimum of effort. You can also enter the command sudo python3 -m http.server 80 and start the server with the standard 80th port, this will not indicate the port in the address bar of the browser.
By the way, if we want the server to work even after closing the terminal, you can use the sudo nohup python3 -m http.server 80 & command - this will start the process in the background. You can kill such a program by rebooting, or by entering the sudo killall python3 command on the command line.
Method 2: SimpleHTTPServer
We can quite simply integrate the same server into our Python program, for this it is enough to start it in a separate thread at program start. Now, we do not need to bother with the command line, while the program is running, the server will work.
import http.server import socketserver from threading import Thread import os def server_thread(port): handler = http.server.SimpleHTTPRequestHandler with socketserver.TCPServer(("", port), handler) as httpd: httpd.serve_forever() if __name__ == '__main__': port = 8000 print("Starting server at port %d" % port) os.chdir("/home/pi/Documents") Thread(target=server_thread, args=(port,)).start()
The os.chdir command is optional if we want to provide access from the server to some other folder than the current one.
Method 3: HTTPServer
This is already a full-fledged web server, capable of processing GET and POST requests, returning different data, etc. But of course, you will need more code.
Consider a minimally working server version:
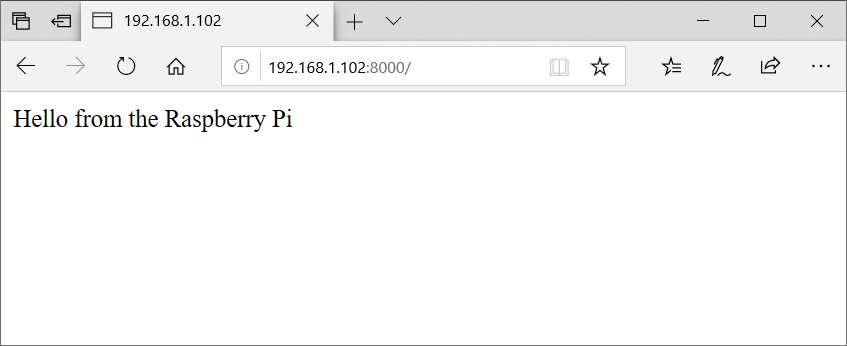
from http.server import BaseHTTPRequestHandler, HTTPServer html = "<html><body>Hello from the Raspberry Pi</body></html>" class ServerHandler(BaseHTTPRequestHandler): def do_GET(self): if self.path == "/": self.send_response(200) self.send_header('Content-type', 'text/html') self.end_headers() self.wfile.write(html.encode('utf-8')) else: self.send_error(404, "Page Not Found {}".format(self.path)) def server_thread(port): server_address = ('', port) httpd = HTTPServer(server_address, ServerHandler) try: httpd.serve_forever() except KeyboardInterrupt: pass httpd.server_close() if __name__ == '__main__': port = 8000 print("Starting server at port %d" % port) server_thread(port)
We launch the browser and see our HTML page in it:
This server is easy to learn to give files, such as images.
Add the img tag to the HTML:
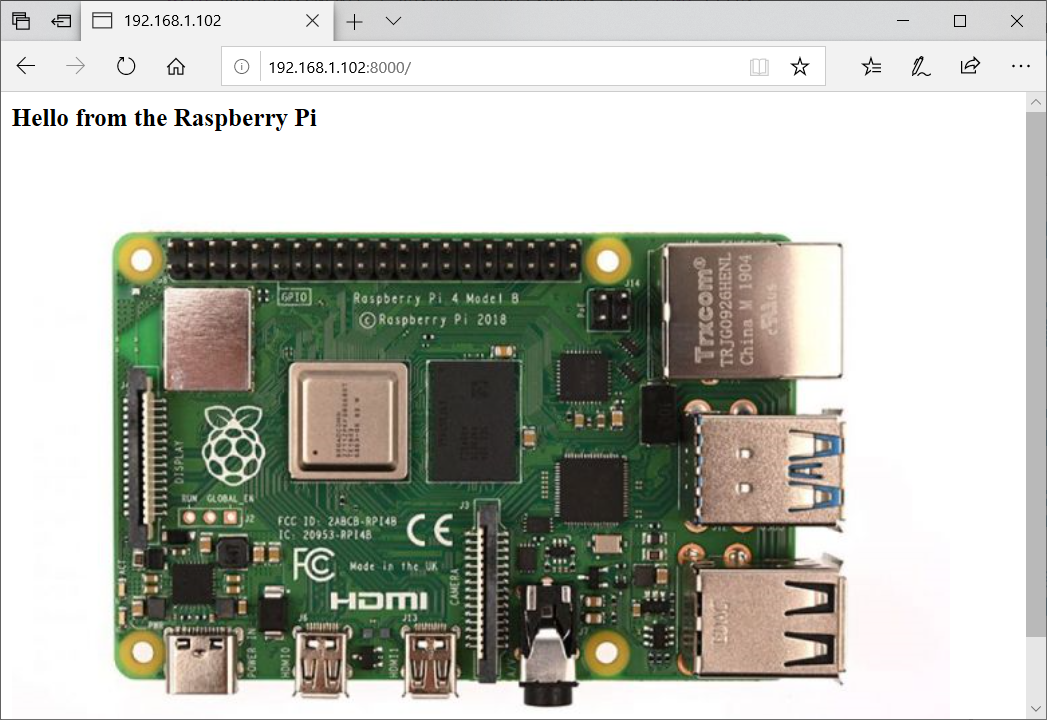
html = '<html><body><h3>Hello from the Raspberry Pi</h3><img src="raspberrypi.jpg"/></body></html>'
The source file “raspberrypi.jpg”, of course, must be in the program folder. Add the ability to receive files to the do_GET function:
def do_GET(self): print("GET request, Path:", self.path) if self.path == "/": self.send_response(200) self.send_header('Content-type', 'text/html') self.end_headers() self.wfile.write(html.encode('utf-8')) elif self.path.endswith(".jpg"): self.send_response(200) self.send_header('Content-type', 'image/jpg') self.end_headers() with open(os.curdir + os.sep + self.path, 'rb') as file: self.wfile.write(file.read()) else: self.send_error(404, "Page Not Found {}".format(self.path))
We start the server, and we see the corresponding picture:
It is unlikely that such a server will win the web design contest, but it works quite well. The server can be easily forced to give more useful data, for example, to return information about the operation of the program. For example, add a handler for the new status function:
import psutil import json def cpu_temperature(): return psutil.sensors_temperatures()['cpu-thermal'][0].current def disk_space(): st = psutil.disk_usage(".") return st.free, st.total def cpu_load() -> int: return int(psutil.cpu_percent()) def ram_usage() -> int: return int(psutil.virtual_memory().percent) def do_GET(self): ... elif self.path == "/status": self.send_response(200) self.send_header('Content-Type', 'application/json') self.end_headers() health = {'CPUTemp': cpu_temperature(), 'CPULoad': cpu_load(), "DiskFree": disk_space()[0], "DiskTotal": disk_space()[1], "RAMUse": ram_usage()} self.wfile.write(json.dumps(health).encode('utf-8'))
Now we can open the link http://192.168.1.102►000/status in the browser and see the current system settings:
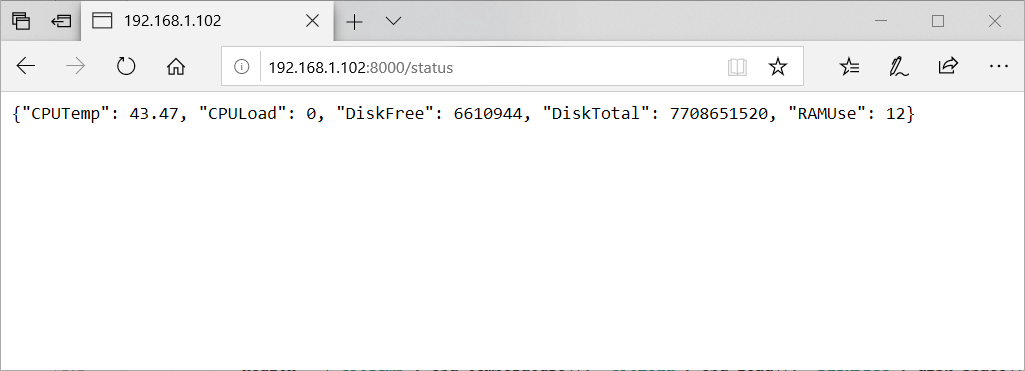
By the way, as you can see, we are sending data in JSON format, which will allow us to use it for some other requests.
Conclusion
All conceived in one piece did not fit. If the sequel will be interesting to the audience, in the next part I will talk about an interactive server with Javascript and about using flask.
Important: security measures
If an external IP address will be used for the Raspberry Pi, be sure to keep in mind security measures. It might seem that nobody needs your mini-server, but now it’s easy to batch scan all ranges of IP addresses (as an example, Ukraine , Austria ) and find all available devices. So you should definitely change the password on the Raspberry Pi, and you should not store any confidential information on the device (Dropbox folders, names / passwords hardcoded in scripts, photos, etc.).
PS: A survey was added to understand the picture