How our optical dividers are “baked”
We have here somehow shared with you reports from China. Here is another one. It discusses the cynical process of dividing light. And again by means of completely Chinese technology. However, fewer words, more photos on the topic of manufacturing fiber optic dividers!
If the theater begins "with a hanger", then at any self-respecting plant there is a gateway, in other words, a system to prevent dust from entering the production hall. Nothing extra innovative, by the way - you are standing on a sticky floor and you are blown in by air.

Past employees have worked much like this:
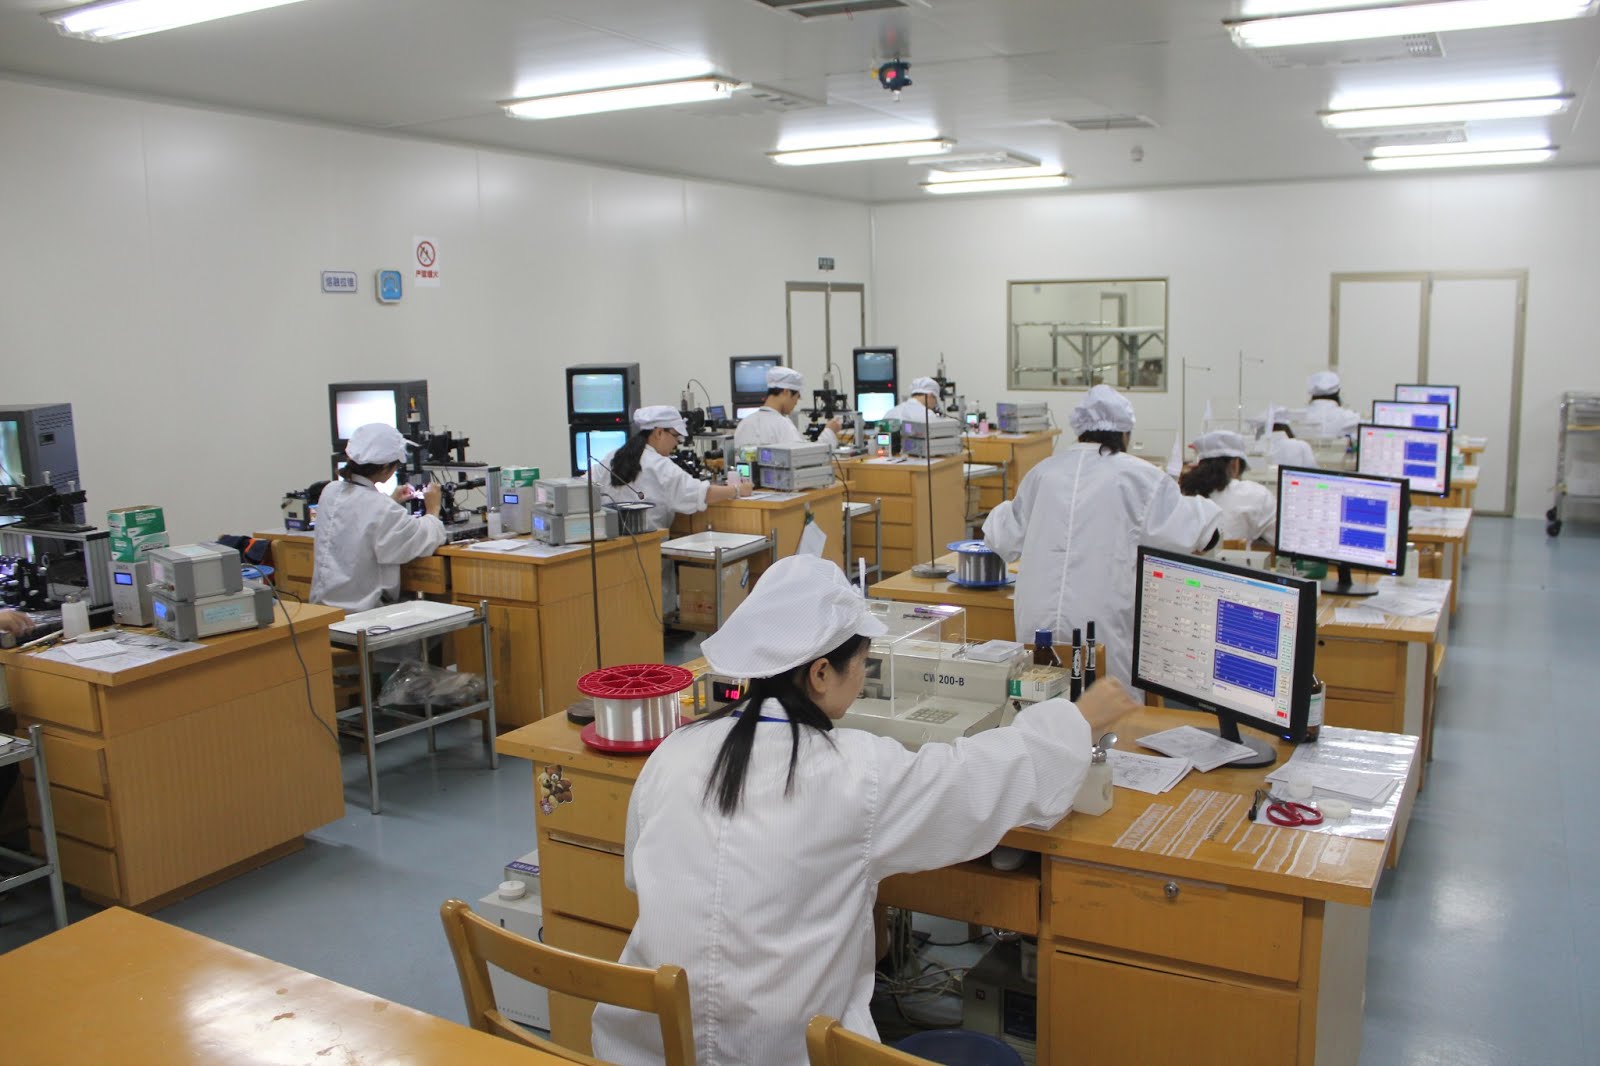
I hope the girl with her hair out of her bonnet will not be punished for breaking the rules for working in "clean" rooms. Moreover, there she is not alone.
However, back to the technique:
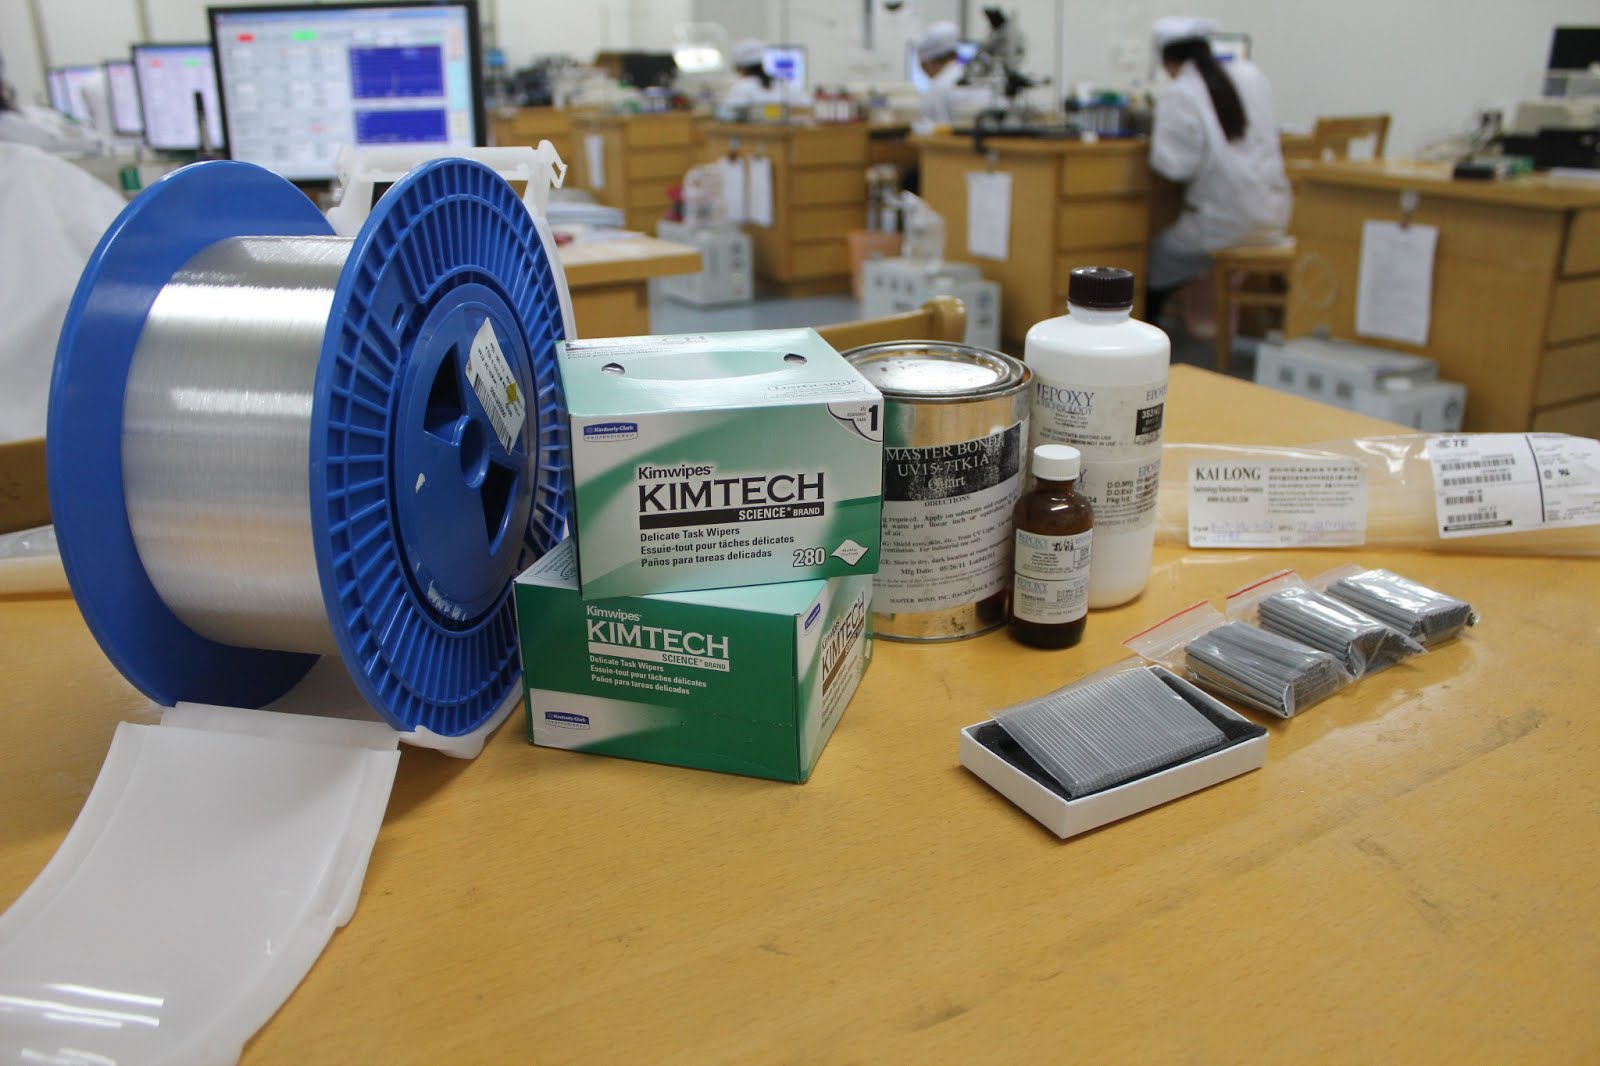
All production as usual is based on simple components. In order to make a welded divider similar to those in our store, we need:
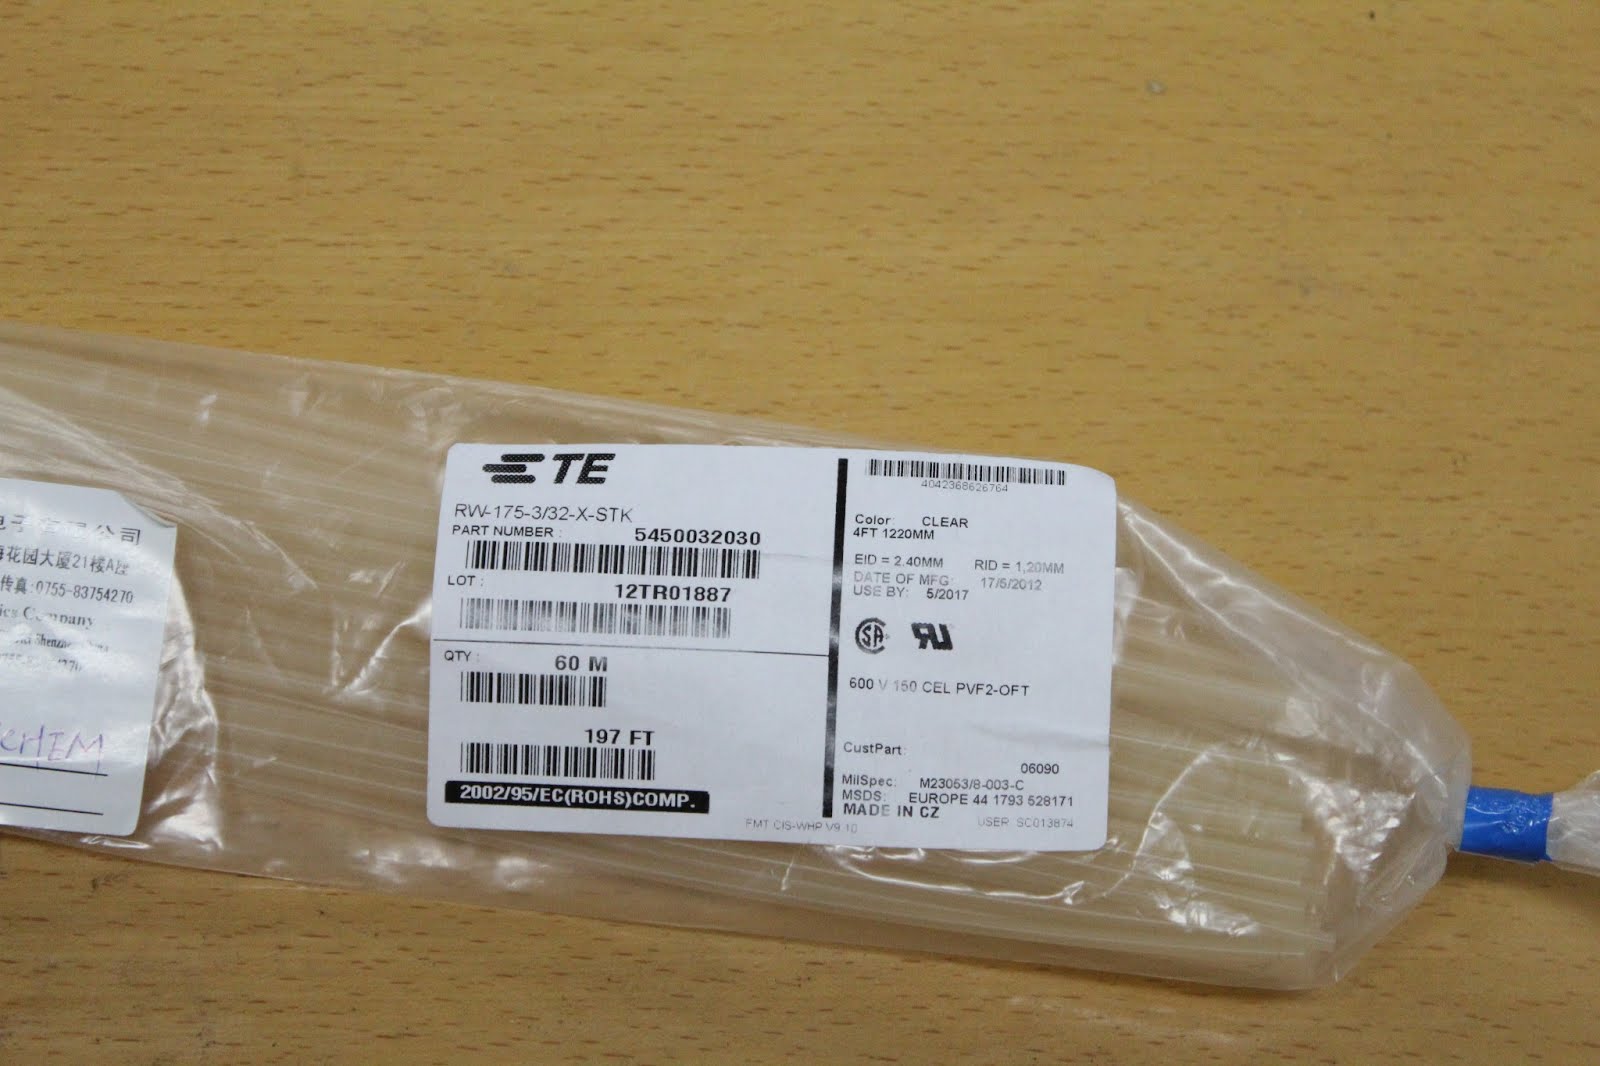
1. Shrink tube “Tyco” (on the way, by the way, “very cheap” factories often save by seating with some self-made stuff).
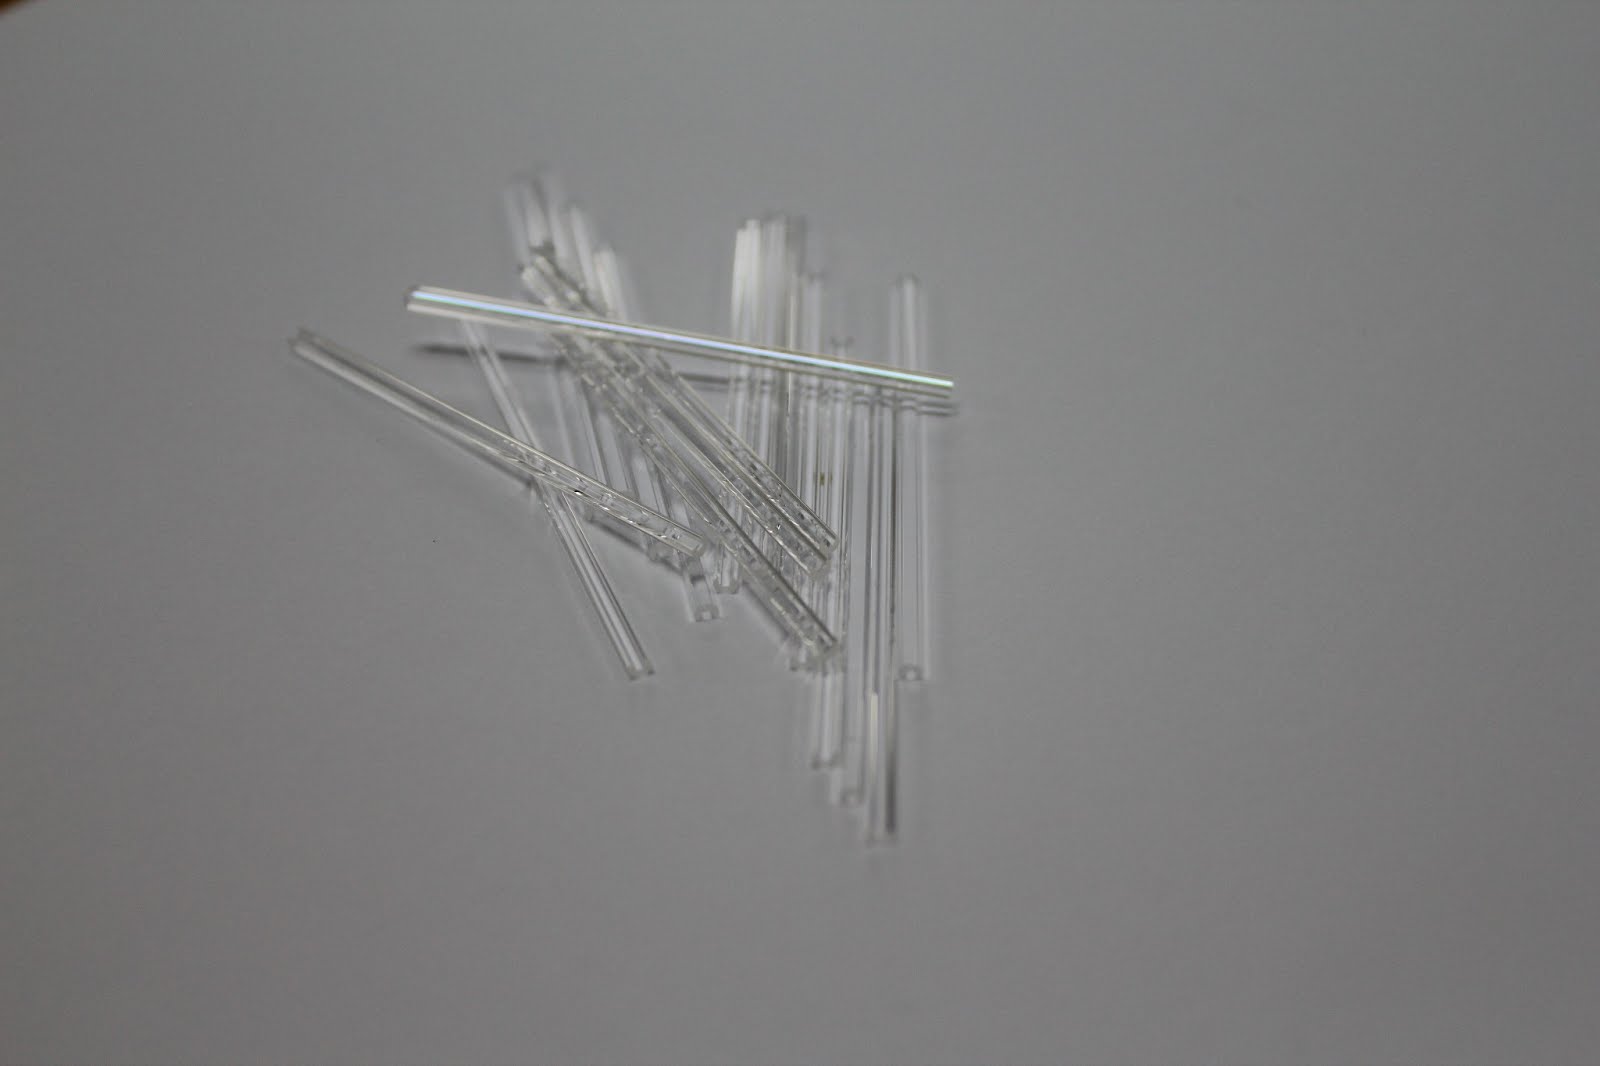
2. Glass tubes.
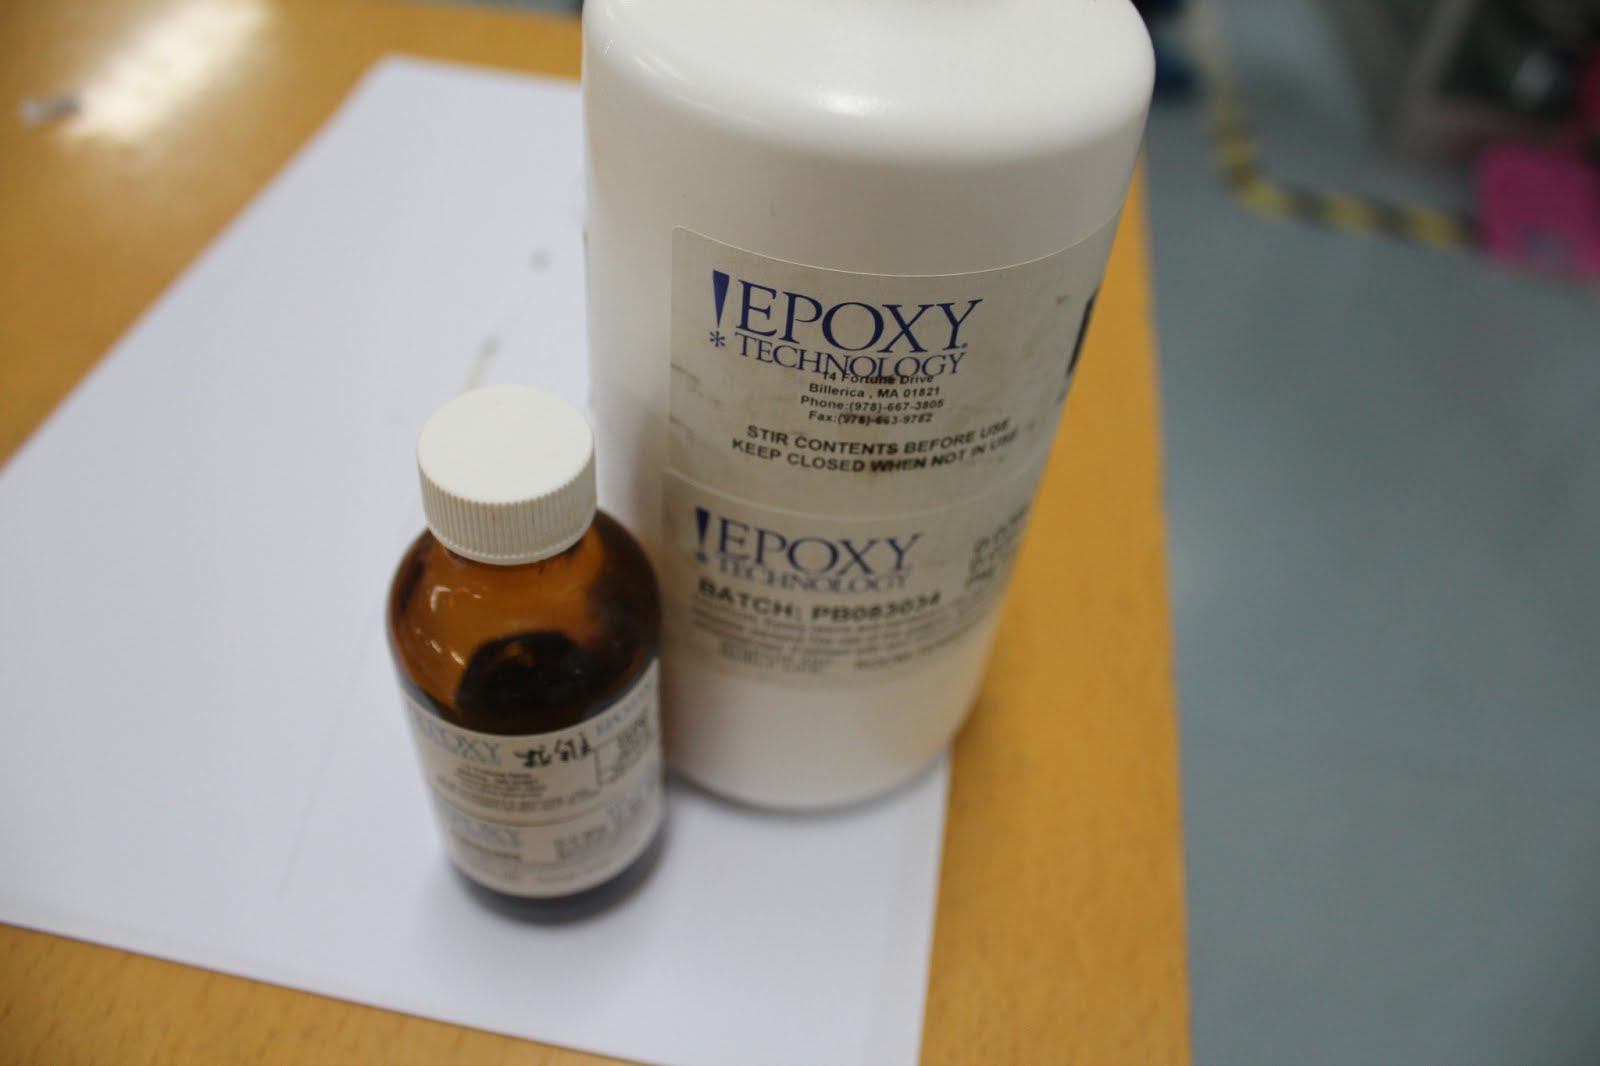
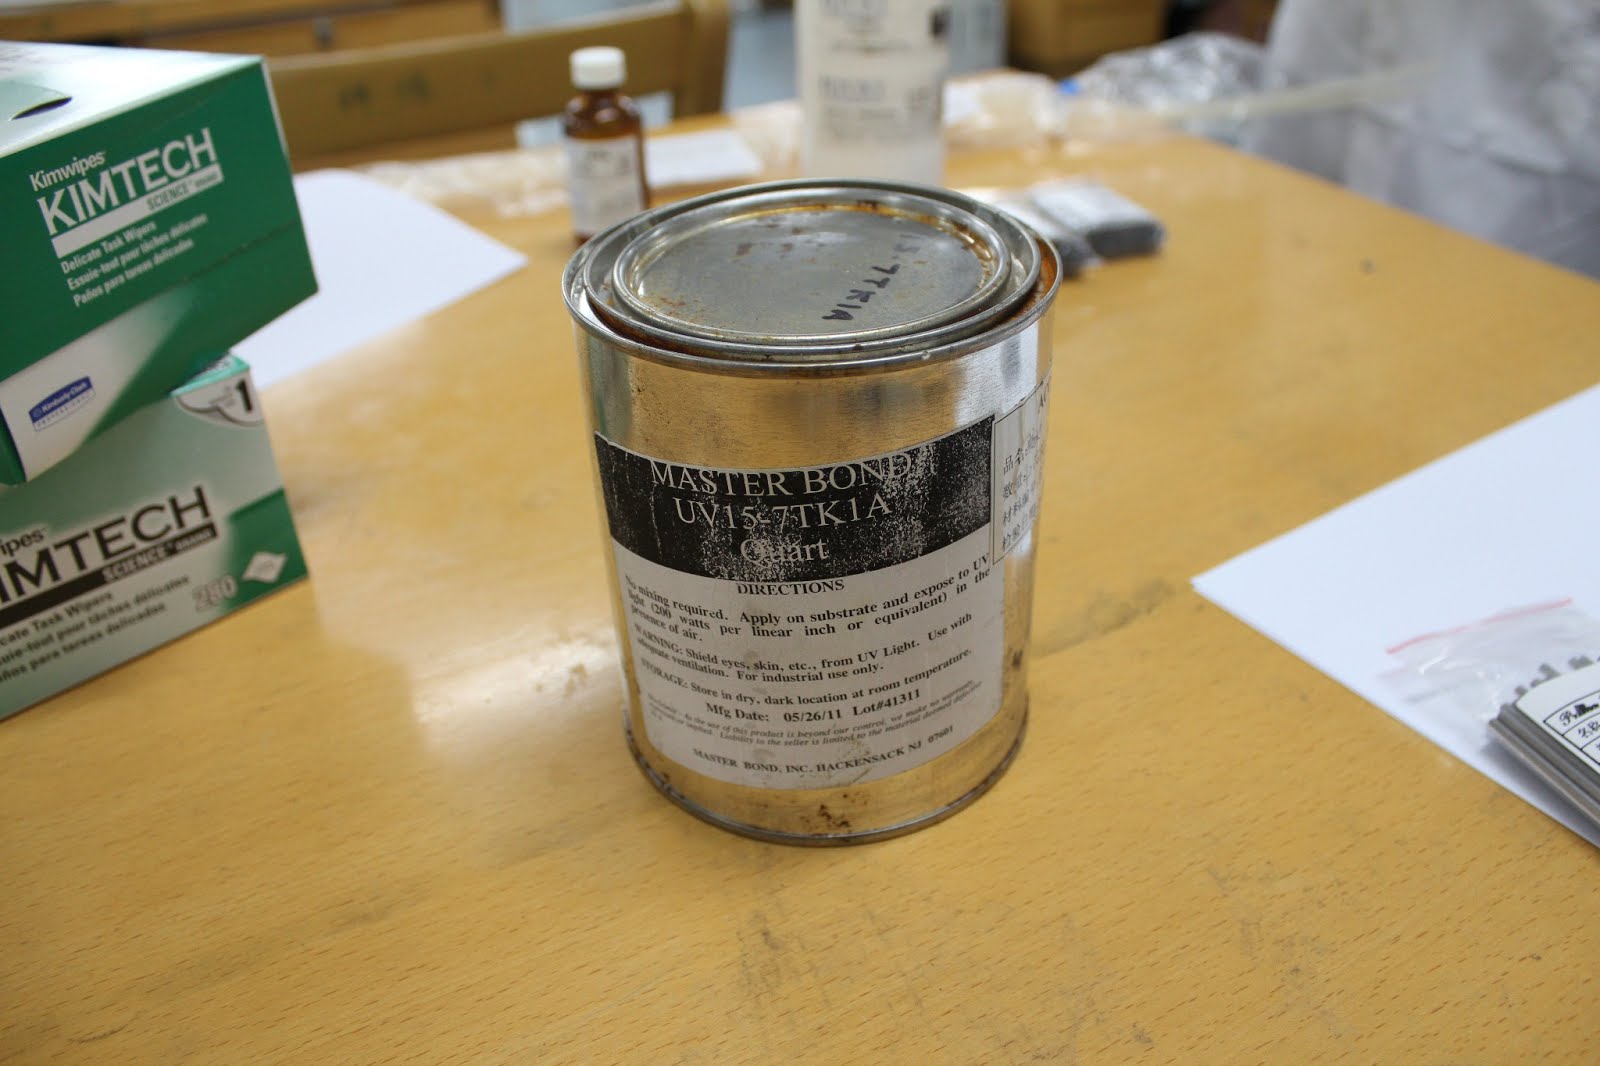
3. Epoxy.
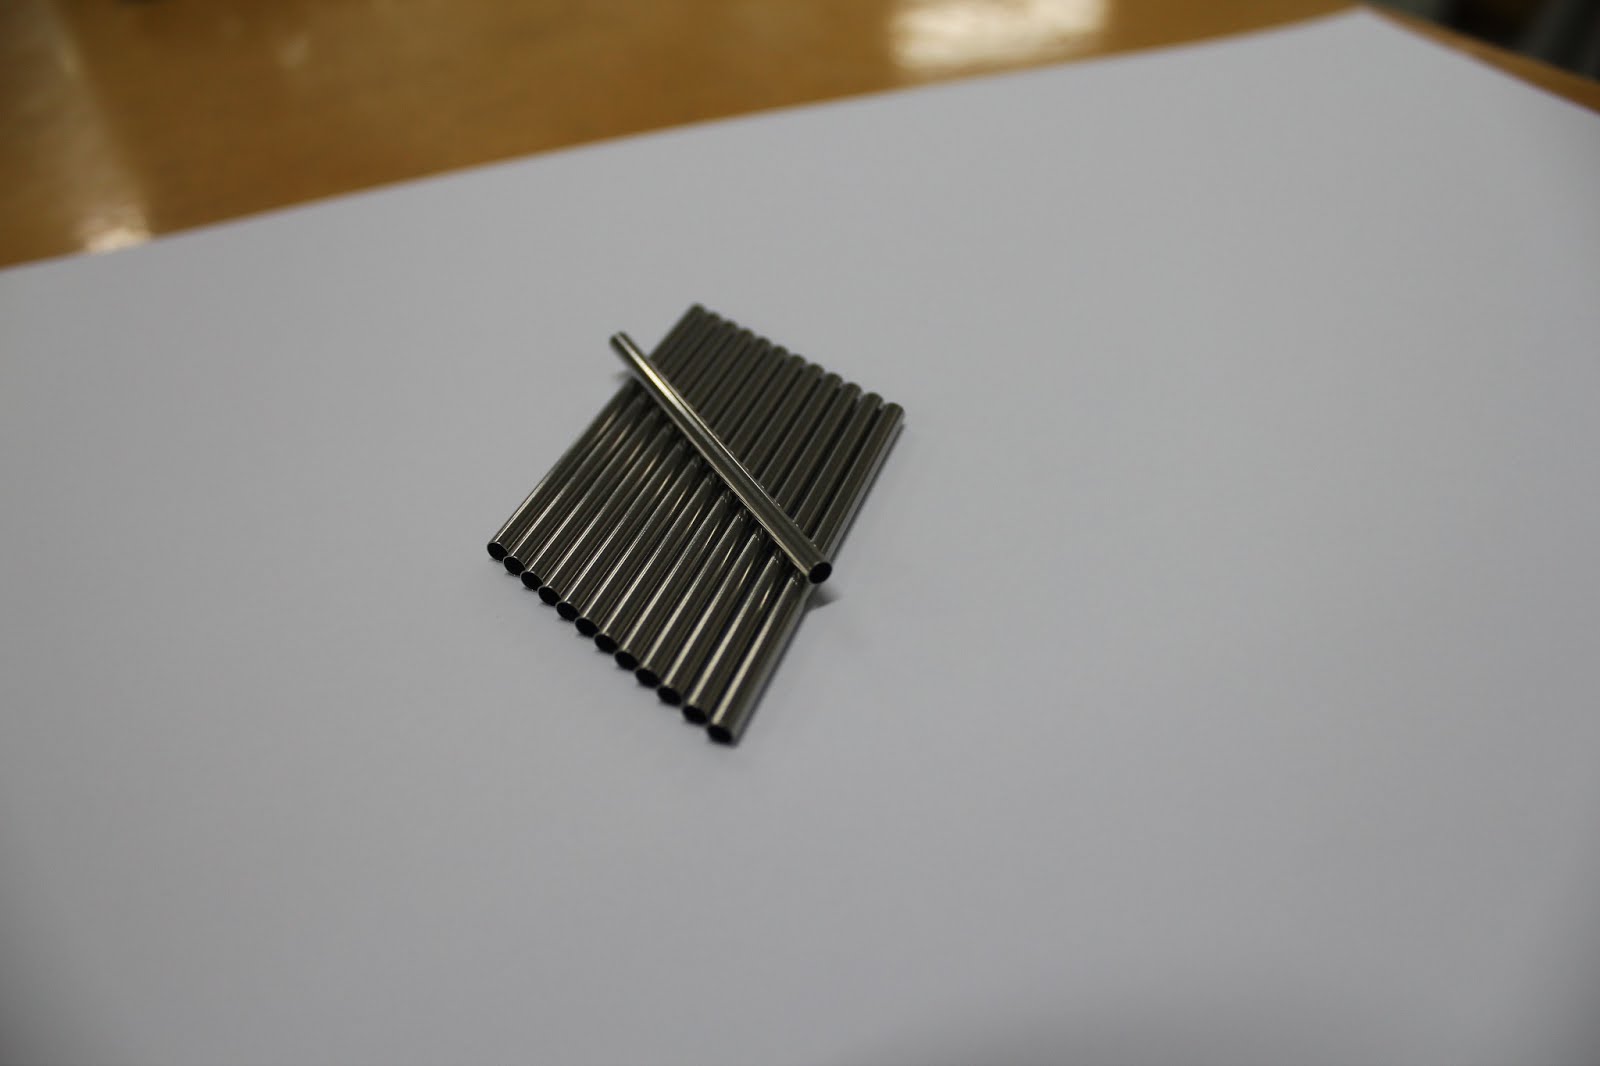
4. Metal tubules.
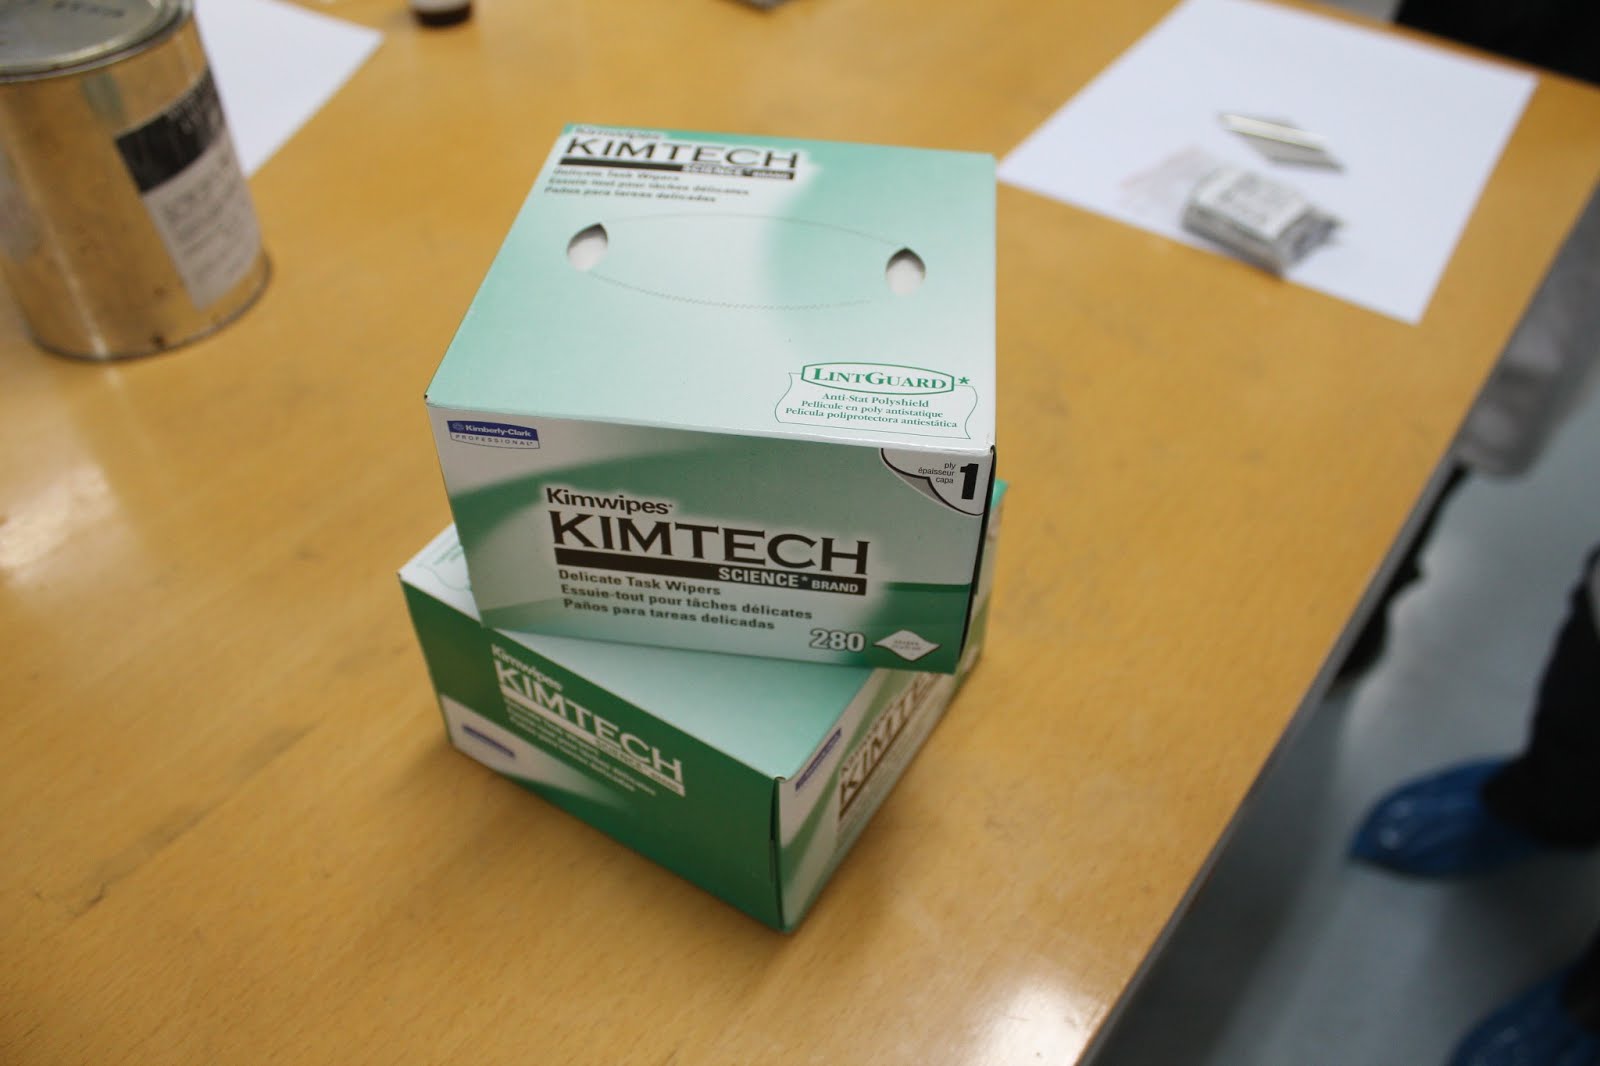
5. Lint-free napkins.
6. Some kind of crap.
7. And of course optical fiber.
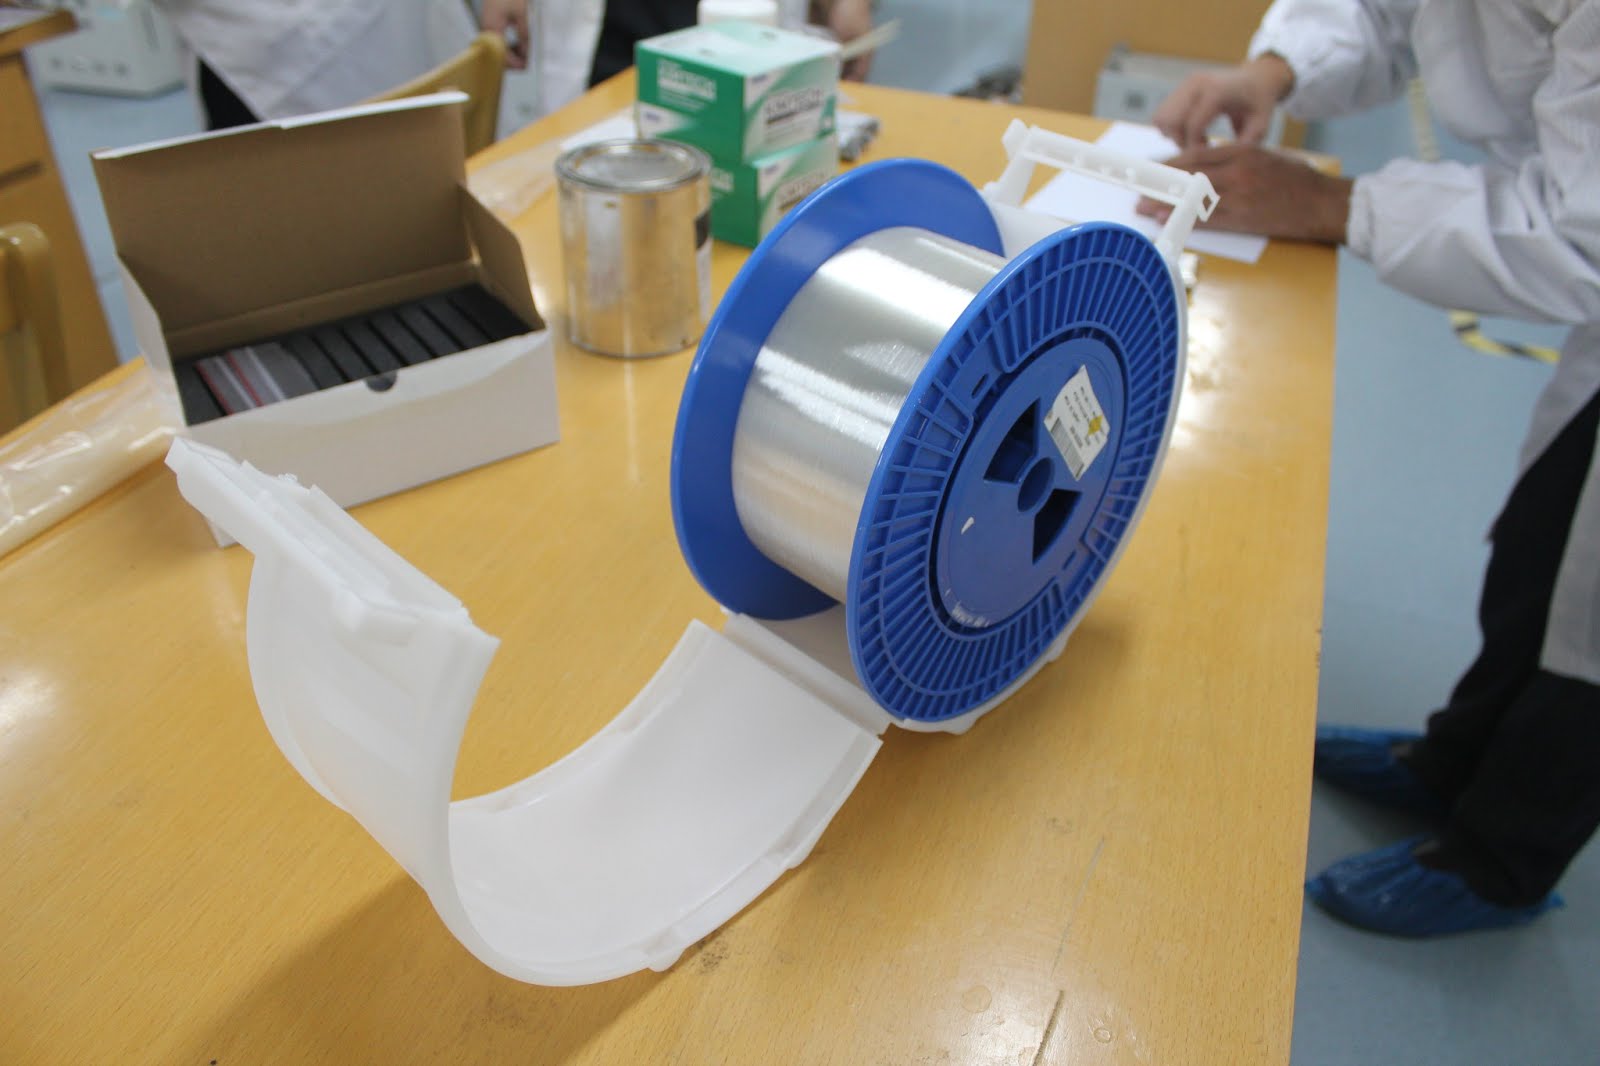
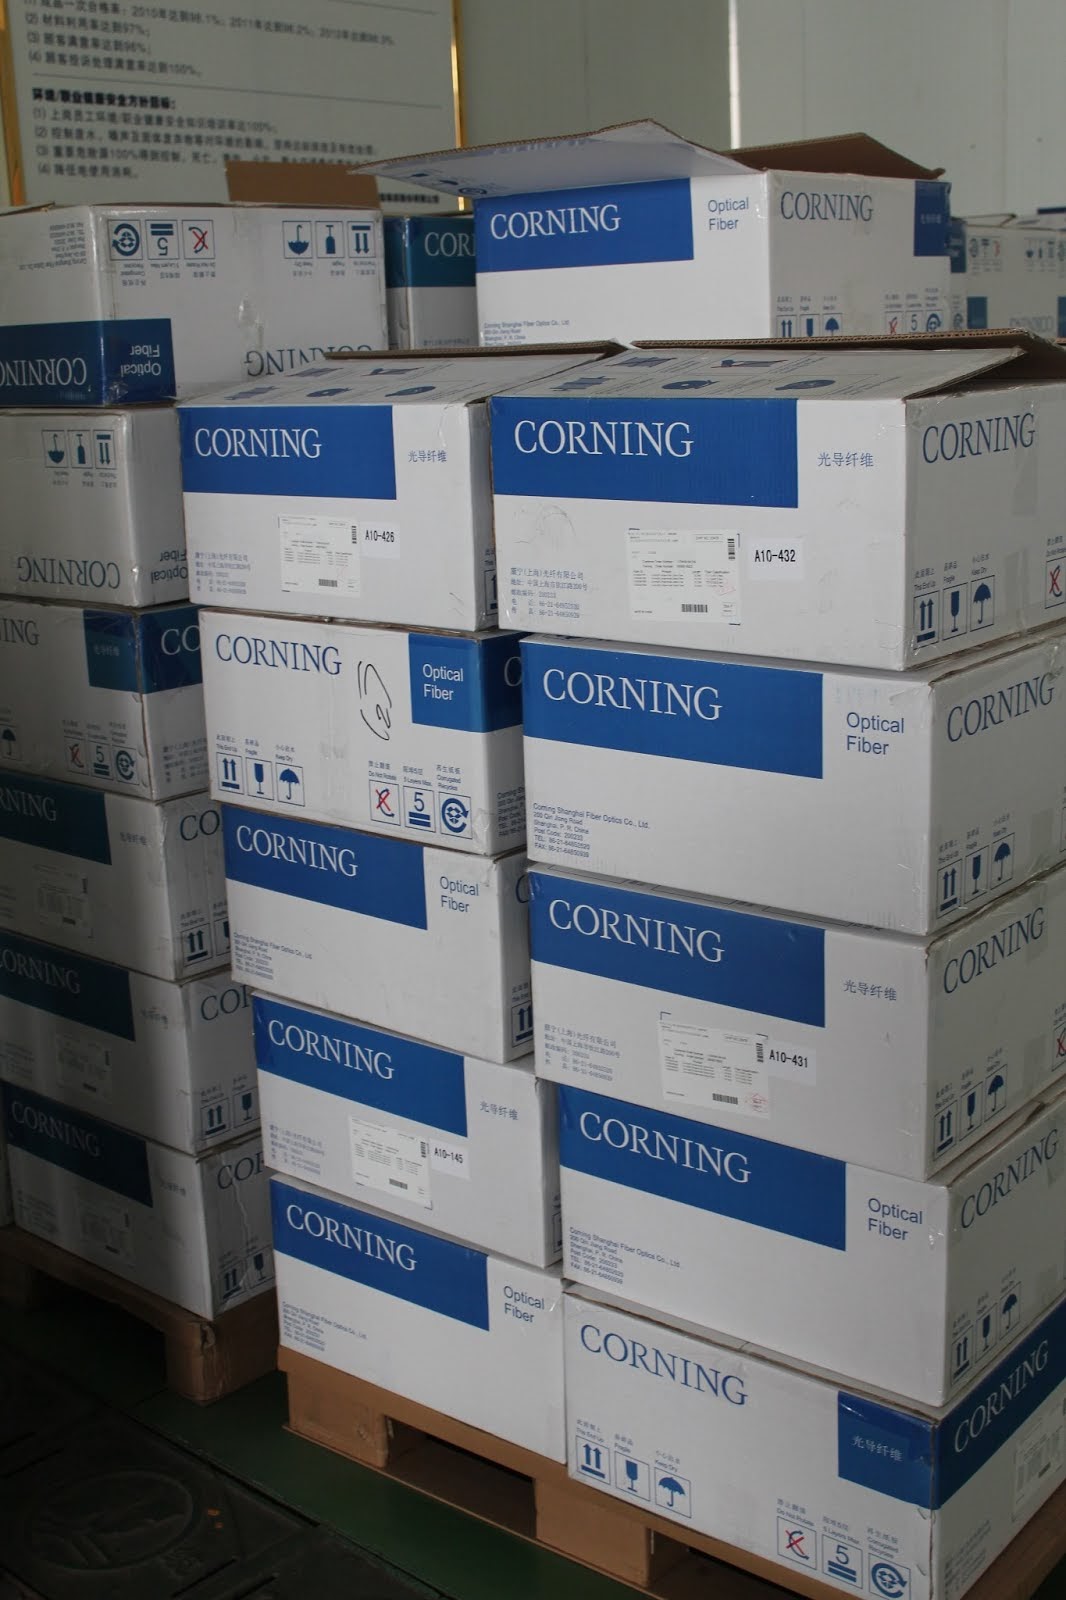
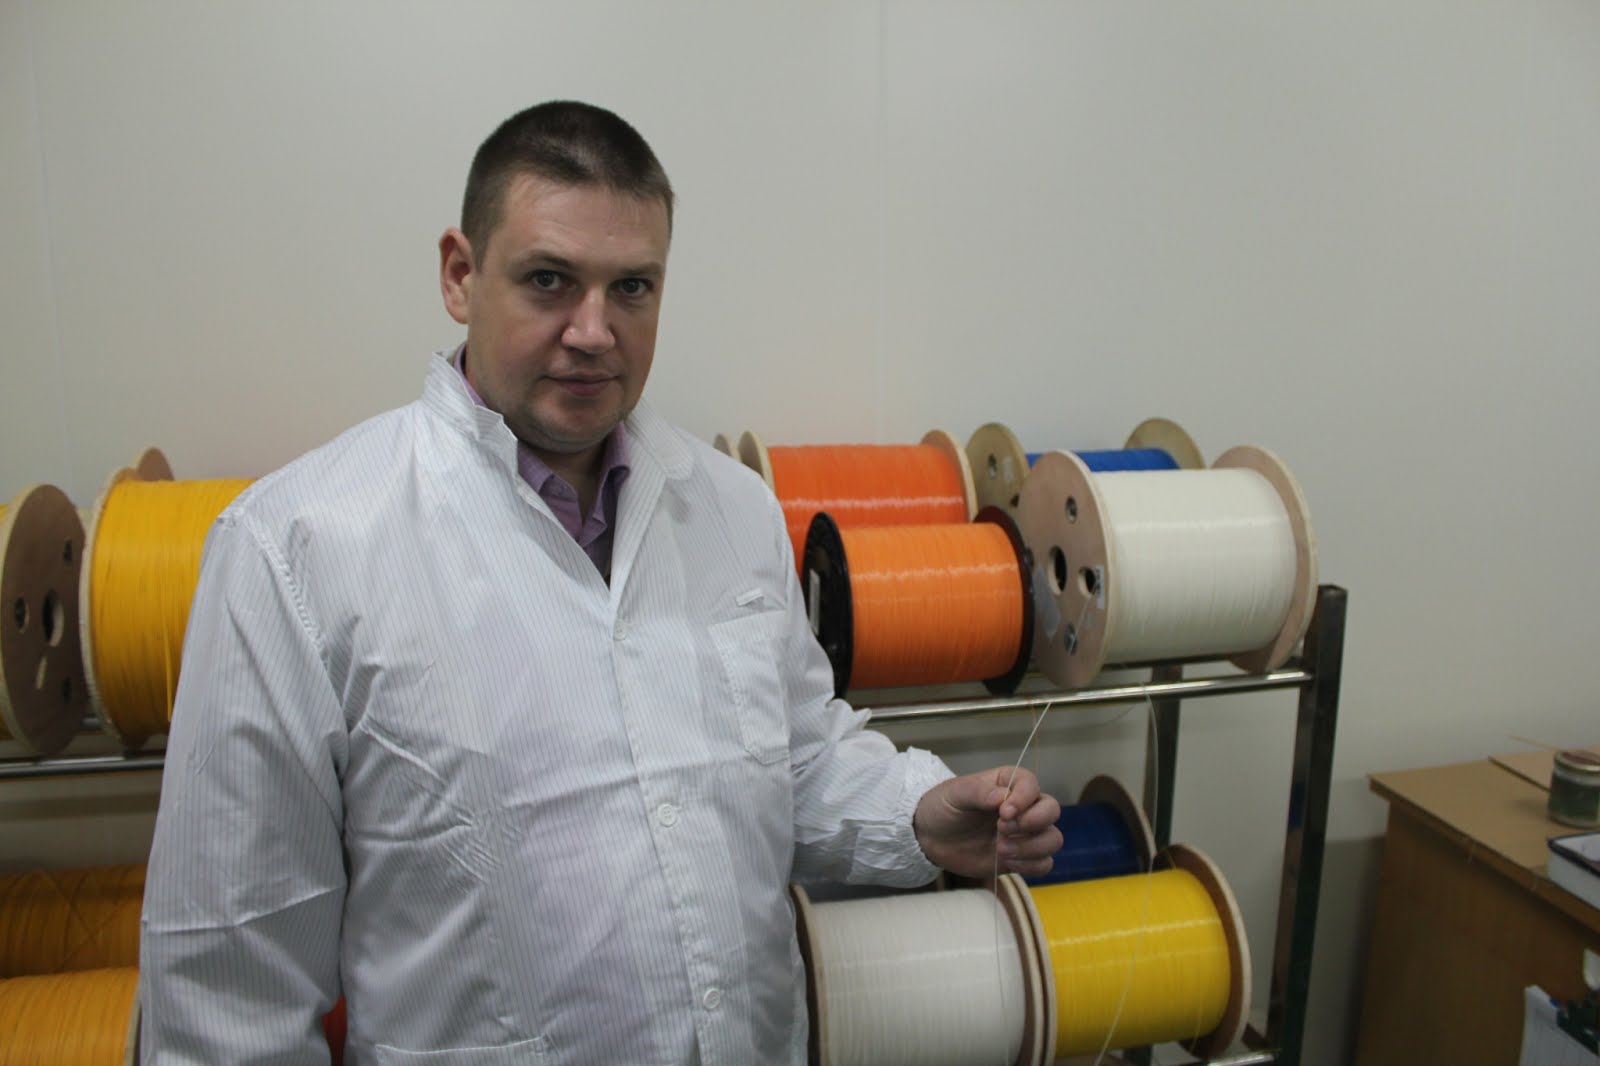
Separately, it should be noted that only American Corning fiber is used in production. According to customer requirements, it can be either ultra-flexible standard G.657A, or standard G.652D.
8. All together - a collage:
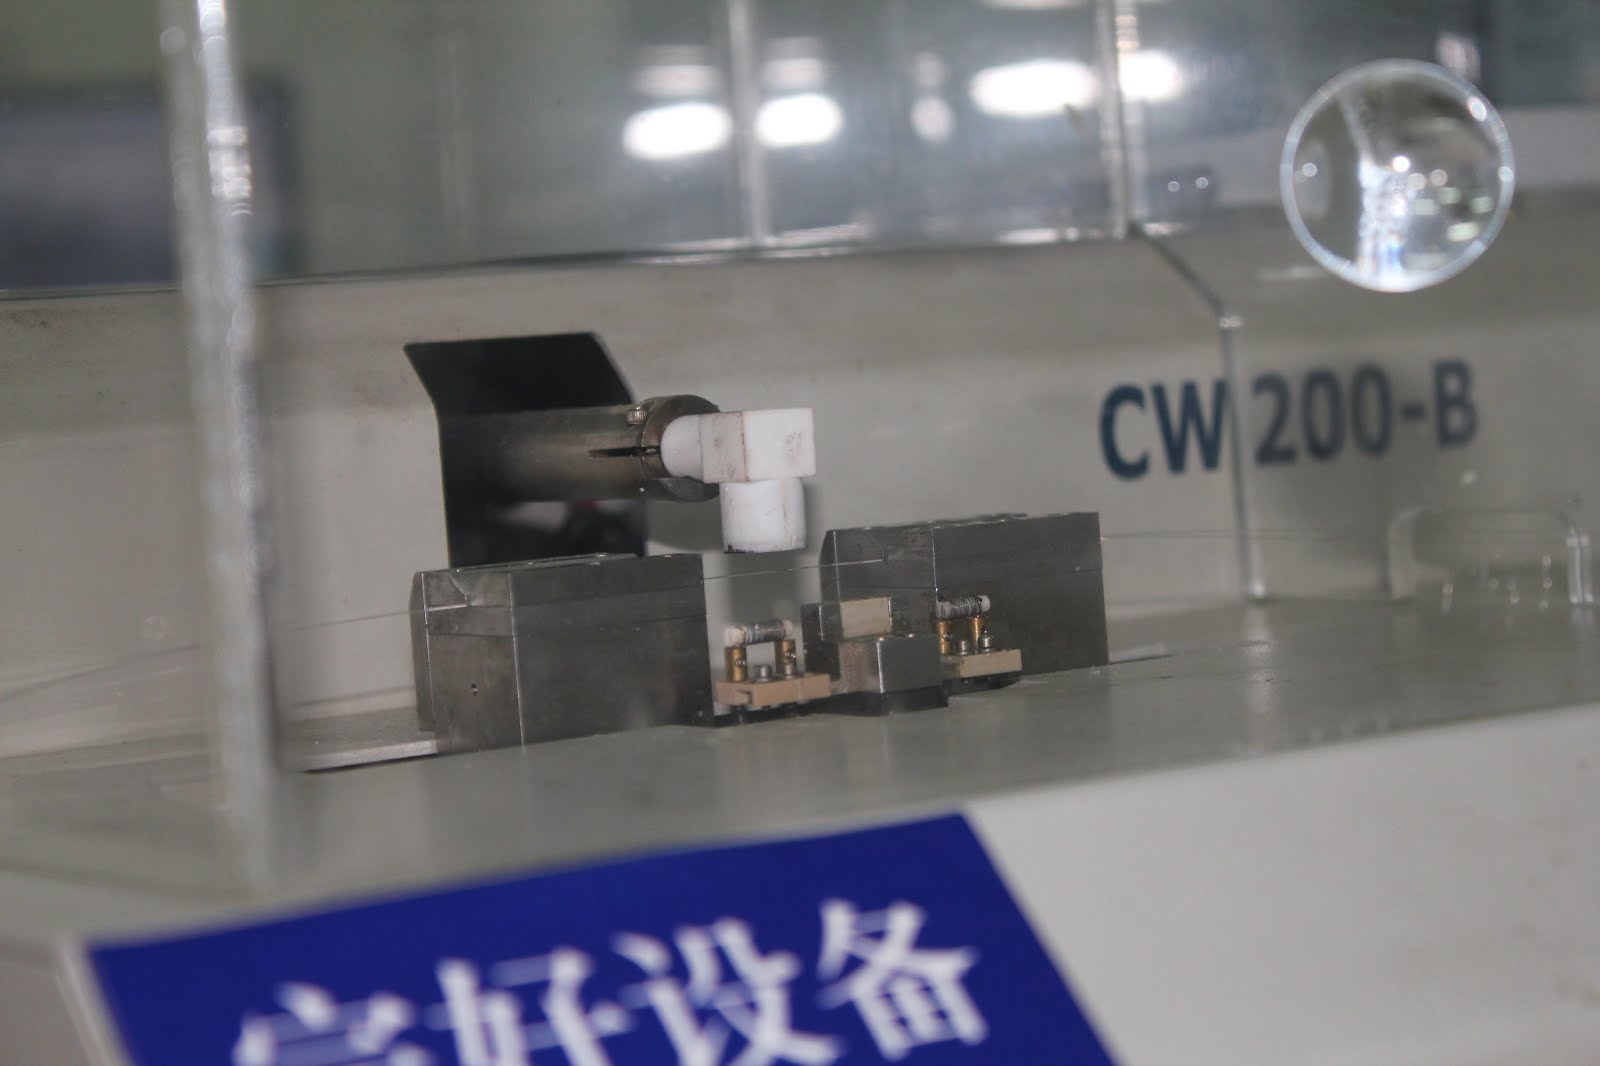
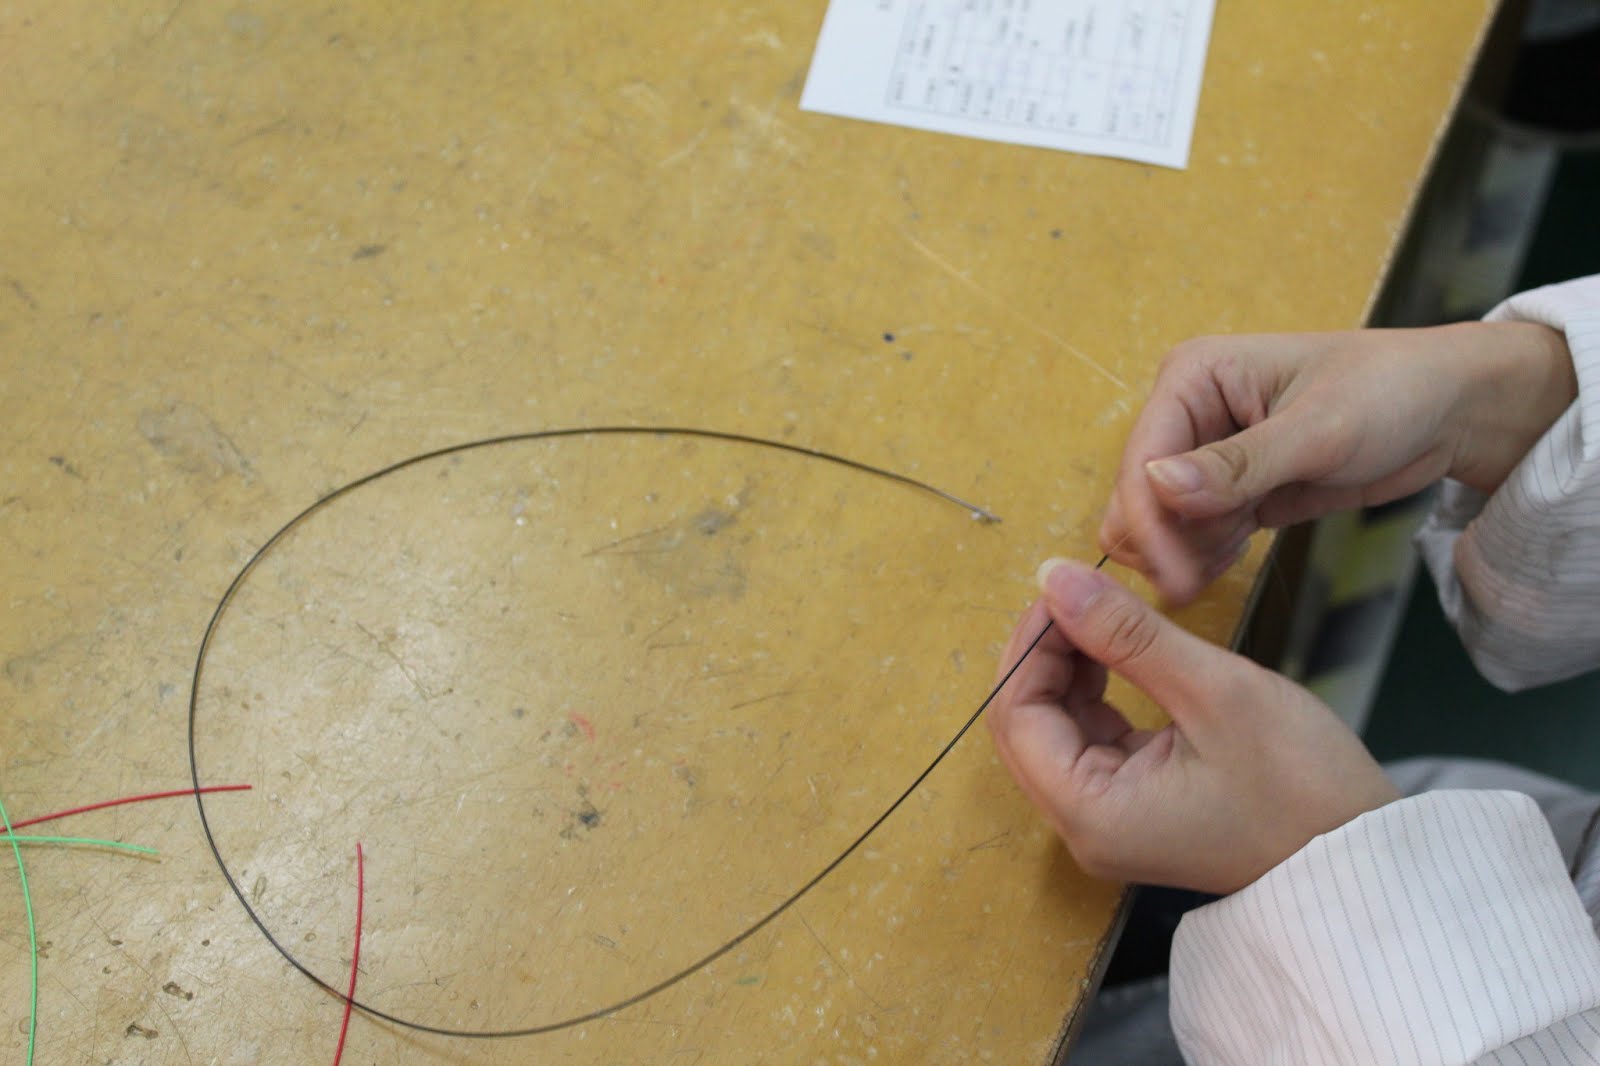
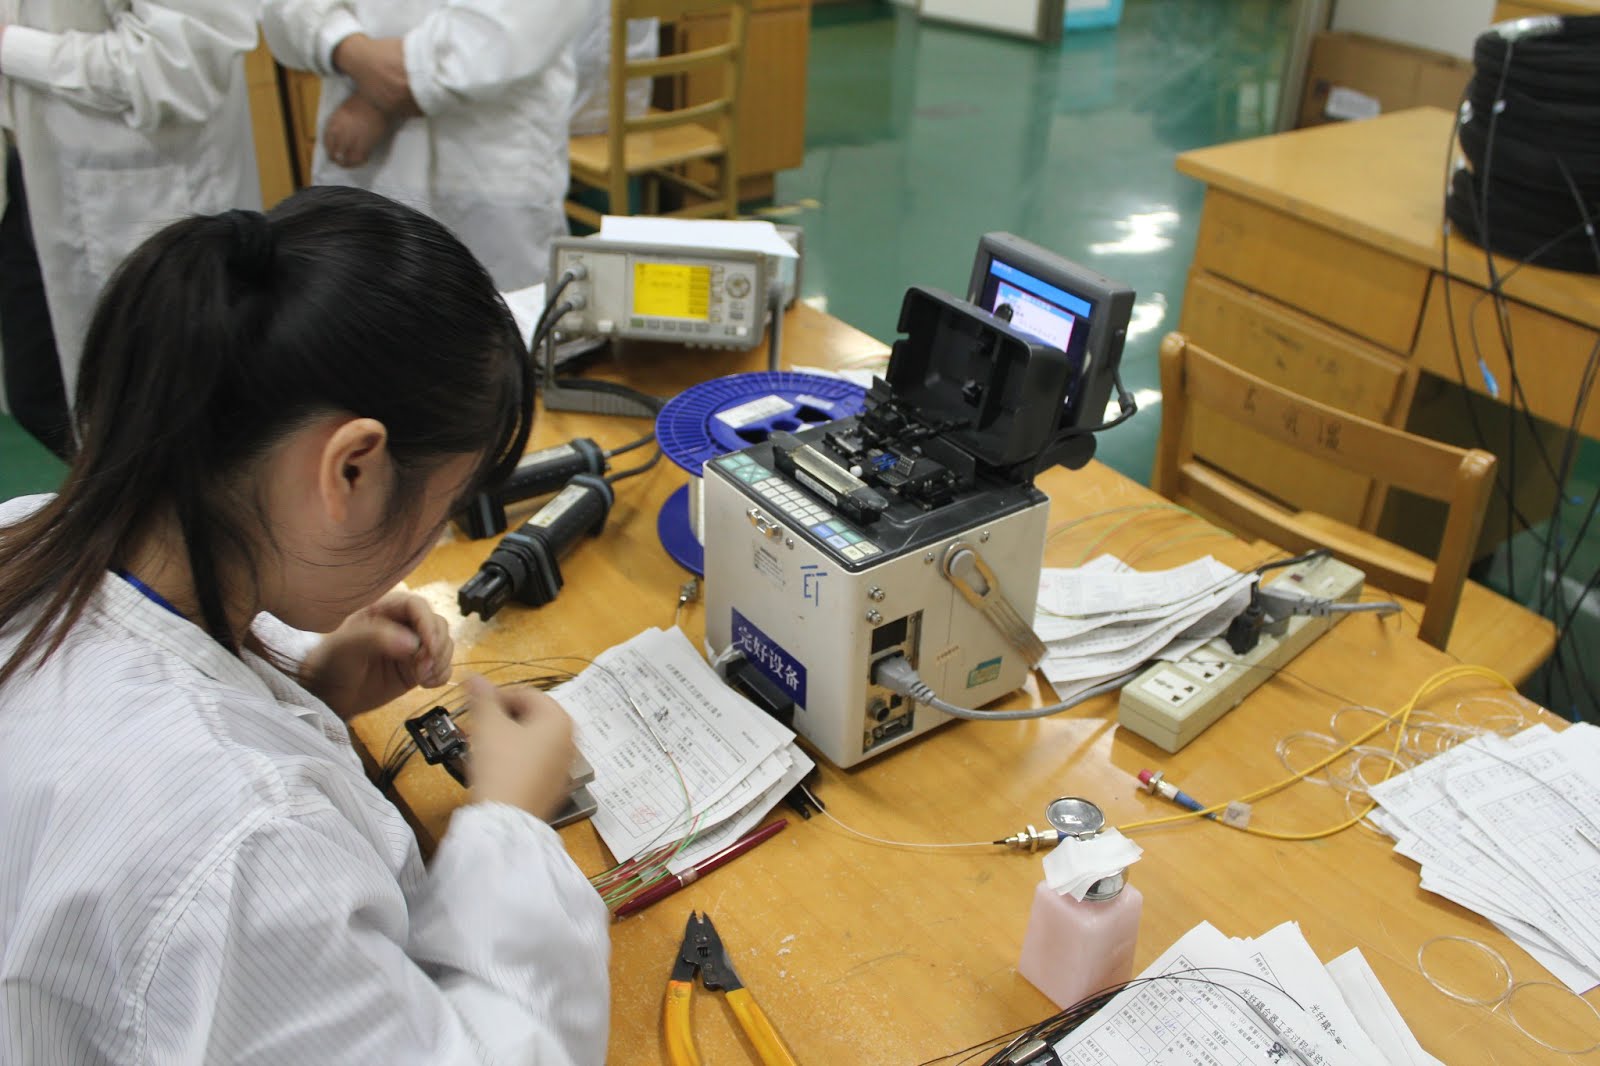
Next, go to the process of producing welded divider 1x2. This is the main part of the work, because the following variants 1x4, 1x8 and so on are made by cascading. We start with the fact that with the help of a special welding / pulling / heating apparatus we will weld the fibers under real-time control of the measuring equipment .
The miracle machine looks like this:
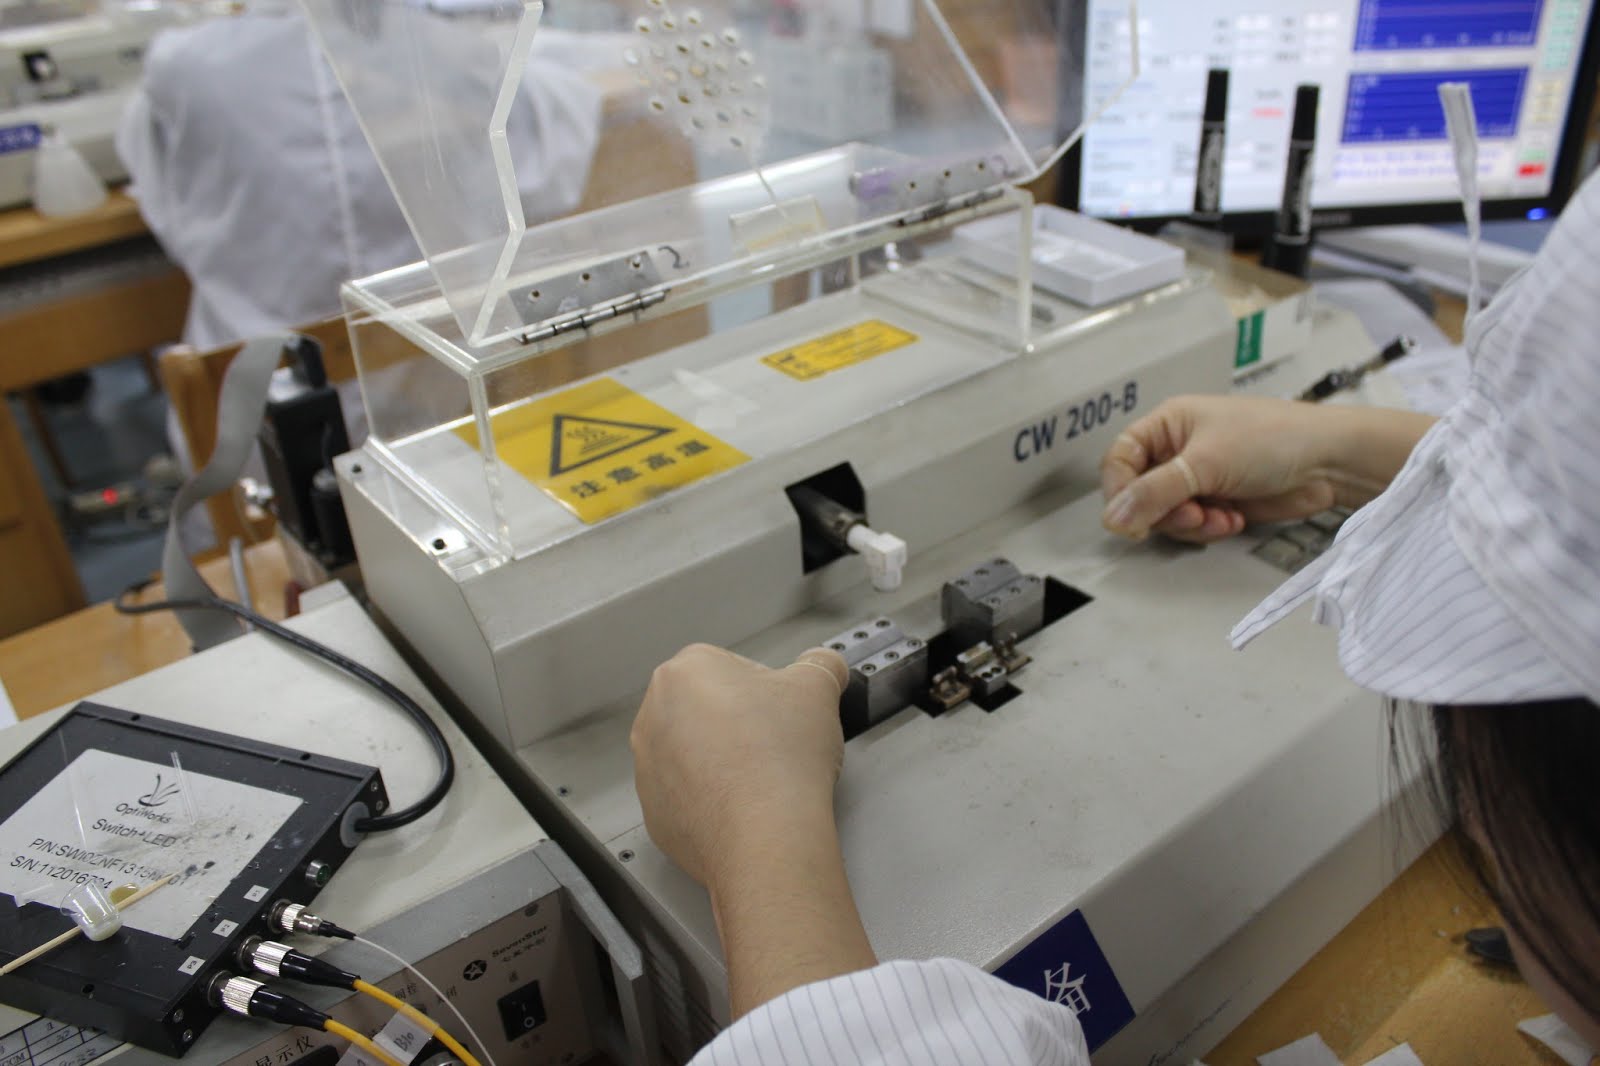
In the special grooves we place the fiber, which will be welded. Close the lid, and ... leaves the heating element. With it, the fibers are heated. At the same time, the grooves “stretch” the fibers in order for the cores of these fibers to “merge”. When this is achieved and the specified division ratio, which must be obtained in the divider.
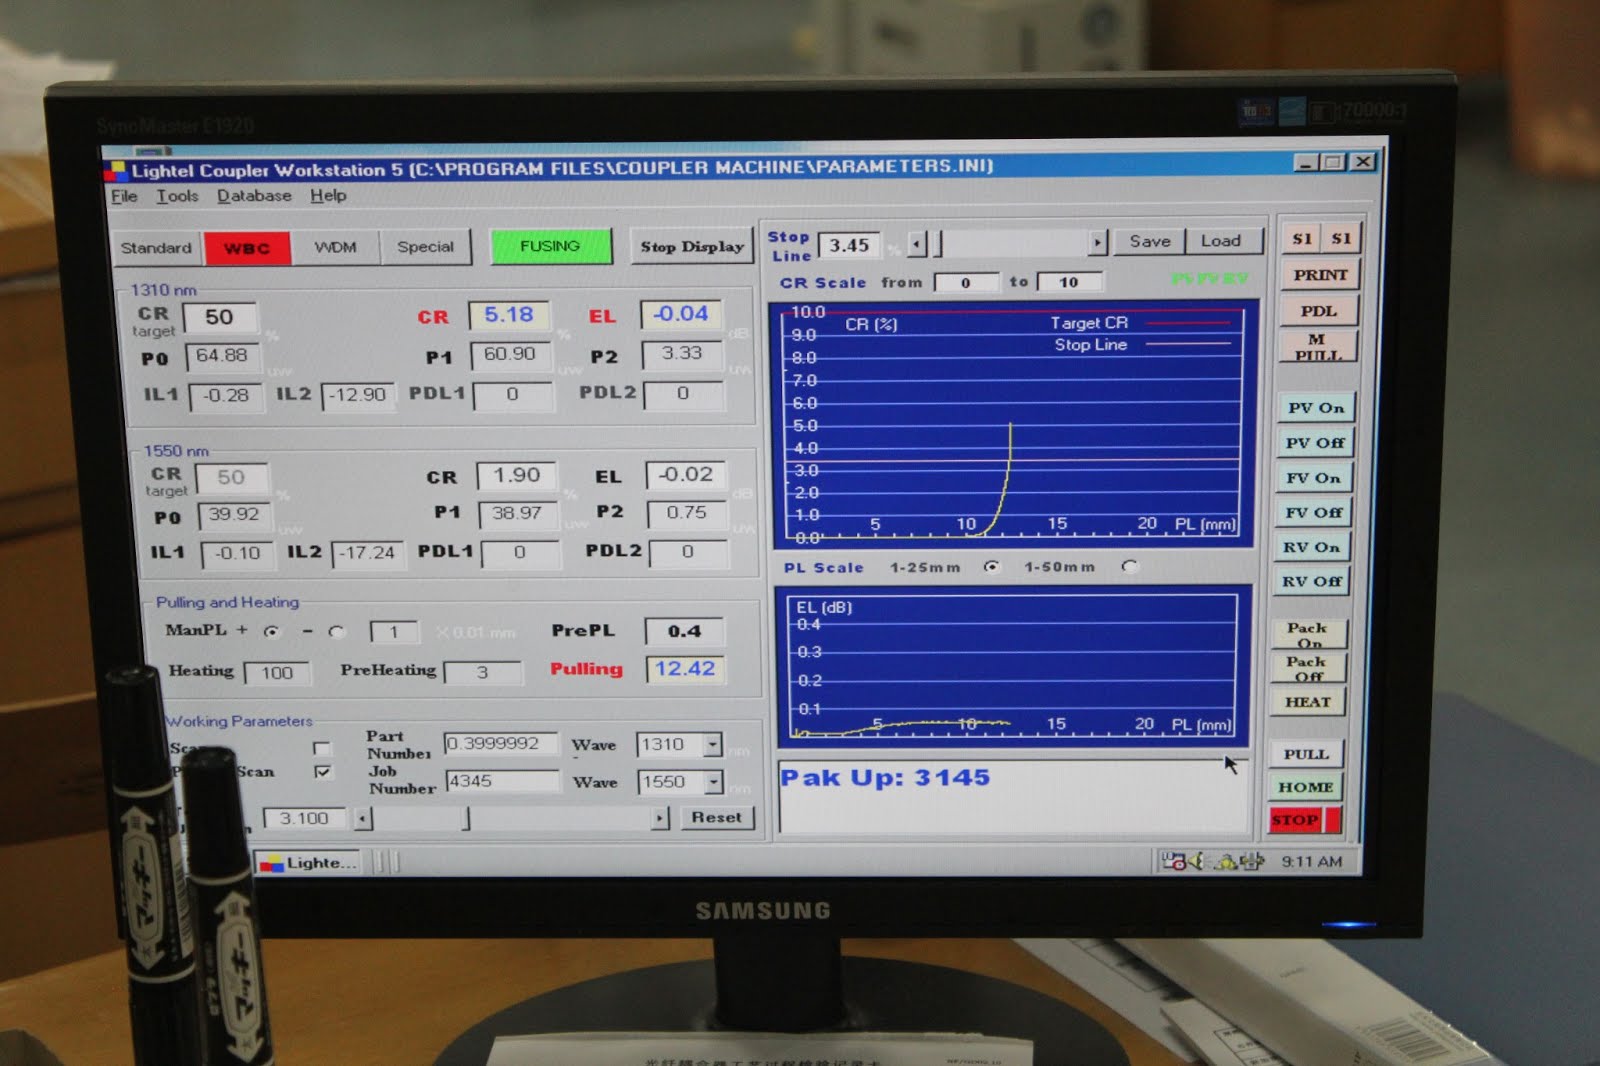
On the screen connected to the installation, the operator controls the parameters of the future divider. In addition, after welding, the girl operator controls the attenuation in the divider using a power meter and a reference radiation source.
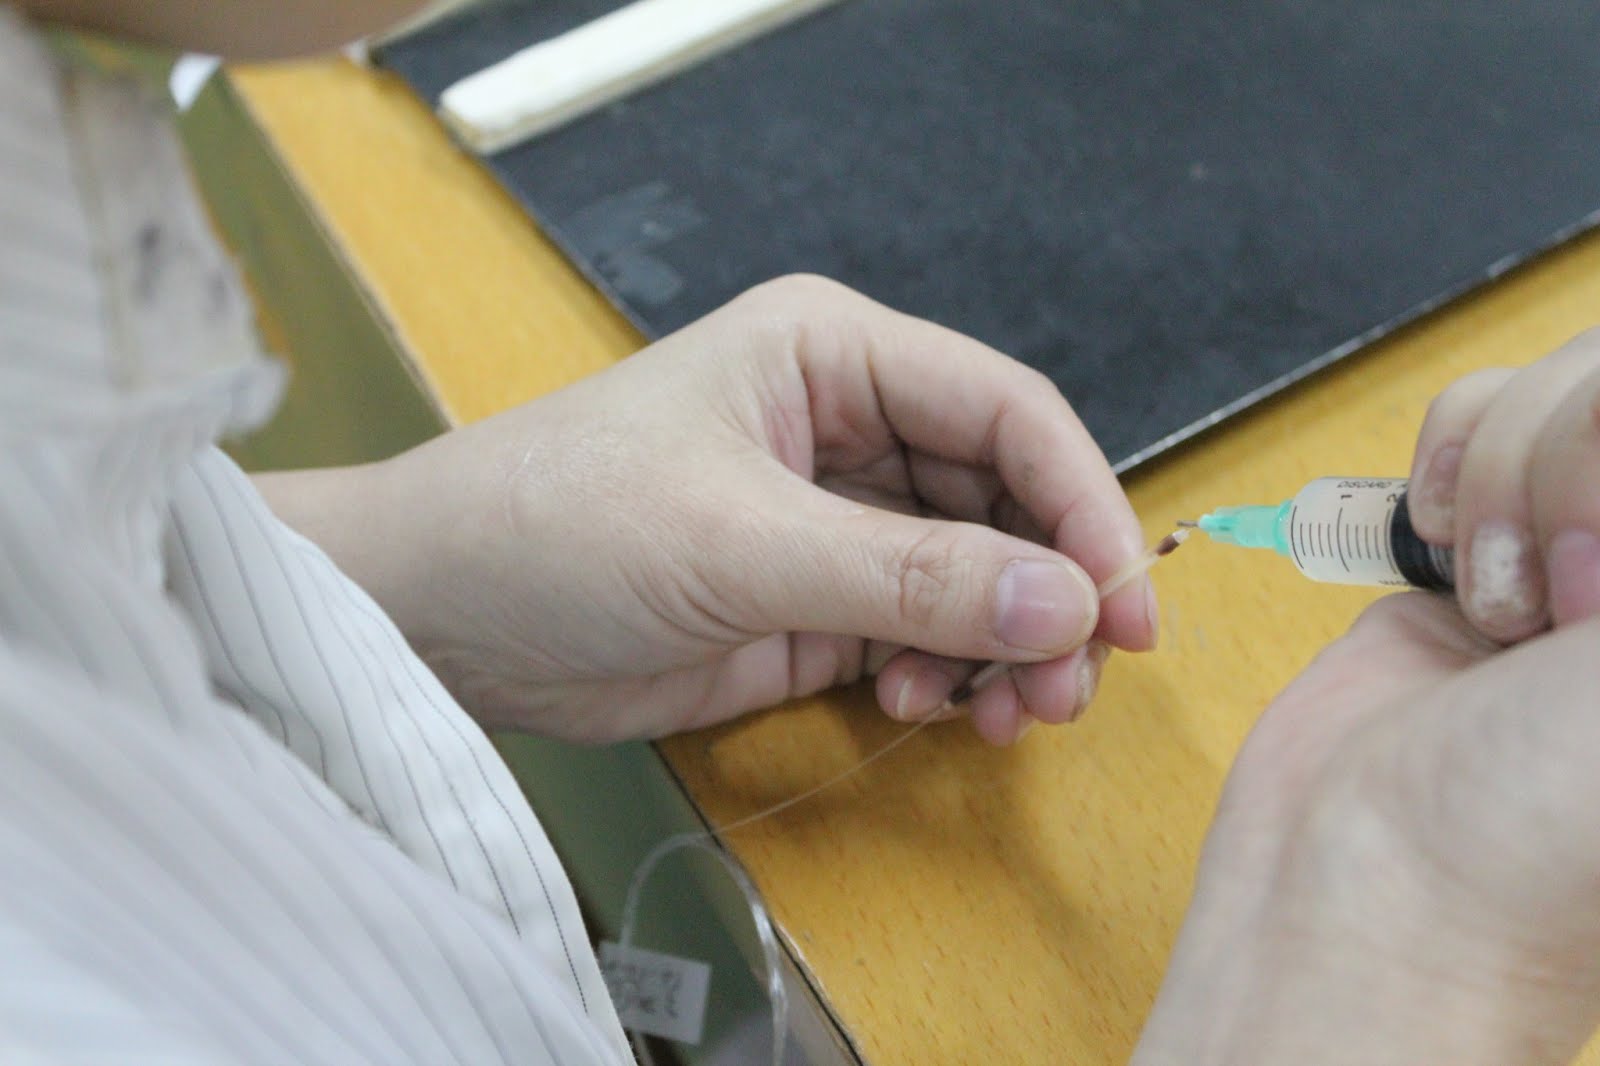
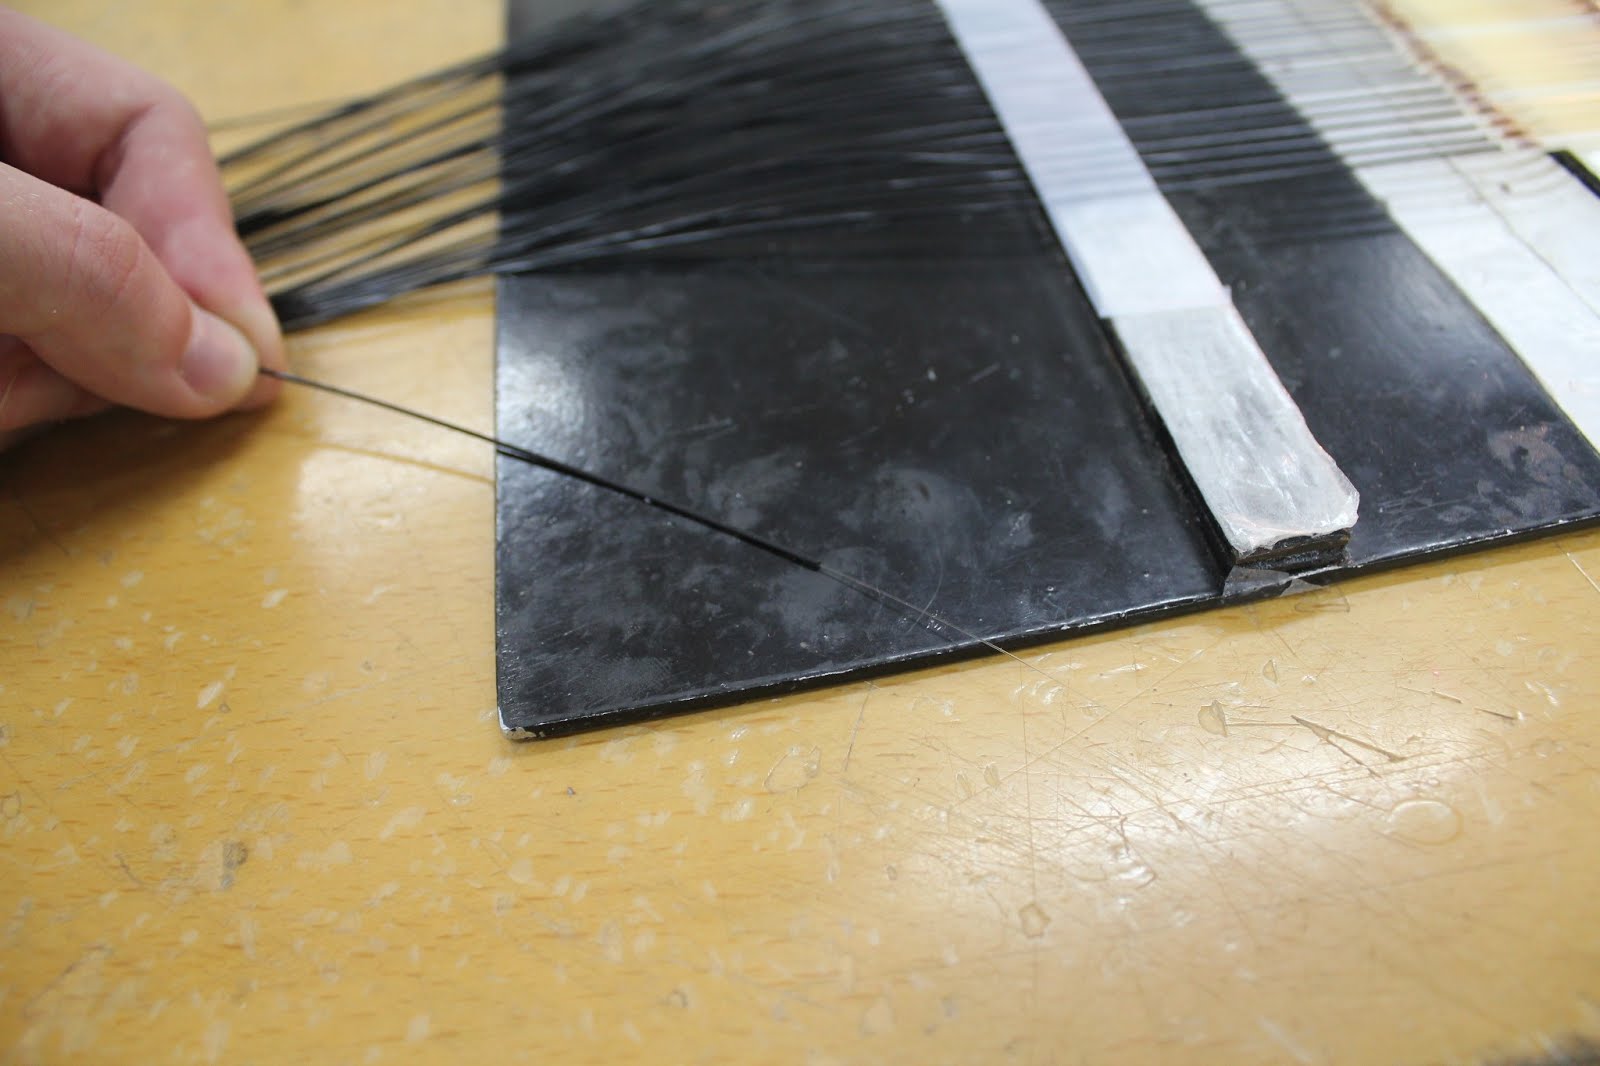
After “welding” we put on a protective glass tube, put it on a special “table” and fix the fibers in it along the edges with epoxy.
It is particularly necessary to note that it is necessary to record all the parameters of the product at each stage of production. Only in this way in the case of an RMA by serial number can one diagnose a problem, and “achieve” quality products. It is no secret that “basement” plants do not do this and save on some stages of production and tracking, and the results of tests in general, without being cleverly sly, are printed out with “random numbers from a suitable range”.
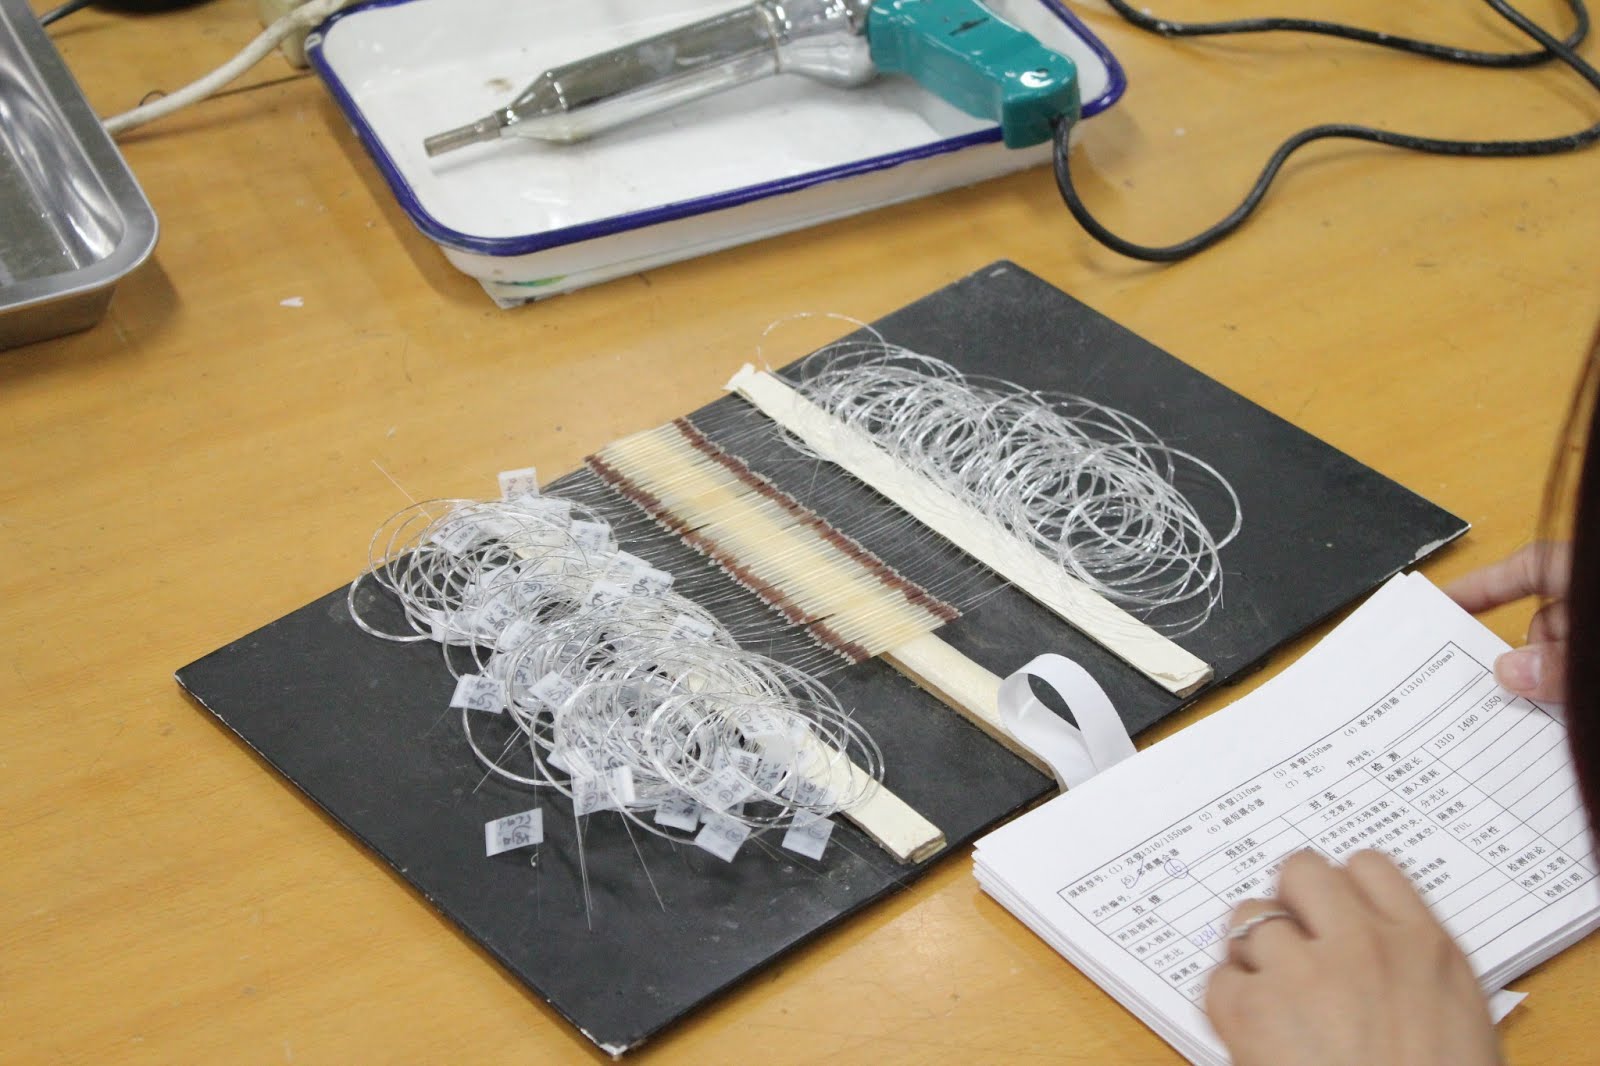
The next stage is the shrink tube protection of the resulting divider. A heat shrink tube (in our case, Tyco) is put on each divider and shrouded in a hair dryer. The excess end of the divider (fourth) at this stage is peeled off. In addition, high-quality dividers are additionally sealed with a special compound.

The divider is made!
Their whole substrate.
If a divider is needed with the ends in a 0.9mm buffer, a special PVC tube is put on each end.
Tubes can be of almost any color and any diameter. In addition, tubes reinforced with aramid yarns are often used.
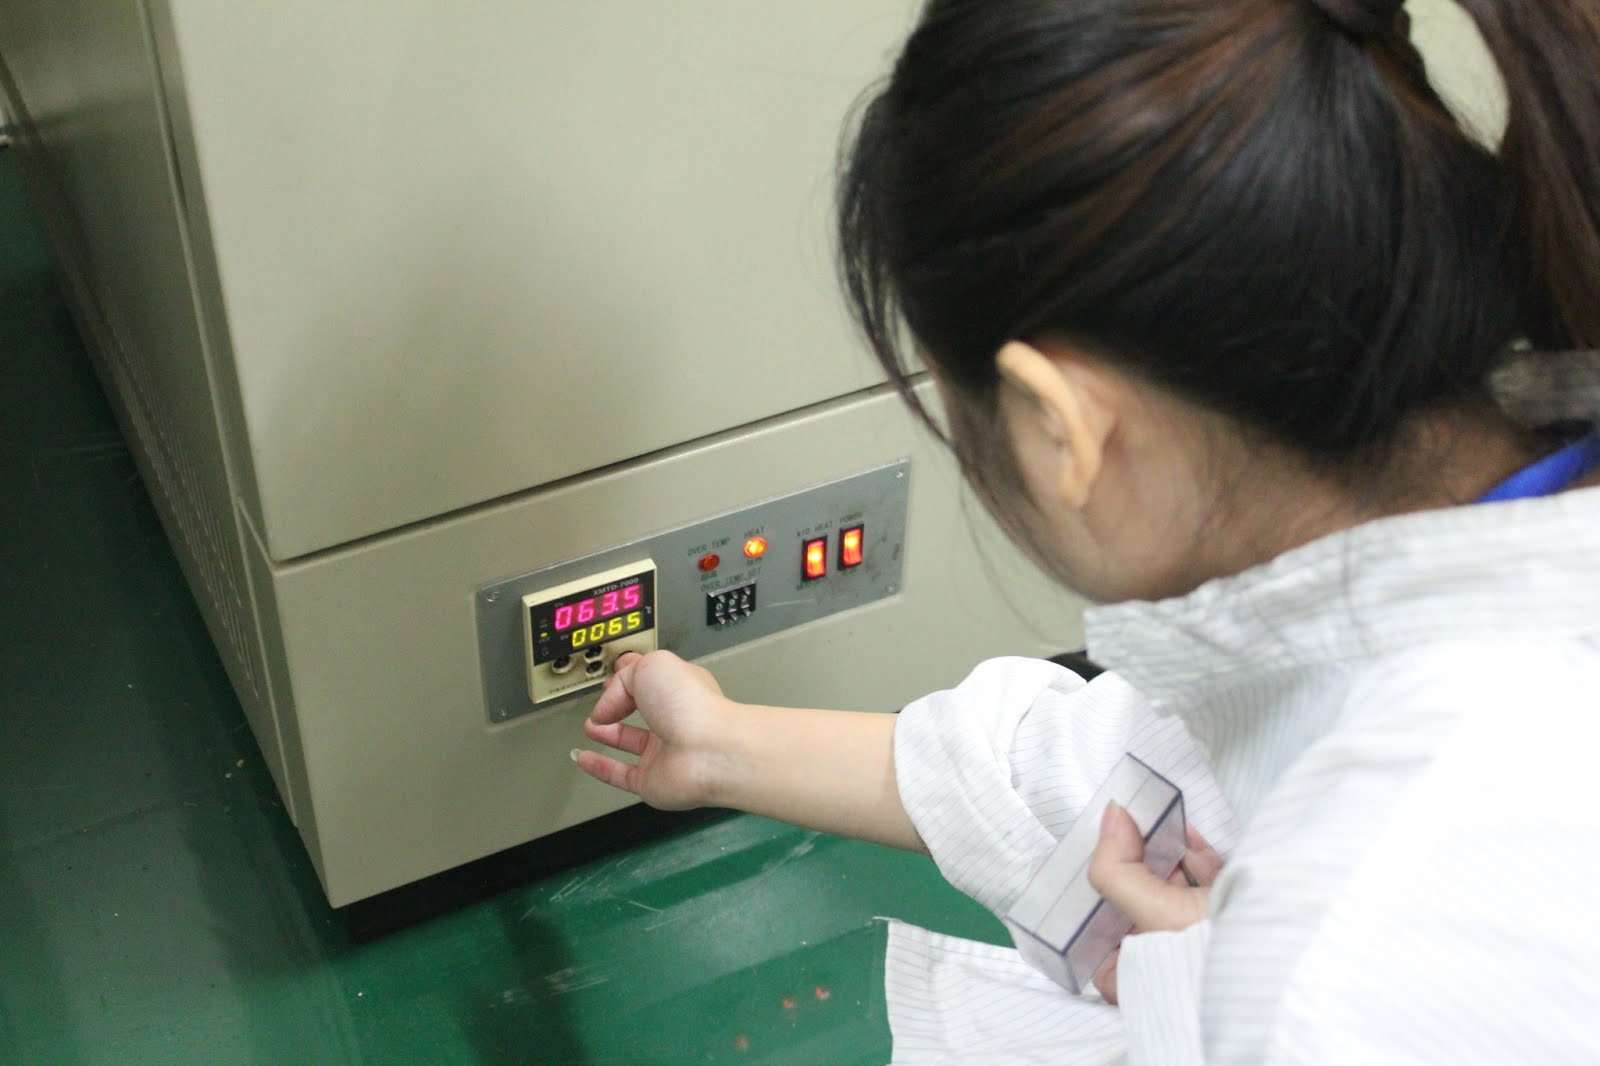
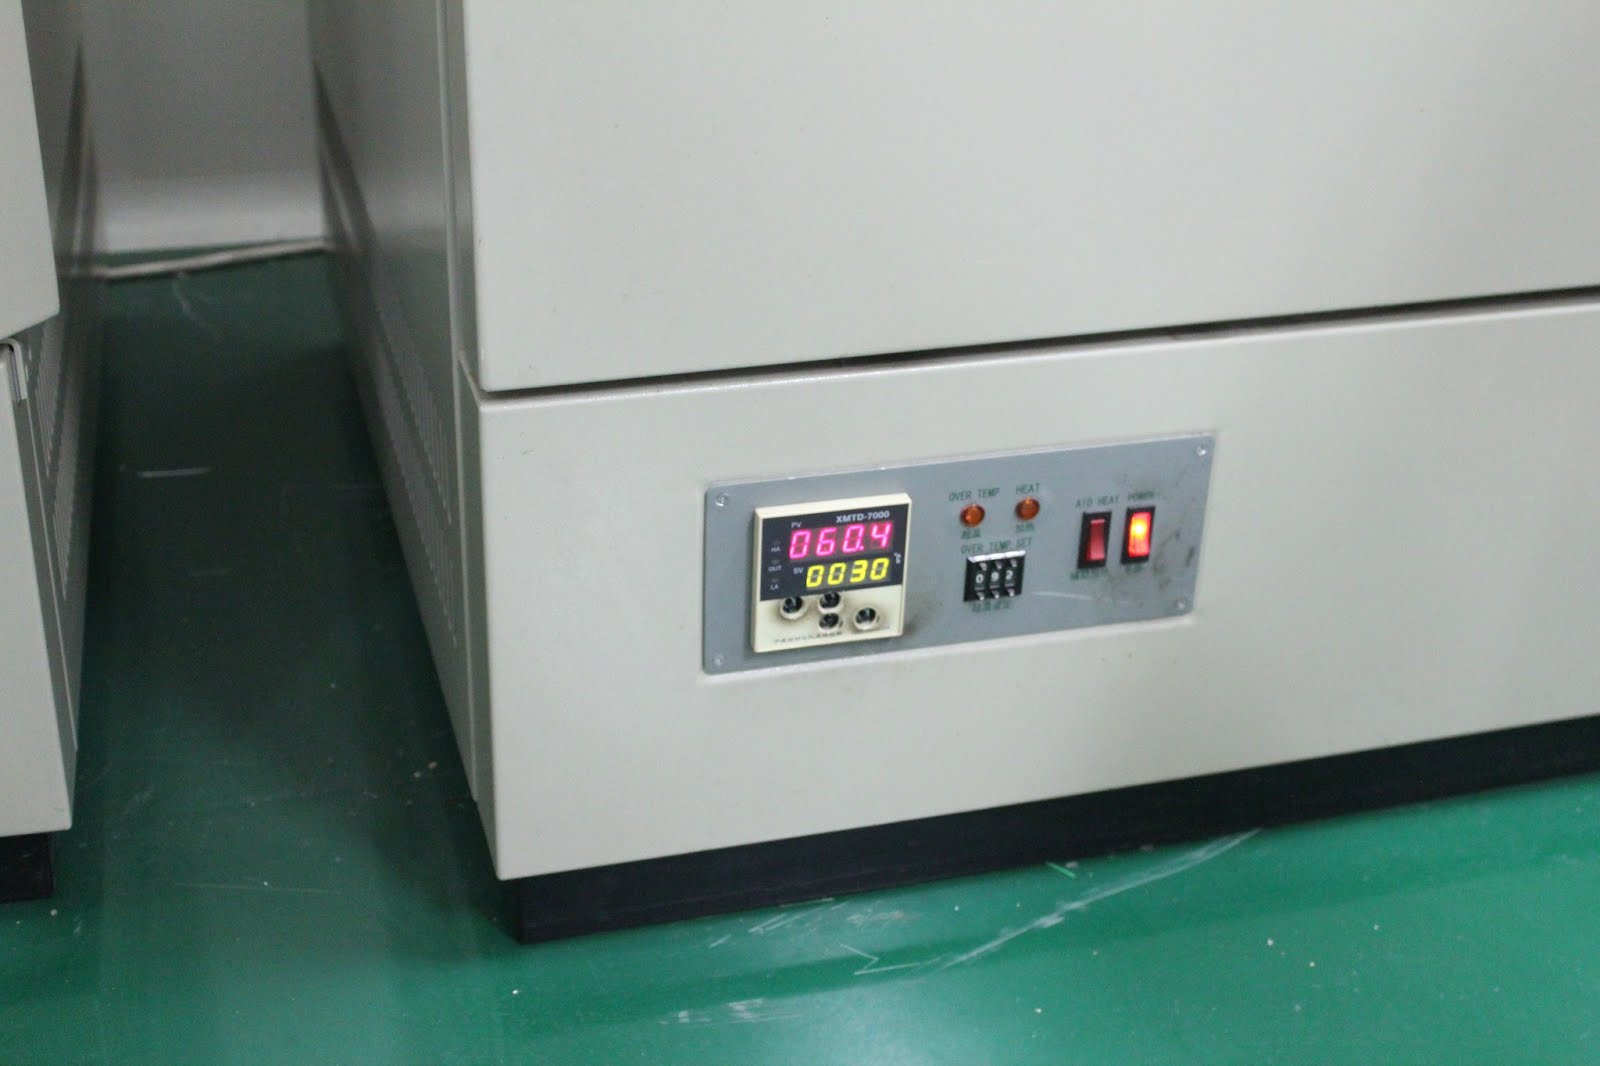
After installing the tubes divider "baked." At 60C, the dividers are in a special chamber for 30 minutes.

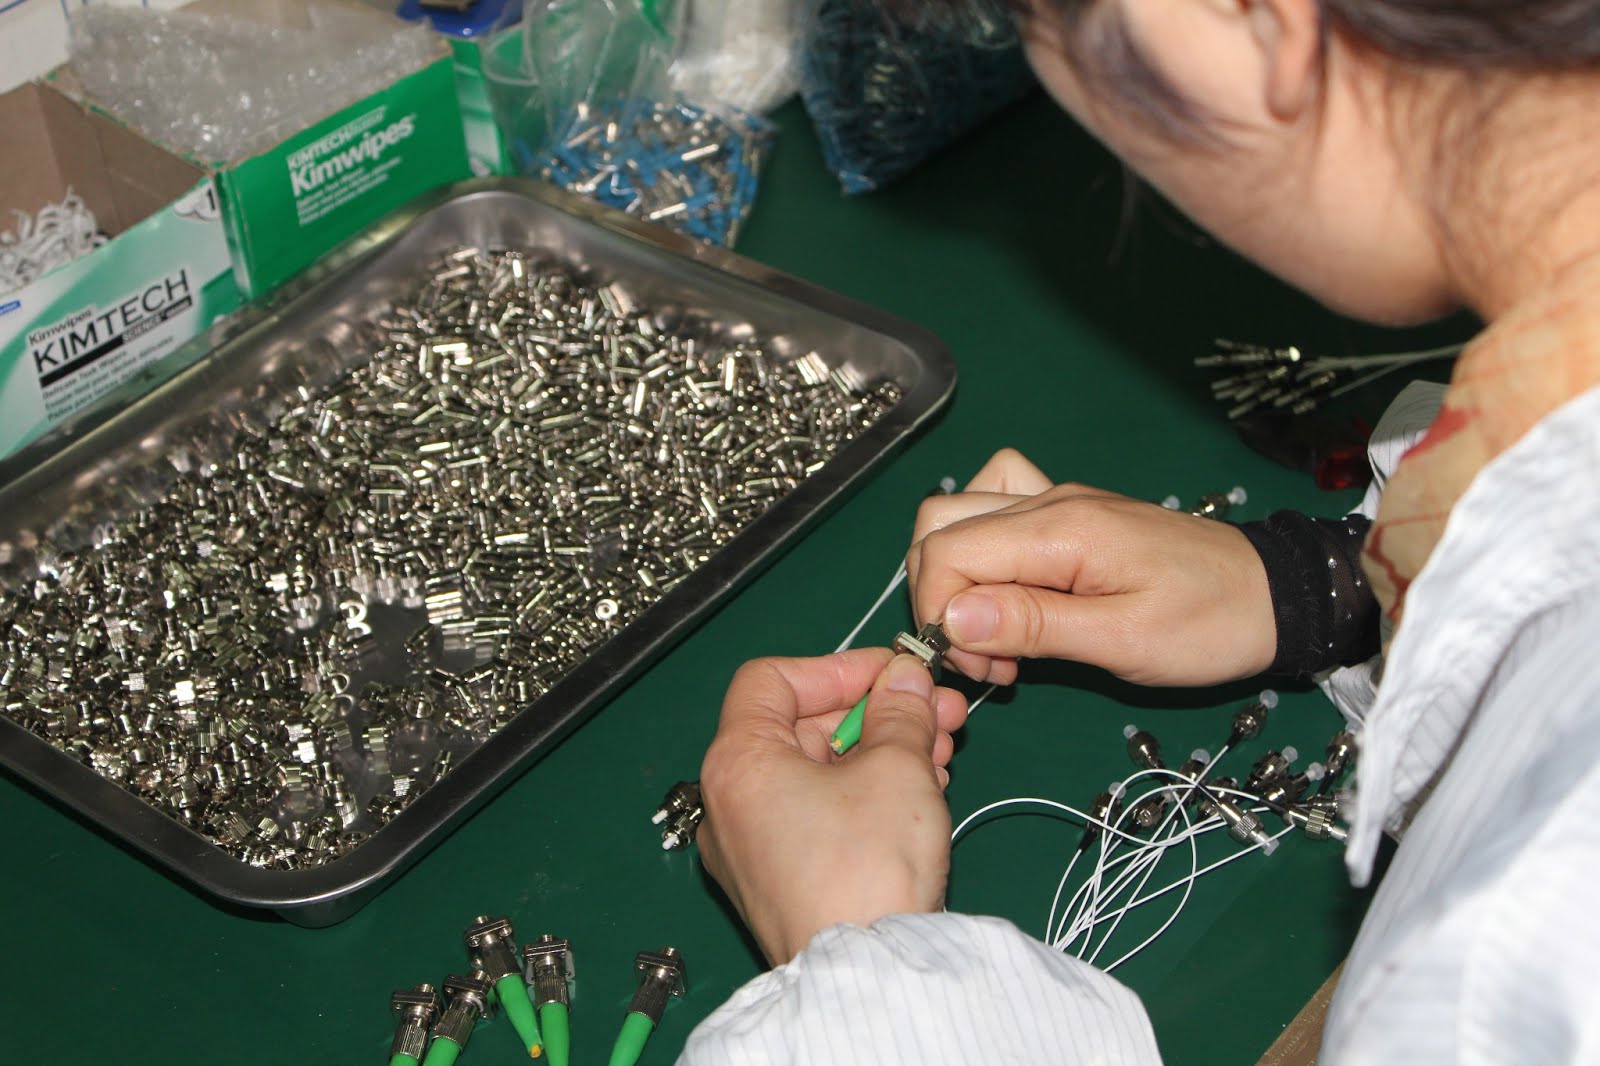
Passed the first stage of "roasting". Next, you need to mount the divider in a metal tube. Put on the tube.
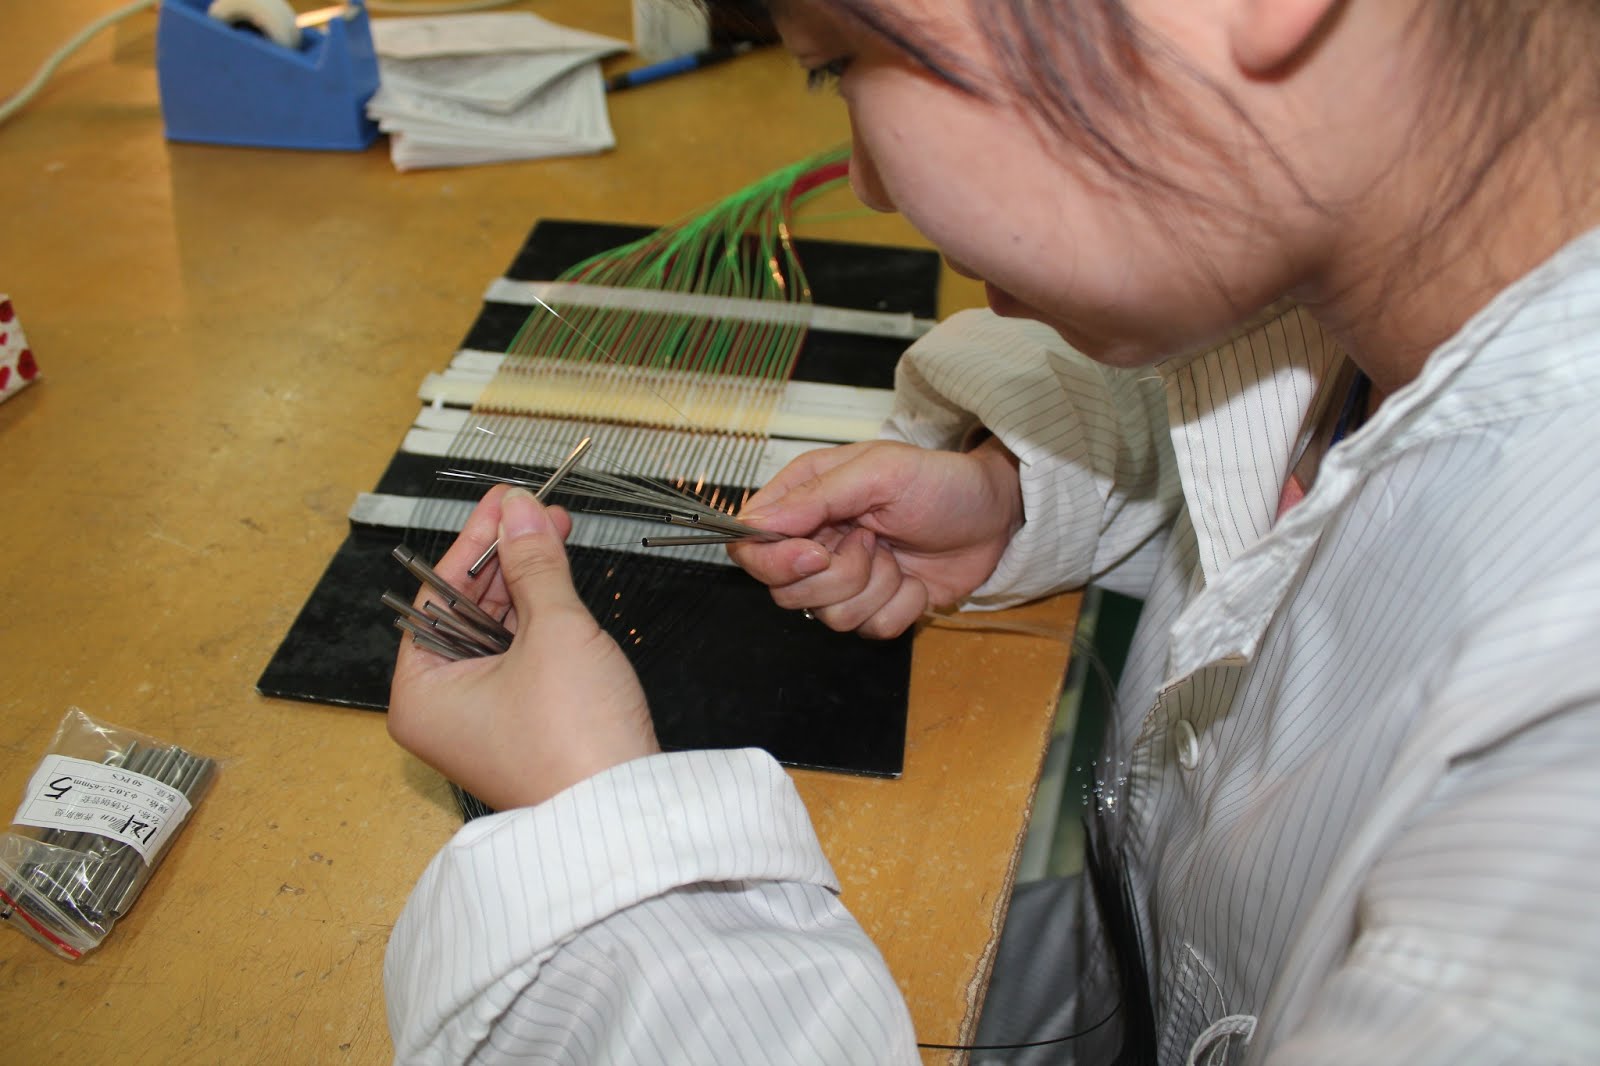
Fill in each tube a little glue on both sides.
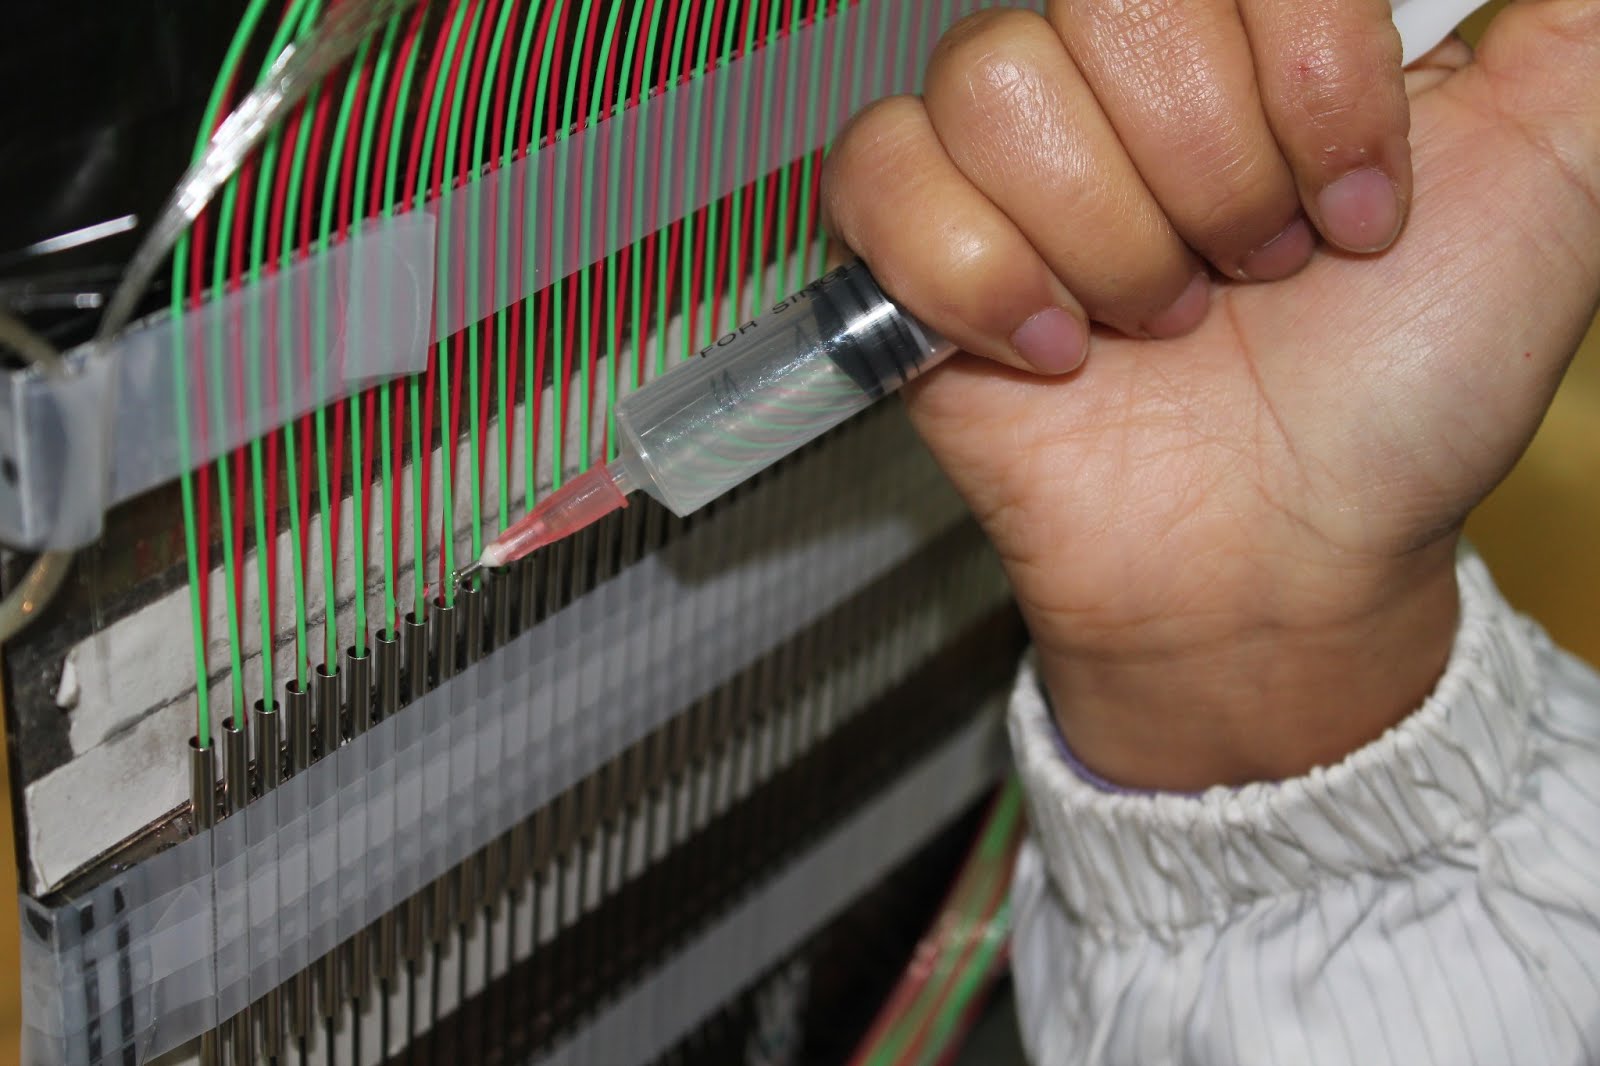
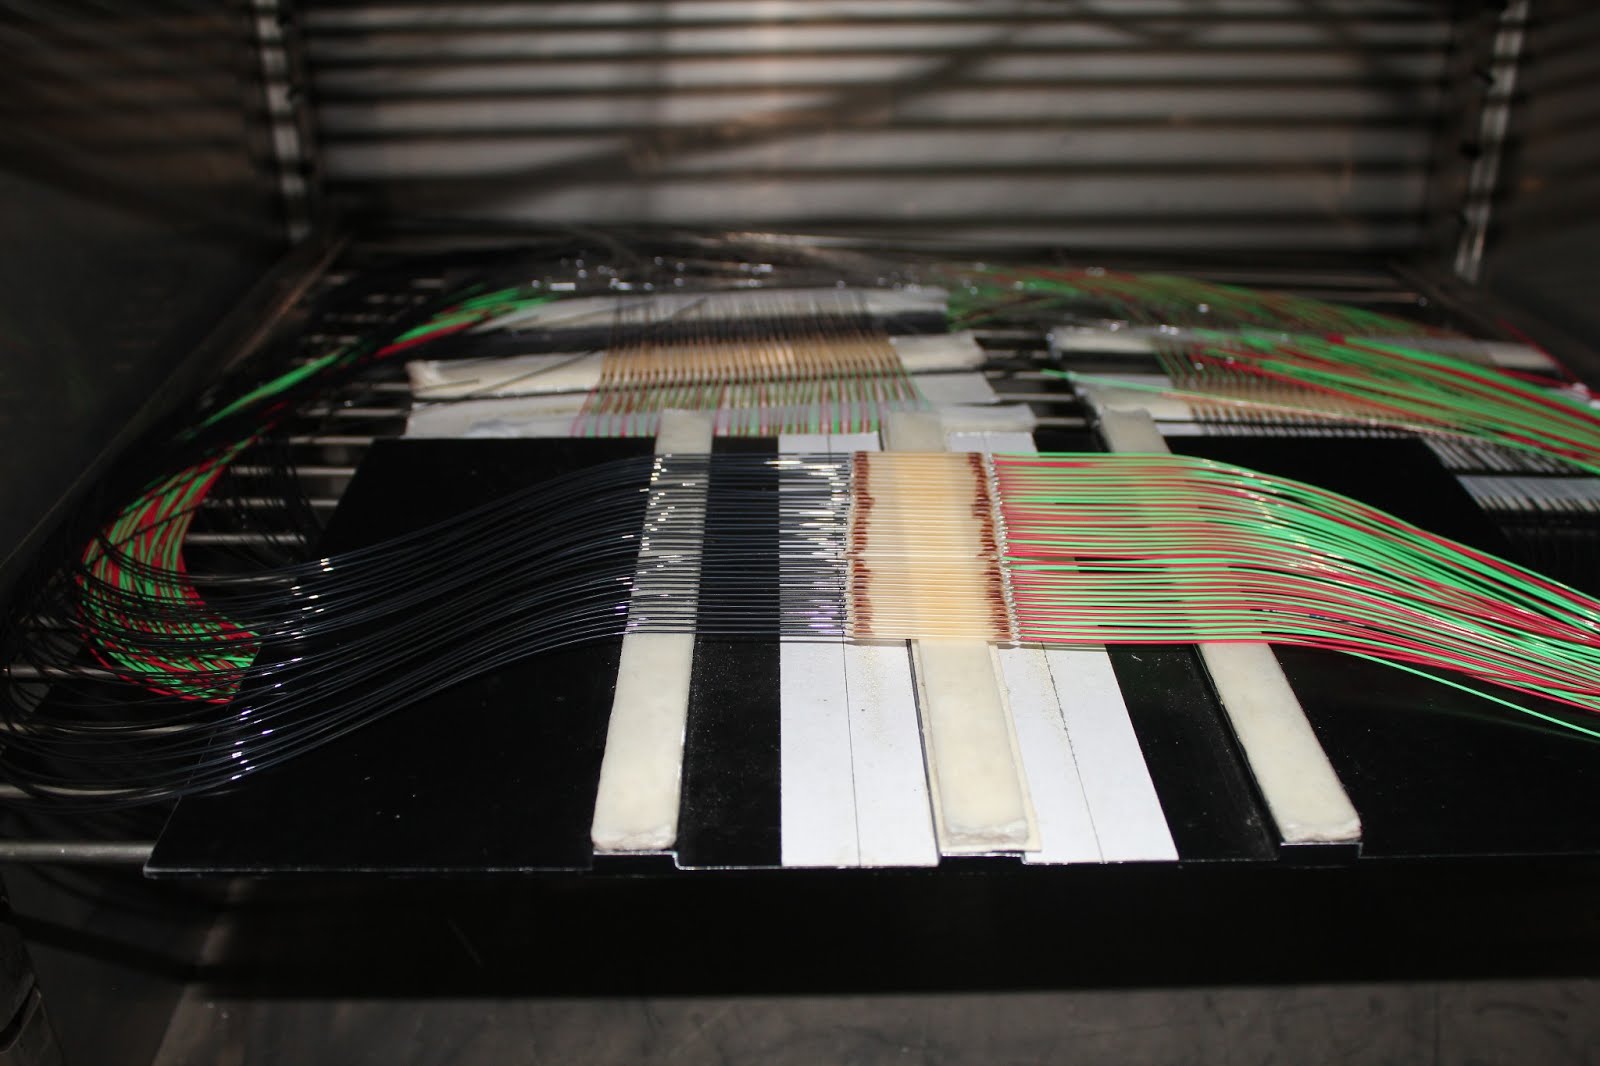
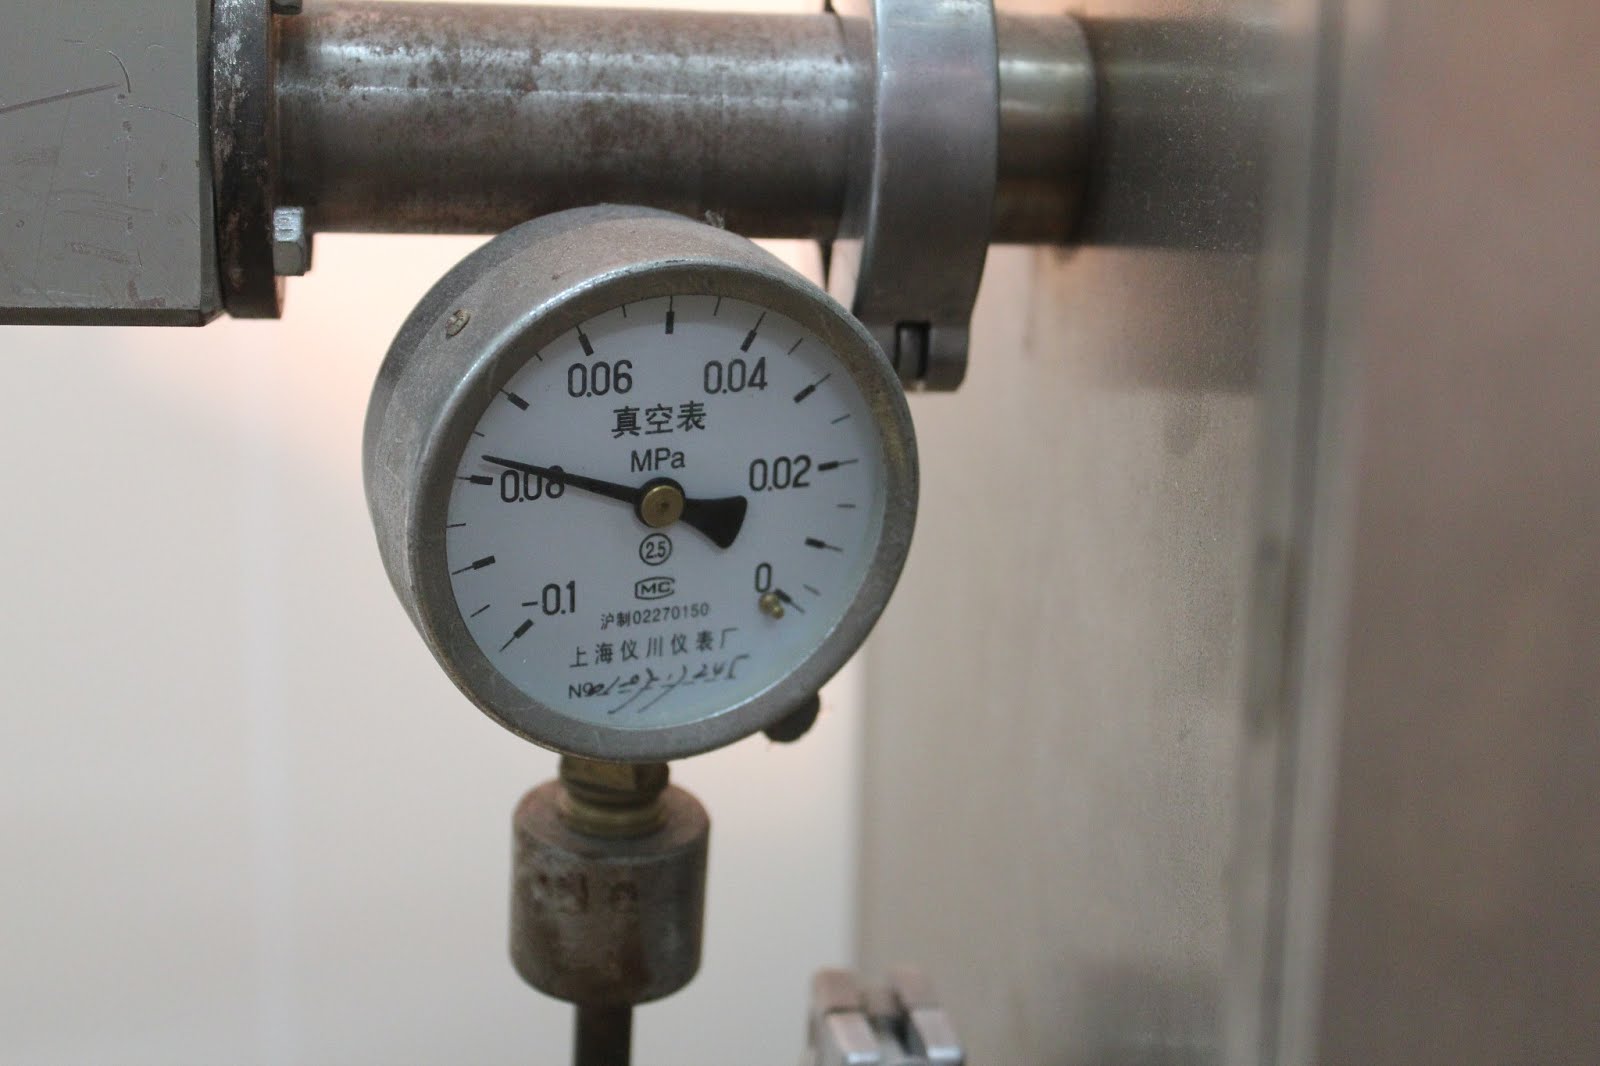
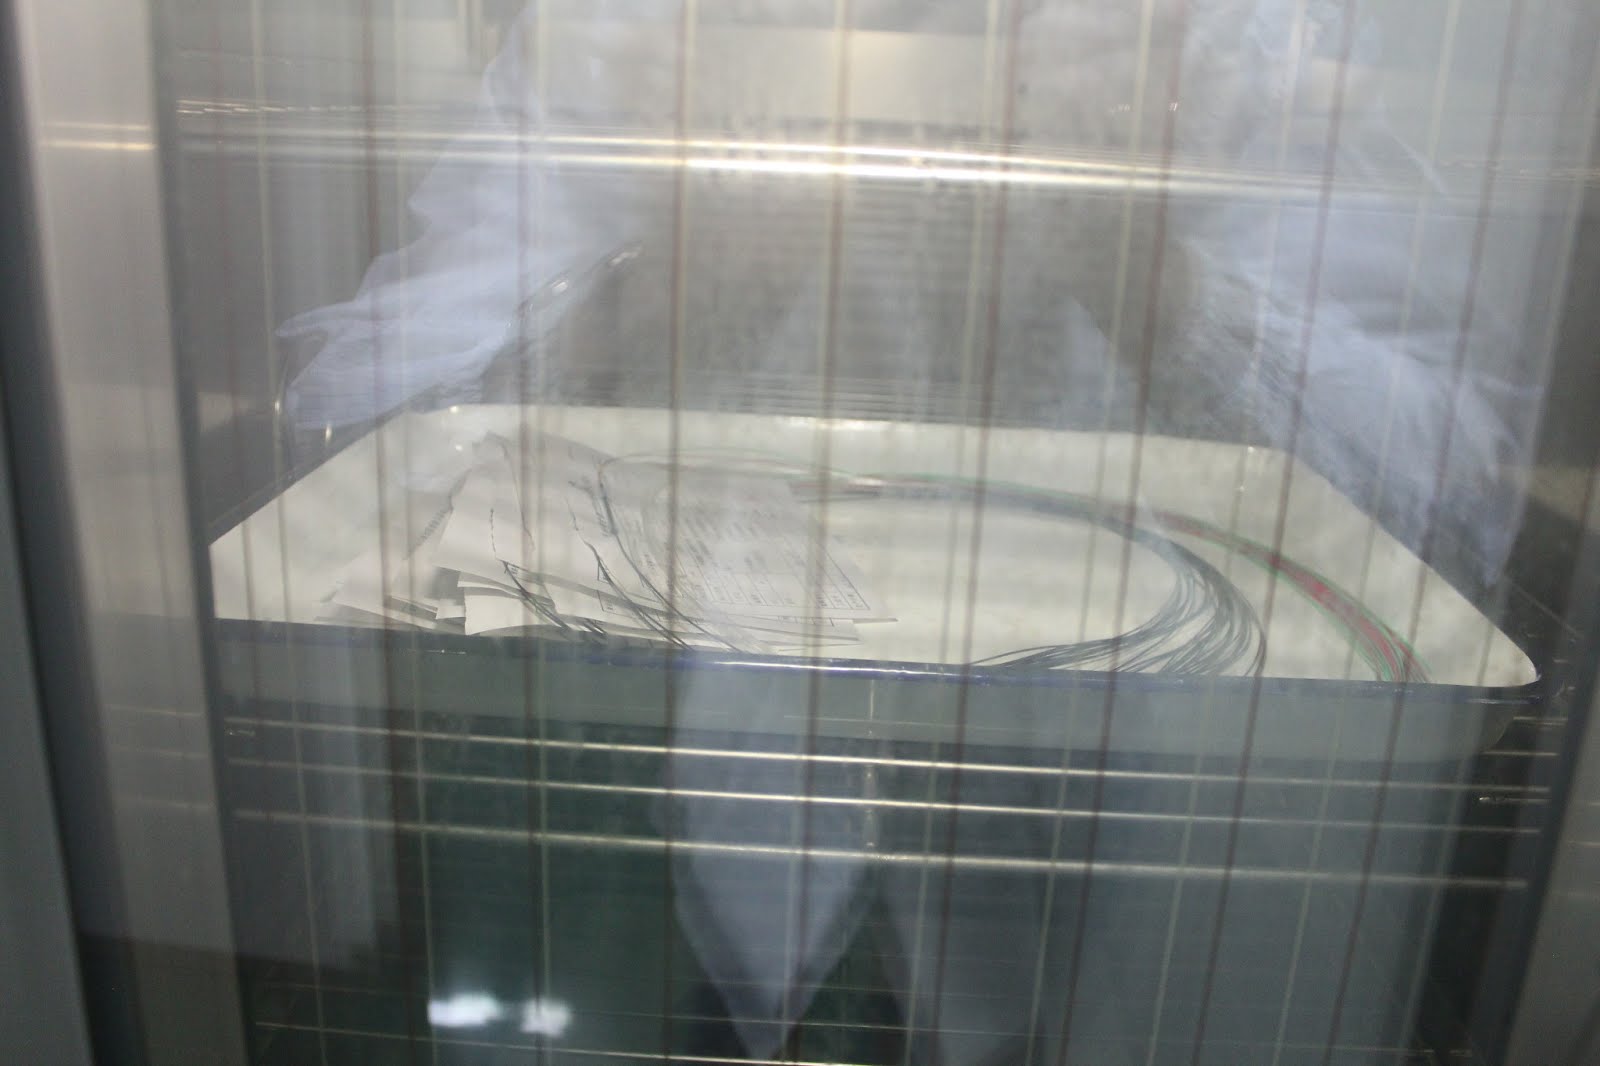
And then comes a very interesting stage - “pressure test”. All substrates with dividers are placed in a pressure chamber and we achieve that all the air inside the tube comes out. All the space inside was filled with glue.
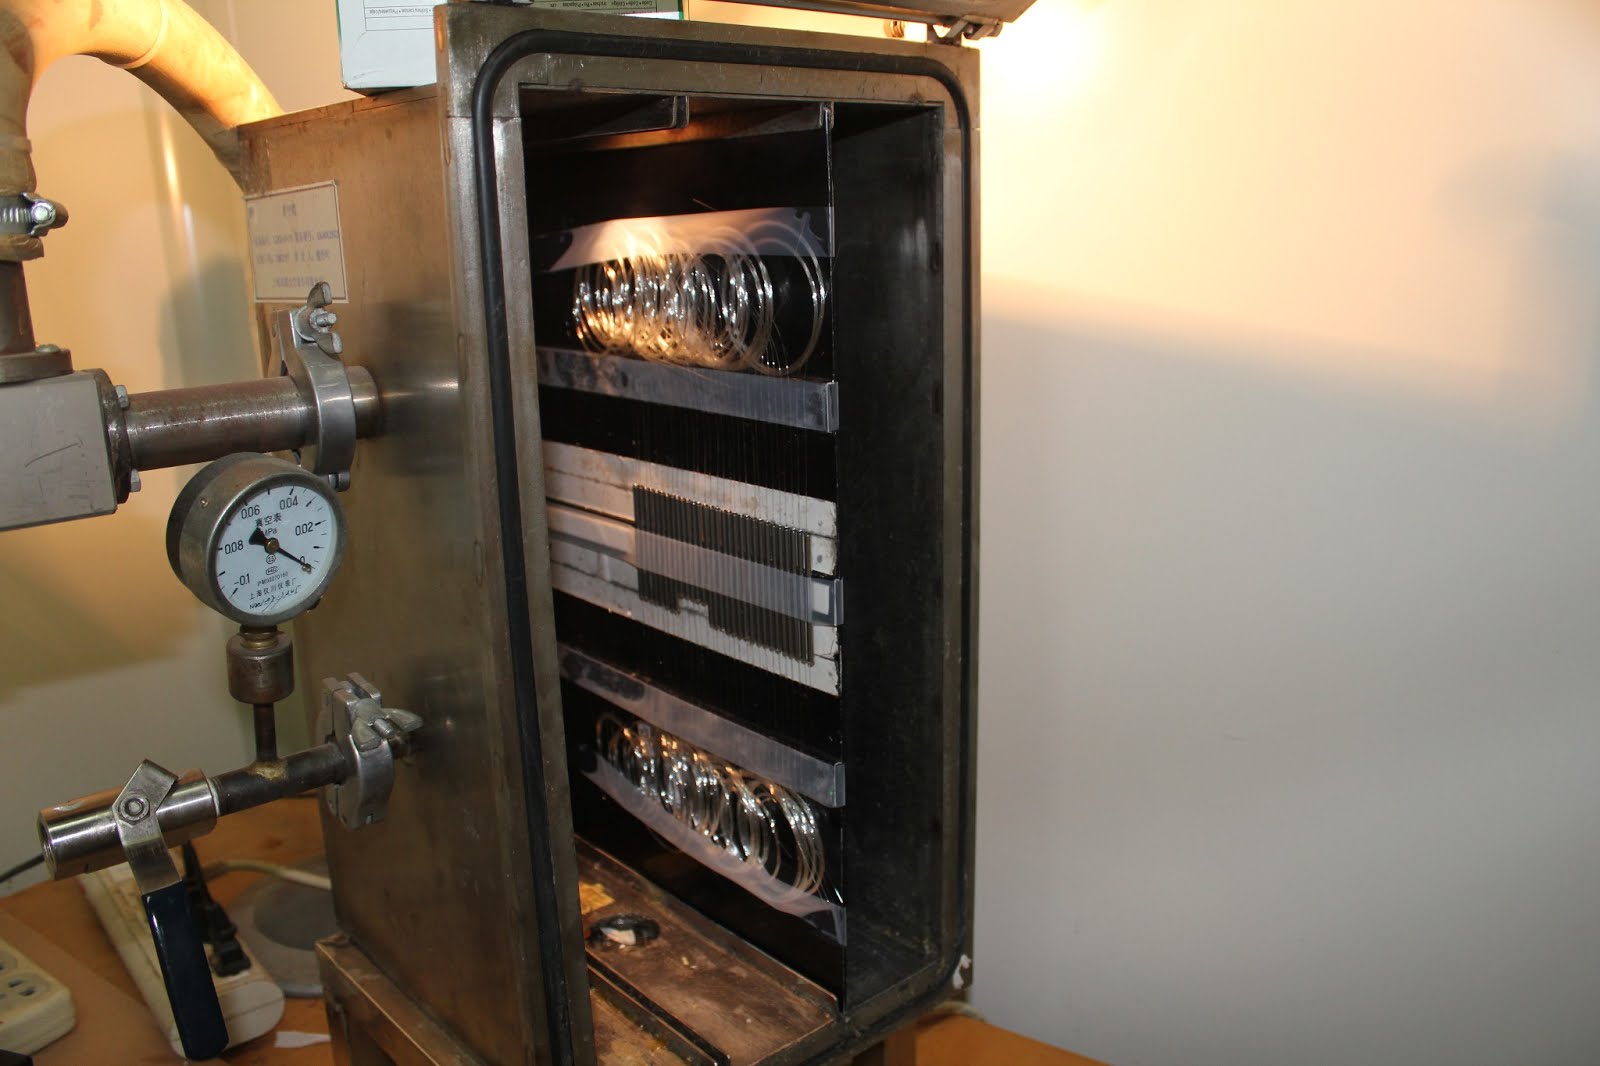
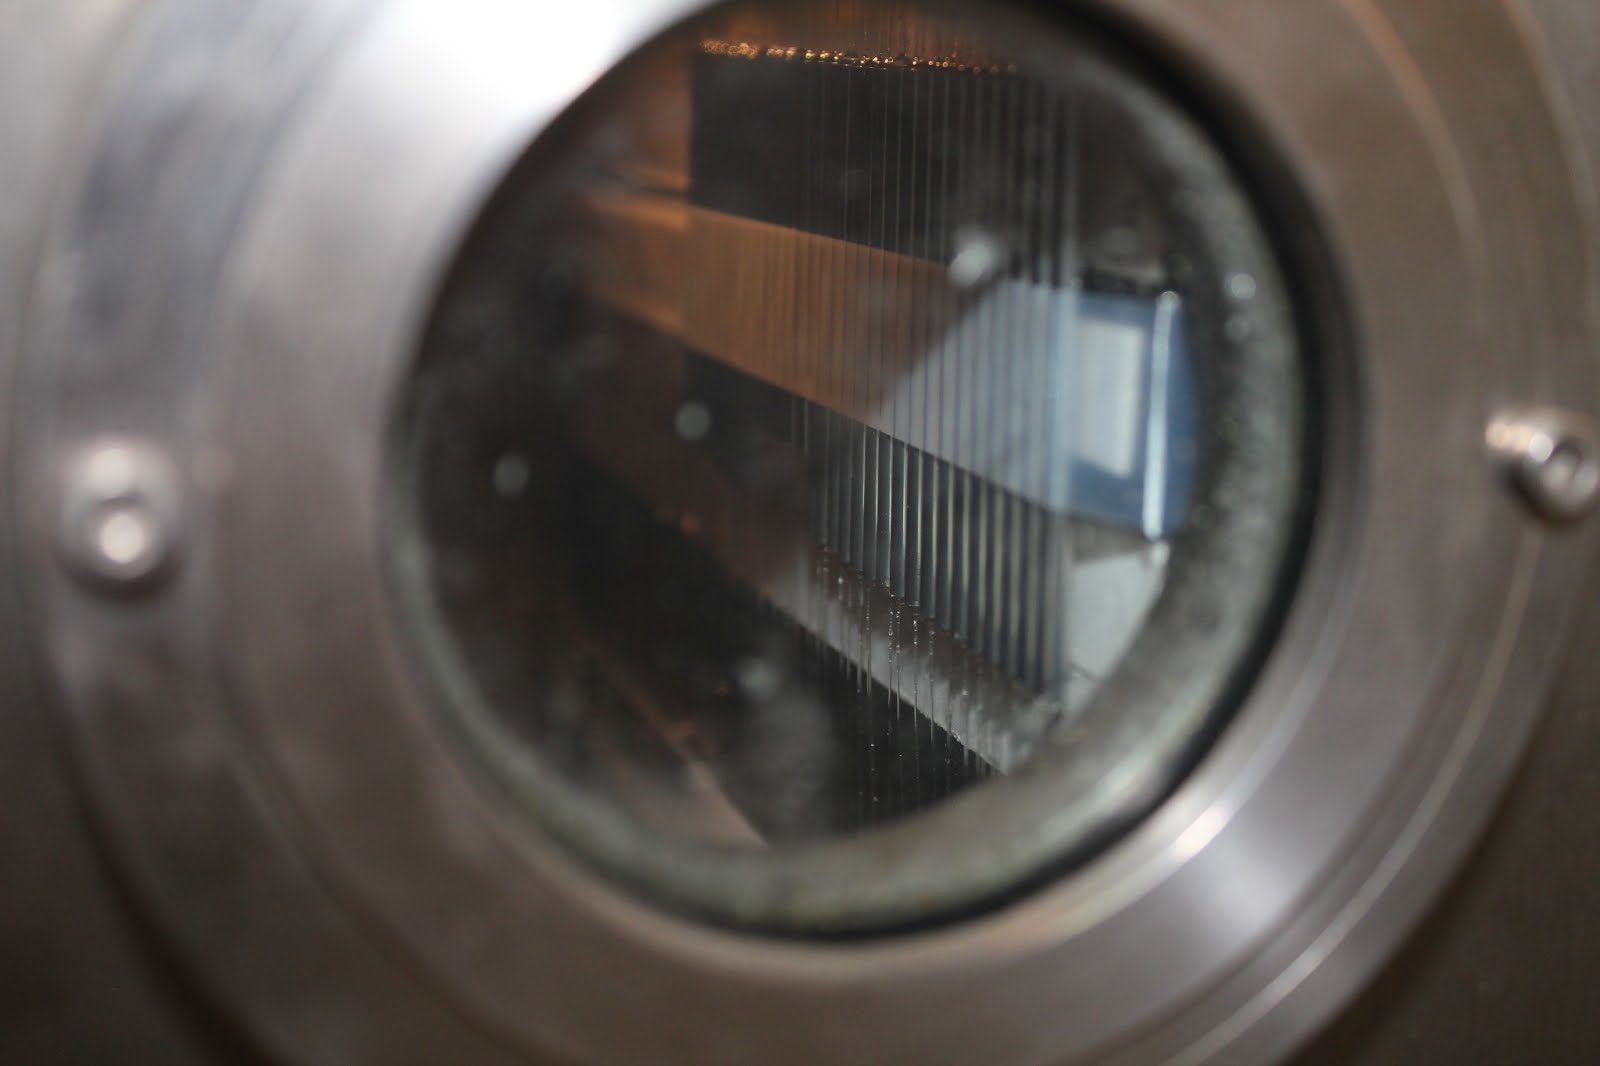
After this, the dividers "bake" finally.
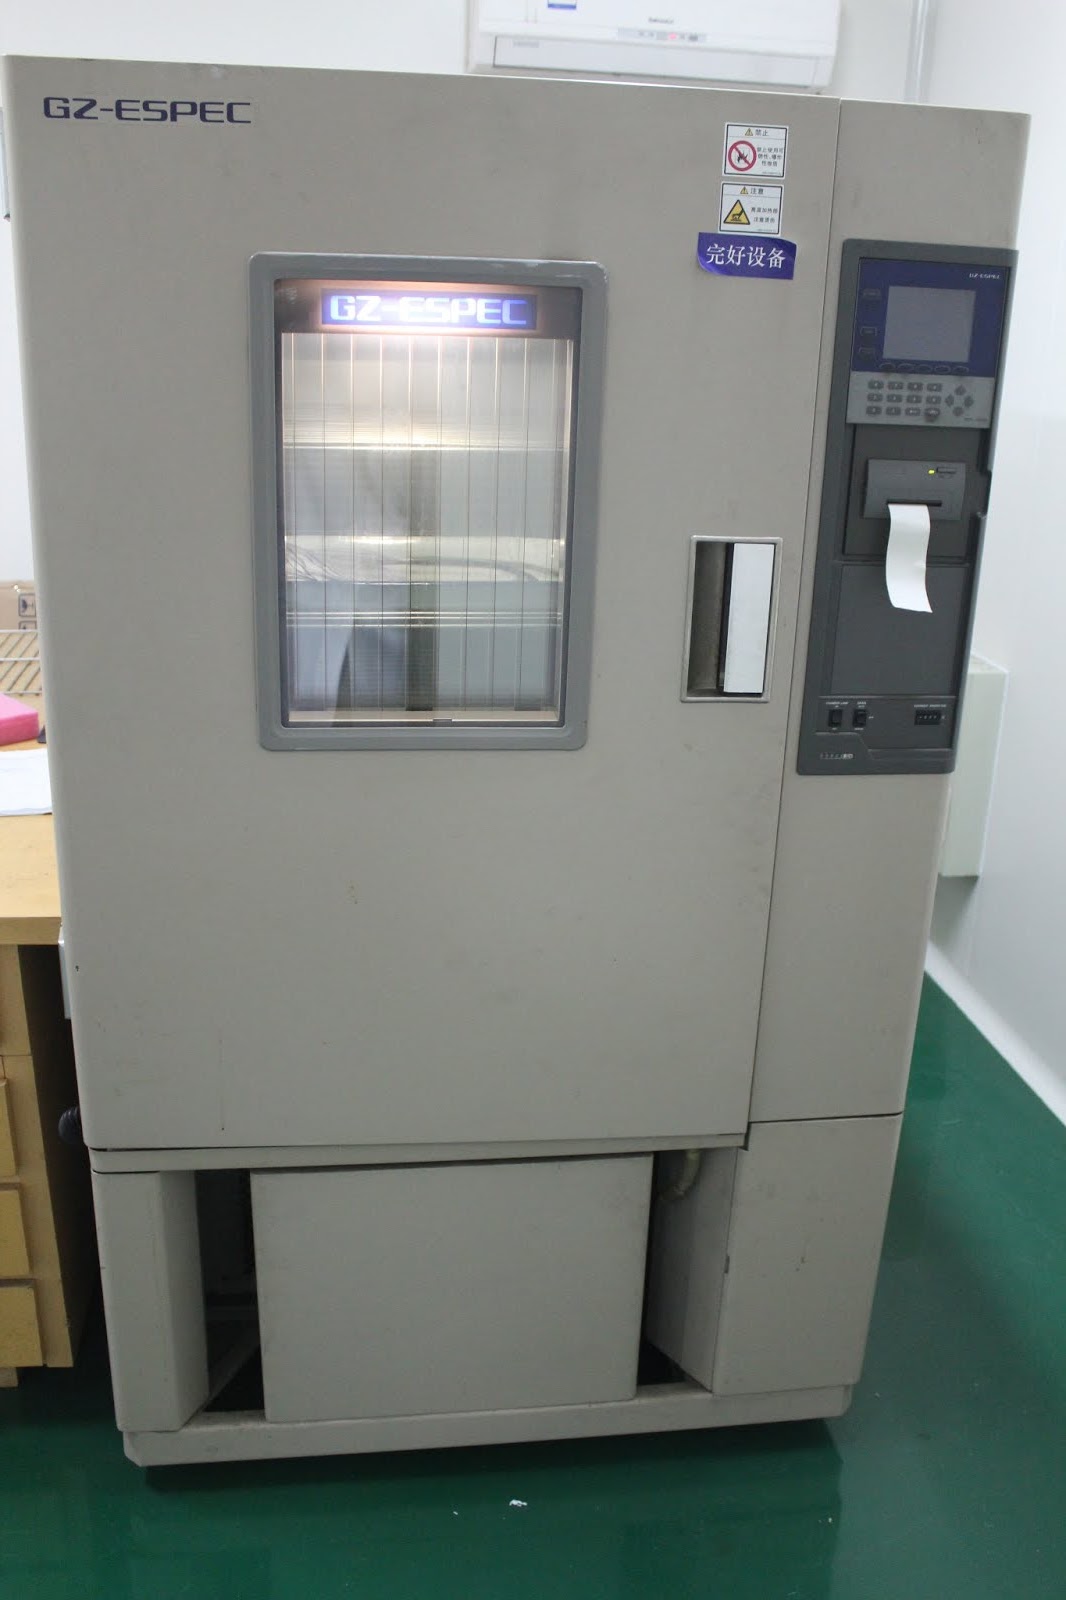
At one of the final stages it is necessary to check the effect of temperature on the parameters of the divider. To do this, dividers are placed in a special thermo-chamber, in which the temperature can vary from -40 to + 80C.
After heat chambers, the “ends” are welded to the dividers and attenuation is checked in them after exposure to temperature drops.

If the divider is needed terminated - proceed to the installation and gluing together the necessary connectors.
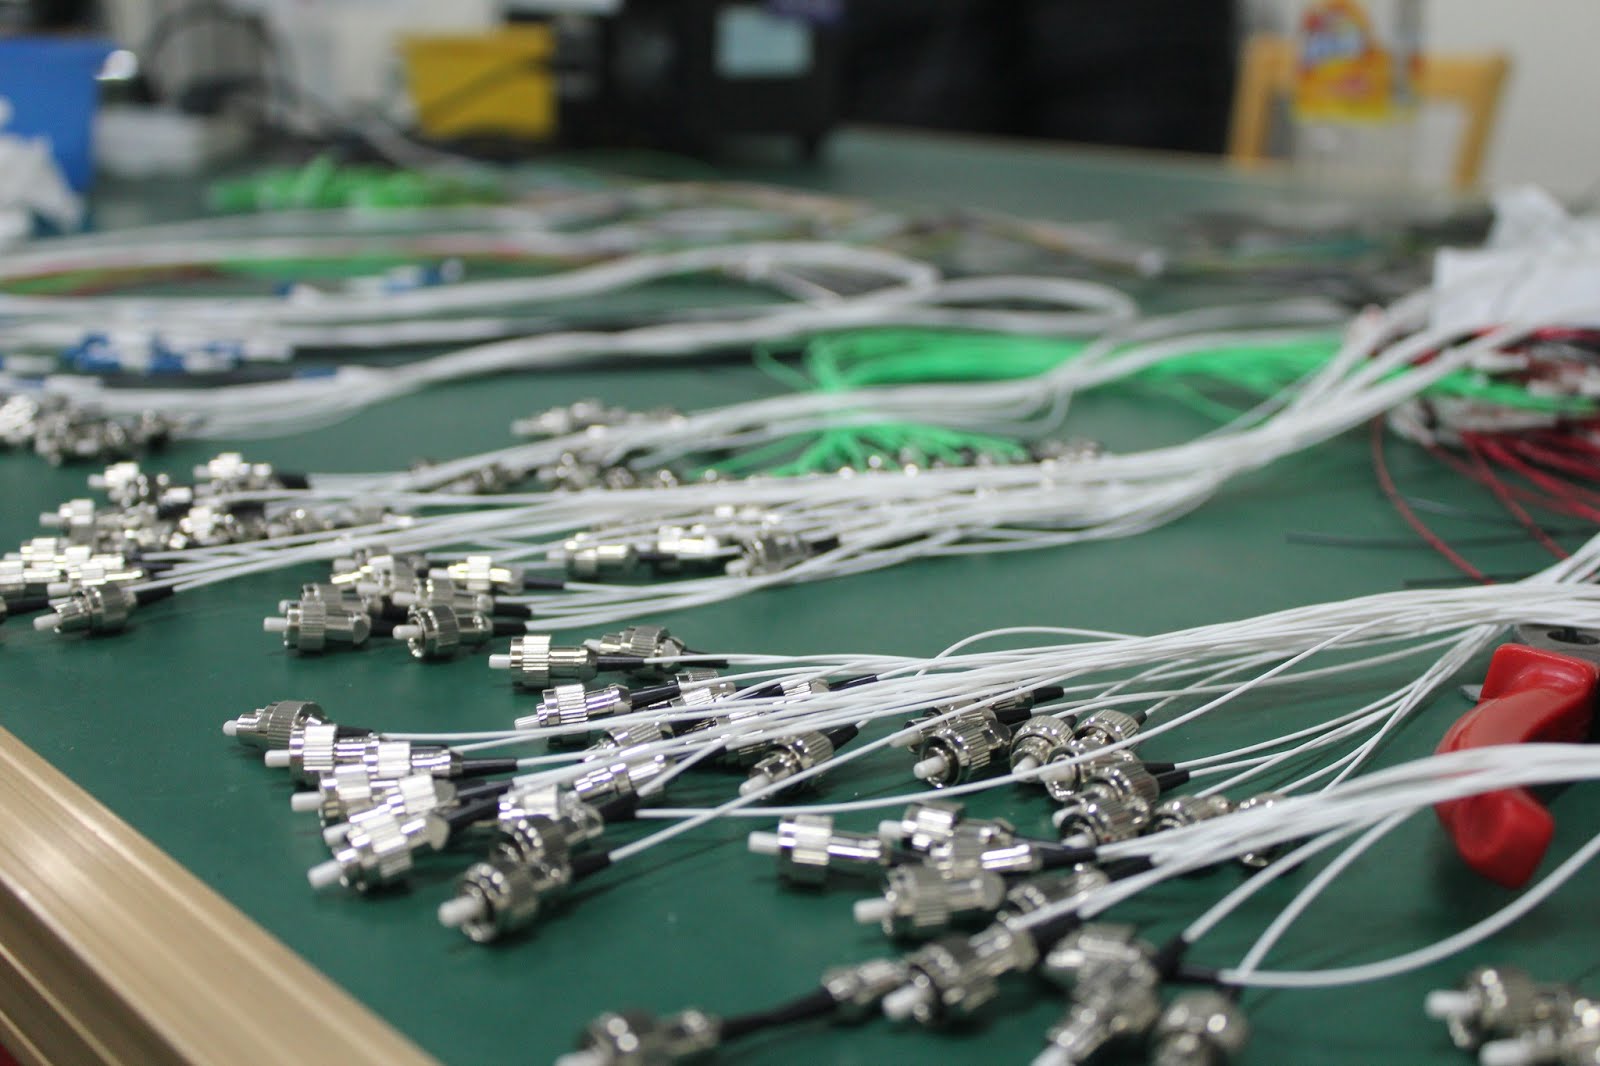
Install in a polishing machine.
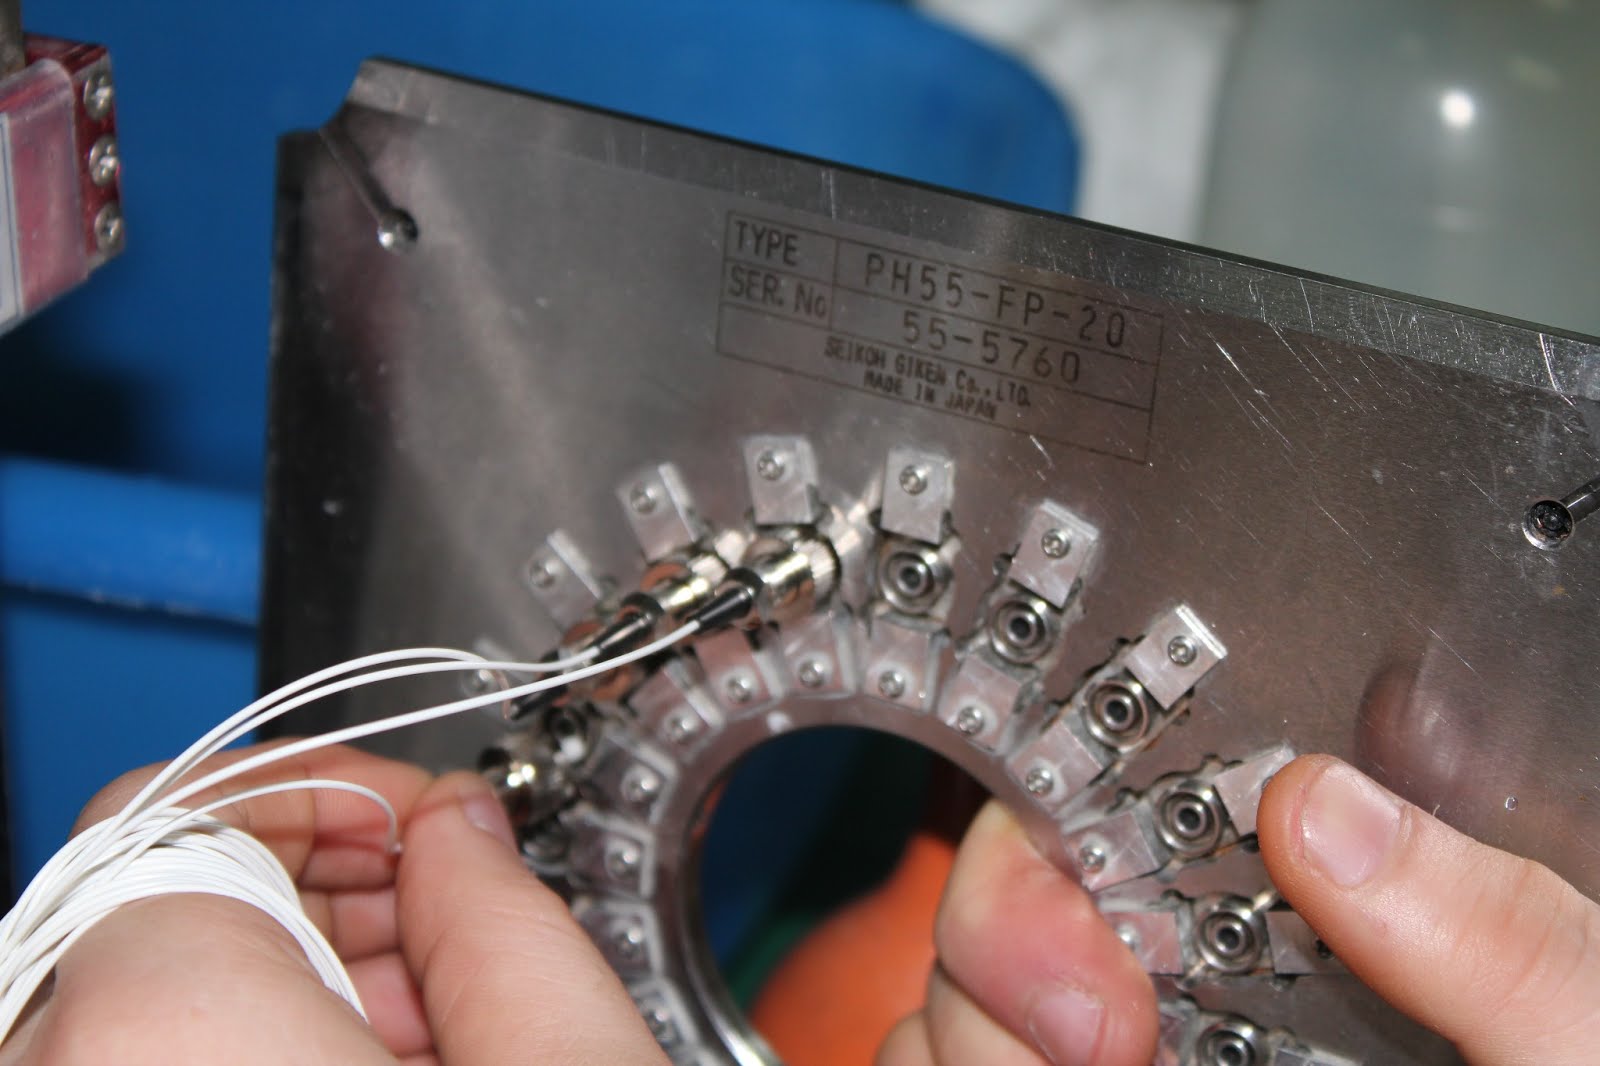
This was the last stage in the production of a welded divider. If you need a 1x4, 1x8 divider, etc. - we will simply cascade dividers in a plastic box.
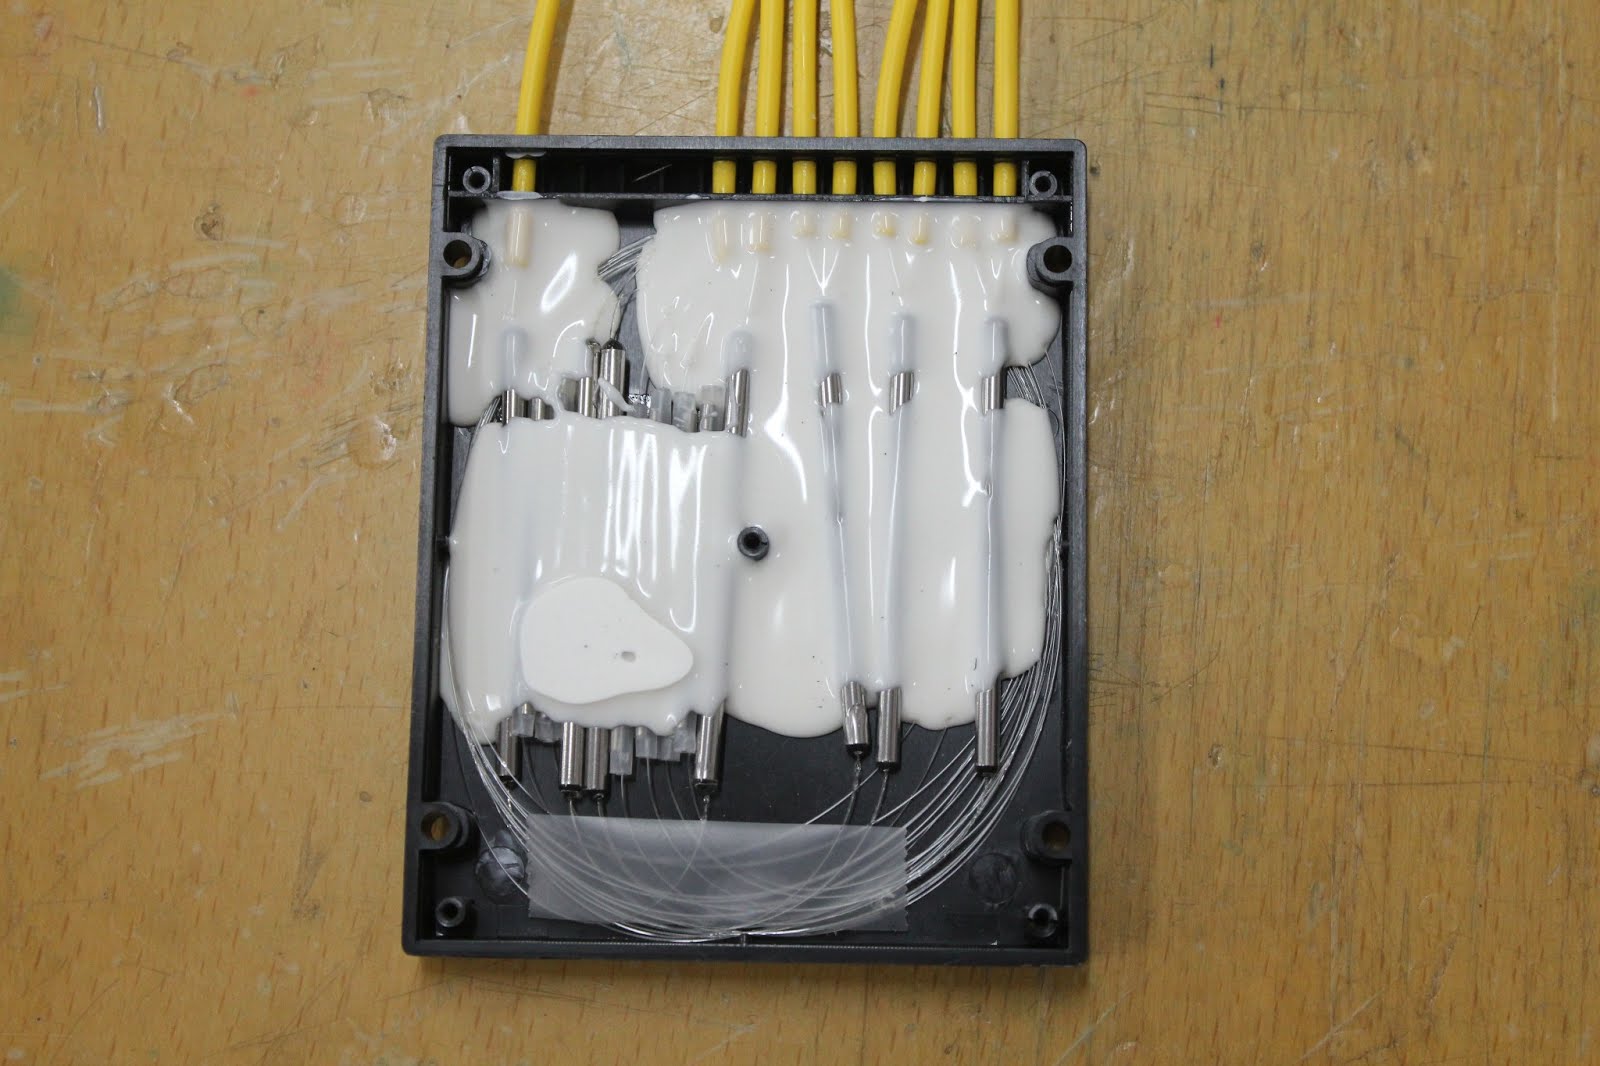
An example of a 1x8 divider.
The production technology of welded dividers is shown in full. It seems to be “cheap and angry”, but the smart people of this world did not stop at that. Therefore, as an alternative to welded dividers, a second solution was born with time - planar PLC dividers (Planar Lightwave Cirquit).
All Articles